
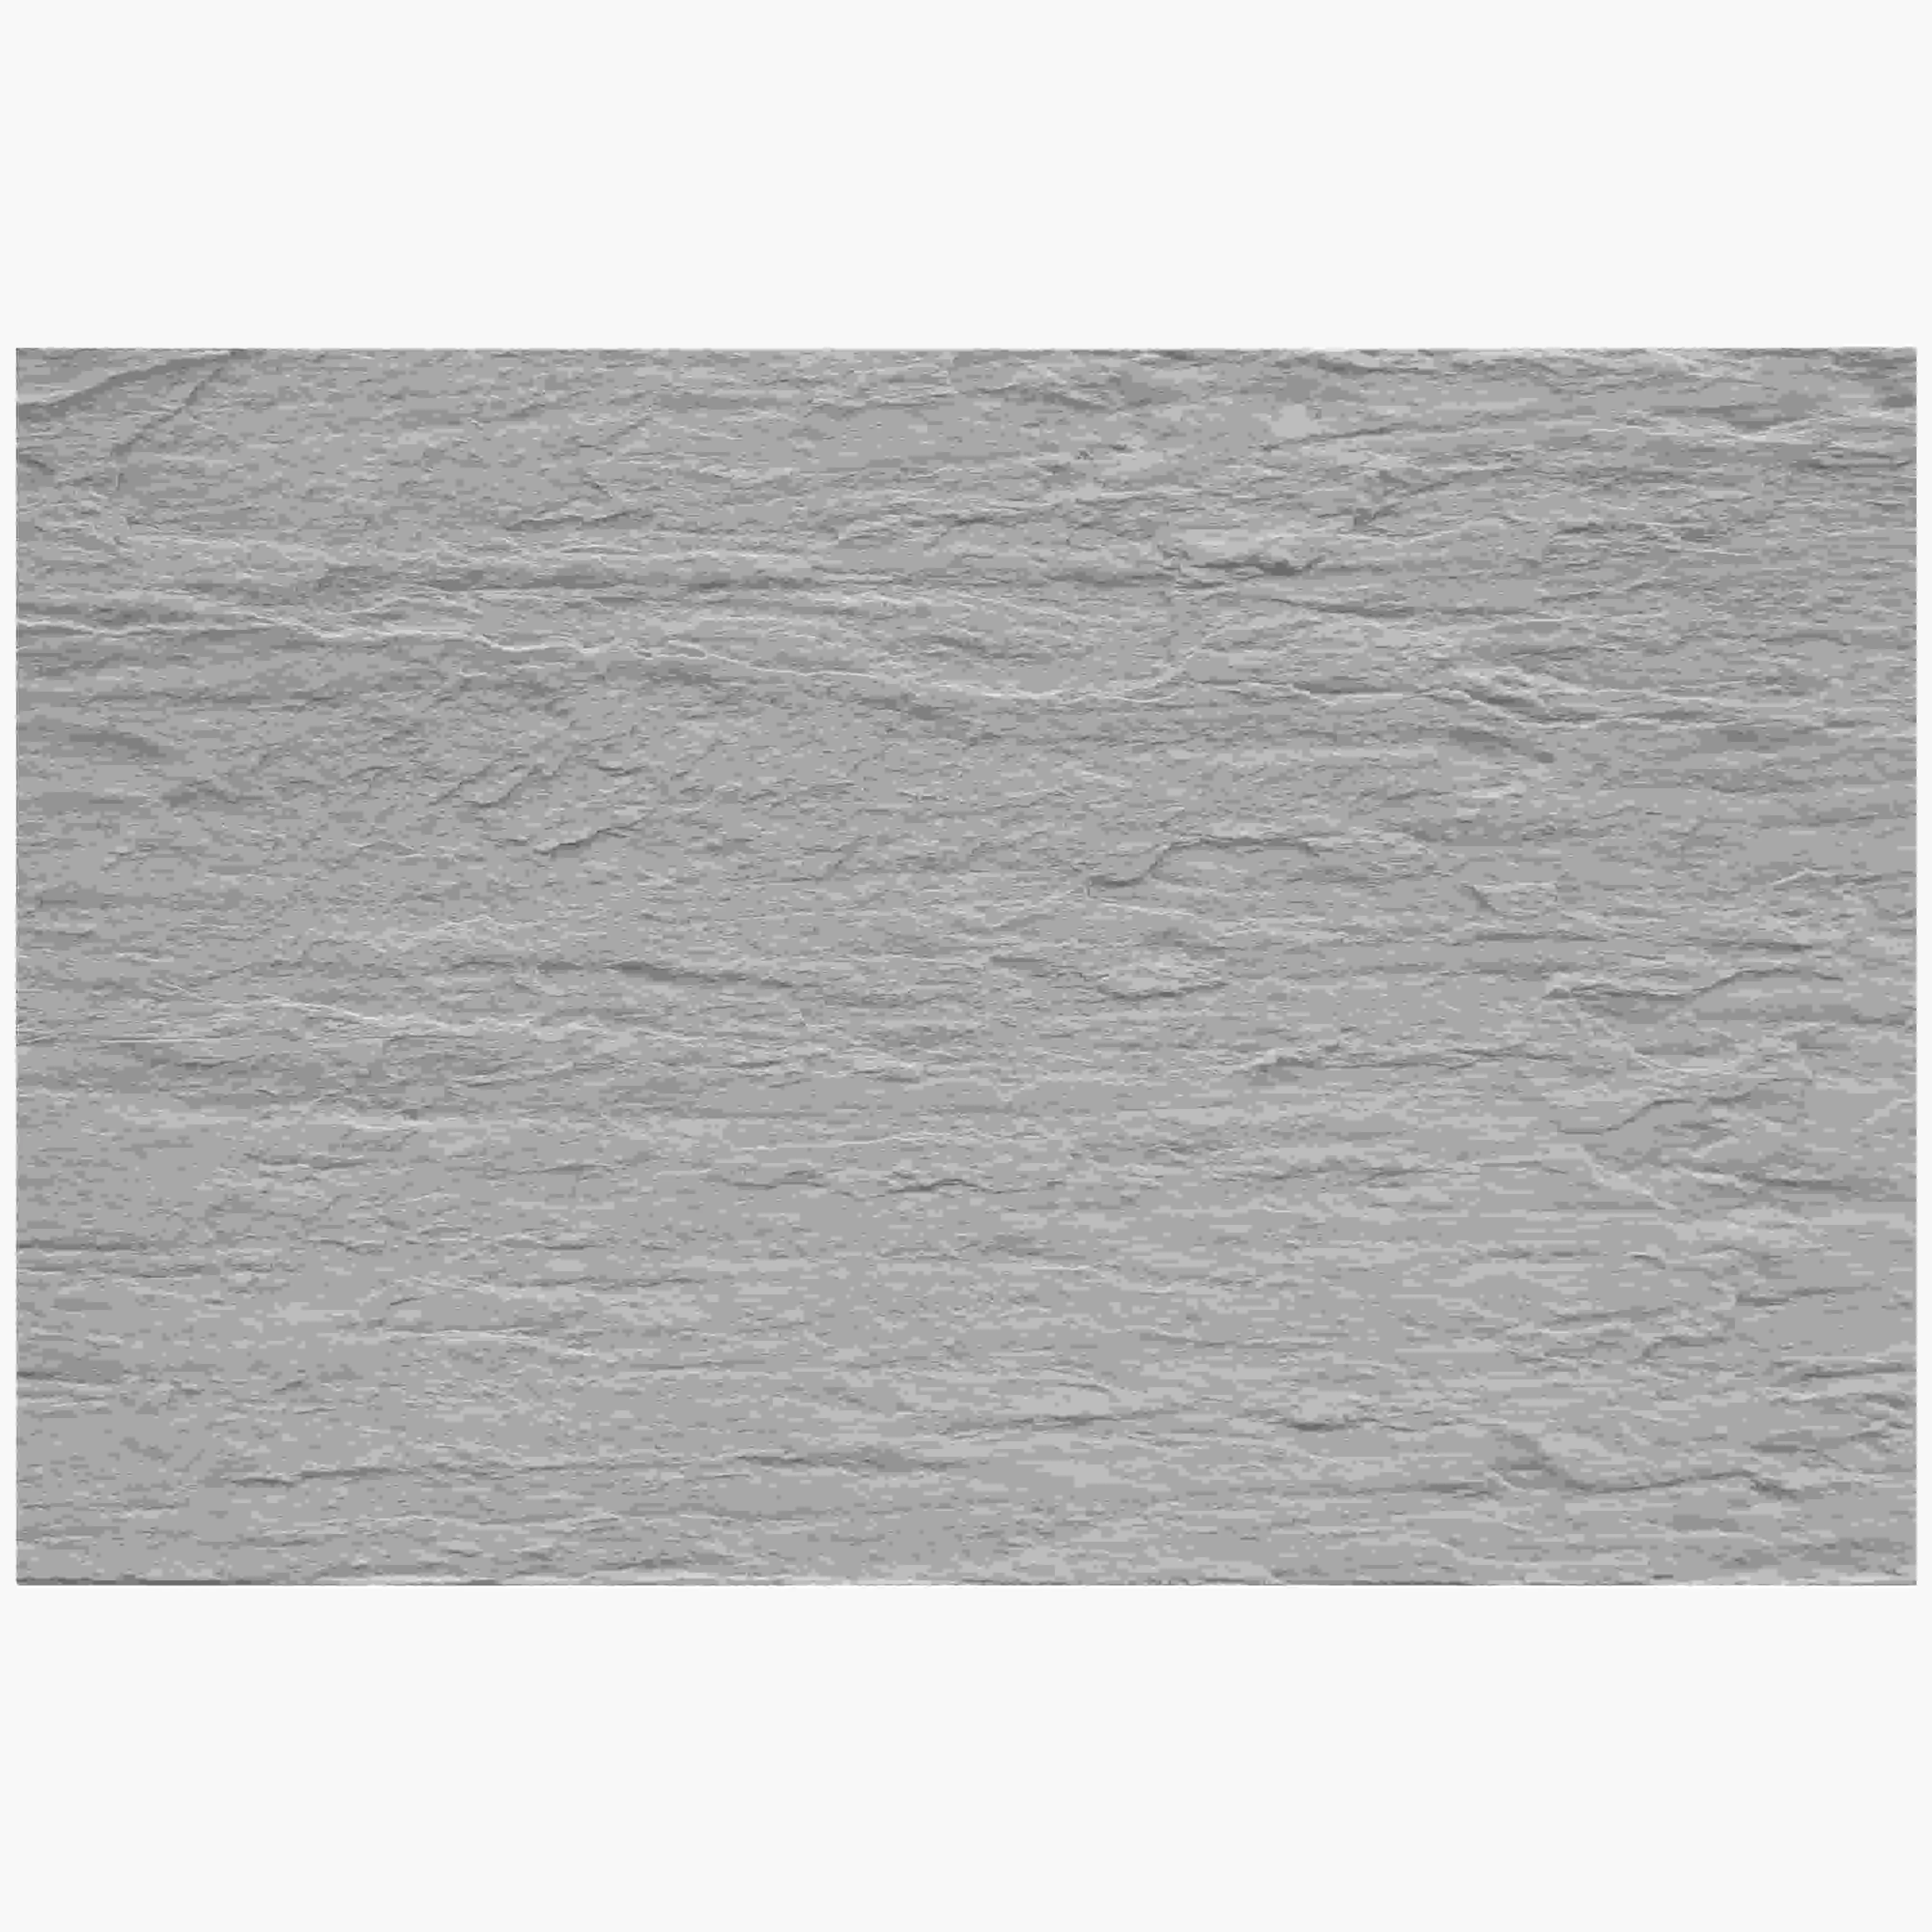
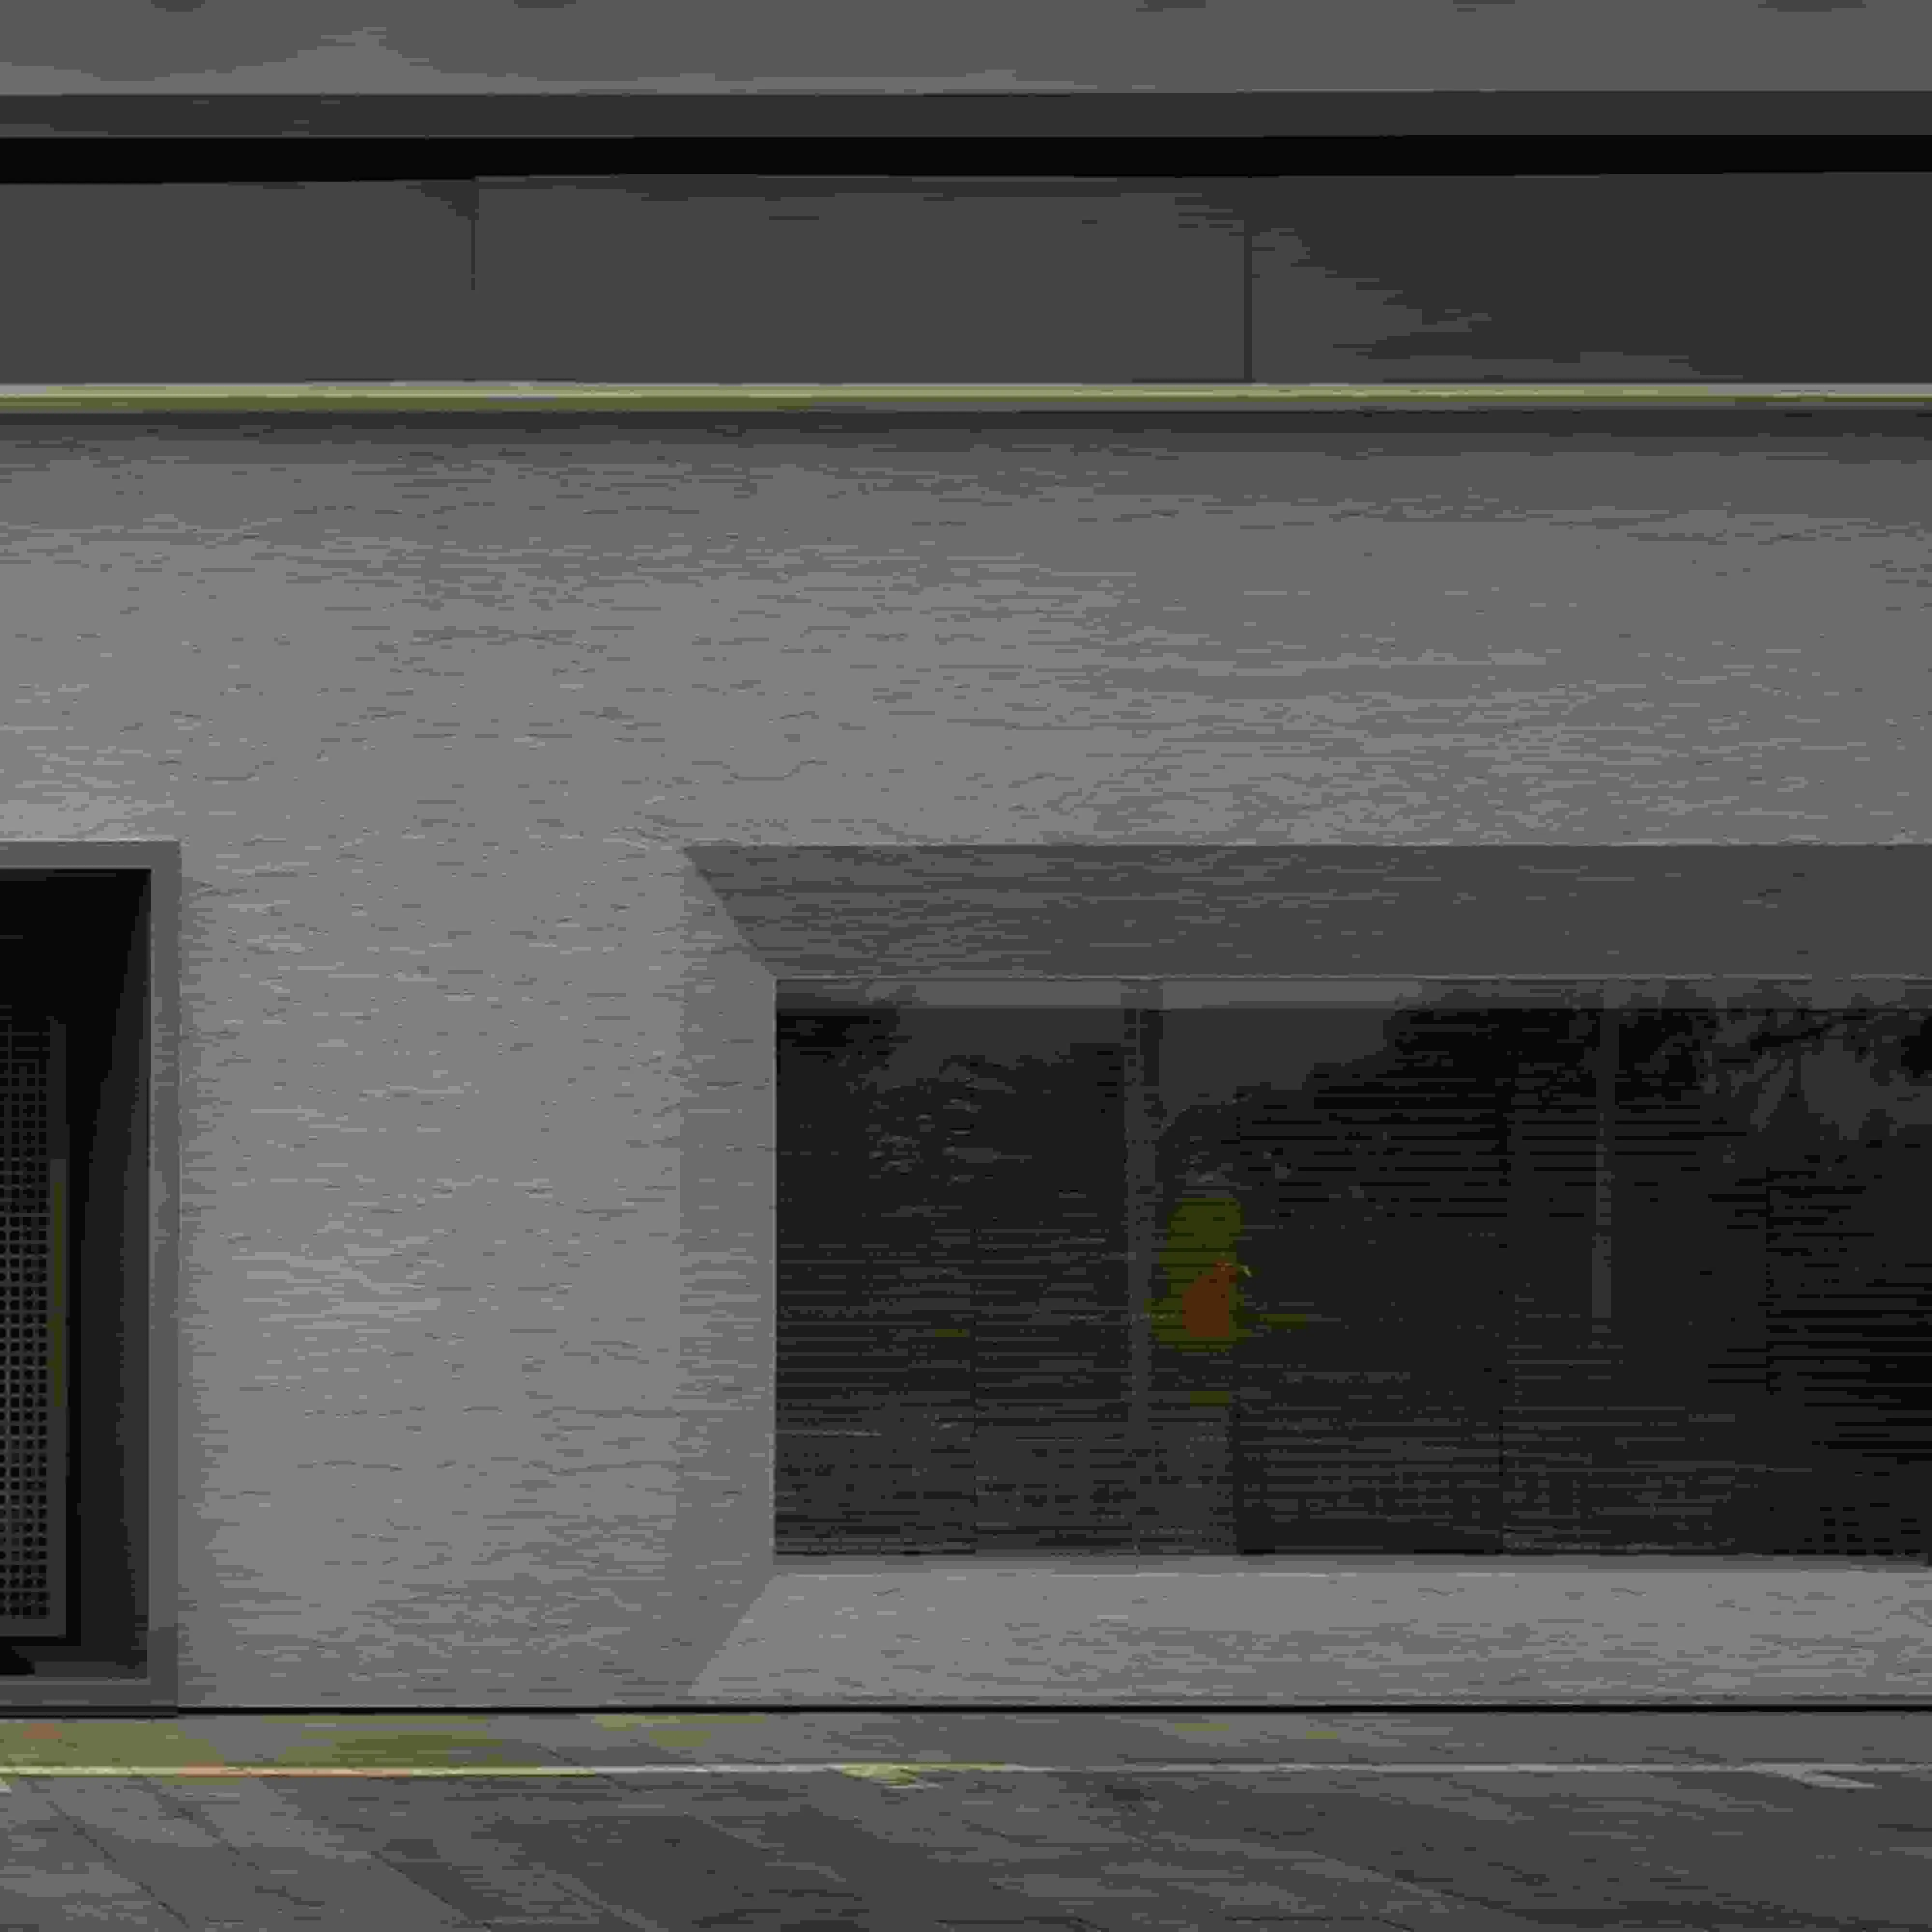
Walk into any modern architectural space—whether it's a boutique hotel lobby, a cozy café, or a sleek residential exterior—and you'll likely notice the subtle yet striking role that surface materials play in shaping its character. Among these, Oasis Stone Regular stands out as more than just a building material; it's a storyteller. Part of MCM's renowned lineup of innovative cladding solutions, this stone carries the warmth of natural textures with the durability of engineered precision, making it a favorite for designers who crave both aesthetics and longevity.
But here's the thing about great materials: their true potential is only unlocked when they're installed with care. Imagine spending weeks curating the perfect color palette, collaborating with contractors to align every detail, and finally seeing those first panels of Oasis Stone Regular go up—only to watch them loosen, crack, or peel months later. It's a nightmare no one wants to live through, and it often boils down to one critical choice: the adhesive. The glue that holds your vision together isn't just a technical afterthought; it's the silent partner in ensuring your Oasis Stone Regular project stands the test of time, through rain, wind, and the daily wear of life.
In this guide, we're diving deep into the world of adhesives for Oasis Stone Regular. We'll explore the options that make sense for different environments, walk through step-by-step installation best practices, and even touch on how complementary materials—like mcm flexible stone or travertine (starry green)—can elevate your design when paired with the right adhesive strategy. Whether you're a seasoned contractor, a DIY enthusiast, or a designer overseeing your first cladding project, this isn't just a technical manual. It's a roadmap to preserving the beauty of your space for years to come.
Let's start with a story. A few years back, a friend of mine—a contractor with over 20 years of experience—took on a restaurant renovation project. The client fell in love with Oasis Stone Regular for the exterior facade, drawn to its earthy, textured finish that promised to blend with the surrounding landscape. Eager to stay on budget, my friend opted for a generic, budget-friendly adhesive he'd used on smaller tile jobs before. Fast forward six months: the first winter frost hit, and the panels began to lift. By spring, large sections had peeled away, exposing the substrate underneath. The client was devastated, the restaurant's opening delayed, and my friend? He still talks about that project as a "costly lesson in cutting corners."
The moral here is simple: adhesives aren't just about "sticking" stone to a wall. They're about creating a bond that can withstand temperature swings, moisture, UV rays, and even the subtle shifting of buildings over time. Oasis Stone Regular, while lightweight compared to natural stone, still requires a adhesive that can handle its unique composition—engineered to mimic natural stone's texture but with added flexibility. The wrong adhesive can lead to:
On the flip side, the right adhesive? It's invisible, reliable, and transformative. It turns a beautiful material into a lasting feature, ensuring that the restaurant facade you built today still looks stunning when your client's grandchildren walk through the door. That's the stakes we're playing for here.

Not all adhesives are created equal, and what works for a kitchen backsplash might be disastrous for an outdoor Oasis Stone Regular installation. Let's break down the top contenders, their strengths, and when to reach for them.
If there's an "all-arounder" in the adhesive world, it's polymer-modified cementitious adhesives. Blending traditional cement with polymers (think: latex or acrylic additives), these adhesives offer the best of both worlds: the strong grip of cement and the flexibility needed to accommodate minor substrate movements. They're water-resistant, affordable, and easy to work with—making them a go-to for most indoor and sheltered outdoor Oasis Stone Regular projects.
Best for: Interior walls, covered patios, or low-moisture areas like living rooms or hallways. They're also ideal when pairing Oasis Stone Regular with other MCM products like wood grain board or bamboo mat board, where a neutral adhesive won't interfere with the natural texture.
Pro tip: Look for a cementitious adhesive labeled "flexible" or "modified"—this ensures it can handle the slight expansion and contraction of Oasis Stone Regular without cracking.
When you need a bond that laughs in the face of extreme conditions, epoxy adhesives step up. Made from a resin and hardener that chemically react to form a super-strong bond, they're resistant to water, heat, and even chemical exposure. This makes them perfect for high-stress areas: think outdoor facades in rainy climates, pool surrounds, or commercial spaces with heavy foot traffic.
Best for: Exterior installations, wet environments, or projects where Oasis Stone Regular is paired with heavier materials like boulder slab (vintage silver) or fair-faced concrete. Epoxy also shines when you need a quick set time—great for tight deadlines, though it does require precise mixing (follow the manufacturer's ratio to the gram!).
Word of caution: Epoxy can be messy to work with, and it sets fast—so only mix as much as you can apply in 20–30 minutes. It's also not the best choice for porous substrates, as it can trap moisture. Always test on a small, hidden area first!
For installations where movement is inevitable—like exterior walls in regions with freeze-thaw cycles or buildings with wooden substrates that shift with humidity—polyurethane adhesives are a game-changer. These adhesives cure to a rubbery, flexible consistency, allowing the Oasis Stone Regular panels to "breathe" without losing their bond. They're also highly water-resistant and adhere well to both porous and non-porous surfaces.
Best for: Exterior walls, ceilings, or areas with temperature fluctuations. They're especially useful when working with mcm flexible stone, as their flexibility complements the stone's own bendable properties. Plus, many polyurethane adhesives come in low-VOC formulas, making them a greener choice for eco-conscious projects.
Silicone adhesives are the specialists of the group. They're not the strongest in terms of sheer holding power, but they excel in situations where you need a waterproof, UV-resistant bond with minimal shrinkage. Think: sealing edges around windows, attaching trim pieces, or bonding Oasis Stone Regular to non-porous surfaces like metal or glass (hello, foamed aluminium alloy board (vintage silver) accents!).
Best for: Small, detailed installations or as a secondary sealant alongside a primary adhesive. For example, if you're using polymer-modified cementitious adhesive for the main panels, a bead of silicone along the joints can add an extra layer of waterproofing—critical for bathrooms or outdoor kitchens.
Pro Tip: Always check MCM's official guidelines for Oasis Stone Regular before choosing an adhesive. Some adhesives contain chemicals that can react with the stone's pigments, causing discoloration over time. When in doubt, reach out to their technical support team—they're there to help!
| Adhesive Type | Best For | Application Method | Drying Time | Pros | Cons |
|---|---|---|---|---|---|
| Polymer-Modified Cementitious | Indoor/low-moisture outdoor, wood grain board pairings | Notch trowel (6mm–10mm) | 24–48 hours (full cure: 7 days) | Affordable, easy to use, flexible | Not ideal for extreme moisture/freeze-thaw |
| Epoxy | Heavy-duty outdoor, wet areas, boulder slab accents | Mixed, then trowel or putty knife | 30 mins–2 hours (full cure: 24–48 hours) | Super strong, chemical/water-resistant | Messy, fast-setting, porous substrate risk |
| Polyurethane | Freeze-thaw regions, mcm flexible stone pairings | Cartridge gun or trowel | 4–6 hours (full cure: 24–72 hours) | Flexible, water/UV-resistant, low-VOC options | More expensive than cementitious adhesives |
| Silicone | Edge sealing, glass/metal bonds, trim work | Caulk gun for beads, small trowel for coverage | 1–2 hours (full cure: 24–48 hours) | Waterproof, UV-resistant, minimal shrinkage | Not for heavy load-bearing applications |
Even the best adhesive can fail if the installation process is rushed or sloppy. Let's walk through the steps that turn a roll of Oasis Stone Regular and a bucket of adhesive into a masterpiece.
You wouldn't build a house on sand, right? The same logic applies here: your substrate (the surface you're adhering the stone to) needs to be clean, level, and dry. Start by inspecting the wall or surface: patch any cracks with a suitable filler, sand down rough spots, and remove all dust, grease, or old adhesive residue. A quick wipe with a damp cloth (followed by drying) or a pass with a vacuum attachment works wonders for dust.
For uneven surfaces—common in older buildings—consider using a self-leveling compound. Let it cure completely (check the product's instructions, but plan for 24–48 hours) before moving on. Moisture is the enemy here: if the substrate is damp, the adhesive won't bond properly. Use a moisture meter to test; aim for less than 5% moisture content for most adhesives.
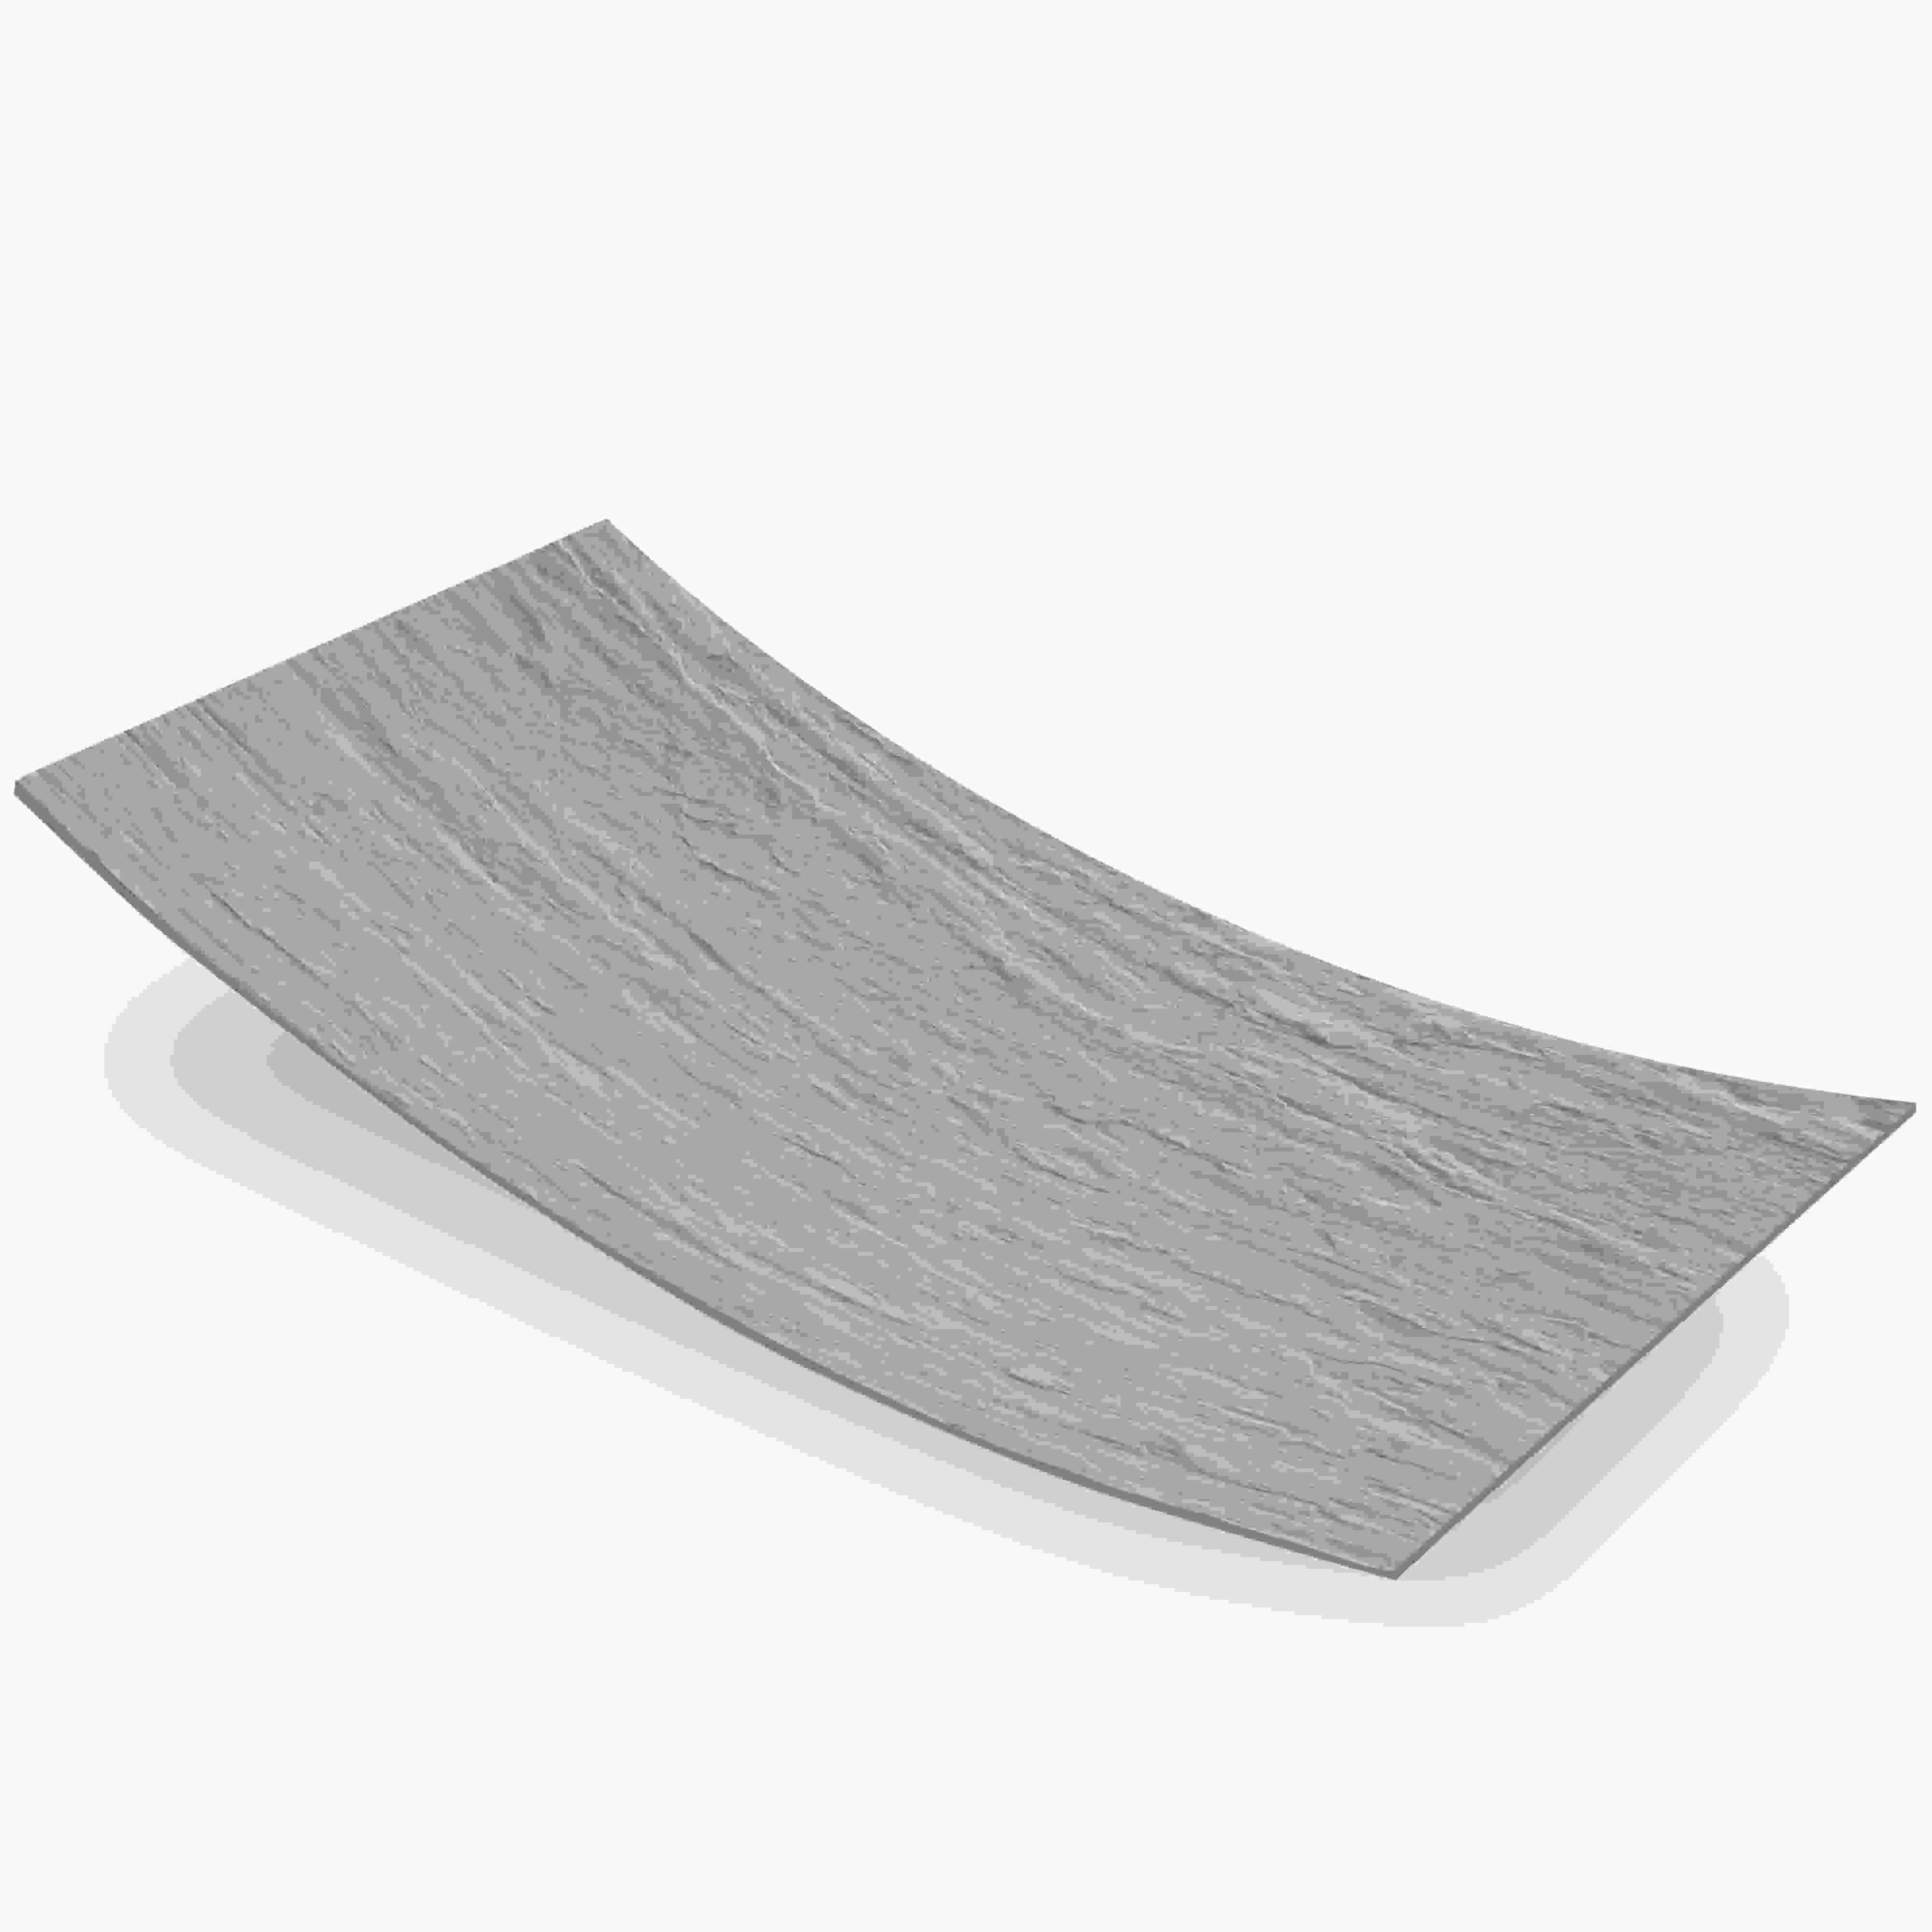
Oasis Stone Regular panels come in standard sizes, but every space is unique. Before opening the adhesive, lay out the panels on the ground (or use a digital layout tool) to map out your pattern. This helps you avoid awkwardly small cuts at the edges and ensures symmetry. Mark reference lines on the substrate using a level and pencil—this keeps your panels straight, even when fatigue sets in halfway through the job.
Pro tip: Start from the bottom and work your way up. This prevents the weight of upper panels from shifting the lower ones while the adhesive is still wet. Also, leave a 2–3mm gap between panels for grout (unless you're going for a seamless look, in which case use a tight butt joint and ensure the adhesive covers the entire back of each panel).
Now for the fun part: applying the adhesive. The key here is consistency. For cementitious or epoxy adhesives, mix according to the manufacturer's instructions—too much water in cementitious mixes weakens the bond, while off-ratio epoxy won't cure properly. Use a drill with a mixing paddle for smooth, lump-free consistency (your arm will thank you).
Apply the adhesive to the substrate using a notched trowel. The size of the notch depends on the thickness of your Oasis Stone Regular panels: 6mm notches for standard panels, 10mm for thicker or more textured varieties. Hold the trowel at a 45-degree angle and spread the adhesive in a thin, even layer—you want full coverage, but not so much that it oozes out the sides when you press the panel down.
Work in small sections—about 1–2 square meters at a time. Adhesive dries quickly, and you don't want to rush and leave gaps. Press each panel firmly into place, wiggling it slightly from side to side to ensure the adhesive makes full contact with the back of the stone (this is called "keying in"). Use spacers if you're leaving gaps for grout, and check with a level to keep everything plumb.
Once the adhesive has set (check the drying time for your chosen product—usually 24 hours for initial set), it's time to grout. Choose a grout color that complements your Oasis Stone Regular: for a cohesive look, match the stone's undertones; for contrast, go a shade lighter or darker. Apply grout with a rubber float, pressing it into the gaps at a 45-degree angle, then wipe away excess with a damp sponge before it dries.
Curing is non-negotiable. Even if the adhesive feels dry, full curing takes time—7 days for cementitious adhesives, up to 3 days for epoxy. Avoid heavy traffic, water exposure, or cleaning during this period. For exterior installations, protect the area from rain with a tarp if needed, but ensure there's ventilation to prevent moisture buildup.
DIY Hack: If you're new to tiling or cladding, practice on a scrap piece of plywood first. Apply adhesive, stick a panel, let it set, and then try removing it—this gives you a feel for how much pressure to use and how long the adhesive takes to grab. Better to make mistakes on a practice board than on your actual project!
Even with careful planning, hiccups happen. Here's how to tackle the most common issues that arise during Oasis Stone Regular installation.
You press a panel into place, step back to admire your work, and watch in horror as it slowly slides down the wall. What's going on? Chances are, the adhesive was applied too thinly, or the trowel notch was too small, leaving insufficient grab. Or maybe the substrate was still slightly damp, preventing the adhesive from bonding.
Solution: Remove the panel, scrape off the wet adhesive, and reapply with a larger notch trowel (try 8mm instead of 6mm). Ensure the substrate is bone dry, and press the panel firmly, holding it in place for 30 seconds to let the adhesive "grab." For vertical installations, use temporary supports like painter's tape or small wooden braces to hold panels in place while the adhesive sets.
Nothing ruins a clean grout line like adhesive squeezing out from behind the panels. This usually happens when too much adhesive is applied, or the panels are pressed too hard, forcing excess out the sides.
Solution: Apply a thinner layer of adhesive and use a notched trowel to create ridges—this controls the amount of adhesive and allows air to escape. If oozing does occur, wipe it away immediately with a damp cloth (don't let it dry, as it will be hard to remove). For epoxy or polyurethane adhesives, which set fast, keep a damp rag handy and clean as you go.
A few weeks after installation, you notice hairline cracks in your Oasis Stone Regular panels. This is often a sign of adhesive shrinkage or substrate movement that the adhesive couldn't accommodate.
Solution: If the cracks are small, they might be cosmetic—fill them with matching grout or a stone repair kit. For larger cracks, the panel may need to be replaced. To prevent this, use a flexible adhesive (like polyurethane) in areas prone to movement, and ensure the substrate is properly stabilized before installation.
Oasis Stone Regular is known for its rich, consistent color, so discovering dark spots or discoloration is disheartening. This can happen if the adhesive contains dyes or chemicals that react with the stone, or if excess moisture was trapped during curing.
Solution: Test adhesive on a scrap panel before starting the project. If staining occurs, try cleaning with a mild, pH-neutral stone cleaner—avoid bleach or acidic products, which can worsen the problem. For severe staining, contact MCM technical support; they may recommend a specialized sealer to lock in the color.
Oasis Stone Regular is a star on its own, but it truly shines when paired with other materials from MCM's lineup. Here are a few combinations that designers love, along with adhesive tips for each:
For accent walls or curved surfaces, mcm flexible stone cladding panels add depth and movement. Their bendable nature makes them perfect for archways or cylindrical columns, and they complement Oasis Stone Regular's texture beautifully. Use polyurethane adhesive for both materials—its flexibility ensures the bond holds even as the panels shift slightly with temperature changes.
Travertine (starry green) is a showstopper—with its subtle shimmer and earthy hue, it adds a touch of luxury to any space. Use it as a border around Oasis Stone Regular panels or as a focal point above a fireplace. For this pairing, stick with polymer-modified cementitious adhesive for the travertine (its porous surface bonds well with cement-based products) and ensure the grout colors complement both stones.
For a modern, industrial vibe, pair Oasis Stone Regular with fair-faced concrete. The smooth, minimalist concrete acts as a neutral backdrop, letting the stone's texture take center stage. Use epoxy adhesive for the concrete-to-stone bond—its strength ensures the two materials stay firmly attached, even in high-traffic areas like commercial lobbies.
Foamed aluminium alloy board in vintage silver brings a metallic, contemporary edge to Oasis Stone Regular's earthy tones. Use it for trim, signage, or as a contrast panel in a feature wall. Silicone adhesive works best here, as it bonds well to metal and allows for slight movement without cracking.
Your installation is done, and it looks amazing. Now, how do you keep it that way? With minimal effort, actually. Oasis Stone Regular is low-maintenance, but a little care goes a long way.
Cleaning: Sweep or vacuum regularly to remove dust and debris. For deeper cleans, use a soft cloth or mop with warm water and a mild, pH-neutral detergent (avoid abrasive sponges or scouring powders—they scratch the surface). Wipe up spills immediately, especially acidic substances like wine or citrus juice, which can etch the stone over time.
Sealing: Depending on the finish, Oasis Stone Regular may benefit from a yearly sealant application. Check MCM's guidelines—some engineered stones come pre-sealed, while others need a penetrating sealer to prevent staining. Apply sealer with a clean cloth, wipe off excess, and let it cure for 24 hours before using the surface.
Inspection: Every 6 months, do a quick walk-around to check for loose panels, cracked grout, or signs of moisture. Tighten loose panels with a small amount of additional adhesive, and regrout any cracked joints. Catching issues early prevents bigger problems down the line.
Oasis Stone Regular isn't just a material—it's an investment in the beauty and durability of your space. From the moment you choose it to the day you stand back and admire the finished project, every decision matters. The adhesive you pick, the care you put into surface prep, and the attention to detail during installation—these are the things that turn a good project into a great one.
Remember: There's no substitute for patience and preparation. Take the time to test adhesives, plan your layout, and follow the steps we've outlined here. And when in doubt, reach out for help—whether it's MCM's technical team, a trusted contractor, or a fellow DIYer who's been there. Your space deserves the best, and with the right adhesive and installation practices, your Oasis Stone Regular project will stand tall, beautiful, and strong for years to come.
So go ahead—grab that trowel, mix that adhesive, and start building something amazing. The world (and your future self) will thank you.
Recommend Products


