
Poly wood boards have become a favorite in modern design, blending the warmth of natural wood with the durability of engineered materials. Whether you're revamping a patio, accenting a wall, or designing a commercial space, their versatility and low maintenance make them a top choice. But even the most stunning poly wood board—like COLORIA MCM's signature poly wood board or textured wood grain board —can fall flat if installation goes wrong. From warped surfaces to mismatched patterns, small errors can turn a dream project into a costly fix. Let's walk through the most common mistakes and how to steer clear of them, with insights straight from COLORIA MCM's design experts.
Poly wood boards are built to withstand weather, wear, and time—but only if installed correctly. A shoddy installation doesn't just look unprofessional; it can lead to gaps, water damage, or even structural issues down the line. Think of it like laying a foundation: get the base right, and everything else follows. And when paired with complementary materials like fair-faced concrete or stone accents, proper installation ensures your design feels cohesive, not chaotic.
One of the biggest myths? "Poly wood is tough, so it can go on any surface." Wrong. Installing directly on uneven, dirty, or moisture-prone surfaces is a recipe for disaster. We've seen projects where boards were nailed straight onto cracked concrete or damp plywood, only to warp within months as moisture seeped in or unevenness caused stress cracks.
Always start with a clean, level surface. For outdoor areas, fair-faced concrete is a game-changer—it's smooth, moisture-resistant, and provides the stable base poly wood needs. If you're working with an existing surface, fill cracks with a concrete patching compound, sand down rough spots, and let it dry completely (at least 48 hours) before installing. For walls or vertical applications, use a stud finder to mark secure points—no guessing where the support is!
Poly wood expands and contracts with temperature changes—even more so than natural wood. Installing boards edge-to-edge with no room to breathe is like wearing shoes two sizes too small: eventually, something's going to snap. We've seen decks buckle in summer heat as boards swelled, or gaps widen in winter to the point of exposing the subfloor.
Follow the 1/4-inch rule: leave a 1/4-inch gap between boards for every 10 feet of length. For end-to-end joints, a 1/8-inch gap prevents warping. Use plastic spacers during installation to keep gaps consistent—they're cheap, reusable, and save you from eye-balling it. And don't forget the perimeter! Leave 1/2 inch between the boards and any fixed structure (like walls or posts) to account for overall expansion.
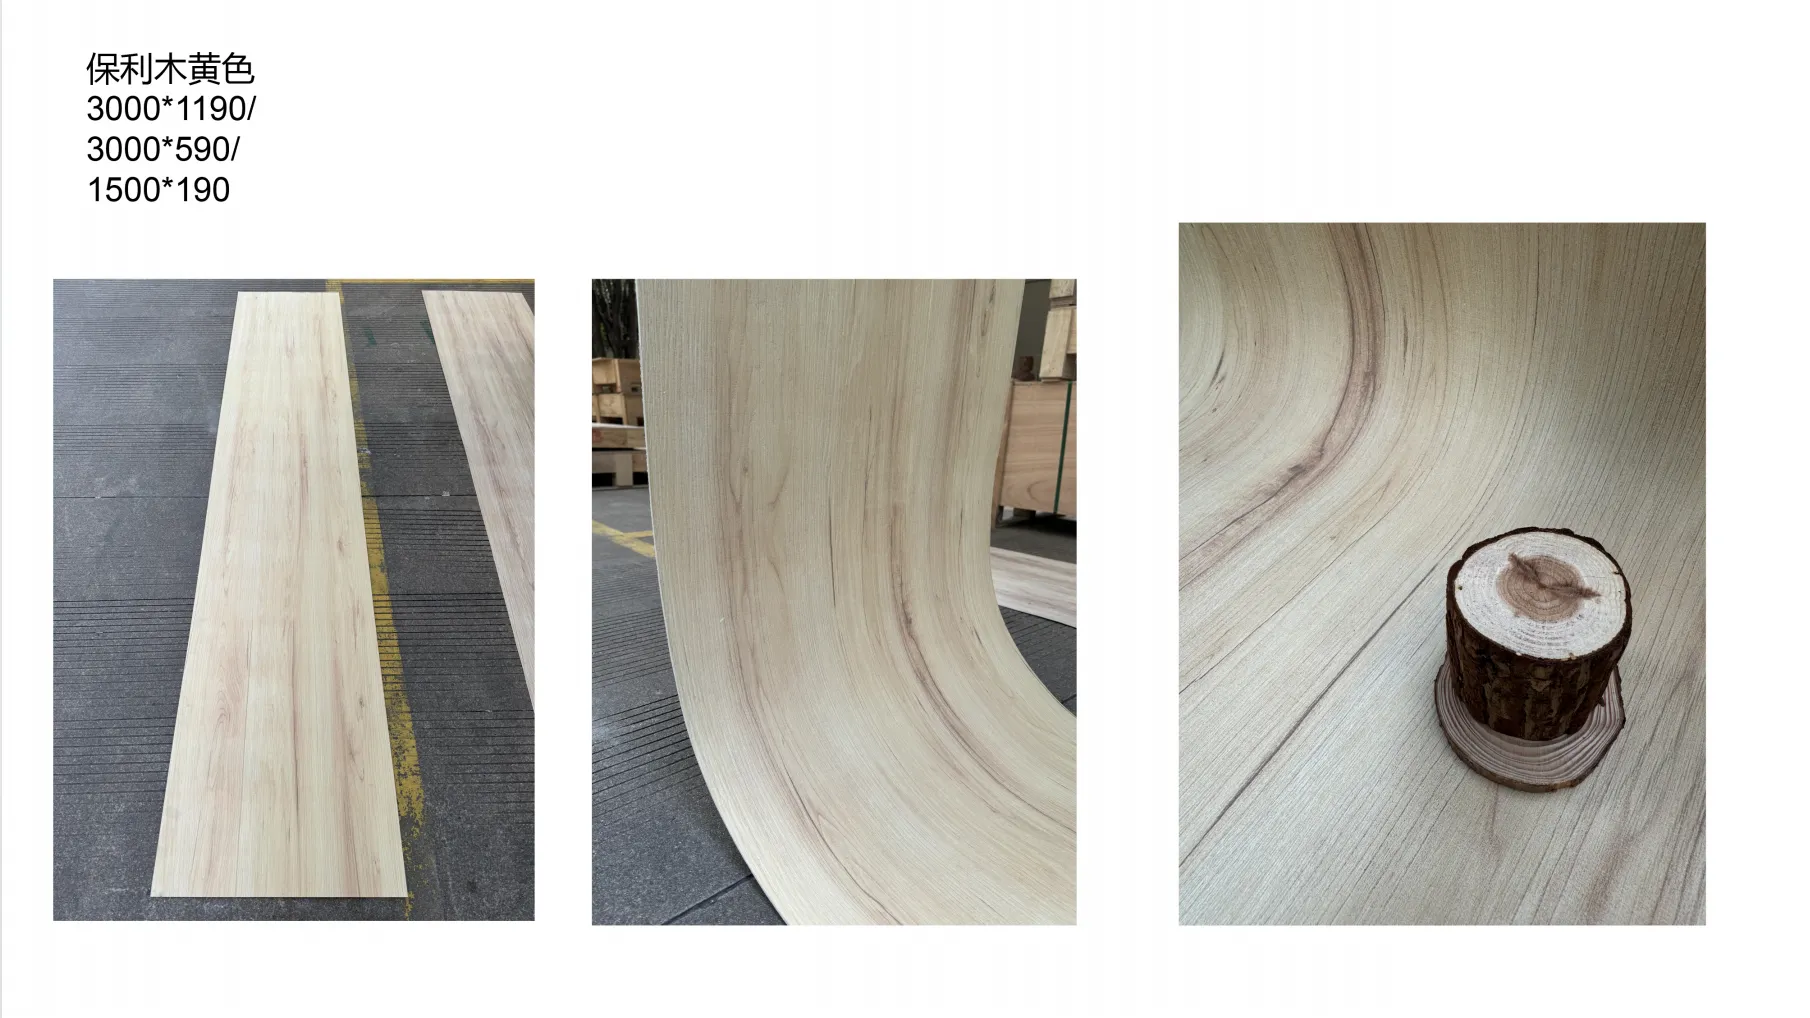
Poly wood boards mimic natural wood's grain patterns, which is part of their charm. But installing them with all grains running the same direction, or mixing random patterns without thought, can make the surface look flat or chaotic. We've seen projects where wood grain board was laid with every plank's grain pointing left, creating a repetitive, artificial vibe that clashed with the space's organic design.
Treat poly wood like real wood: alternate grain direction to mimic how trees grow. For horizontal installations, mix planks with grain running left-to-right and right-to-left—this adds depth and makes the surface feel more natural. If you're using a patterned wood grain board (like COLORIA's stream-inspired), lay out planks on the ground first to test the pattern flow. Think of it as arranging a puzzle: you want the eye to move smoothly, not get stuck on a jarring repeat.
Fasteners are the unsung heroes of installation—but using the wrong ones is a common blunder. We've seen rusted screws bleed onto light-colored poly wood, or short nails pull loose after a season of foot traffic. Even worse: using standard steel fasteners outdoors, which corrode quickly and leave boards wobbly.
Opt for stainless steel or coated (zinc or ceramic) fasteners—they resist rust and blend into the board's color. For poly wood board , pre-drill holes to prevent splitting, and use screws long enough to penetrate the subfloor by at least 1 inch. Pro tip: Match the fastener color to the board! Black screws pop against light wood grain, while silver blends better with gray or white tones.
It's tempting to start nailing boards as soon as they're unboxed, but skipping a dry layout is a mistake. Without testing how boards align—especially if you're mixing styles (like pairing poly wood with fair-faced concrete panels)—you might end up with awkward cuts, tiny leftover pieces, or mismatched color tones (yes, even poly wood can have slight shade variations between batches!).
Lay out all boards on the ground (or wall) before securing them. Arrange them to distribute color variations evenly, and mark where cuts will go to avoid narrow "sliver" pieces at edges (aim for at least 3 inches wide for a polished look). If you're combining poly wood with other materials—say, wood grain board alongside stone—use the dry layout to test transitions. A 1/2-inch gap between materials can make the design feel intentional, not disjointed.
| Mistake | Why It Hurts | COLORIA's Pro Tip |
|---|---|---|
| Unprepared surface | Warping, moisture damage, unevenness | Use fair-faced concrete or level, dry subfloors; clean with a pressure washer first. |
| No expansion gaps | Buckling in heat, gaps in cold | 1/4-inch gap per 10 feet; use spacers and leave perimeter gaps. |
| Mismatched grain direction | Flat, artificial look | Alternate grain direction; test patterns with a dry layout. |
| Wrong fasteners | Rust stains, loose boards | Stainless steel or coated screws; pre-drill holes to avoid splitting. |
| Skipping dry layout | Awkward cuts, color clashing | Lay out all boards first; avoid narrow edge pieces (under 3 inches). |
Poly wood boards are more than a material—they're a design statement. By avoiding these mistakes, you're not just ensuring durability; you're letting the beauty of poly wood board , wood grain board , and complementary materials like fair-faced concrete shine through. At COLORIA MCM, we believe great design is in the details—and with these tips, your installation will look like it was done by pros (even if you're a DIYer!).
Ready to start? Explore COLORIA MCM's collection of poly wood and wood grain boards, and don't hesitate to reach out—our team is here to help you plan, prep, and perfect your project from start to finish. Your space deserves nothing less than flawless.
Recommend Products


