
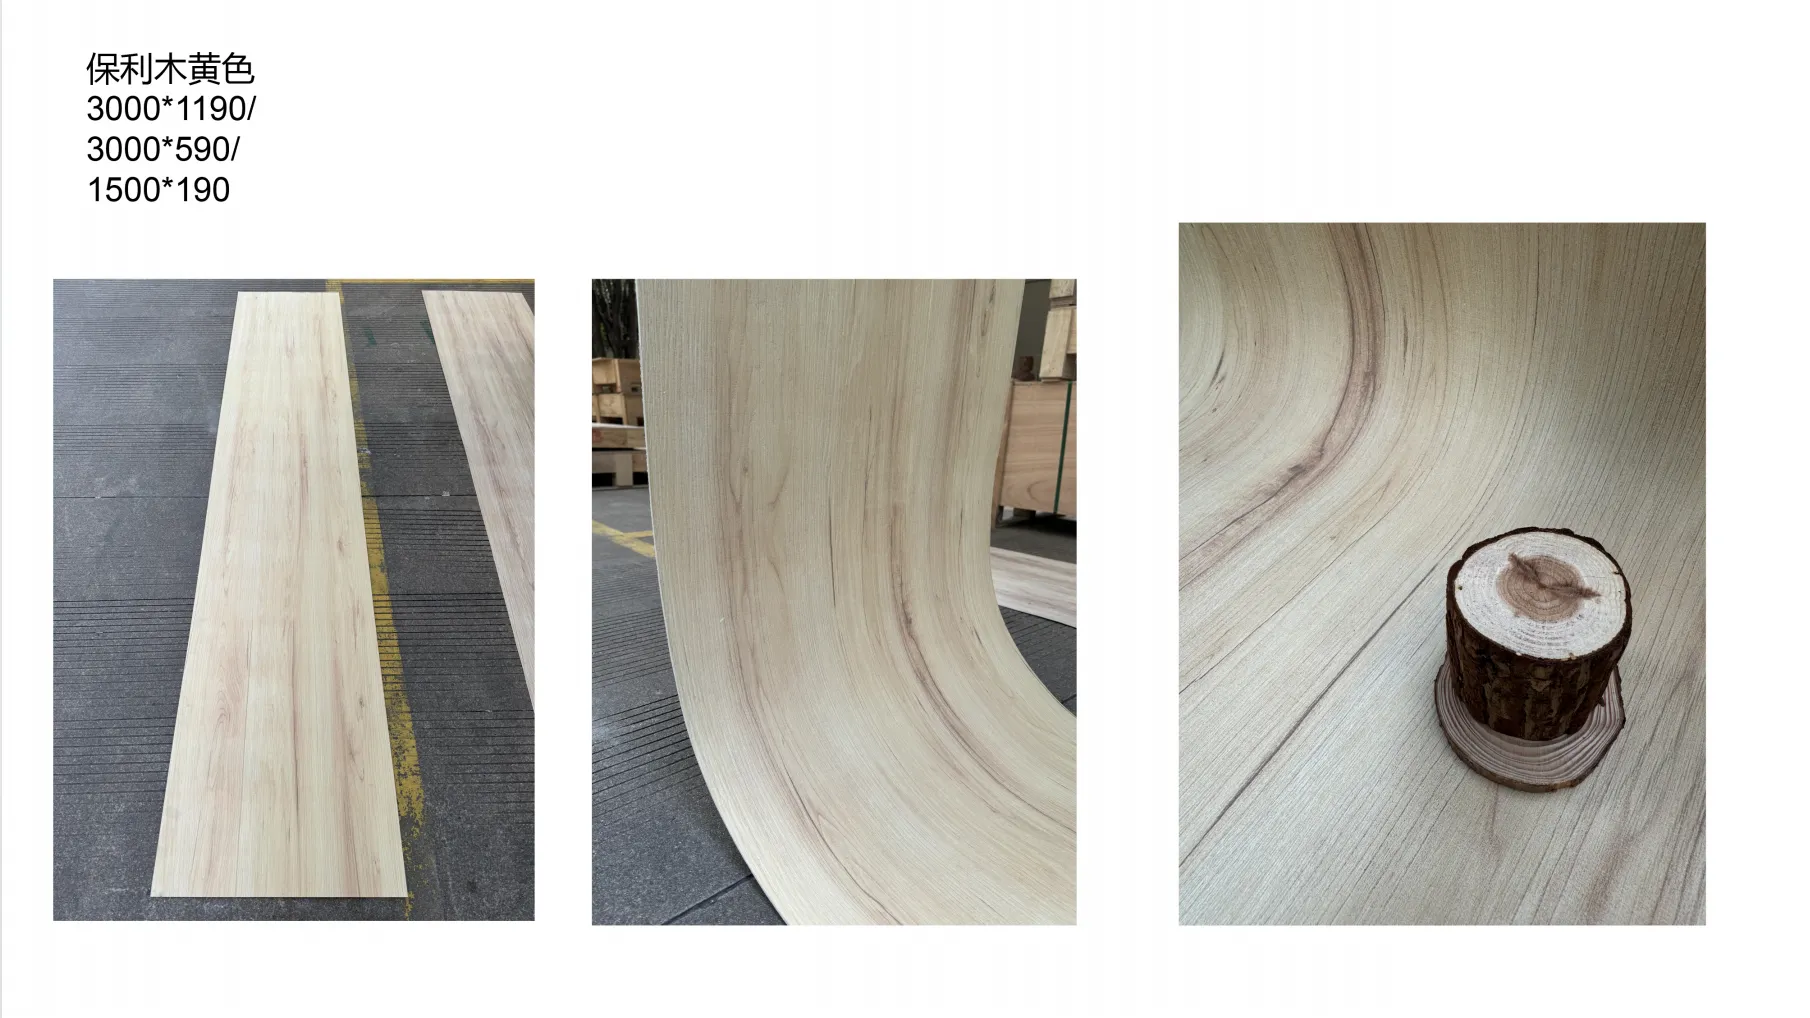
Imagine stepping into a sunlit room where the walls feel like they're wrapped in aged oak, but instead of worrying about scratches from your playful golden retriever or warping from the humid summer air, you smile—knowing this "wood" isn't wood at all. It's COLORIA's Poly Wood Board, a star product in their MCM flexible stone lineup, and it's about to change how you think about home renovation. Whether you're a DIY enthusiast itching to upgrade your backyard patio, a contractor hunting for a material that blends beauty with brawn, or a designer dreaming up a cozy café interior, this guide is your backstage pass to installing Poly Wood Board like a pro. We're breaking down every step, from the tools cluttering your garage to the final wipe of the cloth, with tips honed from years of working with COLORIA's innovative MCM (Modified Composite Material) products—where wood grain warmth meets the resilience of flexible stone.
Before we dive into the nuts and bolts, let's talk about why you're here. Poly Wood Board isn't just another building material—it's a solution to a common homeowner's dilemma: wanting the timeless look of wood without the endless upkeep. Traditional wood decks splinter, fences fade, and accent walls require annual staining; Poly Wood Board? It's part of COLORIA's MCM flexible stone series, which means it's engineered to bend without breaking, resist moisture like a champ, and hold onto that rich wood grain pattern for decades. Think of it as wood grain board's tougher, smarter cousin—one that can handle a rainstorm, a rowdy kids' birthday party, and even the occasional wine spill (we've all been there).
But don't just take our word for it. Meet Sarah, a Colorado homeowner who replaced her rotting wooden patio with Poly Wood Board last spring. "I was tired of sanding and sealing every year," she told us. "Now, after six months of snow, rain, and my husband's grill splatters, it still looks brand new. And the best part? It matches the wood grain board I used inside my sunroom—seamless from indoor to outdoor." That's the magic of COLORIA's design philosophy: products that work together. Pair Poly Wood Board with fair-faced concrete for an industrial-chic vibe, or accent it with Travertine (starry green) for a touch of nature's drama—this material plays well with others.
Let's get practical. Before you start, gather these tools. Pro tip: Lay them out on a drop cloth or old sheet—nothing derails a project faster than hunting for a missing tape measure mid-install. Here's your checklist:
| Tool | Purpose | Pro Tip |
|---|---|---|
| Tape Measure (25ft+) | Measuring surface area and board lengths | Opt for one with a locking mechanism—your wrists will thank you. |
| Carpenter's Pencil & Straightedge | Marking cut lines on boards | Use a mechanical pencil for sharper lines; dull marks lead to wonky cuts. |
| Circular Saw with Fine-Tooth Blade (18-24 TPI) | Cutting Poly Wood Board to size | A blade labeled "for laminate" works best—avoids chipping the wood grain finish. |
| Jigsaw (with variable speed) | Making curved cuts or notches | Slow the speed for tight curves to prevent cracking the board's surface. |
| Notched Trowel (1/4" x 1/4" teeth) | Applying adhesive evenly | COLORIA recommends this size for most surfaces—too big, and you'll waste adhesive; too small, and adhesion suffers. |
| Rubber Mallet | Tapping boards into place without damaging them | Wrap the head in a microfiber cloth to avoid leaving marks on the finish. |
| Level (2ft and 4ft options) | Ensuring boards are straight horizontally and vertically | A 4ft level is non-negotiable for walls; 2ft works for smaller sections like shelves. |
| Adhesive (COLORIA-approved MCM Bond) | Securing boards to the surface | Don't skimp on cheap adhesive! MCM Bond is formulated for Poly Wood Board's density. |
| Grout Float (optional) | Pressing boards into adhesive for even contact | Use the flat side—gentle pressure is key; you don't want to squeeze out all the adhesive. |
| Utility Knife | Trimming edges or cutting through backing paper | Keep extra blades handy—dull blades tear the material, not cut it. |
| Surface Primer (if needed) | Prepping porous surfaces like drywall or concrete | Check COLORIA's guidelines—some surfaces (like painted wood) don't require primer. |
| Sponge & Bucket of Warm Water | Cleaning up adhesive smudges | Do this immediately—dried adhesive is a pain to remove. |
Here's the hard truth: Even the best Poly Wood Board won't stick to a surface that's dirty, uneven, or full of surprises. Think of surface prep as the first date—it sets the tone for the whole relationship. Take your time here, and you'll avoid headaches like boards peeling up or gaps forming later.
Start by removing everything from the surface: furniture, nails, old paint flakes, that random spider web colony in the corner (we see you). Then, give it a deep clean. For indoor walls: Mix a solution of warm water and mild dish soap, and scrub with a sponge or soft-bristle brush. For outdoor surfaces like concrete patios: Use a pressure washer on a low setting (too high, and you might etch the concrete). Rinse thoroughly and let dry completely—at least 24 hours. Why? Moisture trapped under the boards leads to mold, and mold leads to peeling. Sarah, our Colorado homeowner, learned this the hard way: "I installed boards the day after it rained, thinking the concrete was dry. Three months later, I noticed a musty smell—turns out, water had seeped in. I had to peel up three boards and redo the prep. Lesson learned: Patience pays."
Next, inspect the surface for imperfections. Use a level to check for dips or bumps—even 1/8-inch unevenness can show through the boards. For small cracks (up to 1/4-inch): Fill with a high-quality concrete patching compound (COLORIA recommends their Epoch Stone Patch for outdoor use). For larger holes or dents: Use a joint compound for drywall or mortar mix for masonry. Let the filler dry completely, then sand smooth with 120-grit sandpaper. Wipe away dust with a damp cloth—any residue will interfere with adhesive bonding.
When does a surface need primer? If it's porous (like bare drywall, concrete, or brick) or painted with a glossy finish. Primer helps the adhesive grip better. COLORIA's Fair-Faced Concrete Primer works wonders here—it dries clear in 2-4 hours and creates a slightly rough texture that adhesive loves. Apply with a paint roller (use a 3/8-inch nap for smooth surfaces, 1/2-inch for porous ones) and let dry according to the label—usually 24 hours. Pro move: Test adhesion by sticking a small piece of masking tape to the primed surface. If it pulls off easily, you need another coat.
You've heard the saying, but let's make it personal: A single miscalculation can waste a $40 board and an hour of your time. Measure carefully, and always add a 1/4-inch buffer for expansion—Poly Wood Board expands and contracts slightly with temperature changes, and that tiny gap prevents buckling.
Grab your tape measure and sketch the surface on graph paper (or use a free app like SketchUp). Note obstacles: windows, outlets, light switches, that weird little niche where your cat naps. Decide on your board orientation: horizontal for a modern, wide-open feel; vertical for height; or diagonal for visual interest (pro tip: diagonal takes more cuts, so save it for smaller spaces). For walls, start from the bottom and work up—gravity is your friend here. For floors or ceilings, start from the center and work outward to ensure symmetry.
Now, calculate how many boards you need. Measure the total length and height of the surface, then divide by the board dimensions (most Poly Wood Boards are 4ft x 8ft, but check your specific product—COLORIA offers custom cuts too). Add 10% extra for cuts, mistakes, and future repairs. Trust us, it's better to have a leftover board than to run to the store mid-project.
Lay the board flat on a workbench or sawhorses (never on the ground—you'll damage the finish). Measure and mark your cut line with a carpenter's pencil and straightedge. For straight cuts: Use a circular saw with a fine-tooth blade. Set the saw depth to 1/8-inch deeper than the board thickness. Hold the straightedge firmly along the line, and guide the saw slowly—let the blade do the work. For curved cuts or notches (around outlets, for example): Use a jigsaw with a laminate blade. Drill a starter hole in the waste area, then insert the jigsaw blade and cut along the line. Sand the edges with 120-grit sandpaper to remove splinters—this ensures tight seams later.
Now, the moment you've been waiting for: applying the adhesive. COLORIA's MCM Bond is specifically formulated for their Poly Wood Board, but if you're using another brand, check that it's a solvent-based construction adhesive (water-based adhesives don't hold up as well outdoors). Here's how to do it like a pro:
Contrary to popular belief, you should apply adhesive to the surface, not the back of the board. Why? It's easier to spread evenly, and you'll avoid air bubbles. Load your notched trowel with adhesive and spread in a thin, even layer, holding the trowel at a 45-degree angle. The notches will create ridges—these ridges collapse when you press the board down, ensuring full contact. Cover only as much surface area as you can work with in 15-20 minutes (adhesive starts to set after that). For large walls: Work in sections (3ft x 3ft) to avoid rushing.
Lift the board (get a friend to help with 4ft x 8ft sheets—they're lighter than real wood but still bulky) and align it with your layout marks. Start at one corner and gently lower the board onto the adhesive. Once aligned, press firmly with your hands, starting from the center and working outward—this pushes out air bubbles. Then, use a rubber mallet wrapped in a cloth to tap the entire surface—pay extra attention to edges and corners, which are prone to lifting. "I like to walk on the boards for floor installs," Miguel says. "Your body weight ensures maximum adhesion—just take off your shoes to avoid scuffing!"
Immediately after placing the board, use your level to check for plumb (vertical) and level (horizontal). If it's off, gently lift the edge and reposition—you have about 5 minutes before the adhesive sets. Wipe away any adhesive that oozes out from the seams with a damp sponge—don't let it dry! Once it's dry, you'll need a razor blade to scrape it off, and that can damage the finish.
You're in the home stretch! Now, let's make those seams disappear and add the little details that make the install look professional.
For indoor projects or dry climates: Seams are often invisible once the boards are installed, thanks to the tight fit. For outdoor projects or high-moisture areas (like bathrooms or kitchens): Apply a thin bead of clear silicone caulk along the seams. Use a caulk gun, then smooth the caulk with a wet finger or caulk tool. Wipe away excess with a damp cloth. This prevents water from seeping between boards and causing damage. COLORIA's Wood Grain Caulk is tinted to match their Poly Wood Board, so it blends seamlessly.
If your install ends at a corner or meets another surface (like a ceiling or floor), add trim to cover the raw edges. COLORIA offers matching wood grain trim in various widths, or you can use their Travertine (starry green) pencil trim for a decorative touch. Cut the trim to size, apply adhesive to the back, and press into place. Secure with finishing nails (indoor) or exterior screws (outdoor) if needed—just be sure to countersink the heads and fill with wood putty.
Give the entire surface a final wipe with a damp cloth to remove dust and adhesive smudges. Then, let the adhesive cure fully—24 hours for indoor, 48 hours for outdoor (or longer if it's humid). Avoid walking on floors or leaning against walls during this time. Once cured, step back and admire your handiwork: a surface that looks like natural wood but is tough enough to handle life's little (and big) moments.
The best part about Poly Wood Board? It's low-maintenance. No staining, no sealing, no sanding. For routine cleaning: Wipe with a damp cloth and mild soap. For tough stains (like red wine or grease): Use a non-abrasive cleaner (avoid bleach or harsh chemicals—they can fade the color). For outdoor surfaces: Hose off occasionally to remove dirt and debris. If you notice a scratch (yes, even tough materials scratch sometimes), dab a bit of wood grain touch-up paint (COLORIA sells kits) and buff gently with a soft cloth. With proper care, your Poly Wood Board will look great for 20+ years—longer than most traditional wood products.
Installing Poly Wood Board isn't just about putting up a wall or covering a floor—it's about creating a space that feels like you. Whether you're sipping coffee on your new patio, hosting a dinner party in your revamped dining room, or watching your kids play on a deck that won't splinter, this material is more than a building product—it's a partner in making memories. And with COLORIA's MCM flexible stone technology, you're not just getting durability; you're getting design freedom. Mix and match with wood grain board, fair-faced concrete, or even travertine (starry green) accents—your imagination is the only limit.
So, grab your tools, prep that surface, and let's get started. The Poly Wood Board of your dreams is just a few steps away—and we'll be right here cheering you on.
Recommend Products


