
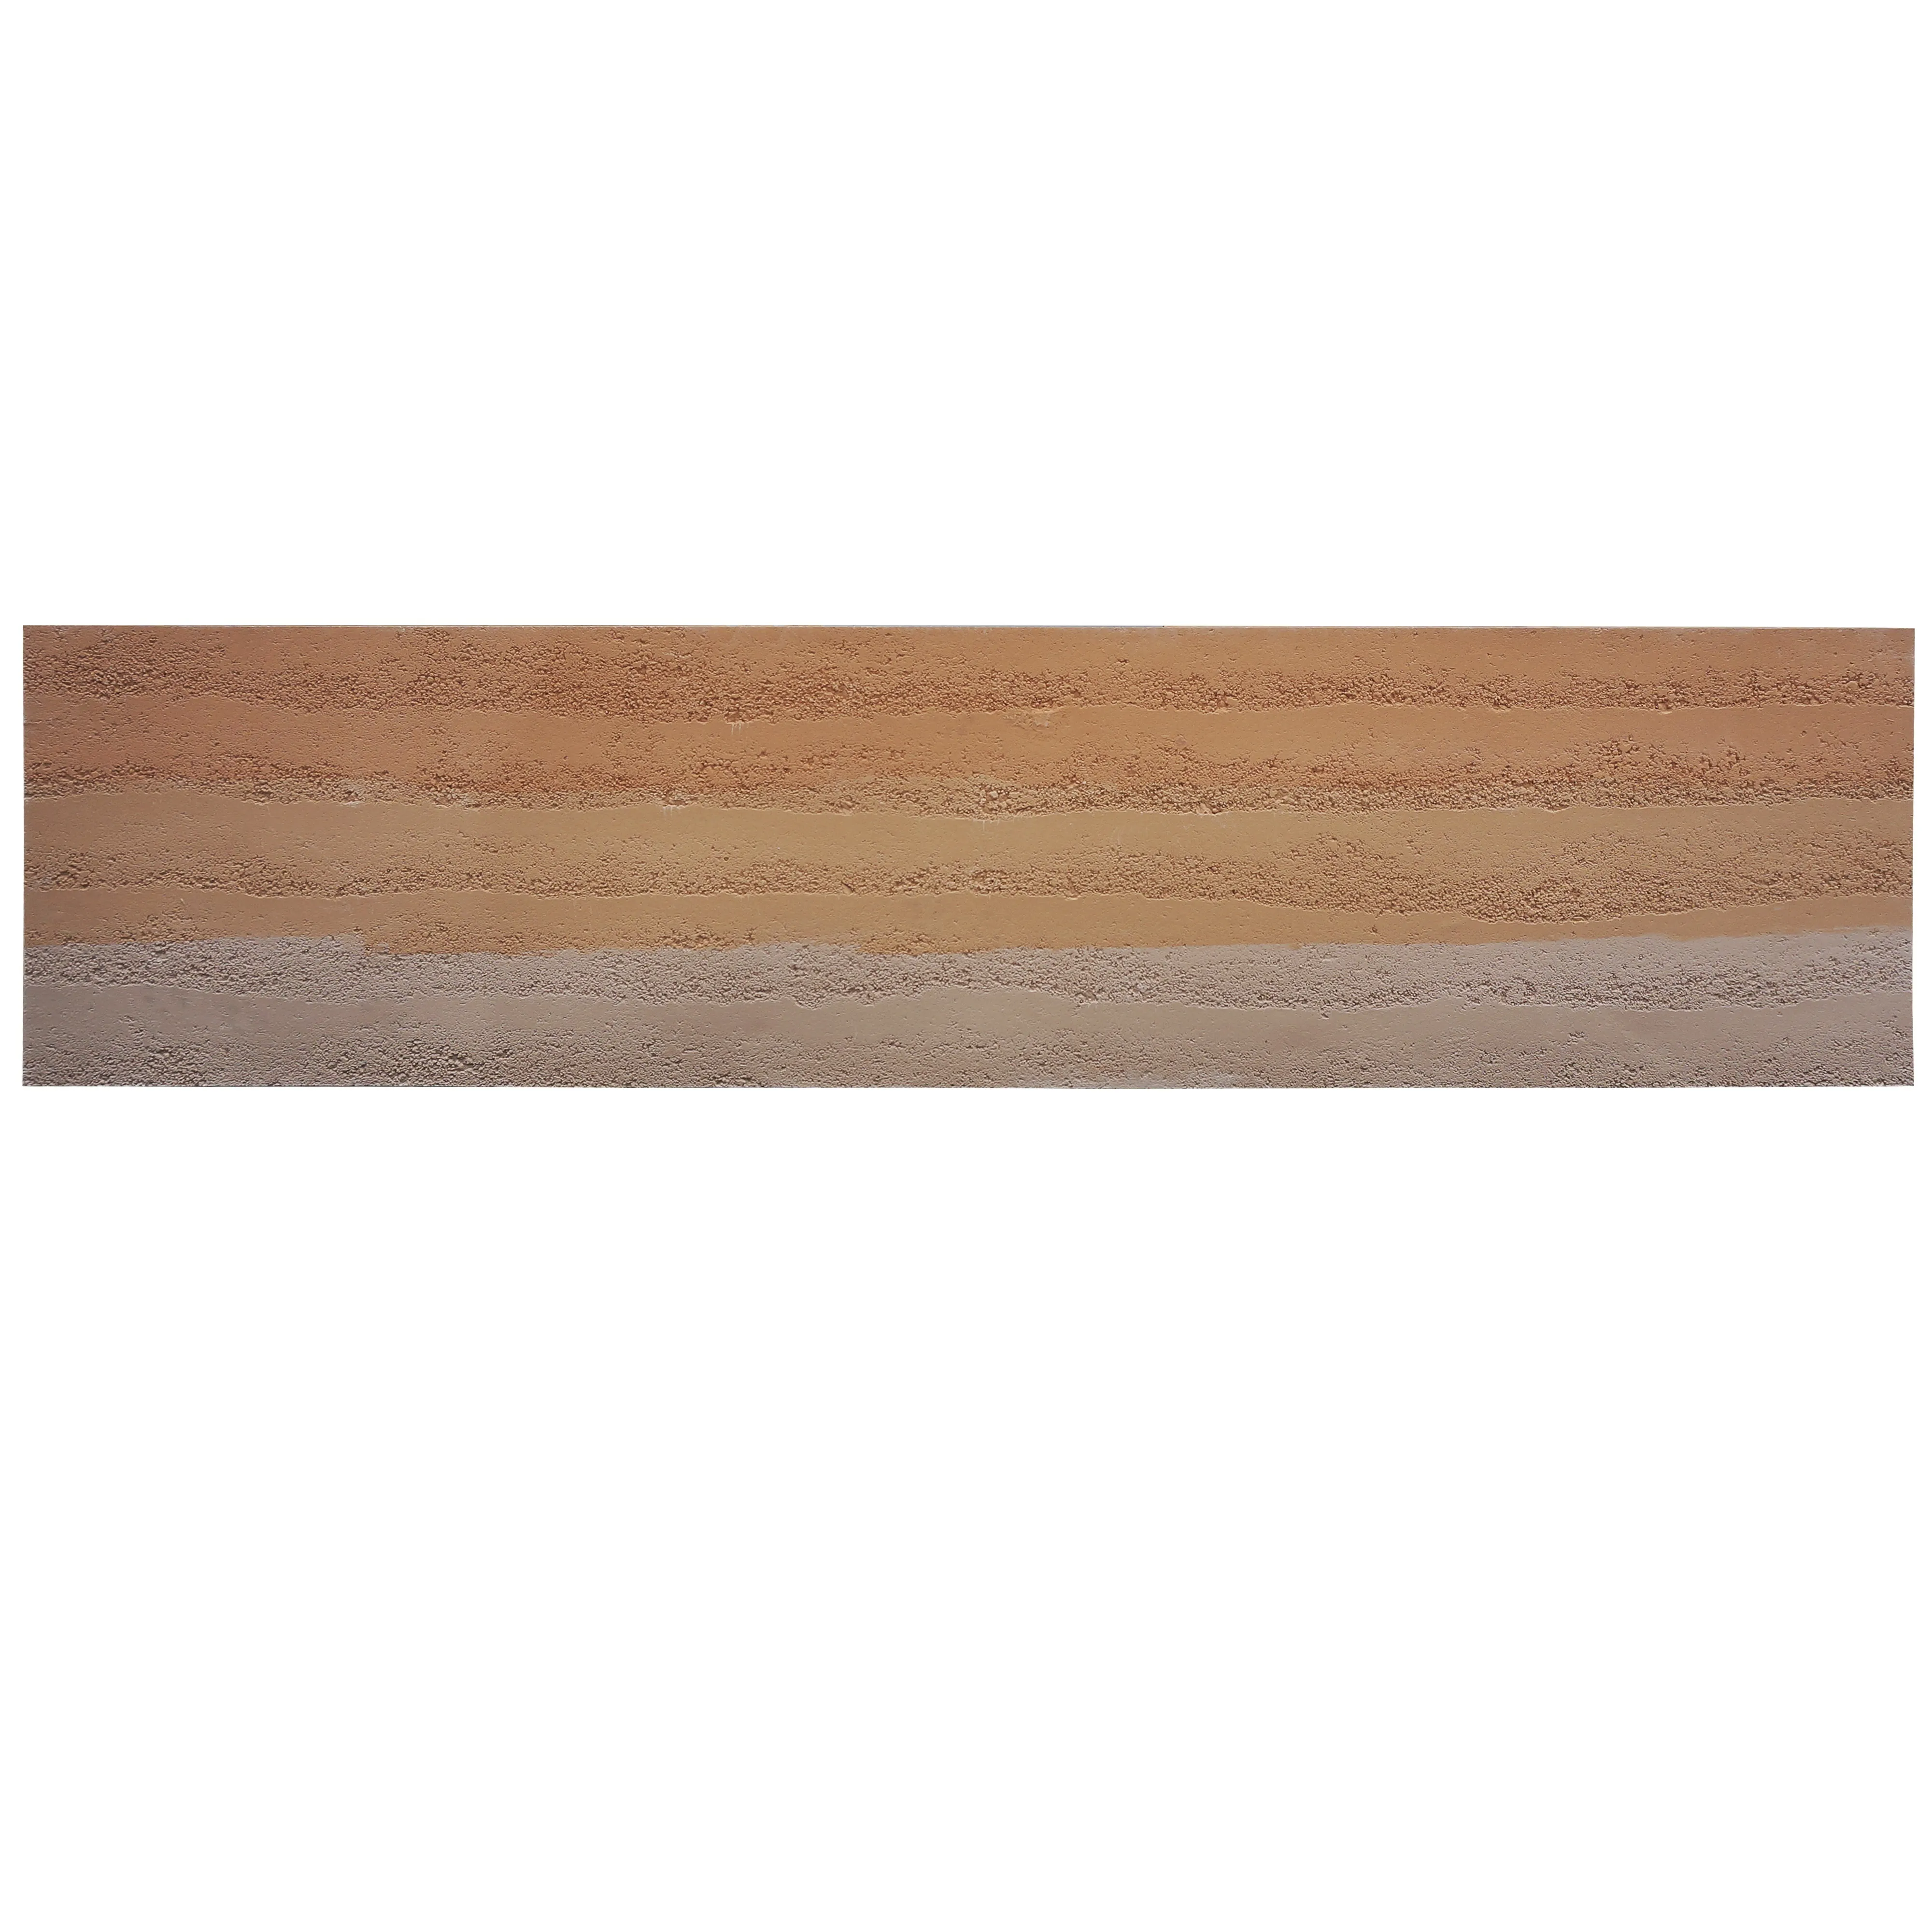
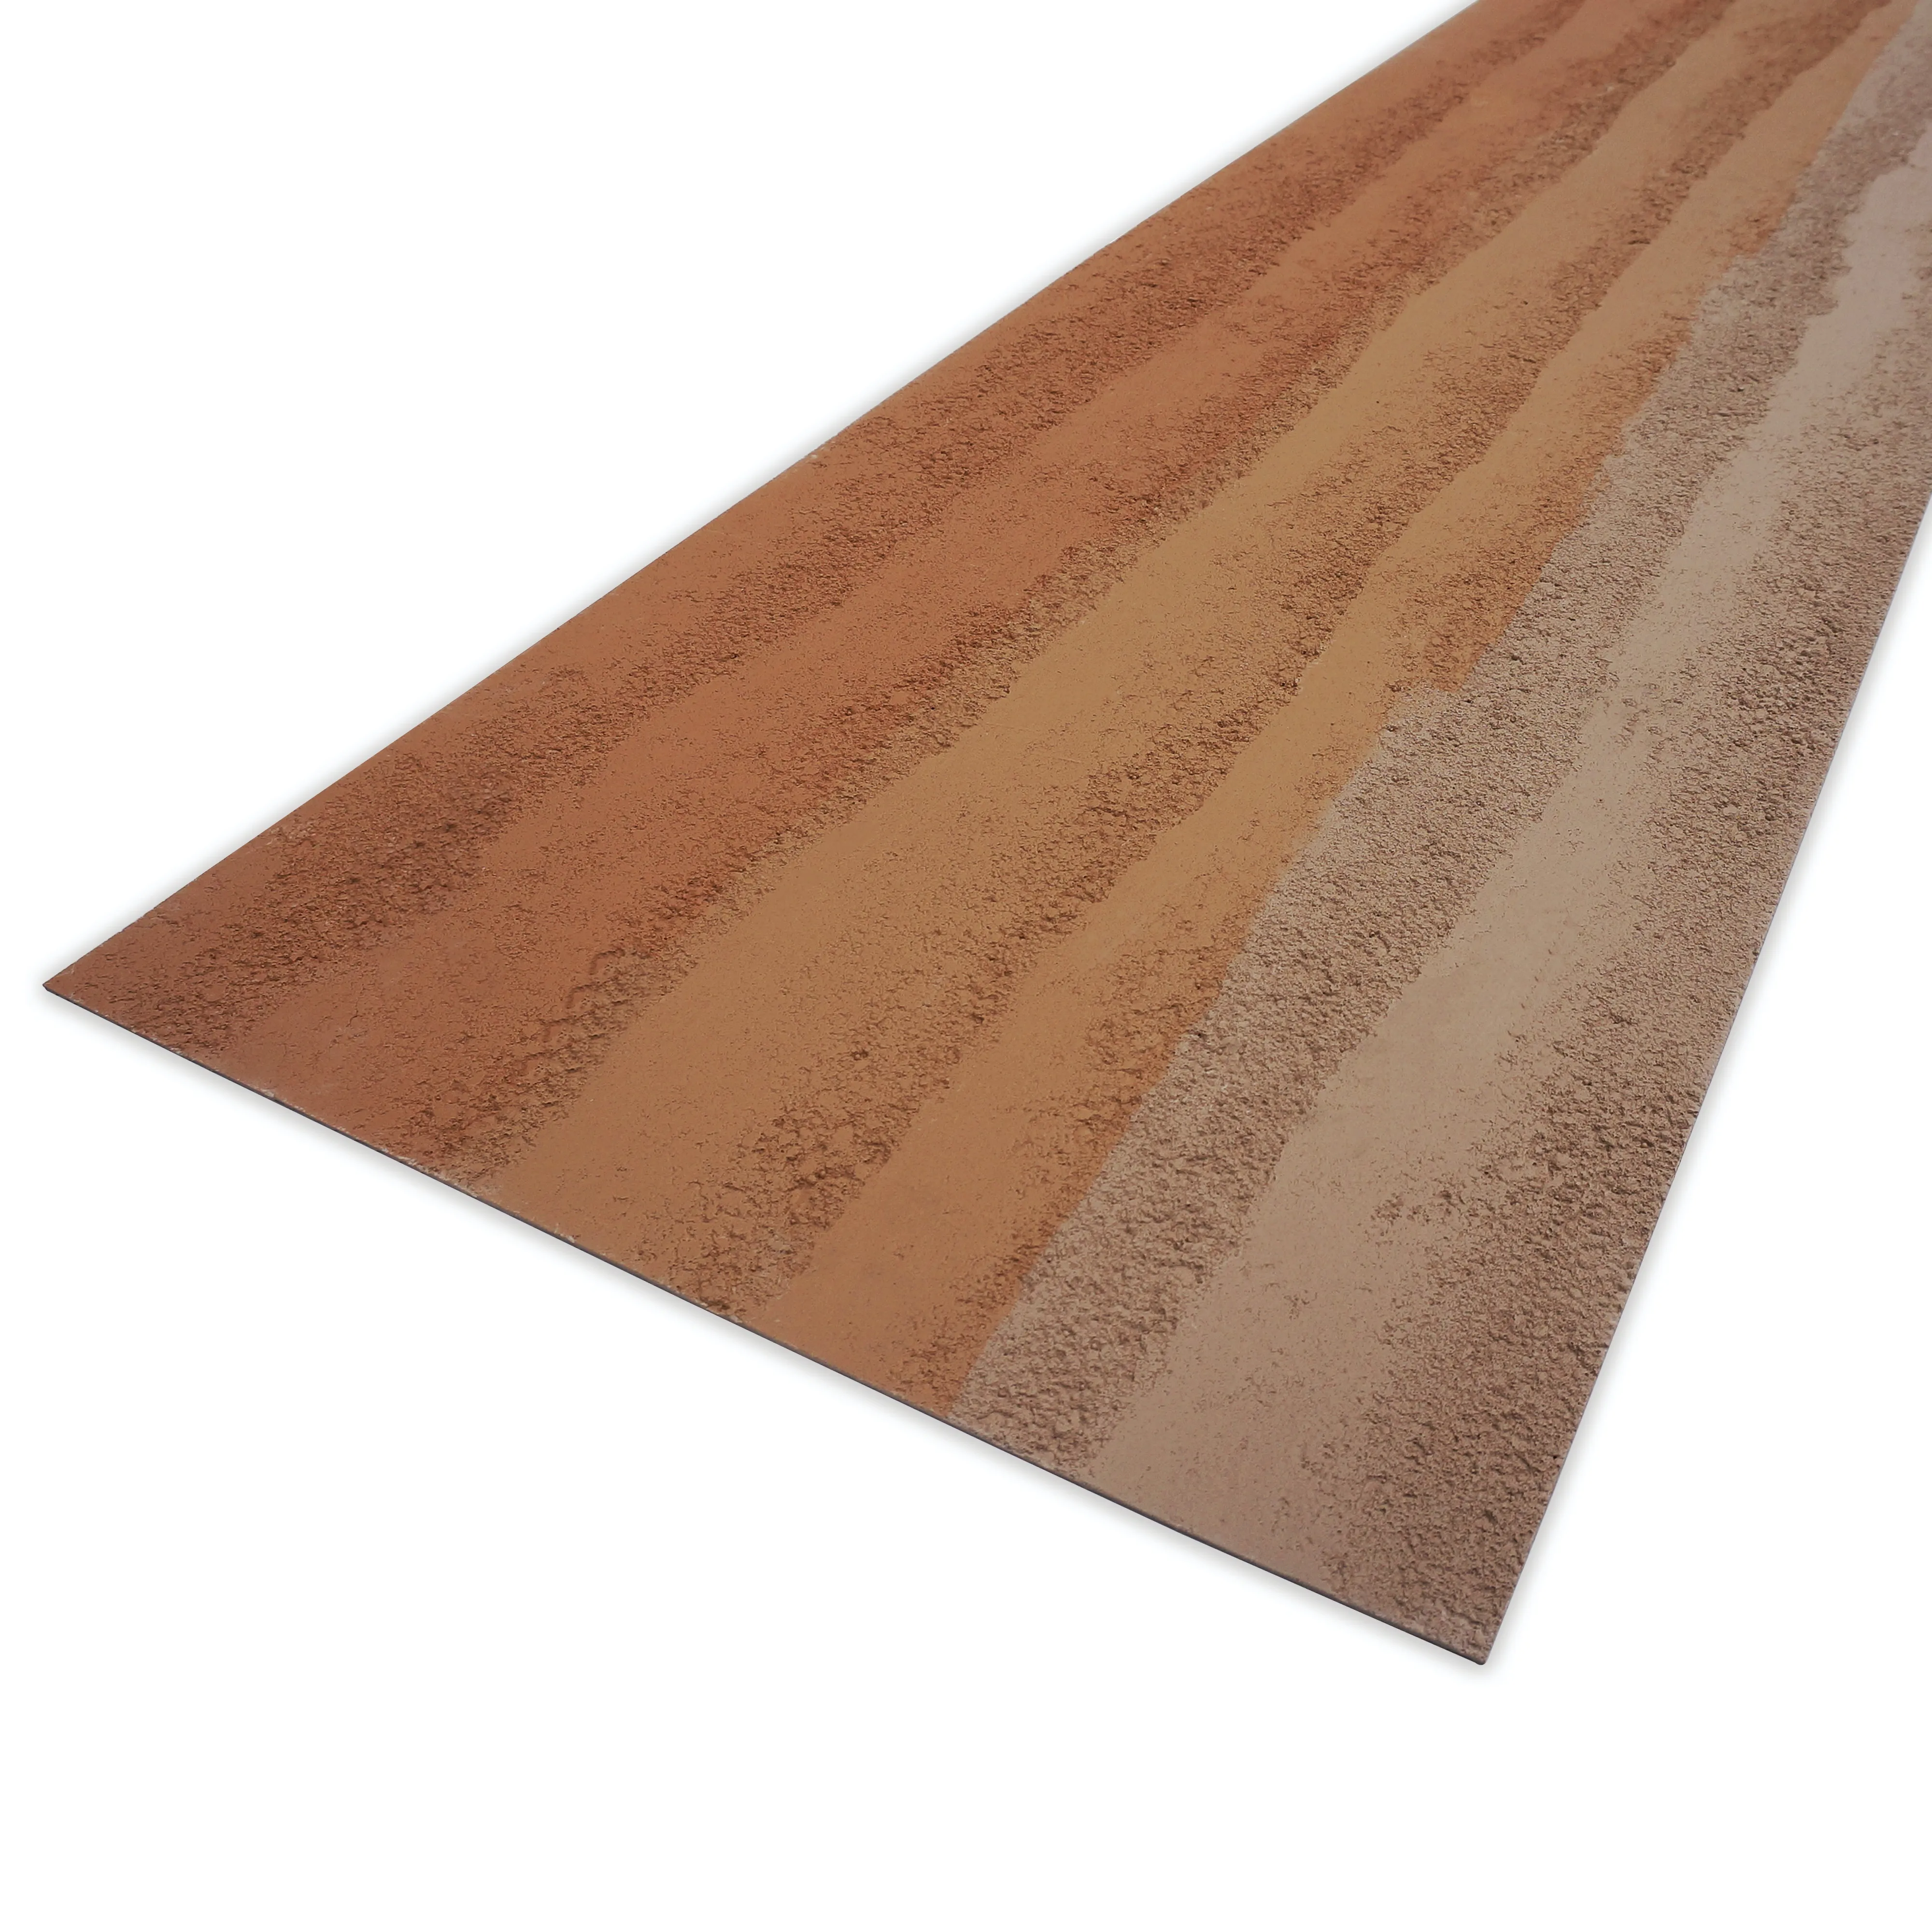
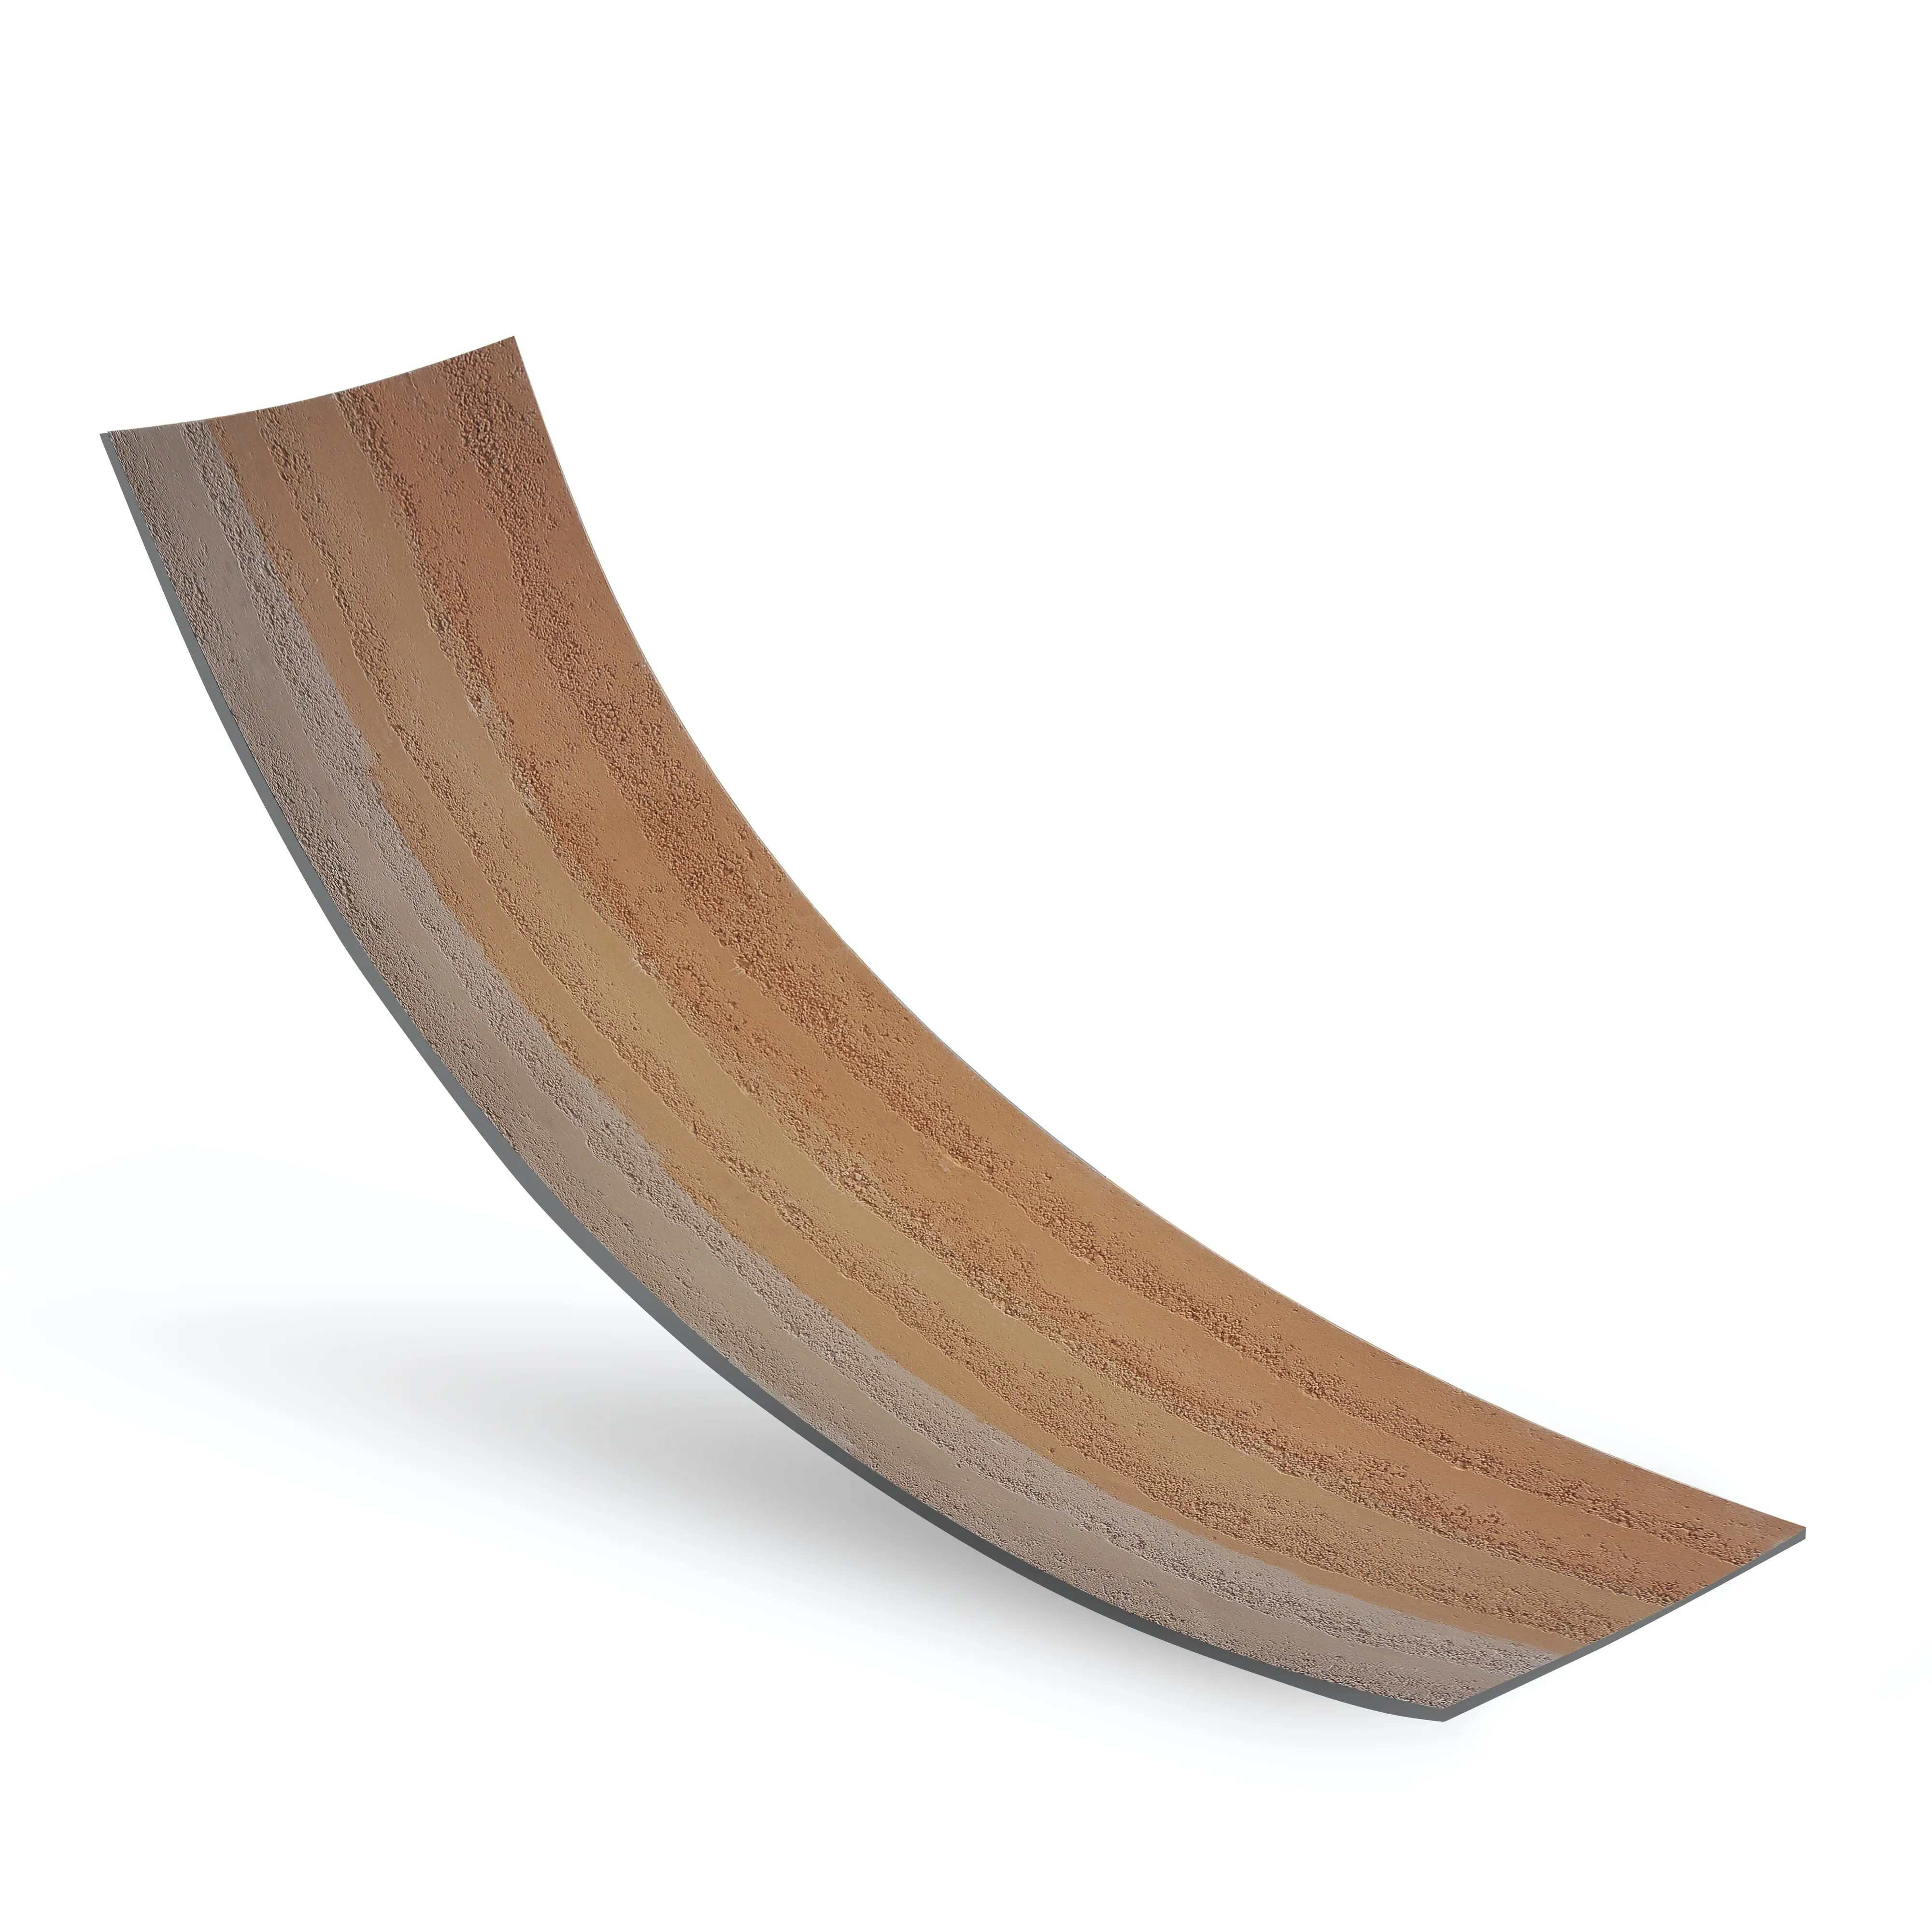
First off, let's talk about why these boards aren't your average cladding. Traditional rammed earth has been around for centuries—think ancient forts and farmhouses—but modern manufacturing has kicked it up a notch. Gradient rammed earth boards blend that timeless, earthy texture with dynamic color shifts, making them perfect for everything from high-end residential accent walls to commercial lobbies that want to stand out.
But here's the catch: their beauty is also their vulnerability. A misaligned board or a patchy adhesive job can throw off the entire gradient flow, turning a masterpiece into a mishap. Plus, unlike, say, fair-faced concrete (which is tough but uniform), gradient rammed earth relies on precision to keep its color transitions smooth. Nail the installation, though, and you've got a wall that clients will gush about for years. Trust me—I've seen it turn "meh" spaces into "wow" spaces.
You wouldn't build a house on a shaky foundation, right? Same goes for gradient rammed earth boards. Pre-installation prep is where most pros separate themselves from the rookies. Let's break it down step by step.
First, walk the site. What's the substrate? Is it drywall, plywood, or something sturdier like fair-faced concrete? Each needs a slightly different approach. Fair-faced concrete, for example, is a great base—it's flat, durable, and porous enough to bond with adhesive—but it needs to be clean and free of cracks. If you're working with drywall, make sure it's properly sealed and reinforced (these boards are lightweight, but still need support).
Also, check for moisture. Rammed earth is breathable, but excess humidity can mess with adhesive curing. Use a moisture meter—aim for less than 6% moisture content in wood substrates and under 3% in concrete. If it's too damp, let the area dry out or use a moisture barrier. Trust me, skipping this step is how you end up with boards peeling off six months later.
Unpack the gradient rammed earth boards carefully—those color gradients are delicate! Lay them out flat on the floor (use a clean tarp to avoid scratches) and check for a few things:
Pro tip: Take photos of any defective boards and send them to the supplier ASAP. Most reputable companies will replace them, but you need proof. Don't be shy—your client's budget (and your reputation) depend on it.
Now, prep the substrate. Start by cleaning it thoroughly—sweep away dust, scrub off grease or grime with a mild detergent, and let it dry completely. For fair-faced concrete, use a wire brush to rough up the surface a bit; this helps the adhesive grip better. If there are small cracks, fill them with a concrete patching compound and sand smooth once dry.
Next, check for level. Use a 4-foot level to scan the wall—any dips or bumps over 1/8 inch need fixing. For minor unevenness, a self-leveling compound works wonders. For bigger issues, you might need to shim or rework the substrate. Remember: the flatter the substrate, the smoother the installation.
Finally, prime if needed. Some substrates (like glossy painted walls) need a primer to improve adhesion. Check the adhesive manufacturer's specs—they'll usually recommend a specific primer. Skip this, and your adhesive might as well be bubble gum.
You can't paint a masterpiece with a broken brush, and you can't install gradient rammed earth boards with the wrong tools. Here's a checklist to make sure you're set up for success. I've even thrown in a pro tip for each—because why not learn from my mistakes?
| Tool/Material | Purpose | Pro Tip |
|---|---|---|
| Notched trowel (1/4 inch) | Applying adhesive evenly | Use a square-notched trowel for better adhesive coverage on porous substrates like fair-faced concrete. |
| 4-foot level | Ensuring boards are plumb and level | Mark a level reference line along the bottom of the wall first—it'll be your guide for the entire installation. |
| Rubber mallet | Tapping boards into place without damaging them | Wrap the mallet head in a soft cloth to avoid scuffing the gradient finish. |
| Tile cutter or wet saw | Cutting boards to size (for edges or outlets) | Use a diamond blade—rammed earth is abrasive, and regular blades will dull fast. |
| Adhesive (polymer-modified mortar) | Bonding boards to the substrate | Stick to adhesives rated for natural stone or rammed earth—cheaper options might not hold up to temperature swings. |
| Grout (matching or contrasting) | Filling gaps between boards | For gradient boards, go with a neutral grout (ivory or light gray) to let the color transitions shine. Save bold grout for solid-color projects. |
| Spacers (1/8 inch) | Maintaining even gaps between boards | Use reusable plastic spacers—they're easier to remove than wooden ones, and you won't risk staining the boards. |
| Clean rags and bucket of water | Wiping off excess adhesive/grout | Keep the water clean! Dirty water will leave streaks on the gradient finish. |
Alright, prep's done, tools are ready—let's install these boards. I'm breaking this down into 5 key steps, with extra notes on nailing the gradient flow.
Before you even crack open the adhesive, do a dry layout. Lay the gradient rammed earth boards on the floor in the pattern you'll use on the wall. This is crucial for gradient boards because you need to map out the color flow. Start with the lightest end of the gradient on one side and let it transition to the darkest on the other, or vice versa—whatever the design calls for.
Pro tip: Take a photo of the dry layout with your phone. That way, if you have to move the boards, you can reference the order. I once had a helper mix up the sequence, and we spent an hour rearranging—lesson learned!
Now, time for adhesive. Mix it according to the manufacturer's instructions—too runny and it'll sag; too thick and it won't spread evenly. Use your notched trowel to apply a thin, uniform layer to the substrate (not the back of the board—this is called "troweling on the wall"). Hold the trowel at a 45-degree angle and comb in one direction—this creates ridges that collapse when you press the board, ensuring full contact.
Work in small sections—about 3-4 square feet at a time. Adhesive dries fast, especially in warm weather, so don't overdo it. If you're using MCM flexible stone elsewhere on the project, note that its adhesive needs are similar, but gradient rammed earth is a bit heavier, so you'll want a slightly thicker adhesive layer.
The first board is the most important—get it right, and the rest follow. Line it up with your reference level line and press firmly, wiggling it slightly to spread the adhesive. Use your rubber mallet to tap gently, ensuring it's seated evenly. Then, check with your level—both horizontally and vertically. If it's off by even 1/16 inch, adjust it now before the adhesive sets.
Once the first board is set, add spacers to its edges. These will keep the gaps consistent as you add more boards. Trust me, uneven gaps are one of the top "oops" moments I see—and they're a pain to fix later.
Now, work your way across the first row, then up to the next. Each time, check the level and plumb—don't assume the first row is perfect forever. If you hit an outlet or a corner, measure twice, mark the board, and cut with your wet saw. For curved walls (yes, gradient rammed earth works there too!), use a jigsaw with a diamond blade for smoother cuts.
Here's a gradient-specific tip: Every 3-4 boards, step back and squint at the wall. Does the color flow look natural? If there's a sudden jump in shade, swap out the board with one from your dry layout that fits better. Remember, the goal is a seamless transition—think of it like painting a gradient with a brush; you wouldn't skip a shade, so don't skip a board.
Once all boards are set (give the adhesive at least 24 hours to cure), it's time to grout. Mix the grout to a toothpaste-like consistency and apply it with a rubber float, pressing it into the gaps at a 45-degree angle. Work in small sections—10-15 square feet—then wipe off excess grout with a damp sponge, rinsing frequently.
Don't rush the cleaning! Grout haze can stain gradient boards if left too long. After the initial wipe, let the grout set for 15-20 minutes, then do a final clean with a dry cloth to buff away any remaining haze.
Finally, let the grout cure fully—usually 72 hours. Keep the area well-ventilated, and avoid touching the wall during this time. Patience here pays off with a smooth, professional finish.
Even the best-laid plans hit snags. Here's how to handle the most common issues with gradient rammed earth boards.
Oof, this is a tough one. If it's been less than 24 hours, you might be able to gently pry the board up with a putty knife, scrape off the old adhesive, and reapply. If it's fully cured, though, you'll need to cut it out carefully with a utility knife and replace it. Lesson: Check alignment immediately after setting each board.
This usually happens from mixing batches or poor lighting during dry layout. If it's minor, try rearranging adjacent boards to blend the transition. If it's major, contact the supplier—they might send replacement boards from the same batch. Pro move: Always order 10% extra boards to account for cuts and potential replacements.
Chances are, the substrate was dirty or too smooth. Sand it lightly with 80-grit sandpaper to rough it up, clean with a degreaser, and reapply adhesive. For fair-faced concrete, make sure it wasn't sealed with a glossy sealer—those can block adhesion.
Your job isn't done once the grout cures—you need to set your client up for success with maintenance tips. Gradient rammed earth boards are low-maintenance, but a little care goes a long way.
Compare this to fair-faced concrete, which also benefits from sealing but is more resistant to staining. Gradient rammed earth is a bit more delicate, but with these steps, it'll stay vibrant for decades.
Installing gradient rammed earth boards isn't just about nailing the technical steps—it's about respecting the material. These boards aren't just cladding; they're a bridge between ancient building wisdom (hello, historical pathfinders stone!) and modern design. When you take the time to prep properly, plan the gradient, and fix issues as they arise, you're not just building a wall—you're creating something that tells a story.
So go out there, take your time, and let that gradient flow. And if you ever hit a snag, remember: even the pros learn as they go. Now, go make that wall unforgettable.
Happy installing!
Recommend Products


