
There's something about the warm, sun-kissed hue of Rona Yellow that turns a plain wall into a storyteller. Whether you're revamping a commercial lobby, sprucing up a home interior, or adding character to an outdoor patio, this MCM (Modified Composite Material) panel brings a unique blend of durability and aesthetic charm. But like any great design choice, the magic lies in the details—specifically, how you install it. A rushed job can leave gaps, uneven edges, or worse, panels that start to peel over time. That's why we've put together this guide: to walk you through every step, from prepping your wall to putting the final seal on your project. By the end, you'll not only have a wall that looks stunning but one that stands up to the test of time. Let's dive in.
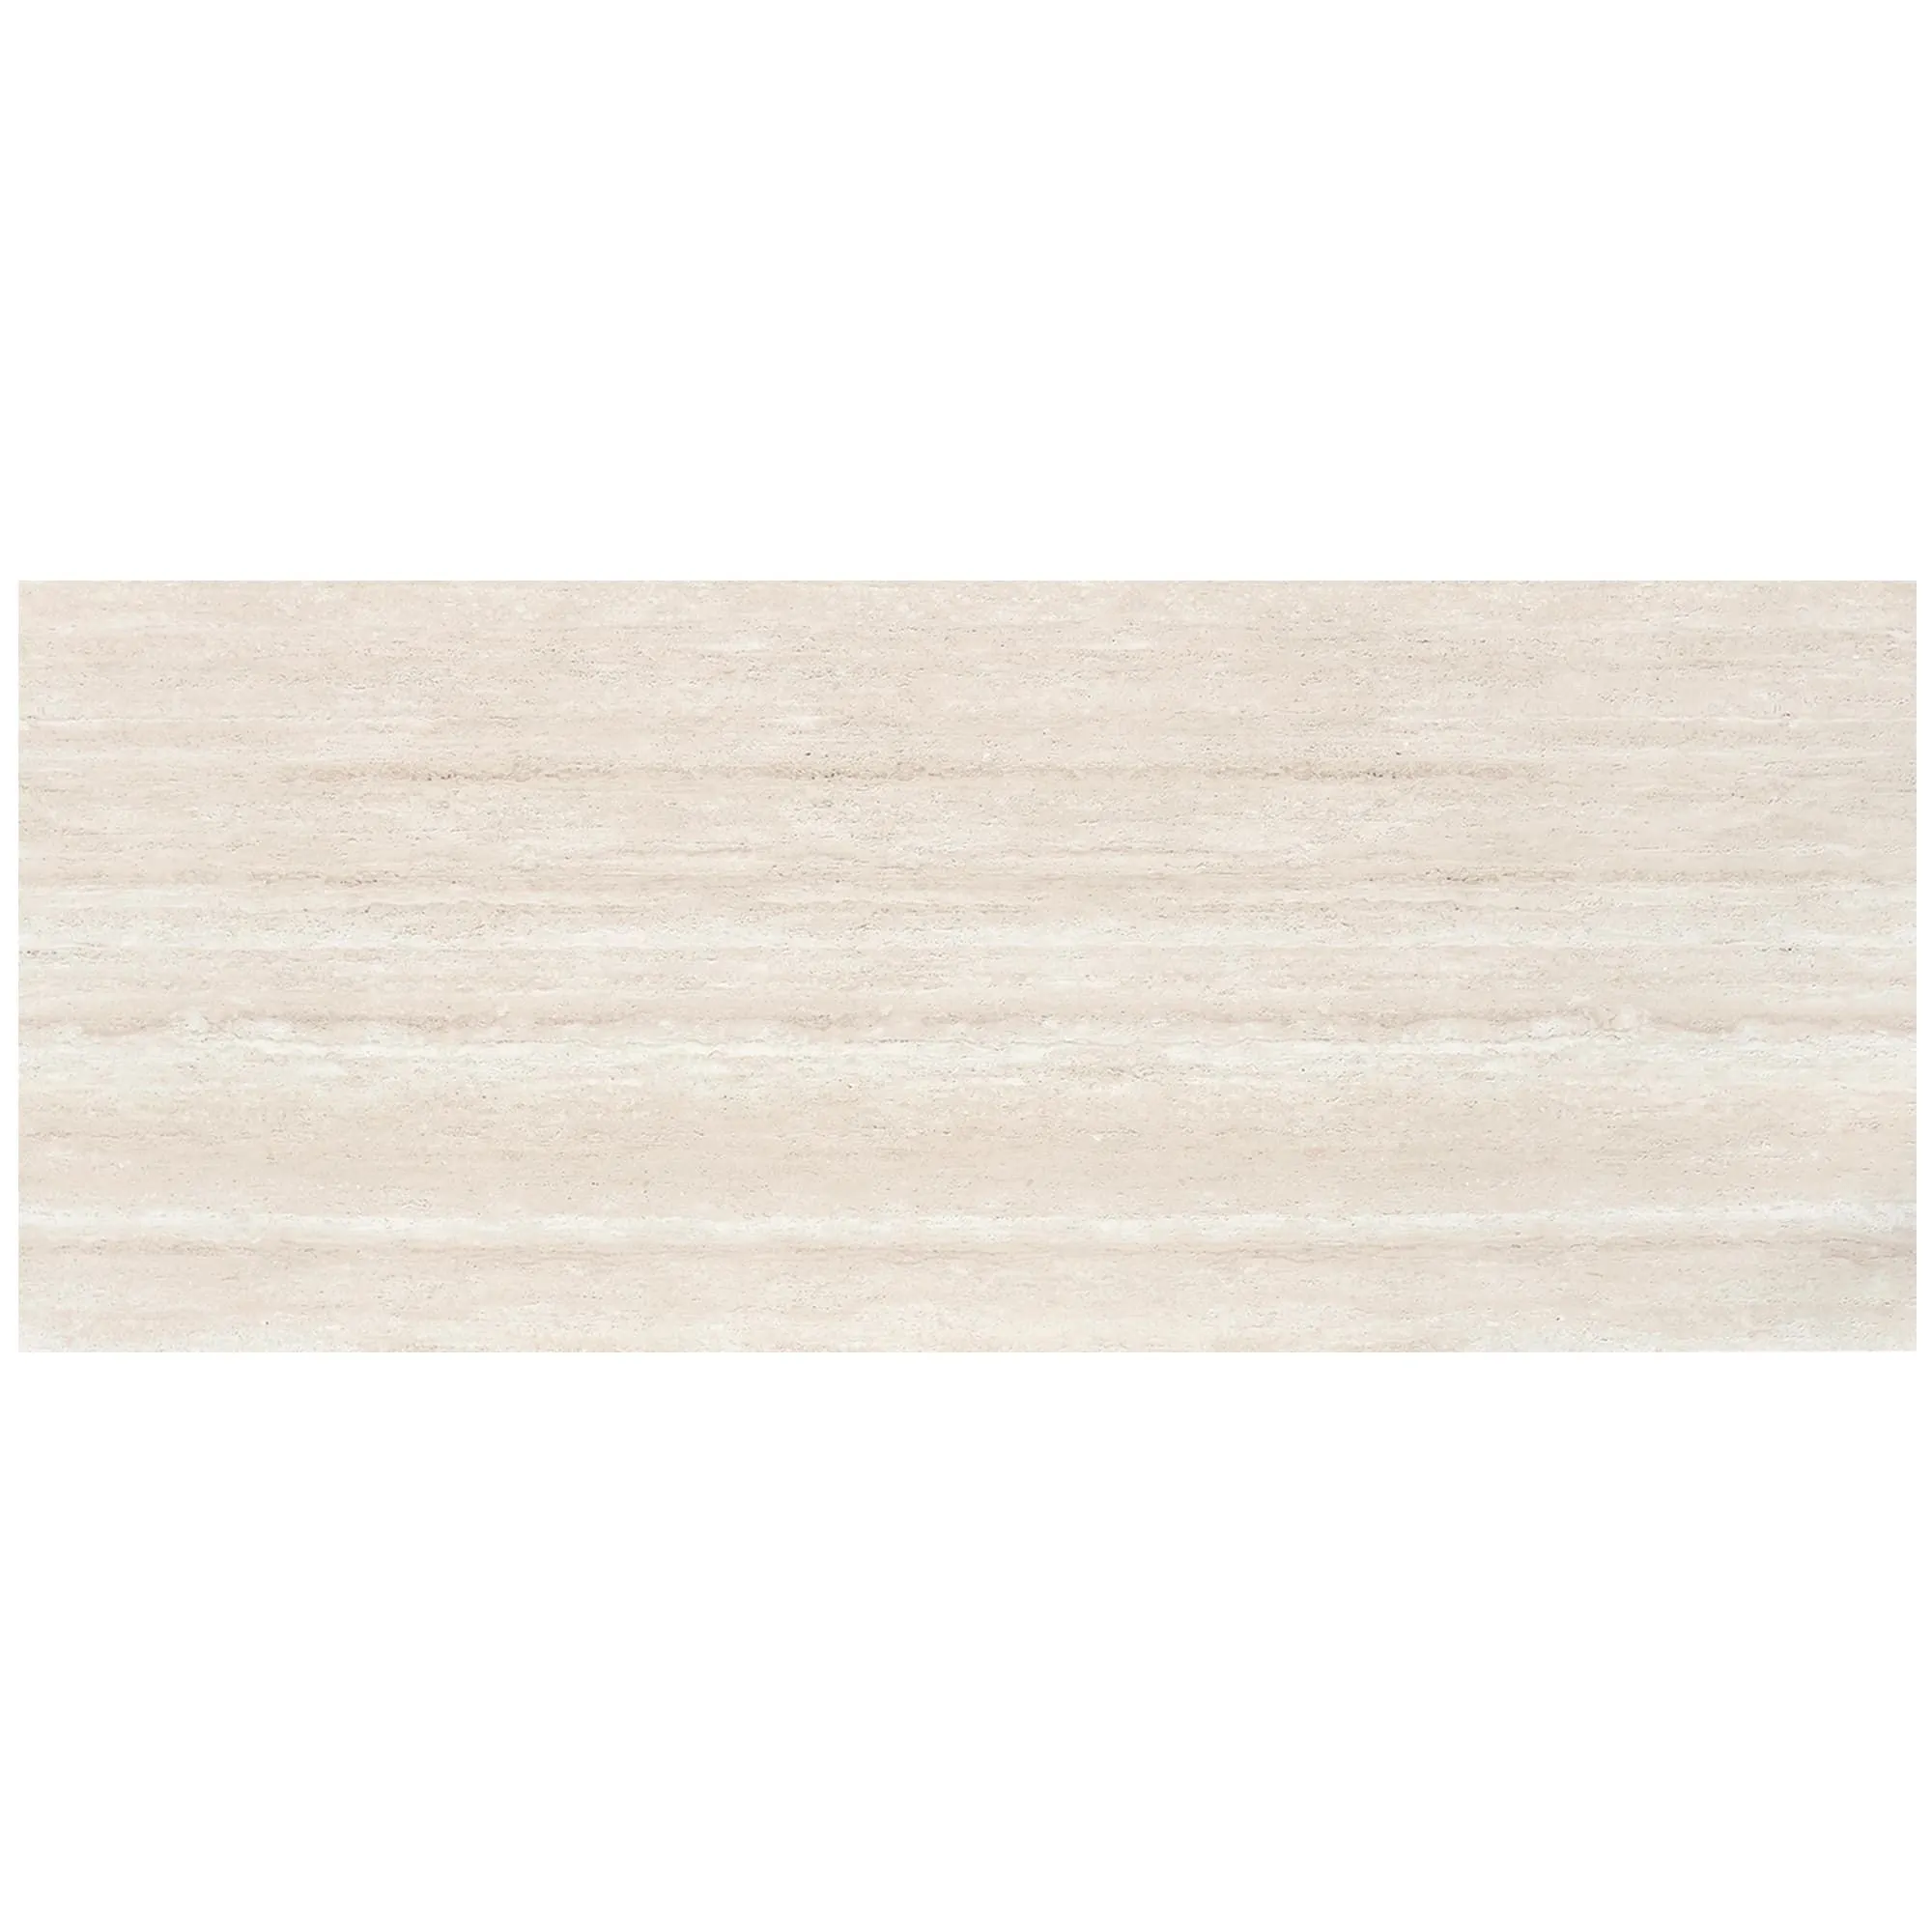
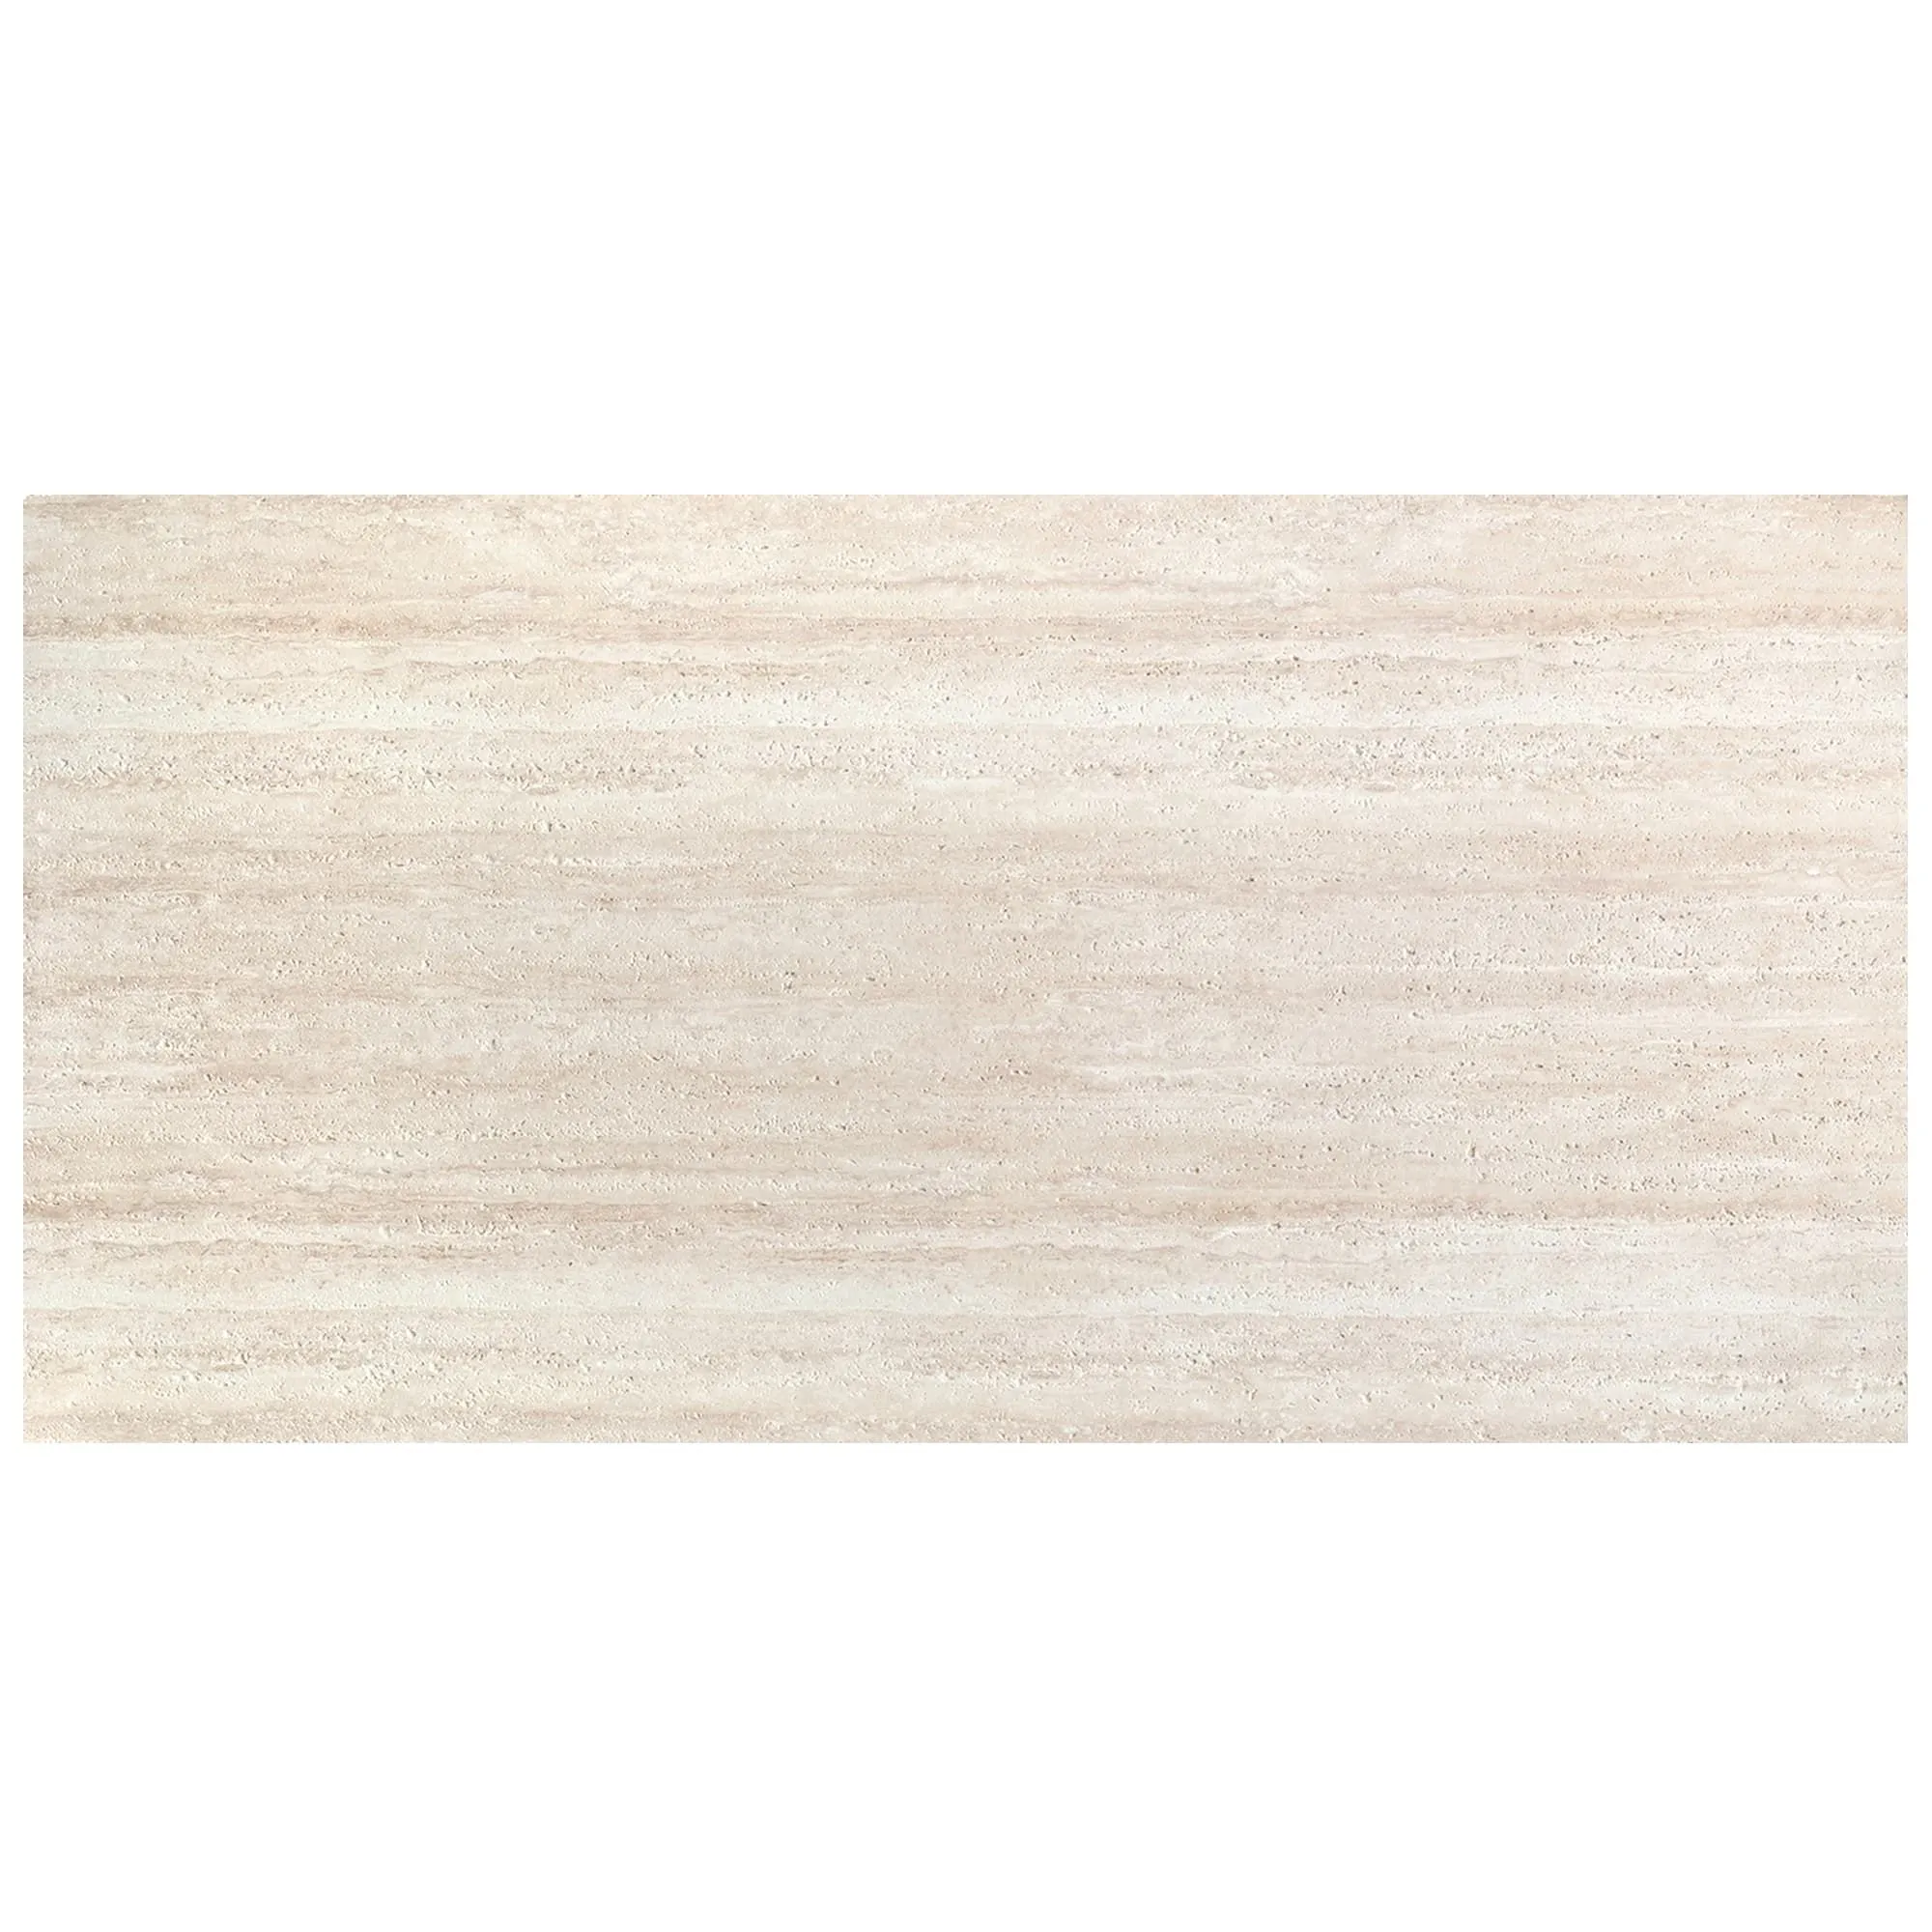
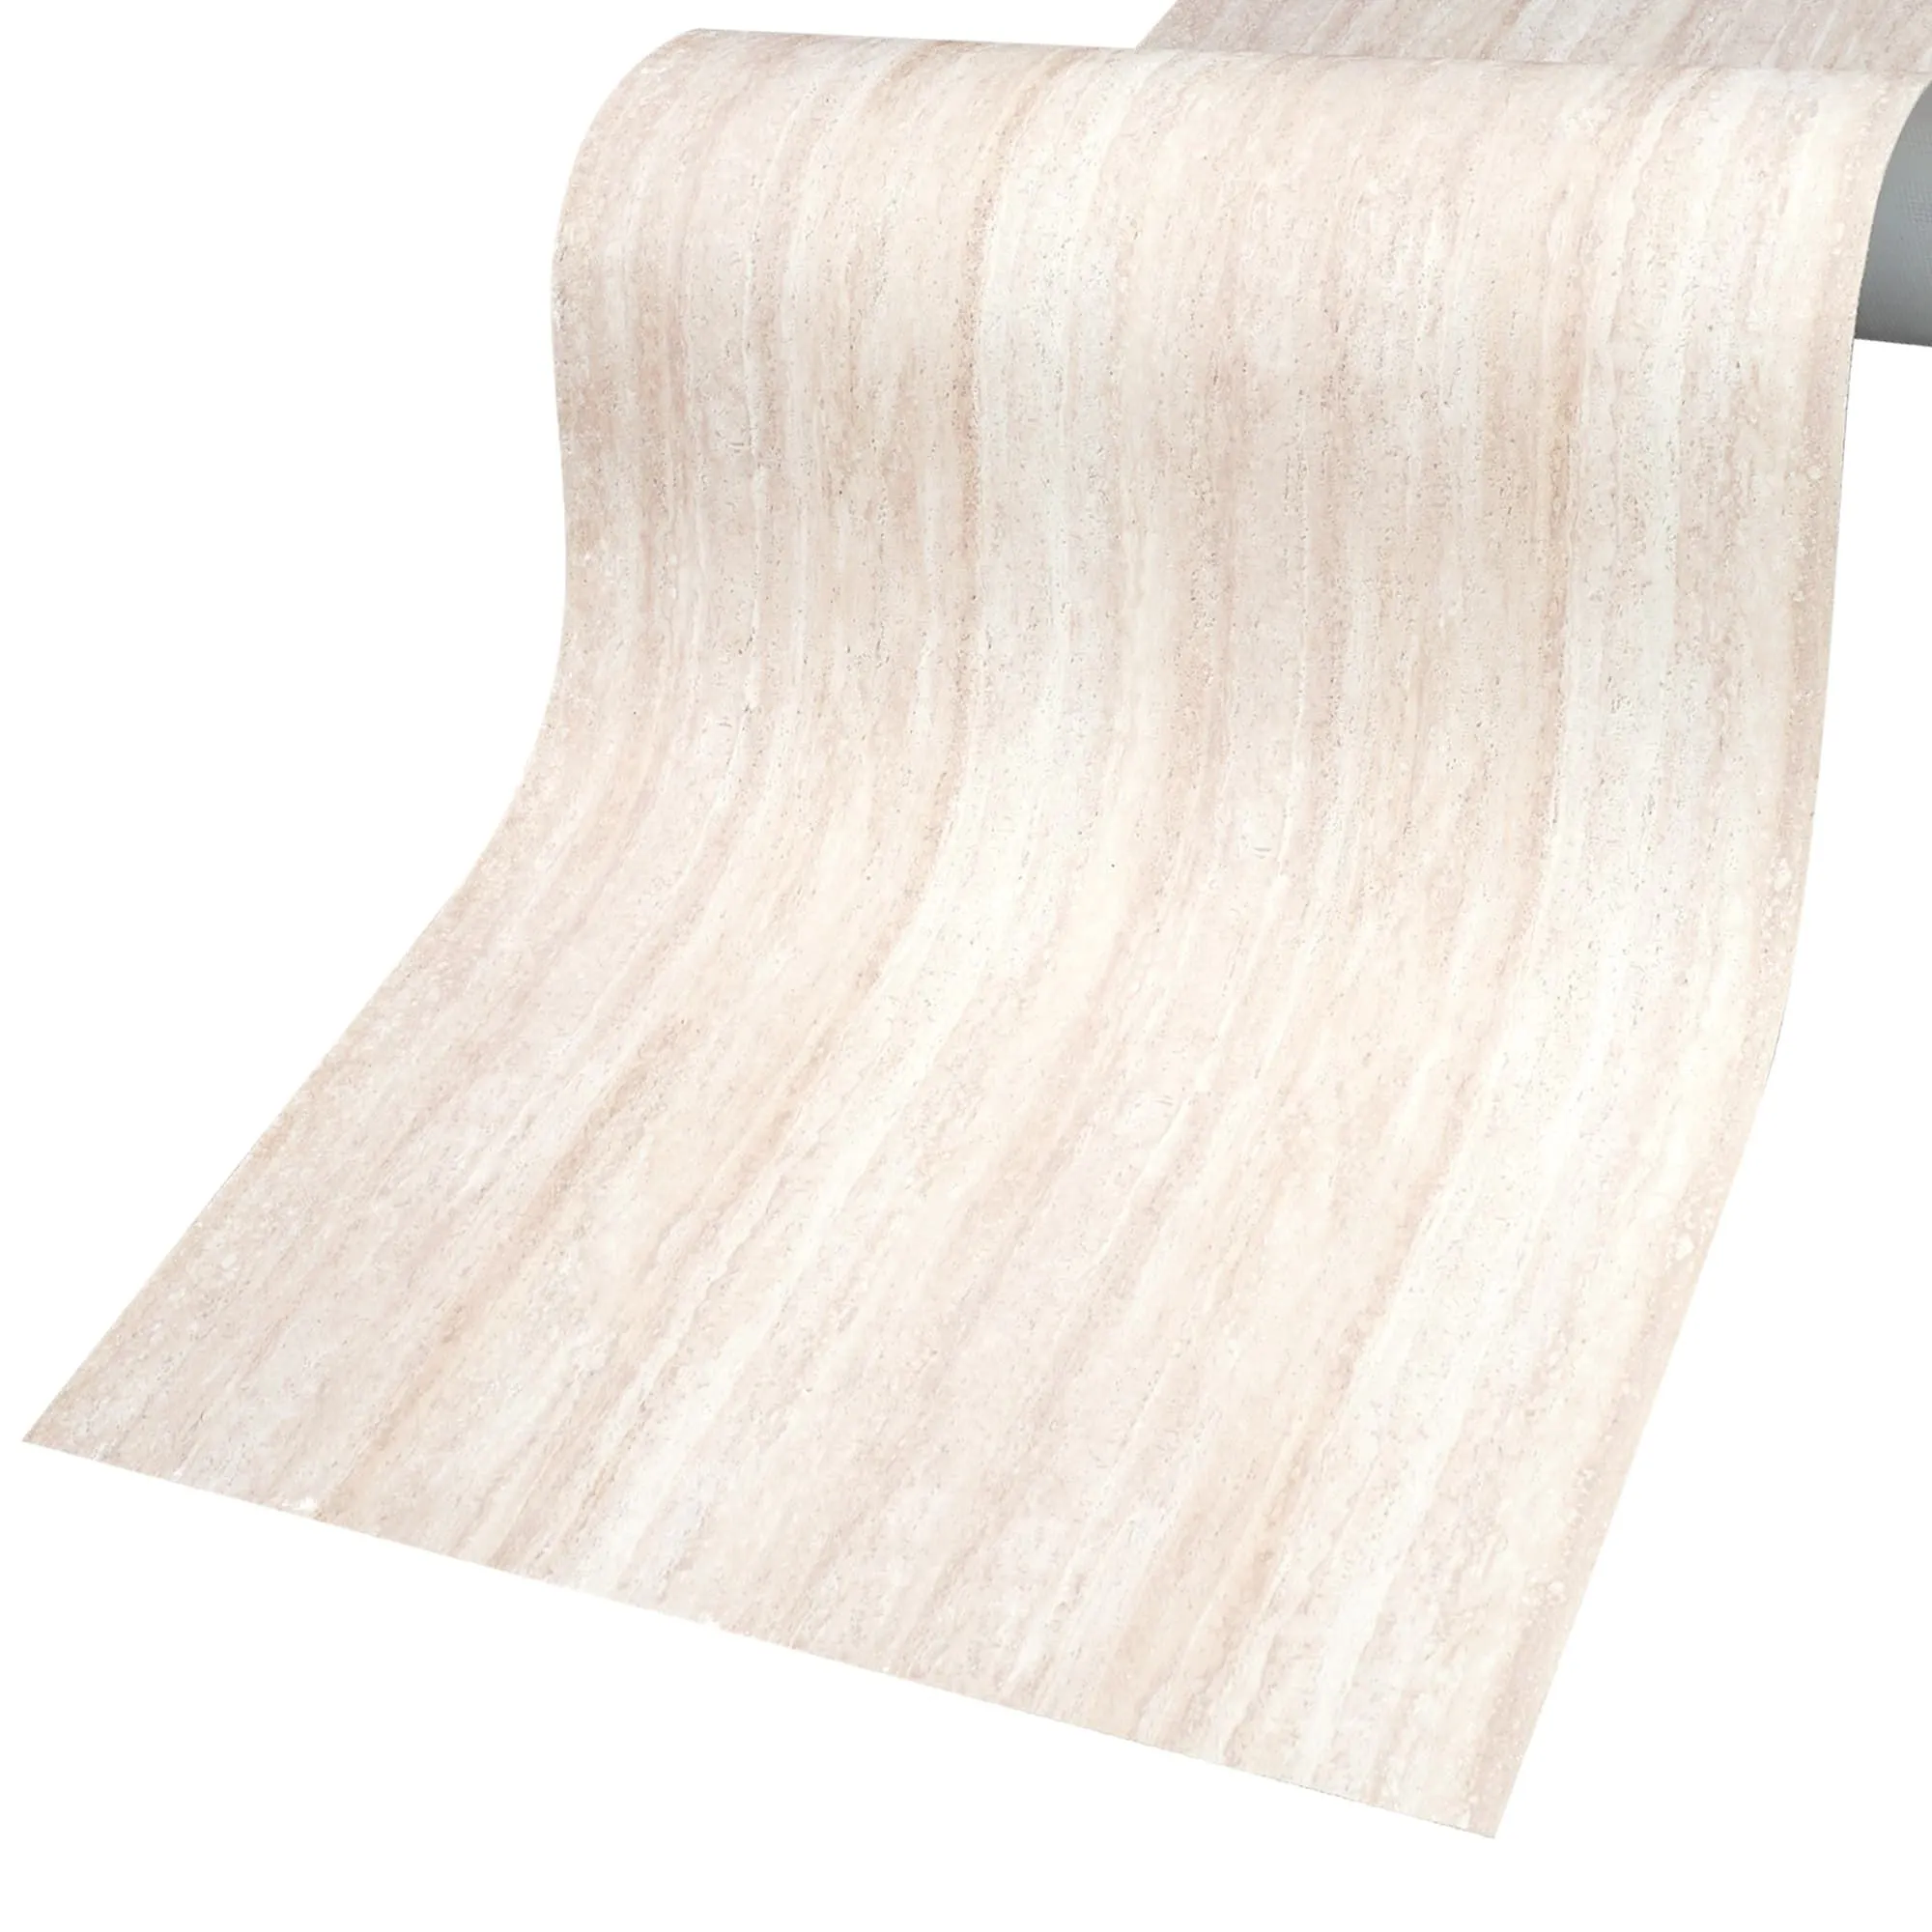
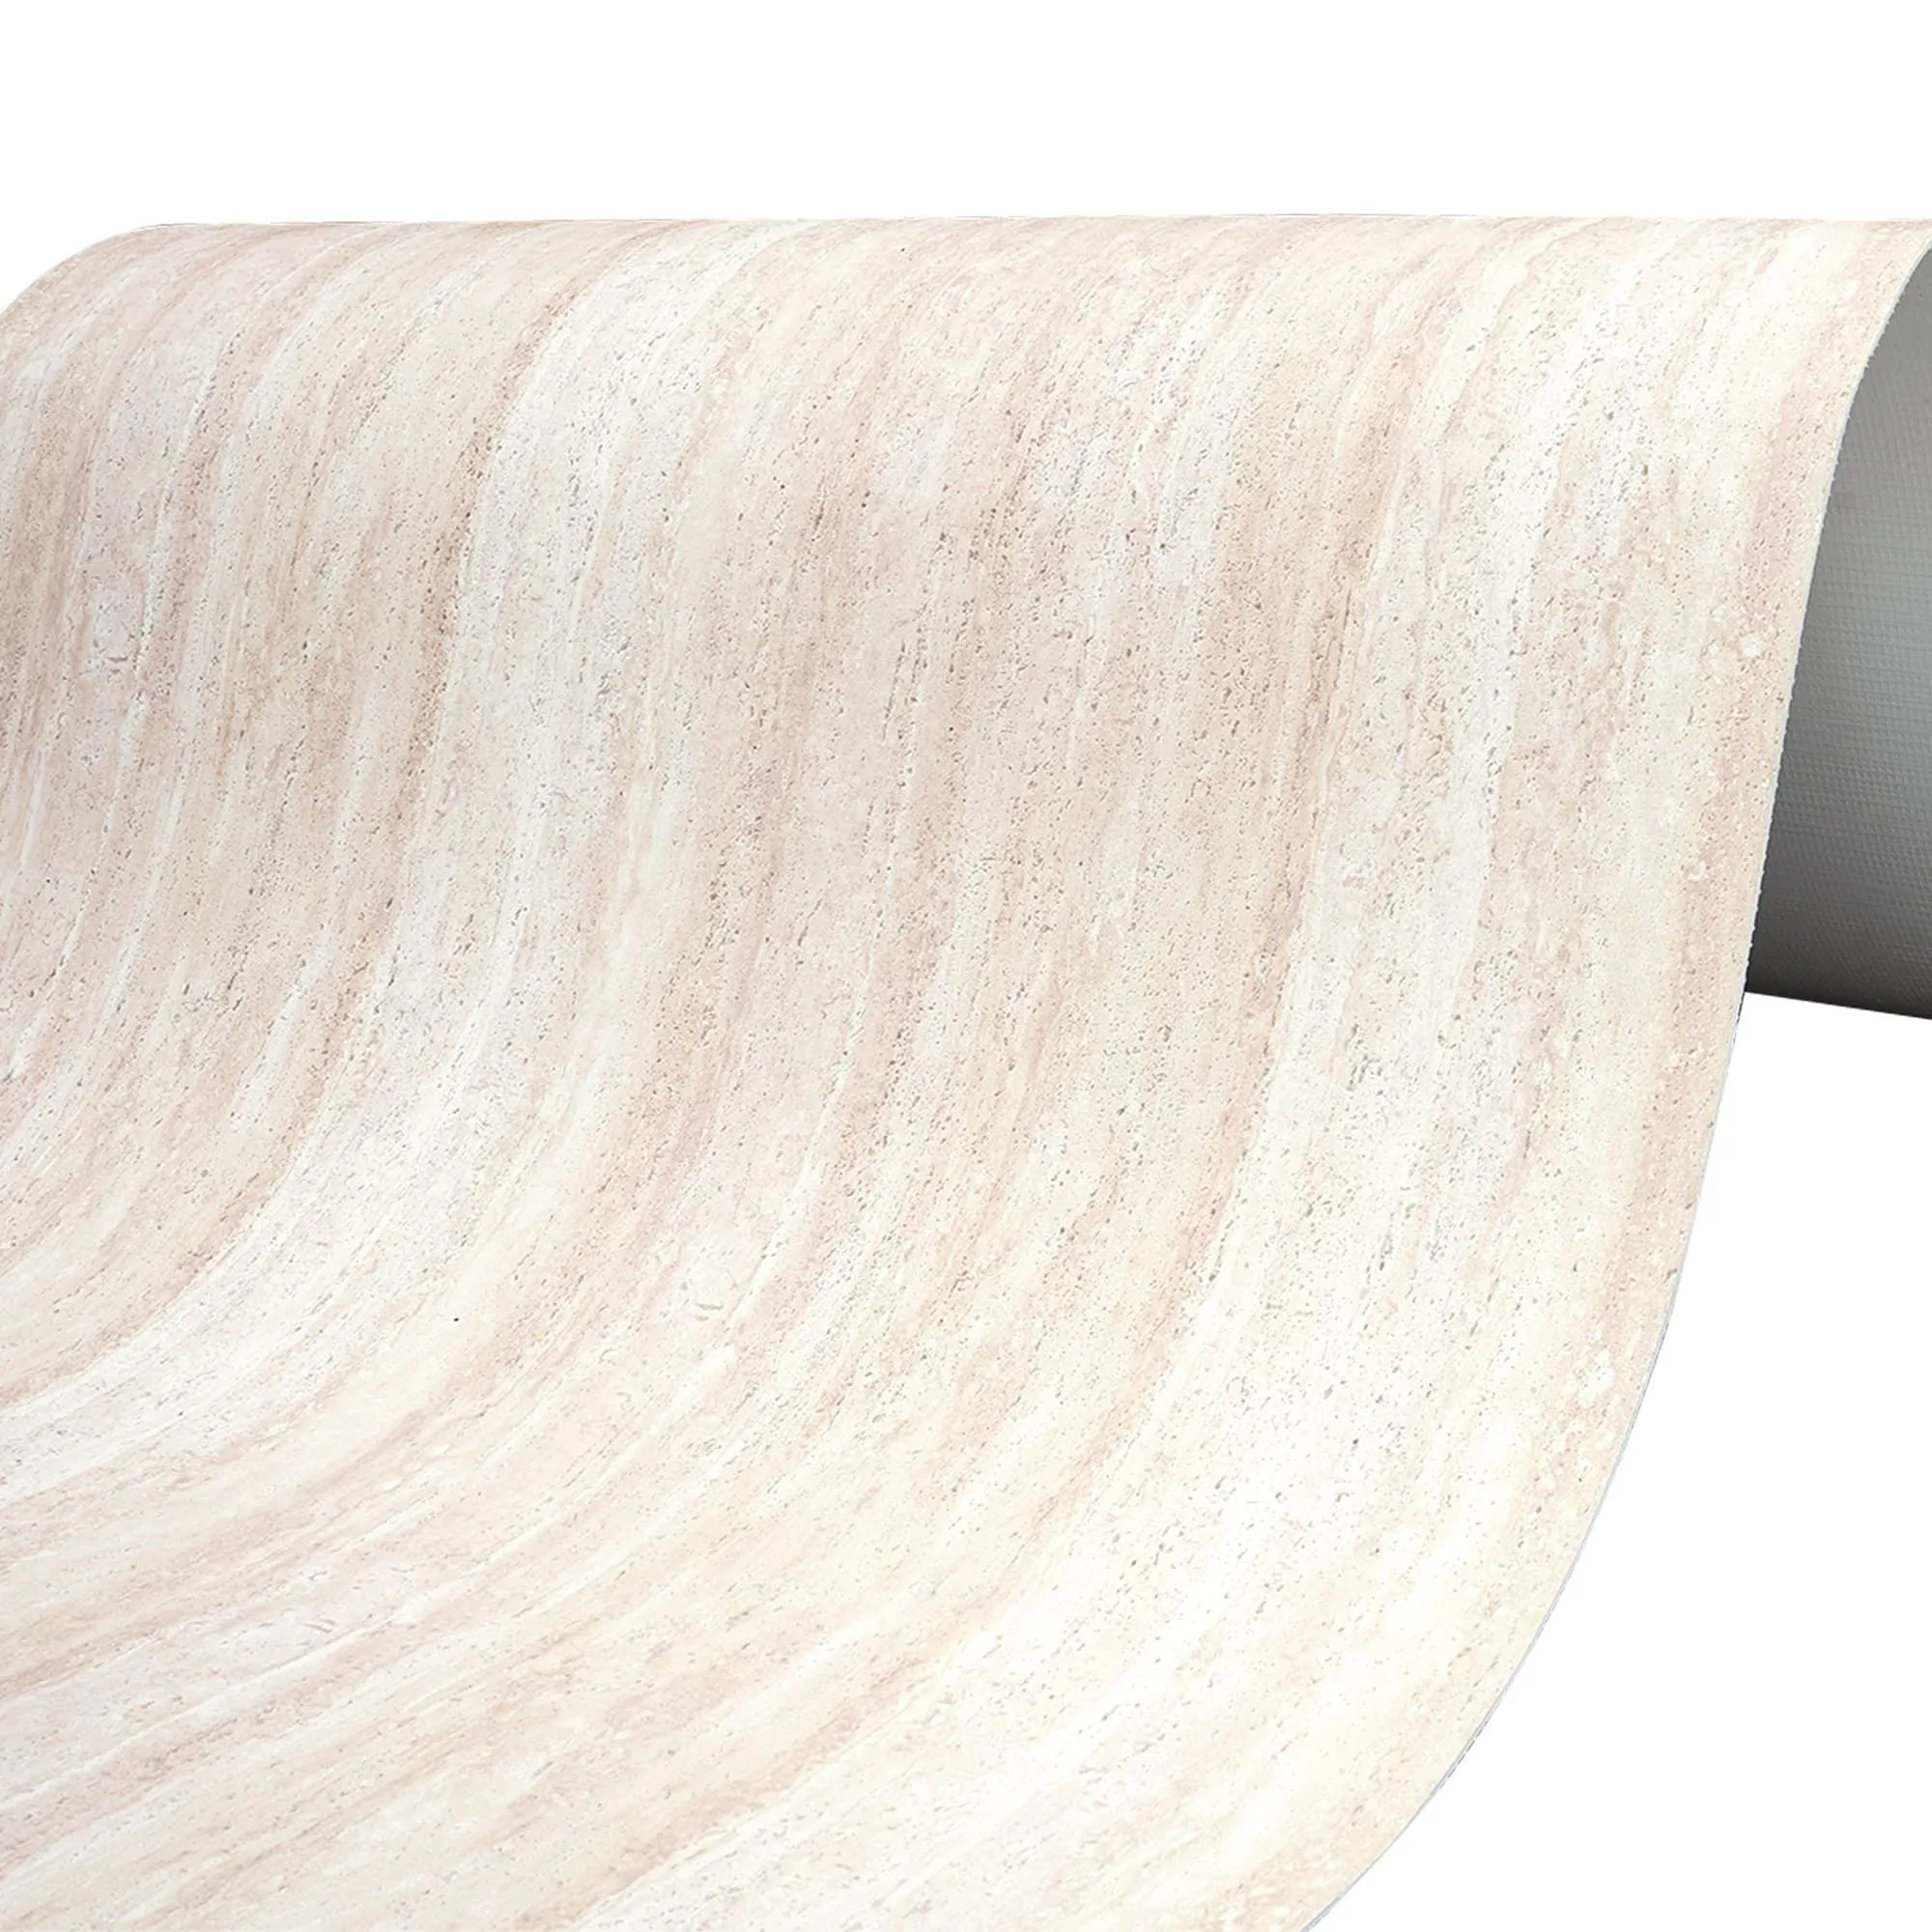
Before we get our hands dirty, let's talk about why Rona Yellow deserves a spot on your wall. Part of the broader MCM flexible stone family, Rona Yellow isn't your average cladding material. It's lightweight (so it won't strain your walls), resistant to moisture and UV rays (perfect for both indoor and outdoor use), and mimics the look of natural stone with accuracy. The color itself is a soft, golden-yellow with subtle veining—think of a desert sunset frozen in stone. Unlike heavy natural travertine or marble, Rona Yellow panels are easy to cut, shape, and install, making them a favorite among DIYers and professionals alike. And because it's a composite material, it's more affordable than natural stone without skimping on style. Whether paired with modern fair-faced concrete or rustic wood grain board, Rona Yellow adds warmth without overwhelming the space.
You wouldn't build a house on a shaky foundation, right? The same logic applies here. Rona Yellow MCM panels are durable, but they rely on a smooth, stable surface to adhere properly. Let's break down the prep work into three key steps.
First, check what kind of wall you're working with. Rona Yellow works well on most common substrates, but fair-faced concrete is a top pick for its even texture and strength. If your wall is made of something else—drywall, brick, or even old tile—you'll need to ensure it's in good shape. Look for cracks, loose paint, or moisture damage. Small cracks can be filled with a quality patching compound; larger issues might require professional repair. For painted walls, sand the surface lightly to create a rough texture—this helps the adhesive grip better. If you're working outdoors, make sure the wall is sloped slightly (about 2%) to prevent water pooling, which can weaken the adhesive over time.
Nothing kills momentum like running out of panels halfway through the project. Grab a tape measure, pencil, and graph paper (or use a digital tool if you prefer) and map out your wall. Measure the height and width, then calculate the total square footage. Don't forget to account for cuts around windows, doors, or fixtures—add an extra 10% to your order to cover mistakes or miscalculations. Pro tip: If your wall has uneven corners, take diagonal measurements too. This helps you anticipate tricky cuts later on. When ordering, specify that you're using Rona Yellow MCM panels—suppliers often have recommendations for adhesives and grouts that work best with this material.
Installation day will go much smoother if you have everything laid out beforehand. Along with your Rona Yellow panels, you'll need adhesive (we recommend a high-quality polymer-modified mortar), grout (choose a shade that complements Rona Yellow—soft beige or light gray works well), a notched trowel, a utility knife with extra blades, a straightedge, a level, spacers, and a sponge for cleaning. We'll dive deeper into tools in the next section, but for now, set aside a clean workspace to store panels and materials. MCM panels are lightweight, but they can scratch if stacked carelessly—lay them flat on a clean tarp or plywood to protect the finish.
You don't need a workshop full of fancy equipment, but having the right tools makes all the difference. Here's a breakdown of what to gather before you start:
| Tool | Why You Need It | Pro Tip |
|---|---|---|
| Notched Trowel | Applies adhesive evenly to the substrate. Look for a 3/16-inch notch for Rona Yellow panels. | Hold the trowel at a 45-degree angle to ensure consistent adhesive depth. |
| Utility Knife with Snap-Off Blades | Cuts through MCM panels cleanly. replace blades often—dull blades cause jagged edges. | Score the panel first, then bend it back to snap along the line for straighter cuts. |
| 2-foot Level | Ensures panels are straight horizontally and vertically. | Check level after placing every 2-3 panels to catch small errors before they add up. |
| Grout Float | Presses grout into the gaps between panels. | Use a rubber float for best results—metal ones can scratch the Rona Yellow finish. |
| Sponge and Buckets | Cleans excess grout from the panel surface. | Keep two buckets: one for soapy water, one for rinsing the sponge. |
| Adhesive Mixing Tool | Mixes adhesive to the right consistency (like thick peanut butter). | Don't rush mixing—lumps can create uneven bonding. |
Pro move: If you're cutting a lot of panels, invest in a circular saw with a carbide-tipped blade. It speeds up the process and gives cleaner edges than a utility knife. Just wear safety goggles and a dust mask—MCM dust isn't harmful, but it's annoying to clean up.
Now that your wall is prepped and your tools are ready, let's get to the fun part: putting those Rona Yellow panels up. Follow these steps, and you'll be admiring your handiwork in no time.
Yes, we already talked about substrate prep, but this is your final check. Wipe the wall with a damp cloth to remove dust, dirt, or debris—even a small speck can create a bump under the panel. If you're working with fair-faced concrete, lightly sand any rough spots to ensure a smooth base. For outdoor walls, let the surface dry completely after cleaning—moisture trapped under the panel can cause mold or adhesive failure.
Lay your Rona Yellow panels flat on a worktable. Use your measurements to mark where you need to cut—use a straightedge and pencil to draw clean lines. For straight cuts, score the panel with a utility knife, applying firm pressure. Then, place the panel on the edge of the table, with the scored line hanging over, and press down gently to snap it. For curves or notches (like around a light switch), use a jigsaw with a fine-tooth blade. Go slow here—rushing can cause the panel to crack. Test a scrap piece first to get the hang of it.
Follow the adhesive manufacturer's instructions—mixing ratios vary by product. Typically, you'll add water to the mortar powder and stir until it reaches a creamy consistency (think thick yogurt). Let it sit for 5-10 minutes (this is called "slaking") to activate the chemicals, then stir again. Don't mix more than you can use in 30 minutes—adhesive starts to set, and you don't want it to harden in the bucket.
Using your notched trowel, spread adhesive onto the wall in a 3x3 foot section (working in small areas prevents the adhesive from drying out). Hold the trowel at a 45-degree angle and comb the adhesive in one direction—this creates ridges that help the panel bond. Avoid leaving gaps in the adhesive; even a small bare spot can cause the panel to loosen later. If you're installing outdoors, add a waterproofing additive to the adhesive to boost resistance to rain and humidity.
Start at the bottom corner of the wall (left or right, whichever feels more comfortable). Place the first Rona Yellow panel onto the adhesive, pressing firmly with your hands. Wiggle it slightly from side to side to ensure full contact with the adhesive. Use your level to check that it's plumb (vertical) and level (horizontal). Adjust if needed—you have a few minutes before the adhesive sets. Once it's straight, press along the edges and center of the panel to squeeze out any air bubbles. A rubber mallet (tapped gently) can help, but be careful not to hit too hard—you don't want to crack the panel.
Place plastic spacers (usually 1/8-inch or 3mm) along the edges of the first panel—these create even gaps for grout later. Then, position the next panel next to it, repeating the pressing and leveling process. Continue this way, working row by row, and check the level after every 2-3 panels. If you notice the wall is uneven, use shims under the panels (but remove them once the adhesive sets!). For vertical seams, stagger the panels like brickwork—this makes the wall stronger and more visually appealing. Pro tip: Use a pencil to mark the panel positions on the wall beforehand—this helps you stay on track.
Once all panels are up, let the adhesive cure completely. This usually takes 24-48 hours, depending on temperature and humidity. Avoid touching or leaning on the panels during this time—even a little pressure can shift them. If you're in a hurry, check the adhesive label for "quick-cure" options, but note that these often require higher temperatures to work effectively.
Now it's time to fill those gaps. Mix your grout according to the instructions—too runny, and it'll shrink; too thick, and it won't flow into the seams. Using your grout float, press the grout into the joints at a 45-degree angle, making sure to fill them completely. Work in small sections (2x2 feet) to avoid the grout drying on the panels. After 10-15 minutes, use a damp sponge to wipe away excess grout from the panel surface. Rinse the sponge often—dirty water leaves streaks. Don't scrub too hard—you don't want to pull grout out of the seams. Let the grout cure for 24 hours before moving to the next step.
Sealing is optional for indoor walls, but highly recommended for outdoor or high-moisture areas (like bathrooms). Choose a water-based sealer designed for MCM panels—oil-based sealers can darken the Rona Yellow color. Apply the sealer with a paintbrush or roller, working in even strokes. Let it dry for 2-3 hours, then apply a second coat. The sealer creates a protective barrier that repels water, stains, and UV rays, keeping your panels looking fresh for years.

Even the best-laid plans hit snags. Here's how to handle the most common issues you might run into during installation.
Cause:
The wall wasn't level to begin with, or you skipped checking the level after placing panels.
Fix:
If caught early (within 30 minutes of placing), gently pry up the panel and adjust the adhesive. If the adhesive has set, you may need to remove the panel (use a putty knife to cut through the adhesive) and reapply with fresh mortar. To prevent this, always start with a level line at the bottom of the wall—use a laser level if you have one.
Cause:
Too much adhesive, or pressing the panel too hard.
Fix:
Wipe away excess adhesive with a damp cloth before it dries. If it hardens, use a utility knife to carefully scrape it off (be gentle to avoid scratching the panel). Next time, apply less adhesive or press more evenly.
Cause:
Grout was mixed too dry, or the joints were too narrow.
Fix:
Remove the cracked grout with a grout saw, then re-grout with a slightly wetter mix. Use spacers to ensure joints are at least 1/8-inch wide—this gives the grout room to expand and contract with temperature changes.
Installing Rona Yellow is about more than just following steps—it's about creating a space that feels intentional. Here are a few ideas to take your project to the next level.
Rona Yellow's golden tone plays beautifully with the natural texture of wood grain board. Try using Rona Yellow as the main cladding and adding wood grain accents around windows or as a wainscot. The contrast of smooth MCM and organic wood creates a cozy, inviting vibe—perfect for living rooms or restaurants.
For a modern twist, incorporate foamed aluminium alloy board (vintage gold) into your design. Use it as a trim piece along the top of the Rona Yellow wall, or create a geometric pattern by alternating small aluminium panels with Rona Yellow. The metallic sheen of the aluminium complements the warm yellow, adding depth and sophistication—ideal for commercial spaces like hotels or offices.
Who says wall cladding has to be straight rows? Get creative with Rona Yellow by installing panels in a herringbone pattern, or mix in smaller cuts to create a mosaic effect. For outdoor walls, try a staggered "stacked stone" look—this mimics the look of natural rock and adds visual interest. Just remember: more complex patterns require precise measuring and cutting, so practice on scrap panels first.
Installing Rona Yellow MCM panels might seem intimidating at first, but with the right prep, tools, and patience, it's a project anyone can tackle. The key is to take your time—measure twice, cut once, and don't rush the adhesive or grout curing. When done right, Rona Yellow doesn't just cover a wall; it transforms it into a focal point that reflects your style and attention to detail. Whether you're a seasoned contractor or a first-time DIYer, the sense of pride you'll feel standing back and admiring your handiwork? That's the real reward. So grab your tools, put on some music, and let Rona Yellow bring your space to life.
Recommend Products


