
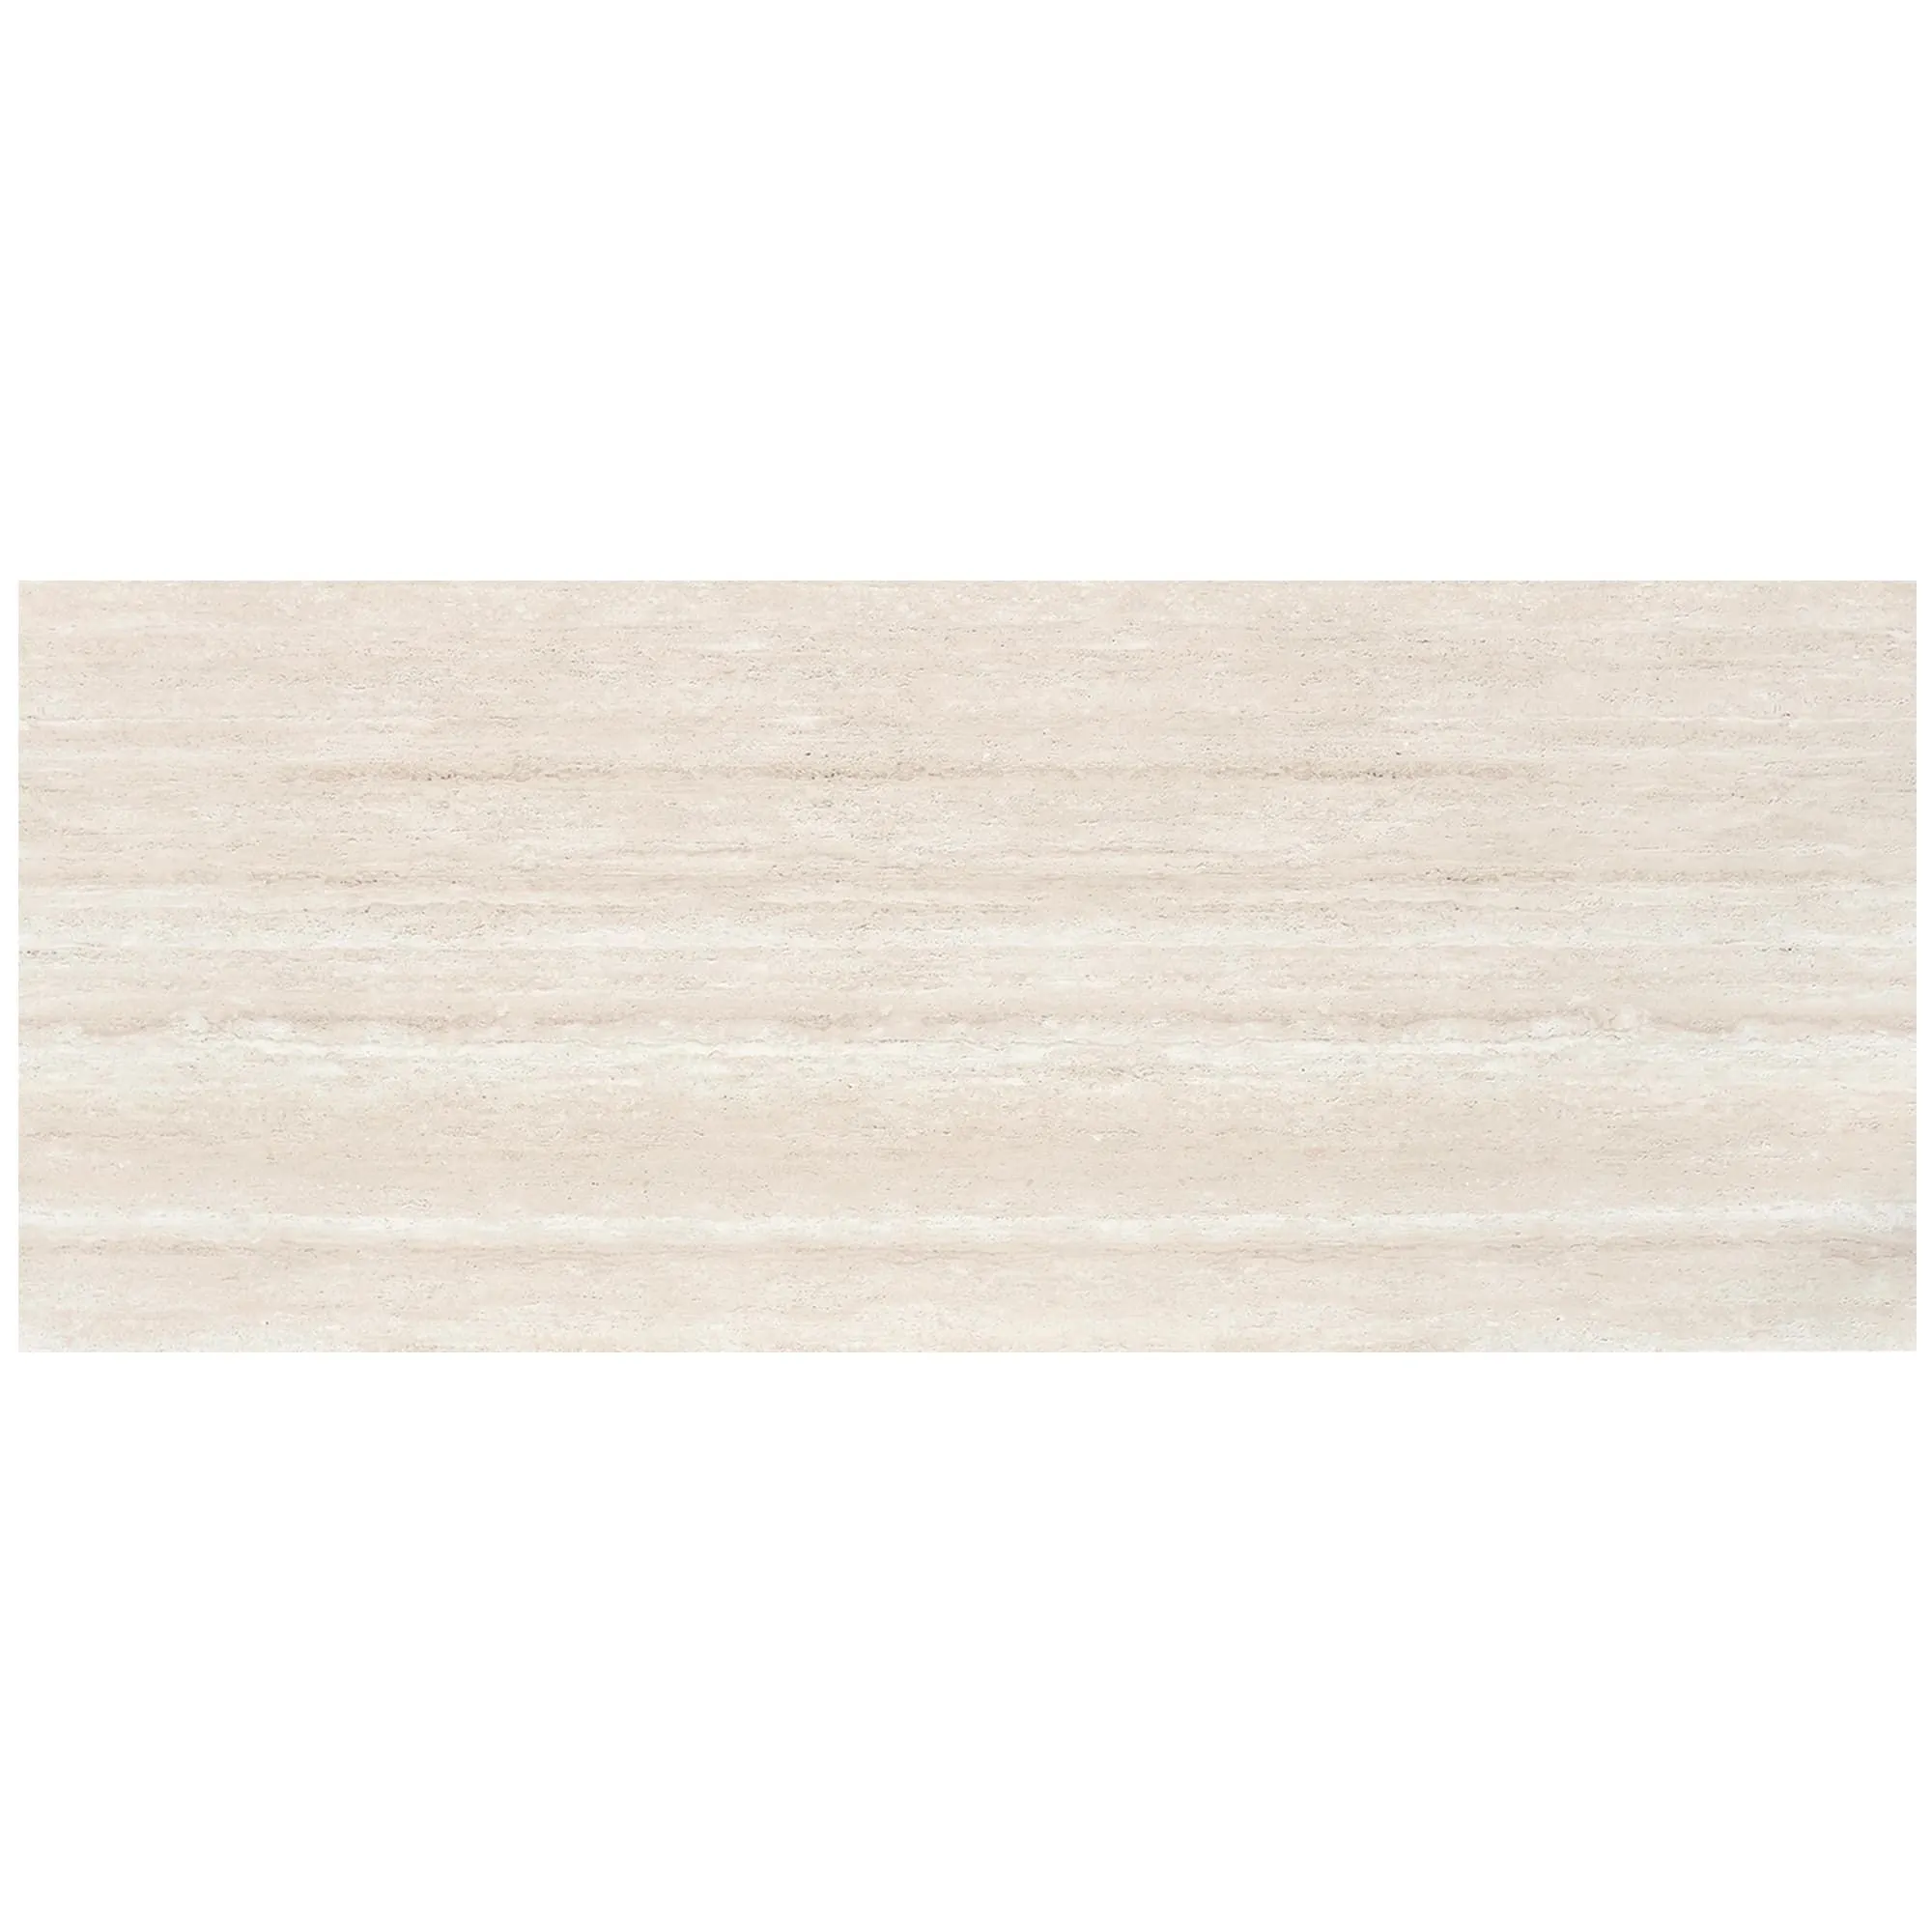
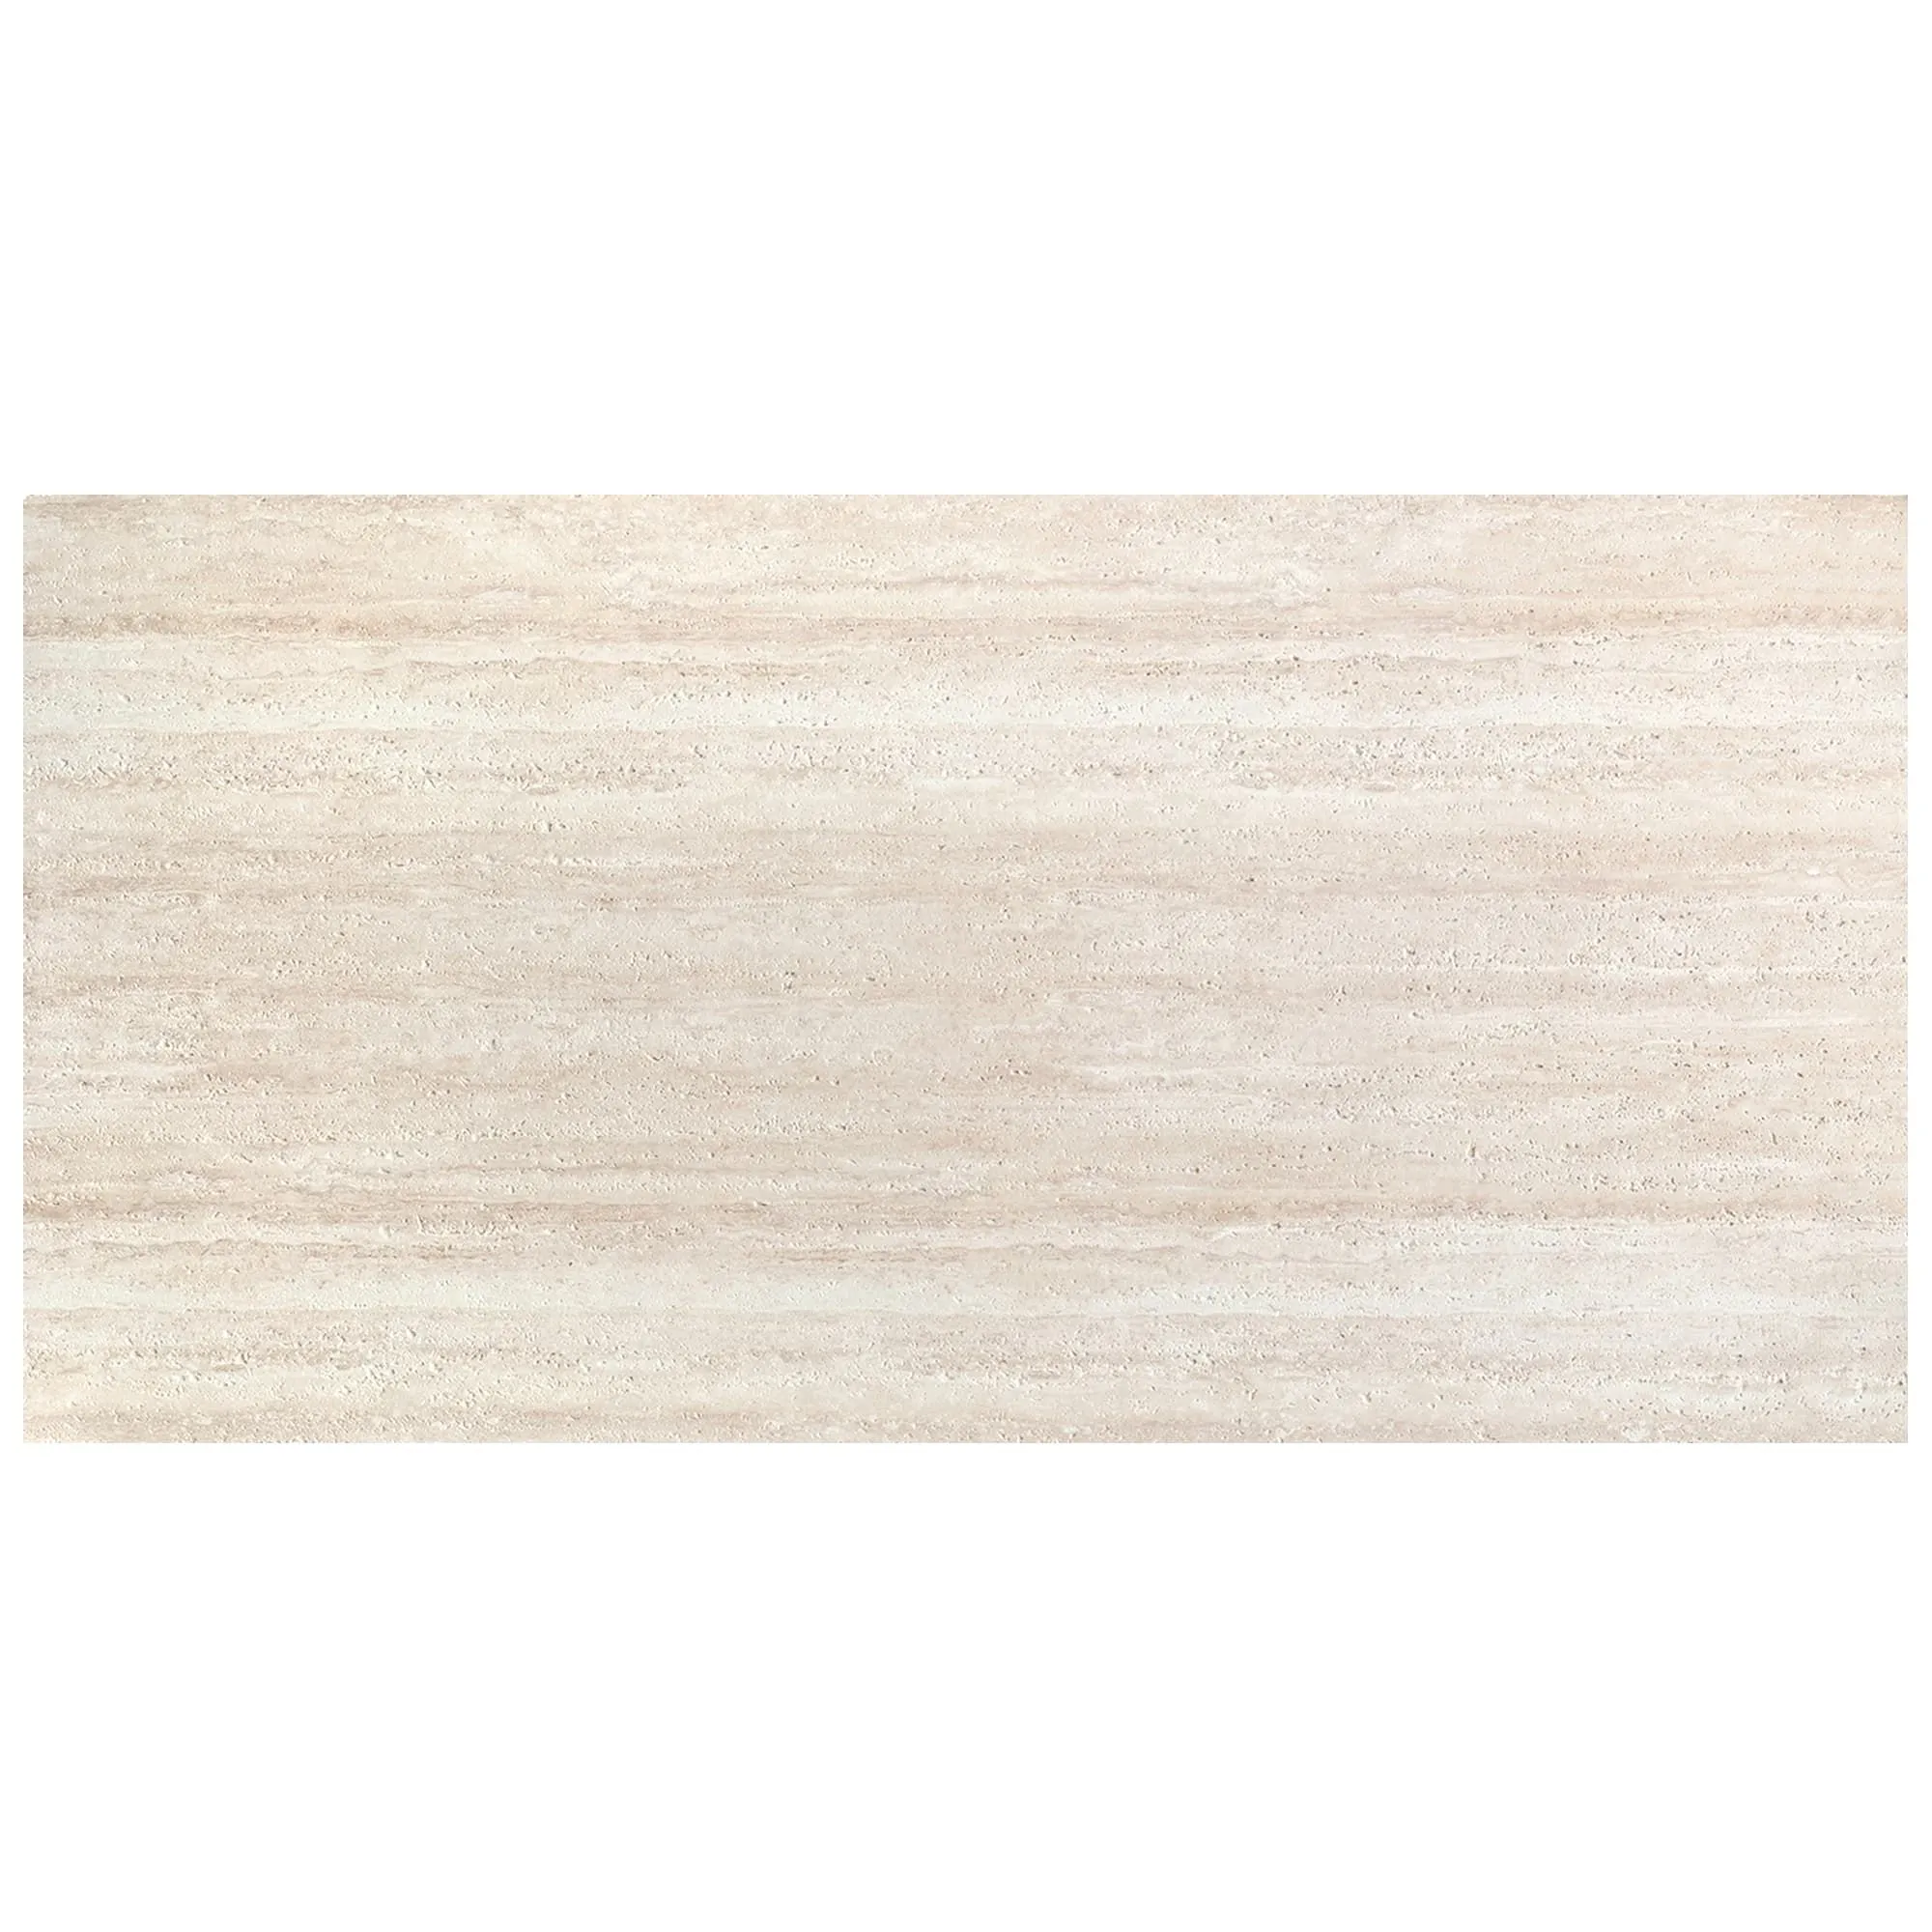
If you've ever stepped into a modern café, a boutique hotel lobby, or even a sleek residential interior and found yourself drawn to a warm, sunlit stone wall that feels both rustic and refined, chances are you were looking at Rona Yellow MCM. Part of the beloved MCM big slab board series, Rona Yellow has carved out a niche in the design world for its unique blend of earthy charm and durability. Its soft golden undertones, speckled with subtle hints of amber and cream, make it a favorite for everything from accent walls to exterior facades—adding depth to spaces without overwhelming them. But here's the thing about even the toughest materials: life happens. A stray chair leg, a sudden temperature shift, or even a rogue hailstorm can leave behind unsightly chips or hairline cracks. And when that happens, you don't need to panic—or call in an expensive contractor. With the right tools, a little patience, and this guide, you'll be fixing those flaws like a pro, restoring your Rona Yellow MCM to its original glory in no time.
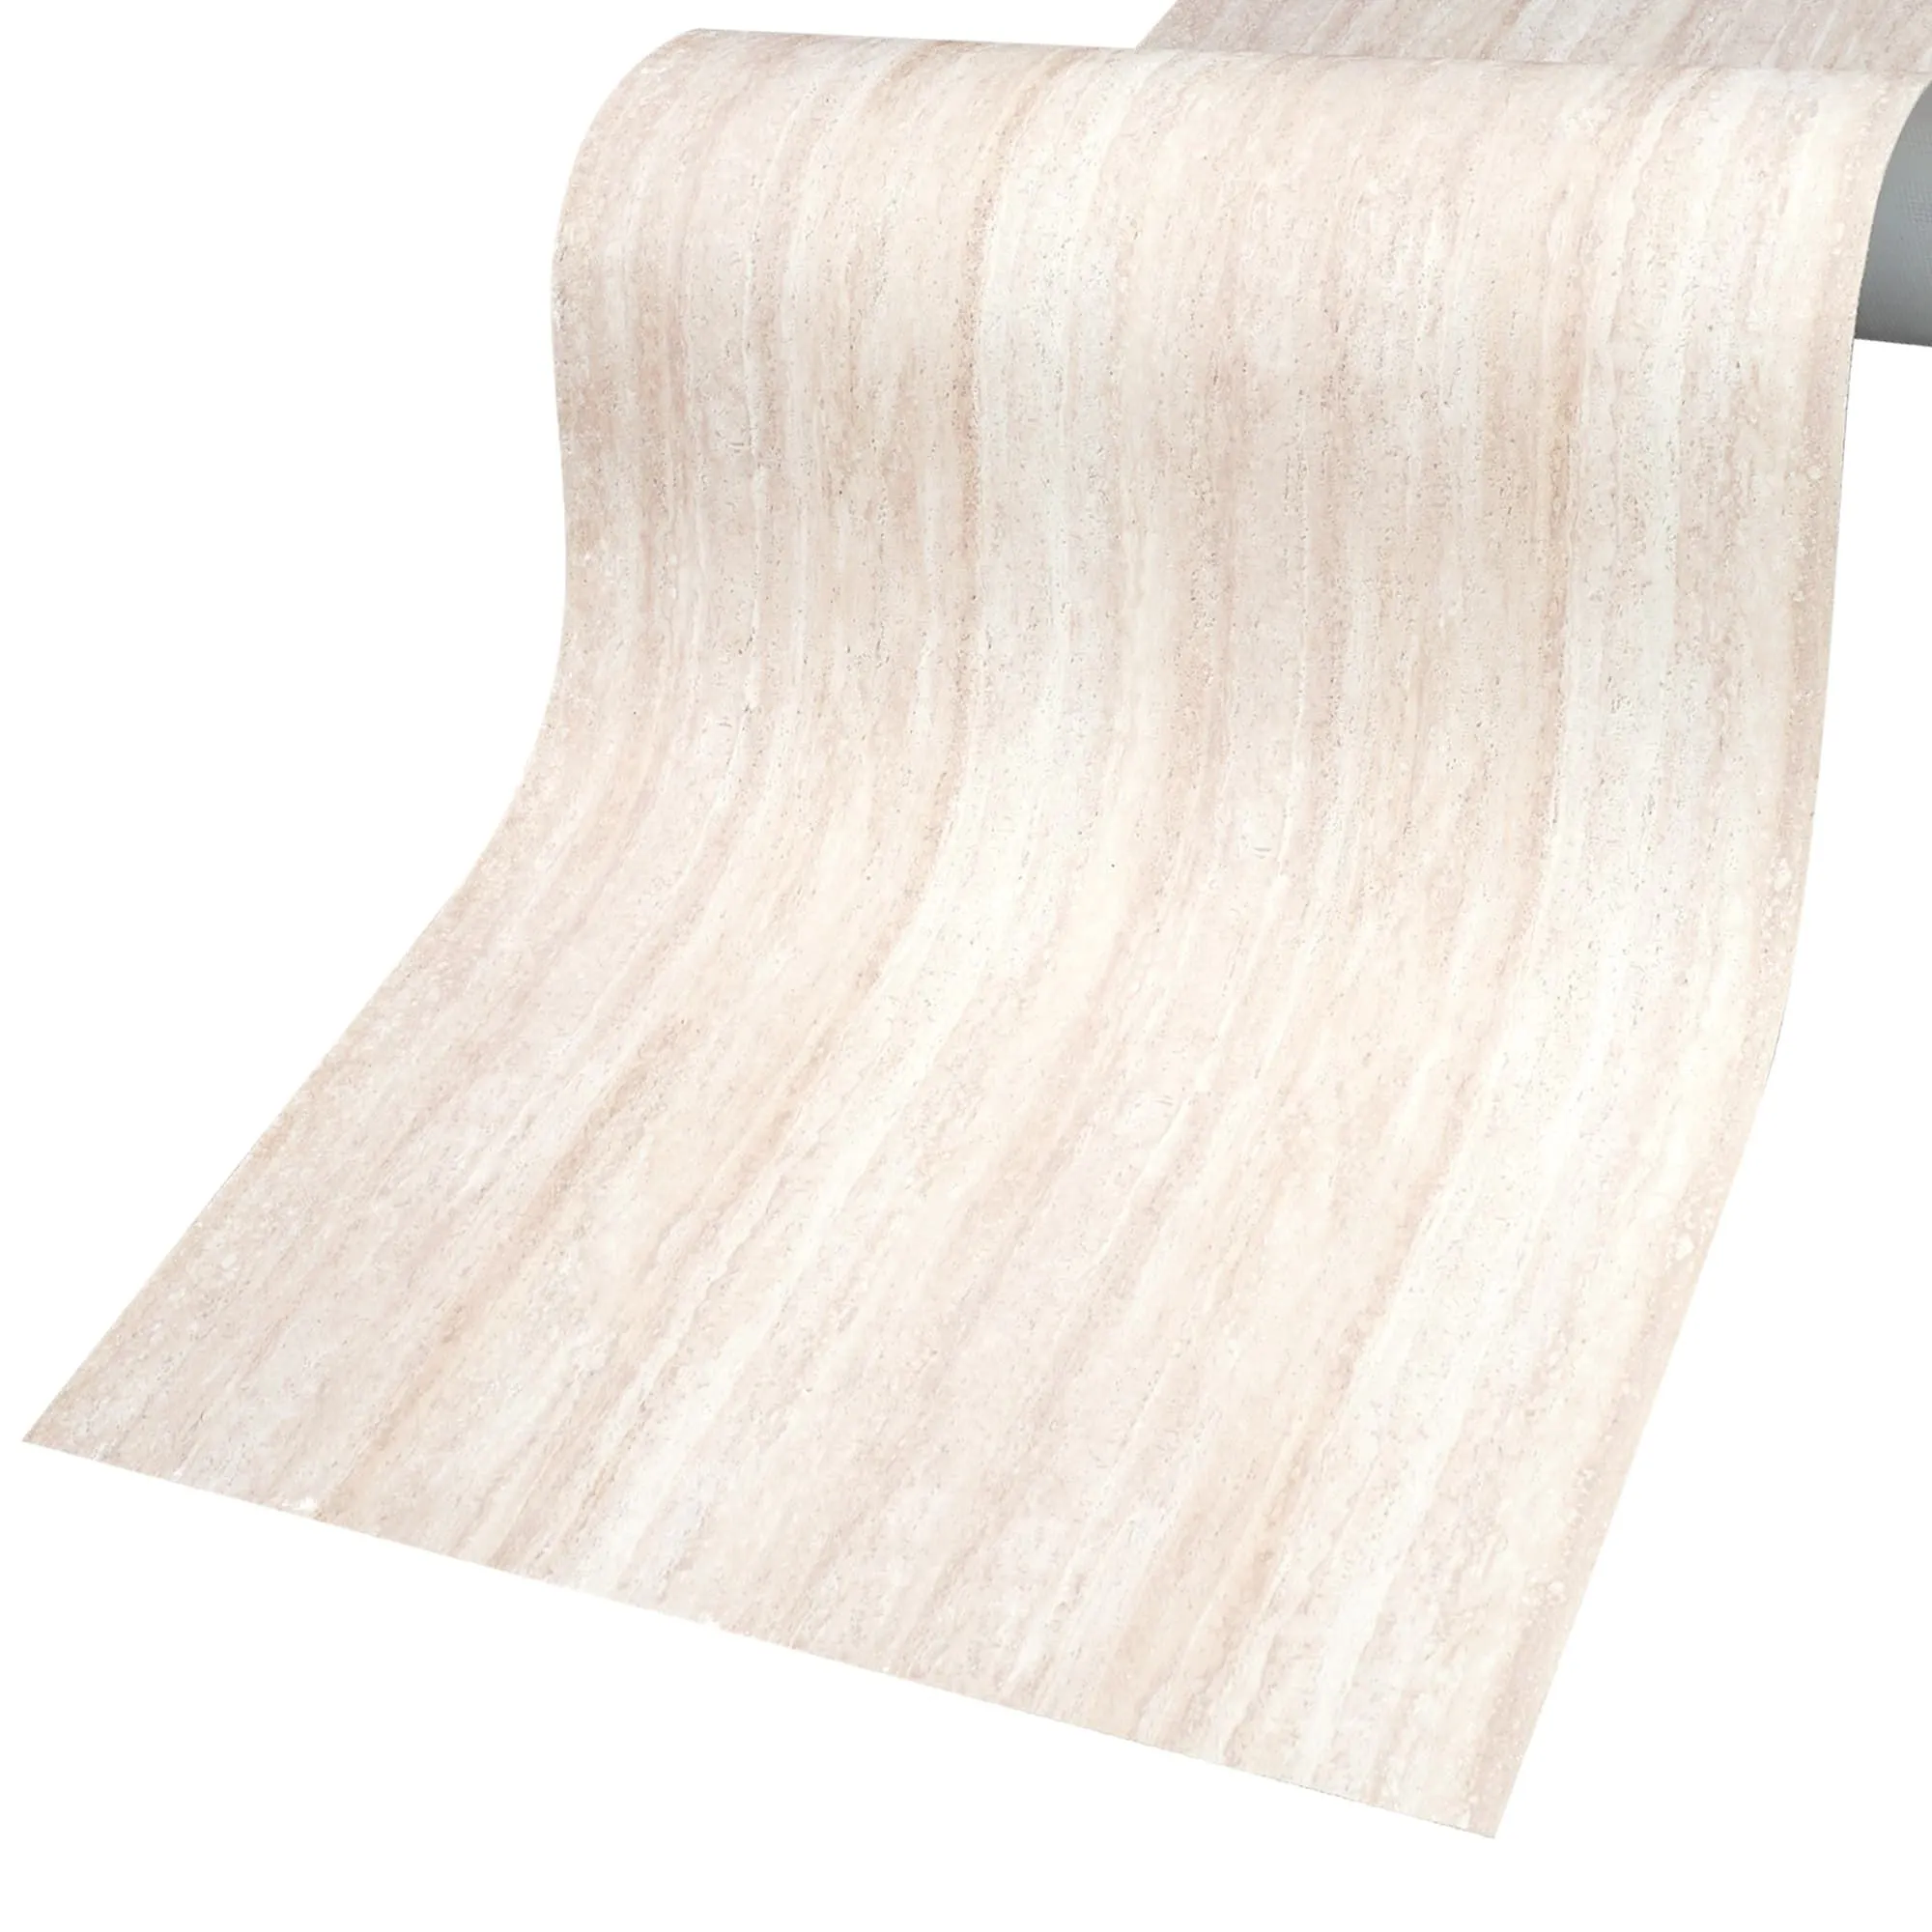
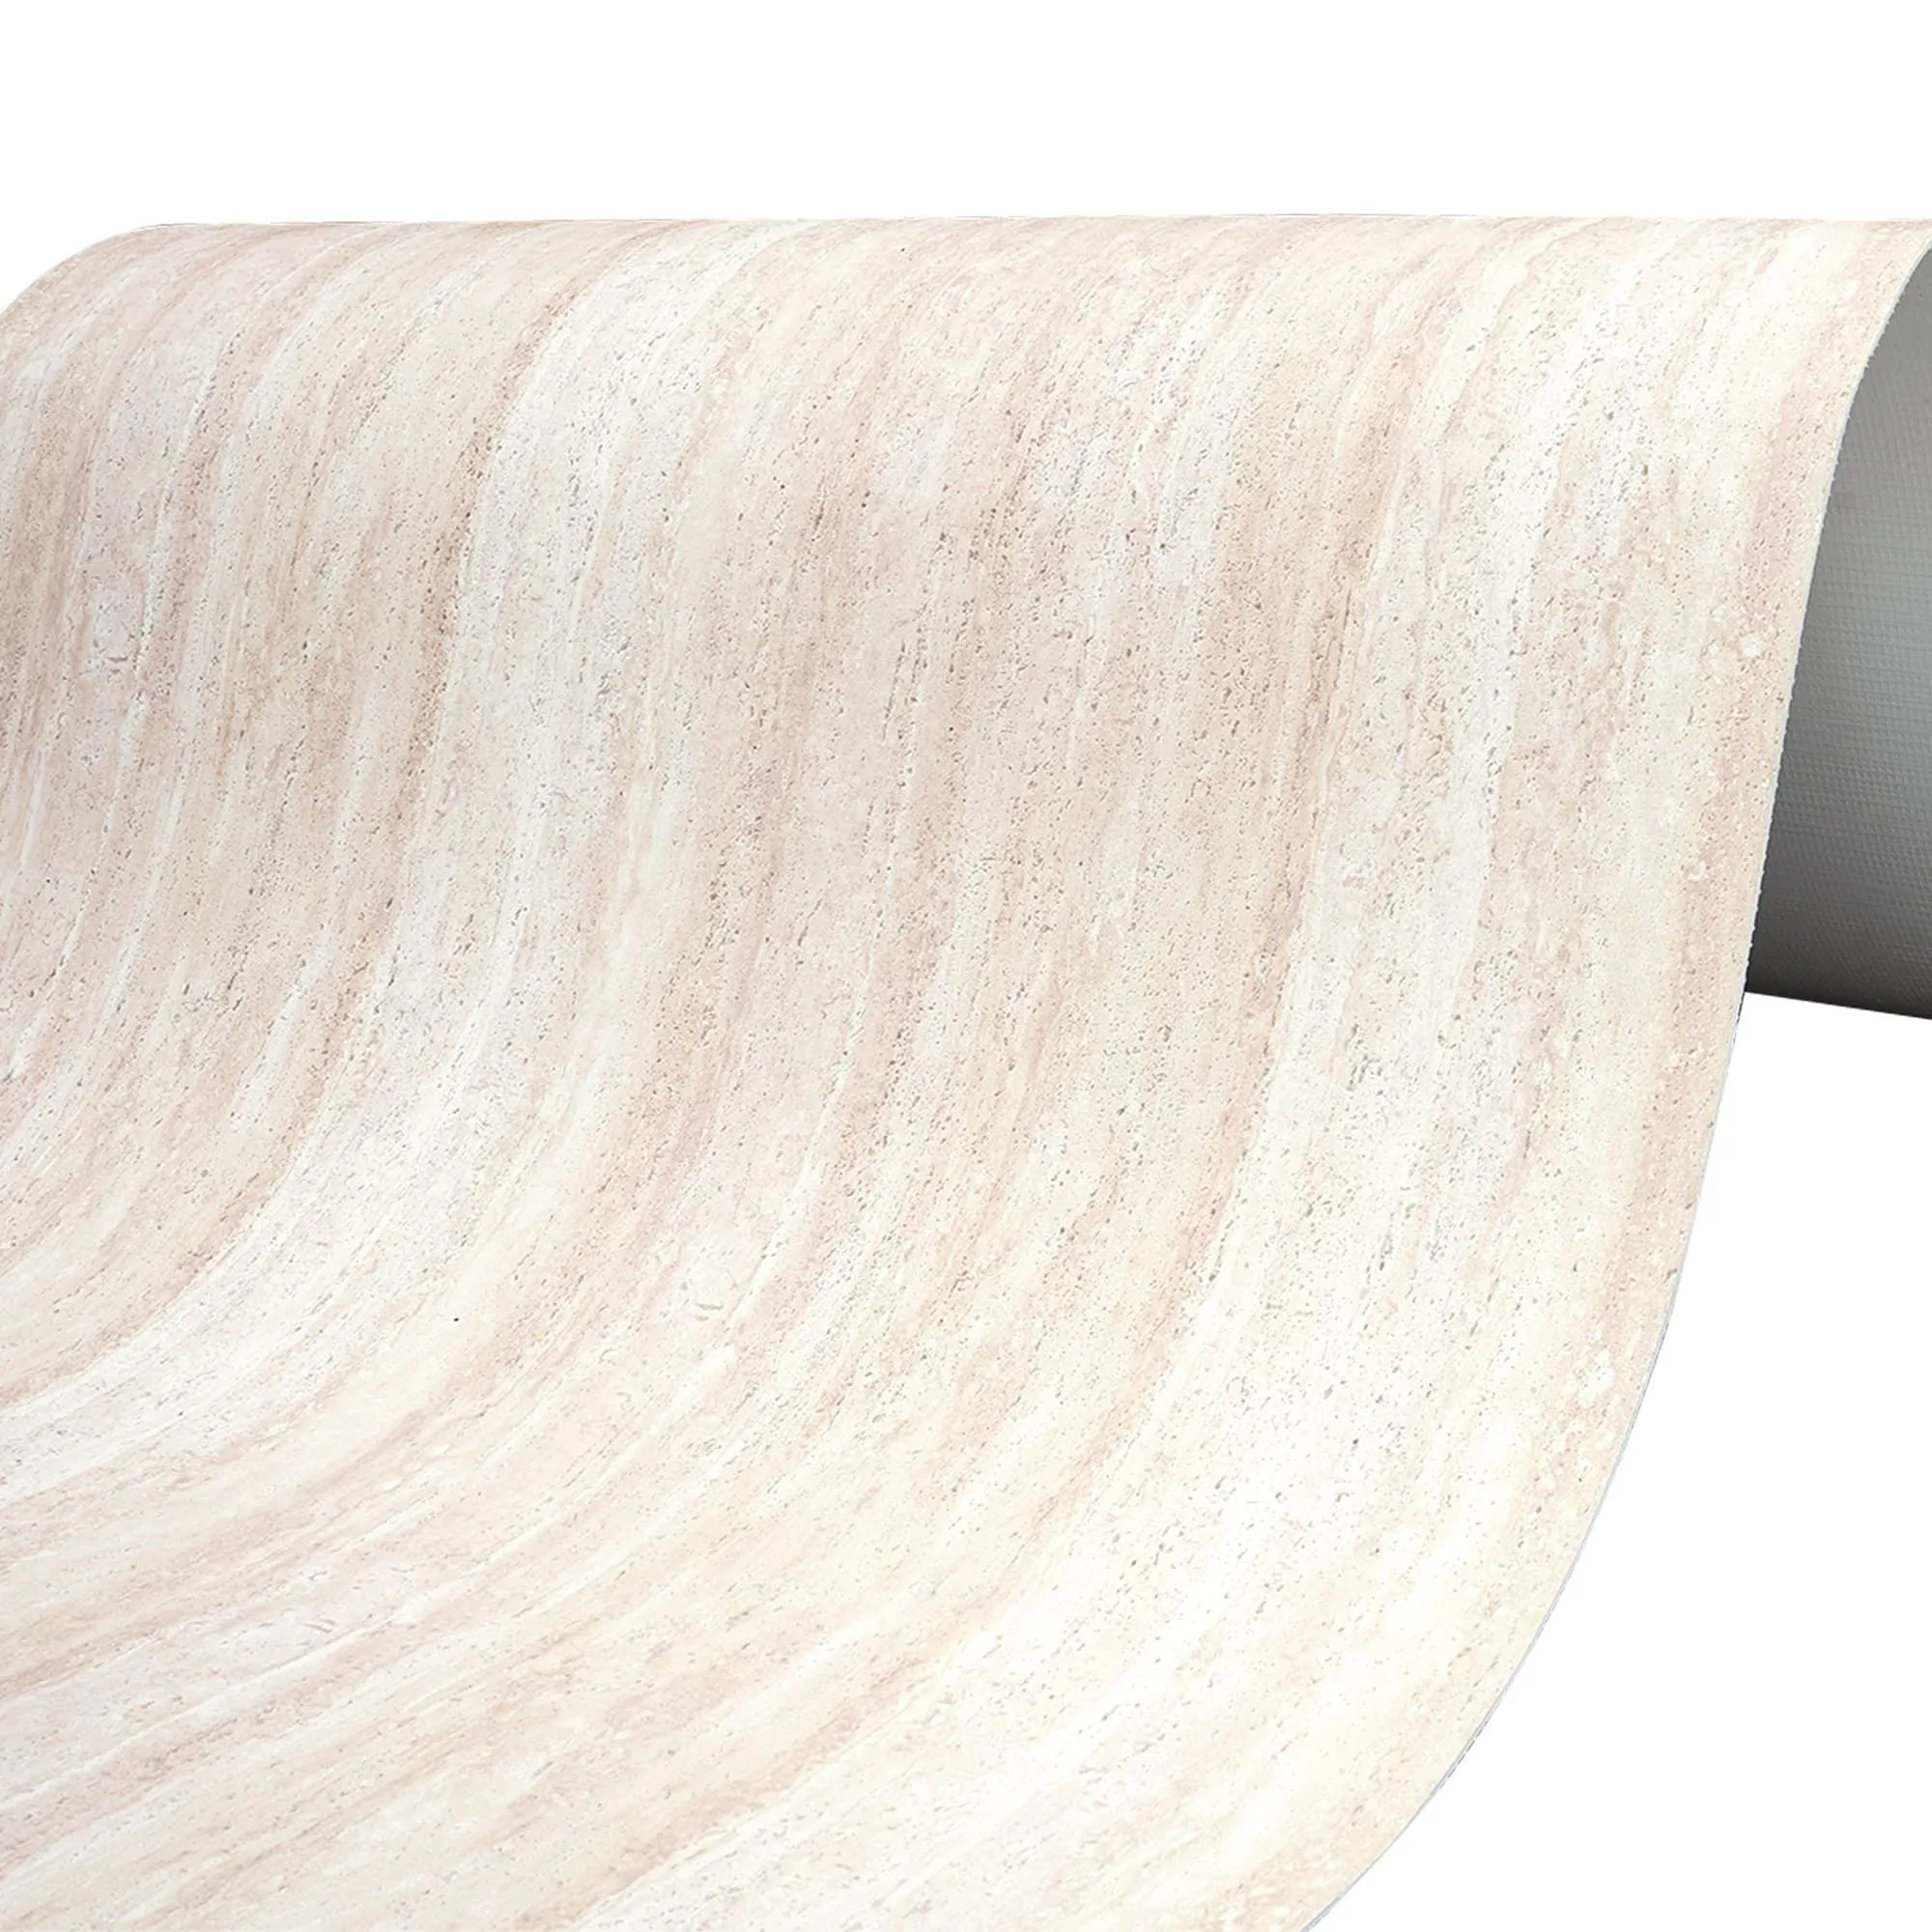
Before we dive into the nitty-gritty, let's get one thing straight: MCM (Modified Composite Material) products, including Rona Yellow, are engineered to withstand the elements. They're resistant to moisture, UV rays, and everyday wear and tear, which is why they're a top choice for both indoor and outdoor use. But "resistant" doesn't mean "invincible." Chips and cracks, while rare, can occur—especially in high-traffic areas or if the material was installed without proper reinforcement. The good news? MCM's composition, which often includes flexible stone components (hello, MCM flexible stone!), makes repairs surprisingly manageable. Unlike natural stone, which can be finicky to patch, Rona Yellow's composite structure allows for seamless fixes that won't compromise its integrity or appearance. So grab your work gloves, clear a little workspace, and let's turn those imperfections into a distant memory.
Before you start slathering on filler or sanding away, let's make sure you have everything you need. Having the right tools and materials on hand will save you time, frustration, and ensure your repair looks professional. Think of it like baking a cake—you wouldn't skip the flour, and you shouldn't skip these essentials either.
| Category | Items | Why You Need It |
|---|---|---|
| Tools | Fine-grit sandpaper (220-grit and 400-grit) | To smooth rough edges and blend repairs into the surrounding surface. |
| Putty knife (flexible, 1-2 inch blade) | For applying filler precisely and scraping away excess without damaging the MCM. | |
| Soft-bristle brush or microfiber cloth | To clean dust and debris from the damaged area before repairs. | |
| Small mixing bowl and stir stick | For blending repair compounds or color-matching pigments. | |
| Heat gun (optional) | To speed up drying time for fillers or soften sealants for a smoother finish. | |
| Materials | Rona Yellow MCM repair compound (or high-quality stone filler) | The star of the show—choosing a compound designed for MCM ensures color and texture match. |
| MCM flexible stone dust (small bag) | Mimics Rona Yellow's natural texture; mix a pinch into filler for a seamless look. | |
| Clear, water-based sealant (matte finish) | Protects the repaired area from moisture and UV damage after fixing. | |
| Isopropyl alcohol (70%) | To clean the damaged area thoroughly—removes oils, dirt, and grime that could ruin adhesion. |
Pro Tip: If you can't find Rona Yellow-specific repair compound, head to your local MCM supplier with a photo of your surface. Many carry pigment kits that let you mix custom shades—just blend a little yellow with tiny amounts of beige or cream until it matches. And always test the color on a hidden corner first!
Chips are the most common issue with Rona Yellow MCM, and they come in all sizes: from pinhead-sized nicks caused by flying debris to larger gouges from accidental impacts. The good news? The repair process is largely the same, whether you're dealing with a small blemish or a more noticeable divot. Let's break it down step by step.
First things first: you can't fix what you can't see—nor can filler stick to a dirty surface. Start by grabbing your soft-bristle brush or microfiber cloth and gently sweeping away any loose dust, dirt, or debris from the chipped area. If there's caked-on grime (think: kitchen grease or outdoor mildew), dampen a cloth with isopropyl alcohol and wipe the spot clean. Avoid using soap or harsh cleaners here—they can leave residues that prevent the filler from bonding properly. Let the area dry completely (about 10-15 minutes) before moving on. You want the surface to be bone-dry and free of any moisture.
Once clean, take a close look at the chip. If there are any jagged edges or loose bits of MCM, carefully trim them with a utility knife or sand them down with 220-grit sandpaper. The goal is to create a smooth, slightly concave surface for the filler to adhere to—think of it like prepping a canvas before painting. A little patience here goes a long way toward a seamless repair.
Now it's time to mix your repair compound. If you're using a pre-made Rona Yellow filler, great—just stir it well to ensure the pigments are evenly distributed. If you're mixing your own, follow the kit instructions, adding small amounts of pigment until the color matches your MCM. Once the color is spot-on, sprinkle in a tiny pinch of MCM flexible stone dust and stir gently. This dust mimics the subtle texture of Rona Yellow, so the repair won't look flat or artificial once dry.
Using your flexible putty knife, scoop up a small amount of filler (about the size of a pea for tiny chips, a marble for larger ones) and apply it to the chipped area. Hold the knife at a 45-degree angle and press the filler firmly into the chip, making sure to overfill it slightly—filler shrinks as it dries, so you want a little extra to sand down later. Smooth the surface with the knife, feathering the edges outward to blend it into the surrounding Rona Yellow. The key here is to work quickly but carefully—most fillers start to set within 15-20 minutes.
Let the filler dry completely—check the product label, but most take 1-2 hours. Once dry, it should feel hard to the touch and match the color of your Rona Yellow (or close enough). Now, grab your 220-grit sandpaper and start sanding the filled area. Use light, circular motions, focusing on the edges first to blend the filler into the MCM. As you sand, periodically wipe away dust with a dry cloth to check your progress. You want the repaired spot to be flush with the surrounding surface—no bumps, no dips.
For a truly professional finish, switch to 400-grit sandpaper and do a final light sanding. This will smooth out any remaining rough spots and give the repair a texture that mirrors the rest of the Rona Yellow slab. If you notice any low spots or areas where the filler shrank too much, mix a tiny bit more filler and repeat the process—better to do a second thin layer than rush and end up with an uneven repair.
Once the repaired area is smooth and matches the surrounding texture, it's time to seal it. Grab your clear, water-based sealant and a small foam brush. Apply a thin, even coat over the repaired spot, extending the sealant about ½ inch beyond the edges to ensure full coverage. This step isn't just about protecting the filler—it also helps blend the repair into the rest of the Rona Yellow surface by evening out the sheen. Let the sealant dry for 24 hours (yes, full 24—patience pays off!), and then give it a light buff with a dry cloth to remove any haze.
Stand back and admire your handiwork. If you did everything right, the chip should be all but invisible—even up close. If there's a slight color difference, don't panic. Over time, exposure to light and air will cause the repair to fade slightly, blending even more with the original Rona Yellow. And if it still bugs you? A second coat of sealant (after the first has fully cured) can sometimes help balance the tone.
Cracks in Rona Yellow MCM are less common than chips, but they can be trickier to fix—especially if they're long or deep. Unlike chips, which are surface-level, cracks can run through the thickness of the slab, so they require a slightly different approach. The goal here isn't just to fill the gap; it's to stabilize the crack and prevent it from spreading. Let's walk through how to tackle everything from tiny hairline fractures to more noticeable splits.
Before you start filling, you need to figure out if the crack is "active" (still growing) or "stable" (stopped spreading). Active cracks are usually caused by structural issues—like a shifting foundation or improper installation—and require professional attention. To test, mark the ends of the crack with a pencil and check back in a few weeks. If the marks move or the crack widens, call a contractor. If not, it's stable and safe to repair yourself.
For stable cracks, start by cleaning the area just like you did with chips: brush away debris, wipe with isopropyl alcohol, and let dry. If the crack is wider than 1/8 inch, use a small drill with a 1/16 inch bit to create tiny "stop holes" at both ends of the crack. These holes relieve pressure and prevent the crack from spreading further—think of them as speed bumps for fractures.
For hairline cracks (less than 1/16 inch wide), a standard epoxy-based stone filler works best. Epoxy is strong, flexible, and bonds well to MCM. Mix the epoxy according to the manufacturer's instructions (most come in two parts: resin and hardener), adding a pinch of Rona Yellow pigment and MCM flexible stone dust to match the color and texture. Using a toothpick or small artist's brush, carefully apply the epoxy into the crack, working it in from one end to the other. Wipe away excess with a alcohol-dampened cloth, and let it cure for 24 hours.
For cracks wider than 1/8 inch, you'll need a more heavy-duty approach. Start by widening the crack slightly with a chisel and hammer, creating a V-shaped groove (this gives the filler more surface area to grip). Clean the groove thoroughly, then apply a thin layer of epoxy to the sides of the crack—this acts as a primer. Once tacky (about 5-10 minutes), fill the groove with your repair compound, using the putty knife to press it firmly into place. Overfill slightly, then smooth the surface, feathering the edges into the Rona Yellow. Let it dry for 2 hours, then sand with 220-grit sandpaper, followed by 400-grit for a smooth finish. Seal with water-based sealant as before.
Pro Tip: If the crack is in an outdoor area exposed to the elements, add a small amount of fiberglass mesh tape to the back of the crack before filling. This reinforces the repair and prevents water from seeping in and causing further damage—especially important for MCM used on exterior walls or patios.

They say an ounce of prevention is worth a pound of cure, and that's especially true for Rona Yellow MCM. While this material is tough, a little regular care can go a long way toward avoiding chips, cracks, and other damage in the first place. Here's how to keep your MCM looking its best year after year.
Rona Yellow MCM doesn't need daily cleaning, but a quick wipe-down every few months (or more often for high-traffic areas like kitchen backsplashes) will keep dirt and grime from building up. Use a soft cloth or sponge and warm water—no soap, no abrasive scrubbers. For outdoor surfaces, a gentle spray with a garden hose works wonders. If you encounter stubborn stains (like wine or oil), blot immediately with a dry cloth, then clean with isopropyl alcohol. Avoid pressure washers or harsh chemicals like bleach—they can strip the sealant and dull the color over time.
Once a year, take a few minutes to inspect your Rona Yellow MCM for signs of wear: tiny chips, hairline cracks, or areas where the sealant might be peeling. If you spot any, address them right away—small issues are easier to fix than big ones. After inspecting, apply a fresh coat of water-based sealant to the entire surface (not just repaired areas). This adds a protective layer against moisture, UV rays, and stains, and helps maintain Rona Yellow's warm, golden glow. Think of it like sunscreen for your stone—prevention is key!
MCM is durable, but it's not indestructible. In high-traffic areas (like hallways or entryways), consider adding furniture pads to chair legs or placing a rug near doorways to prevent scuffs. If you're using Rona Yellow on a wall that might get bumped (say, behind a sofa), mount the MCM slabs with extra adhesive or backing to reinforce them. And avoid placing heavy objects directly on MCM countertops or shelves—use coasters or trivets to distribute weight evenly.
Compared to materials like fair-faced concrete, which can develop cracks from thermal expansion, Rona Yellow MCM is relatively low-maintenance. But even the best materials need a little love. By following these simple steps, you'll ensure your Rona Yellow stays as vibrant and beautiful as the day it was installed.
Even pros make mistakes—and that's okay! If your repair doesn't turn out perfectly on the first try, don't panic. Most issues are easy to fix with a little tweaking. Here are the most common problems and how to solve them.
Color matching can be tricky, especially with natural-looking materials like Rona Yellow. If your repair is too light, mix a tiny bit of brown or amber pigment into a small amount of fresh filler and apply a thin layer over the dried repair. If it's too dark, add a touch of white or cream pigment. Sand lightly after drying to blend.
This usually happens because the filler wasn't sanded enough. Wait until the filler is fully dry, then sand with 400-grit sandpaper using gentle, circular motions. Wipe away dust and check the surface—repeat until smooth. If the bump is severe, you may need to apply a thin layer of filler, let it dry, and sand again.
Peeling is almost always due to poor surface prep. The area was either dirty, damp, or had loose debris when the filler was applied. Remove the peeling filler with a putty knife, clean the spot thoroughly with isopropyl alcohol, let dry, and reapply the filler. Press firmly to ensure adhesion this time!
We talked to a few MCM installation pros to get their best-kept secrets for repairing Rona Yellow. Here's what they had to say:
At the end of the day, Rona Yellow MCM is more than just a building material—it's a design choice that brings warmth and character to your space. And while chips and cracks might feel like a disaster at first, they're really just a chance to roll up your sleeves and care for something you love. With the steps in this guide, a little patience, and the right tools, you can fix those flaws like a pro—no fancy training required.
Remember: MCM is designed to be resilient, and Rona Yellow, as part of the MCM big slab board series, is no exception. By taking the time to repair damage quickly and maintain your surface regularly, you'll keep it looking beautiful for years to come. Whether you're a seasoned DIYer or a first-time repairer, trust that you have the skills to do this. And when you're done, step back, admire your work, and take pride in knowing you've extended the life of a material that makes your space feel like home.
So go ahead—grab that putty knife, mix that filler, and show those chips and cracks who's boss. Your Rona Yellow MCM (and your future self) will thank you.
Recommend Products


