
If you've ever walked into a space and thought, "Wow, that wall texture is incredible," chances are you were looking at MCM panels. Short for Modified Composite Material, MCM panels have revolutionized the way we think about interior and exterior cladding—lightweight, durable, and endlessly customizable. Among the standout options in the MCM lineup is rough granite stone (medium grey) , a material that brings the raw, earthy charm of natural granite without the heavy weight or high maintenance. But before you start envisioning it on your living room accent wall or storefront facade, let's dive into the nuts and bolts: the tools you'll need, the techniques that make installation a breeze, and how to ensure your rough granite MCM panels look as stunning as those "real pictures" you've been admiring.
First, let's talk about why MCM panels have become a go-to for architects, designers, and DIY enthusiasts alike. Unlike traditional stone cladding, MCM panels are made by bonding a thin layer of decorative material (like rough granite) to a lightweight core, resulting in sheets that are easy to handle, transport, and install. This makes them ideal for both large commercial projects and small home renovations.
Now, rough granite stone (medium grey) specifically? It's a showstopper. With its uneven, tactile surface that mimics the look of hand-hewn granite, it adds depth and character to any space. Whether you're going for an industrial loft vibe, a rustic cabin feel, or a modern minimalist aesthetic, rough granite MCM panels play well with other materials—think pairing them with warm wood grain board for a cozy contrast or sleek fair-faced concrete for an urban edge. And because MCM panels are engineered, you get consistent color and texture across every sheet, so there's no stress about mismatched "real pictures" vs. reality.
Before you pick up a trowel, let's make sure you have the right tools. Installing MCM panels isn't overly complicated, but using the correct gear will save you time, frustration, and costly mistakes. Here's your checklist:
| Tool Name | Purpose | Pro Tip |
|---|---|---|
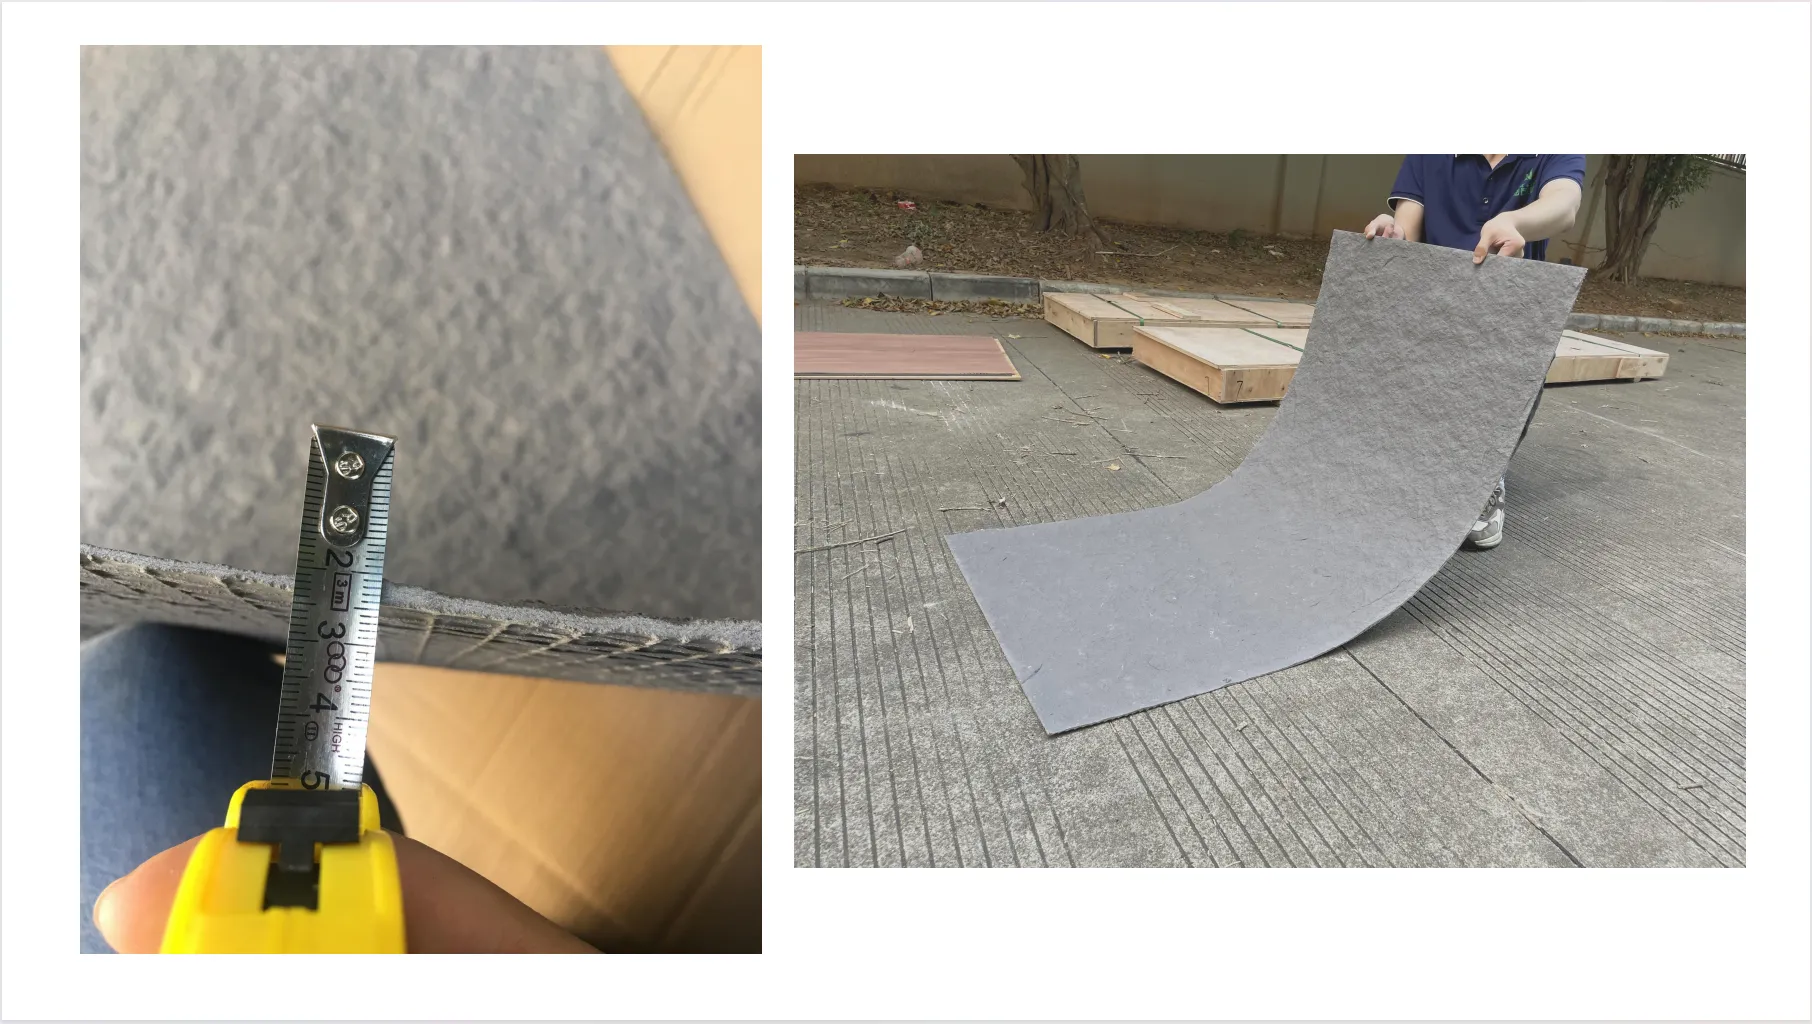
| Tape Measure & Pencil | For precise measurements and marking cut lines | Always measure twice, cut once! MCM panels are durable, but wasted material is avoidable. |
| Straightedge/Ruler | To ensure straight, clean cuts | Use a metal straightedge for better stability than plastic—no wobbly lines here. |
| Utility Knife or Circular Saw with Diamond Blade | Cutting panels to size; diamond blades work best for rough granite's texture | If using a circular saw, score the decorative side first to prevent chipping the rough granite surface. |
| Notched Trowel | Applying adhesive evenly to the back of panels | Opt for a 1/4-inch notched trowel for most walls; adjust size based on panel thickness. |
| Rubber Mallet | Gently tapping panels into place without damaging the surface | Cover the mallet head with a soft cloth to avoid leaving marks on the rough granite. |
| Level (2-foot and 4-foot) | Ensuring panels are straight and plumb | Check level horizontally and vertically with every panel—even a small tilt will throw off the whole wall. |
| Spacers | Maintaining consistent gaps between panels for grout (if needed) | Use 1/8-inch spacers for a tight, modern look; 1/4-inch for a more traditional stone wall feel. |
| Adhesive (Polyurethane or Epoxy-Based) | Securing panels to the substrate (wall, ceiling, etc.) | Choose an adhesive rated for exterior use if installing outdoors—weather resistance is key! |
| Safety Gear: Gloves, Goggles, Dust Mask | Protecting hands, eyes, and lungs during cutting and handling | Rough granite can have sharp edges—never skip gloves! A dust mask is a must when cutting to avoid inhaling stone particles. |
Now that you've got your tools ready, let's walk through the installation process. Think of it as a recipe—follow the steps, and you'll end up with a "dish" that looks like it was professionally done. We'll focus on interior wall installation here, but the basics apply to exteriors too (with a few extra weatherproofing steps).
MCM panels stick best to smooth, stable surfaces. Before you even think about applying adhesive, inspect your wall: Are there cracks? Holes? Peeling paint? Fill any gaps with spackle, sand down rough spots, and wipe the surface clean with a damp cloth to remove dust and debris. If you're working on a textured wall (like stucco), you may need to apply a layer of fair-faced concrete backer board first to create a flat base—trust us, skipping this step will lead to wobbly panels and headaches later.
Measure the wall from top to bottom and side to side, then transfer those measurements to your rough granite MCM panels. Use a straightedge and pencil to mark your cut lines—remember, the decorative side (the rough granite surface) should face up when marking to avoid mistakes. For straight cuts, a circular saw with a diamond blade works wonders; for curves or notches, a jigsaw with a diamond grit blade will give you more control.
Pro tip: Cut panels slightly larger than needed (by 1/8 inch or so) and sand down to the exact size. This prevents accidentally cutting too small and having to start over.
Now it's time to get sticky. Using your notched trowel, spread adhesive evenly across the back of the MCM panel—hold the trowel at a 45-degree angle to create ridges that will help the panel bond to the wall. Aim for coverage that's about 80-90% of the panel's back; leaving small gaps is okay, but large empty spots can cause the panel to loosen over time.
For rough granite specifically, pay extra attention to the edges. The uneven surface means some areas may not make full contact with the wall, so adding a bit more adhesive along the perimeter can provide extra security.
Carefully lift the panel (they're lightweight, but still—use two hands for larger sheets!) and align it with your marked guidelines on the wall. Gently press it into place, starting from the center and working outward to push out air bubbles. Then, take your rubber mallet and tap lightly across the surface to ensure the adhesive makes full contact with the wall. Use your level to check that the panel is straight—adjust immediately if it's tilting (adhesive sets quickly, so don't wait!).
Add spacers along the edges if you're planning to grout later—this keeps the gaps consistent and gives you room to work once all panels are up.
Once all panels are installed and the adhesive has cured (check the manufacturer's instructions—this usually takes 24-48 hours), it's time to finish the job. If you used spacers, mix grout that matches the color of your rough granite (or go for a contrasting shade for drama) and apply it with a rubber float, pressing it into the gaps. Wipe away excess grout with a damp sponge before it dries to avoid staining the rough granite surface.
Finally, seal the panels. While MCM panels are water-resistant, sealing adds an extra layer of protection against stains, especially in high-moisture areas like kitchens or bathrooms. Use a stone sealer designed for textured surfaces, and apply it with a brush to ensure it gets into all the nooks and crannies of the rough granite.
One of the best things about MCM panels is how well they play with others. Once you've mastered installing rough granite, why not mix and match with other materials to create a truly unique look? Here are a few ideas to spark your creativity:
Imagine a living room wall where rough granite stone (medium grey) covers the lower half, and warm wood grain board runs from mid-wall to the ceiling. The contrast between the cool, textured stone and the smooth, natural wood creates a space that feels both inviting and sophisticated. Add a floating shelf where the two materials meet, and you've got the perfect spot for decor or books.
For a modern loft or commercial space, pair rough granite with fair-faced concrete MCM panels. The raw, unpolished look of concrete complements the rugged texture of rough granite, creating a vibe that's equal parts edgy and timeless. Use this combo on a feature wall behind a reception desk or in a restaurant dining area—guests won't be able to stop taking "real pictures" of it.
Add thin metal strips (brass, copper, or black steel) between rough granite panels for a high-end, designer touch. The metal breaks up the stone texture and adds a hint of glamour—perfect for a hotel lobby or boutique storefront. You could even use metal brackets to mount floating shelves directly onto the rough granite wall for a functional yet stylish display.
Even pros make mistakes—here's how to avoid (or fix!) the most common ones when installing rough granite MCM panels:
At the end of the day, installing rough granite stone (medium grey) MCM panels is about more than just cladding a wall—it's about bringing a vision to life. With the right tools, a little patience, and the techniques we've covered, you can achieve a look that rivals the "real pictures" you see in design magazines and Pinterest boards.
And let's not forget the perks: MCM panels are lightweight, durable, and low-maintenance, meaning your rough granite wall will look stunning for years to come. Whether you're a seasoned contractor or a DIY newbie, there's no better feeling than stepping back and thinking, "I did that." So grab your tools, pick up those panels, and get ready to transform your space—one rough granite MCM panel at a time.
Recommend Products


