
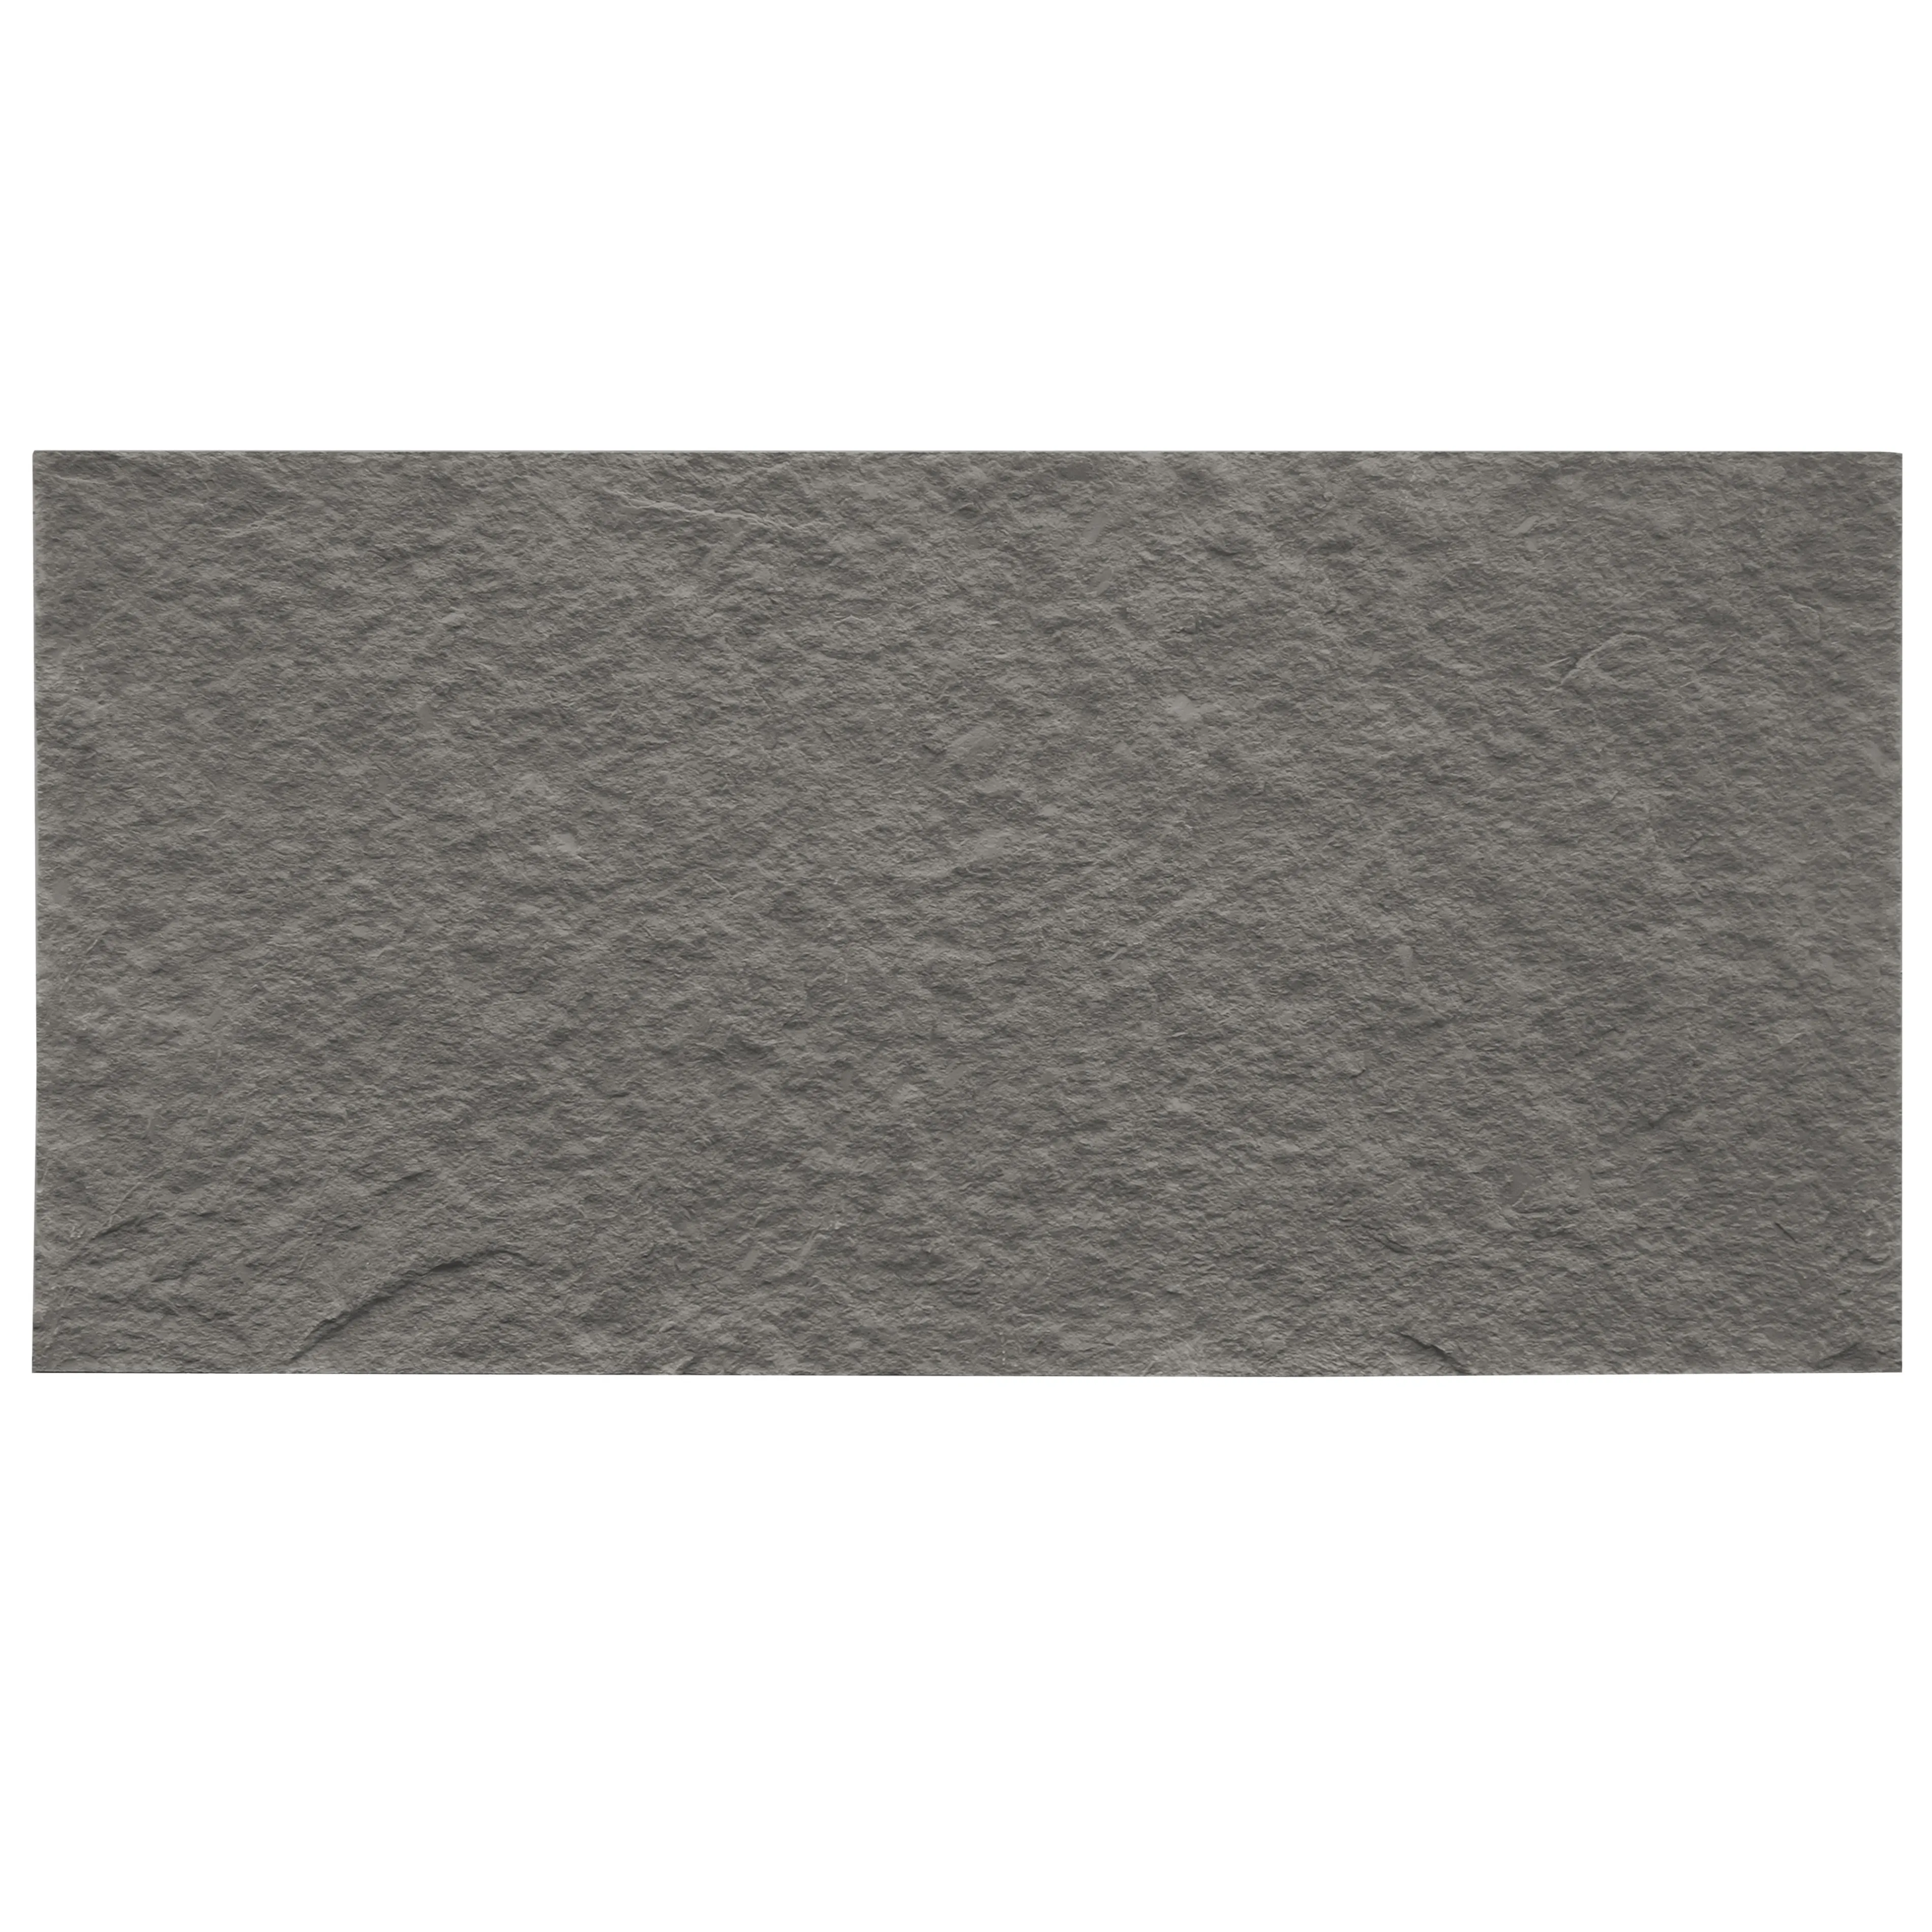
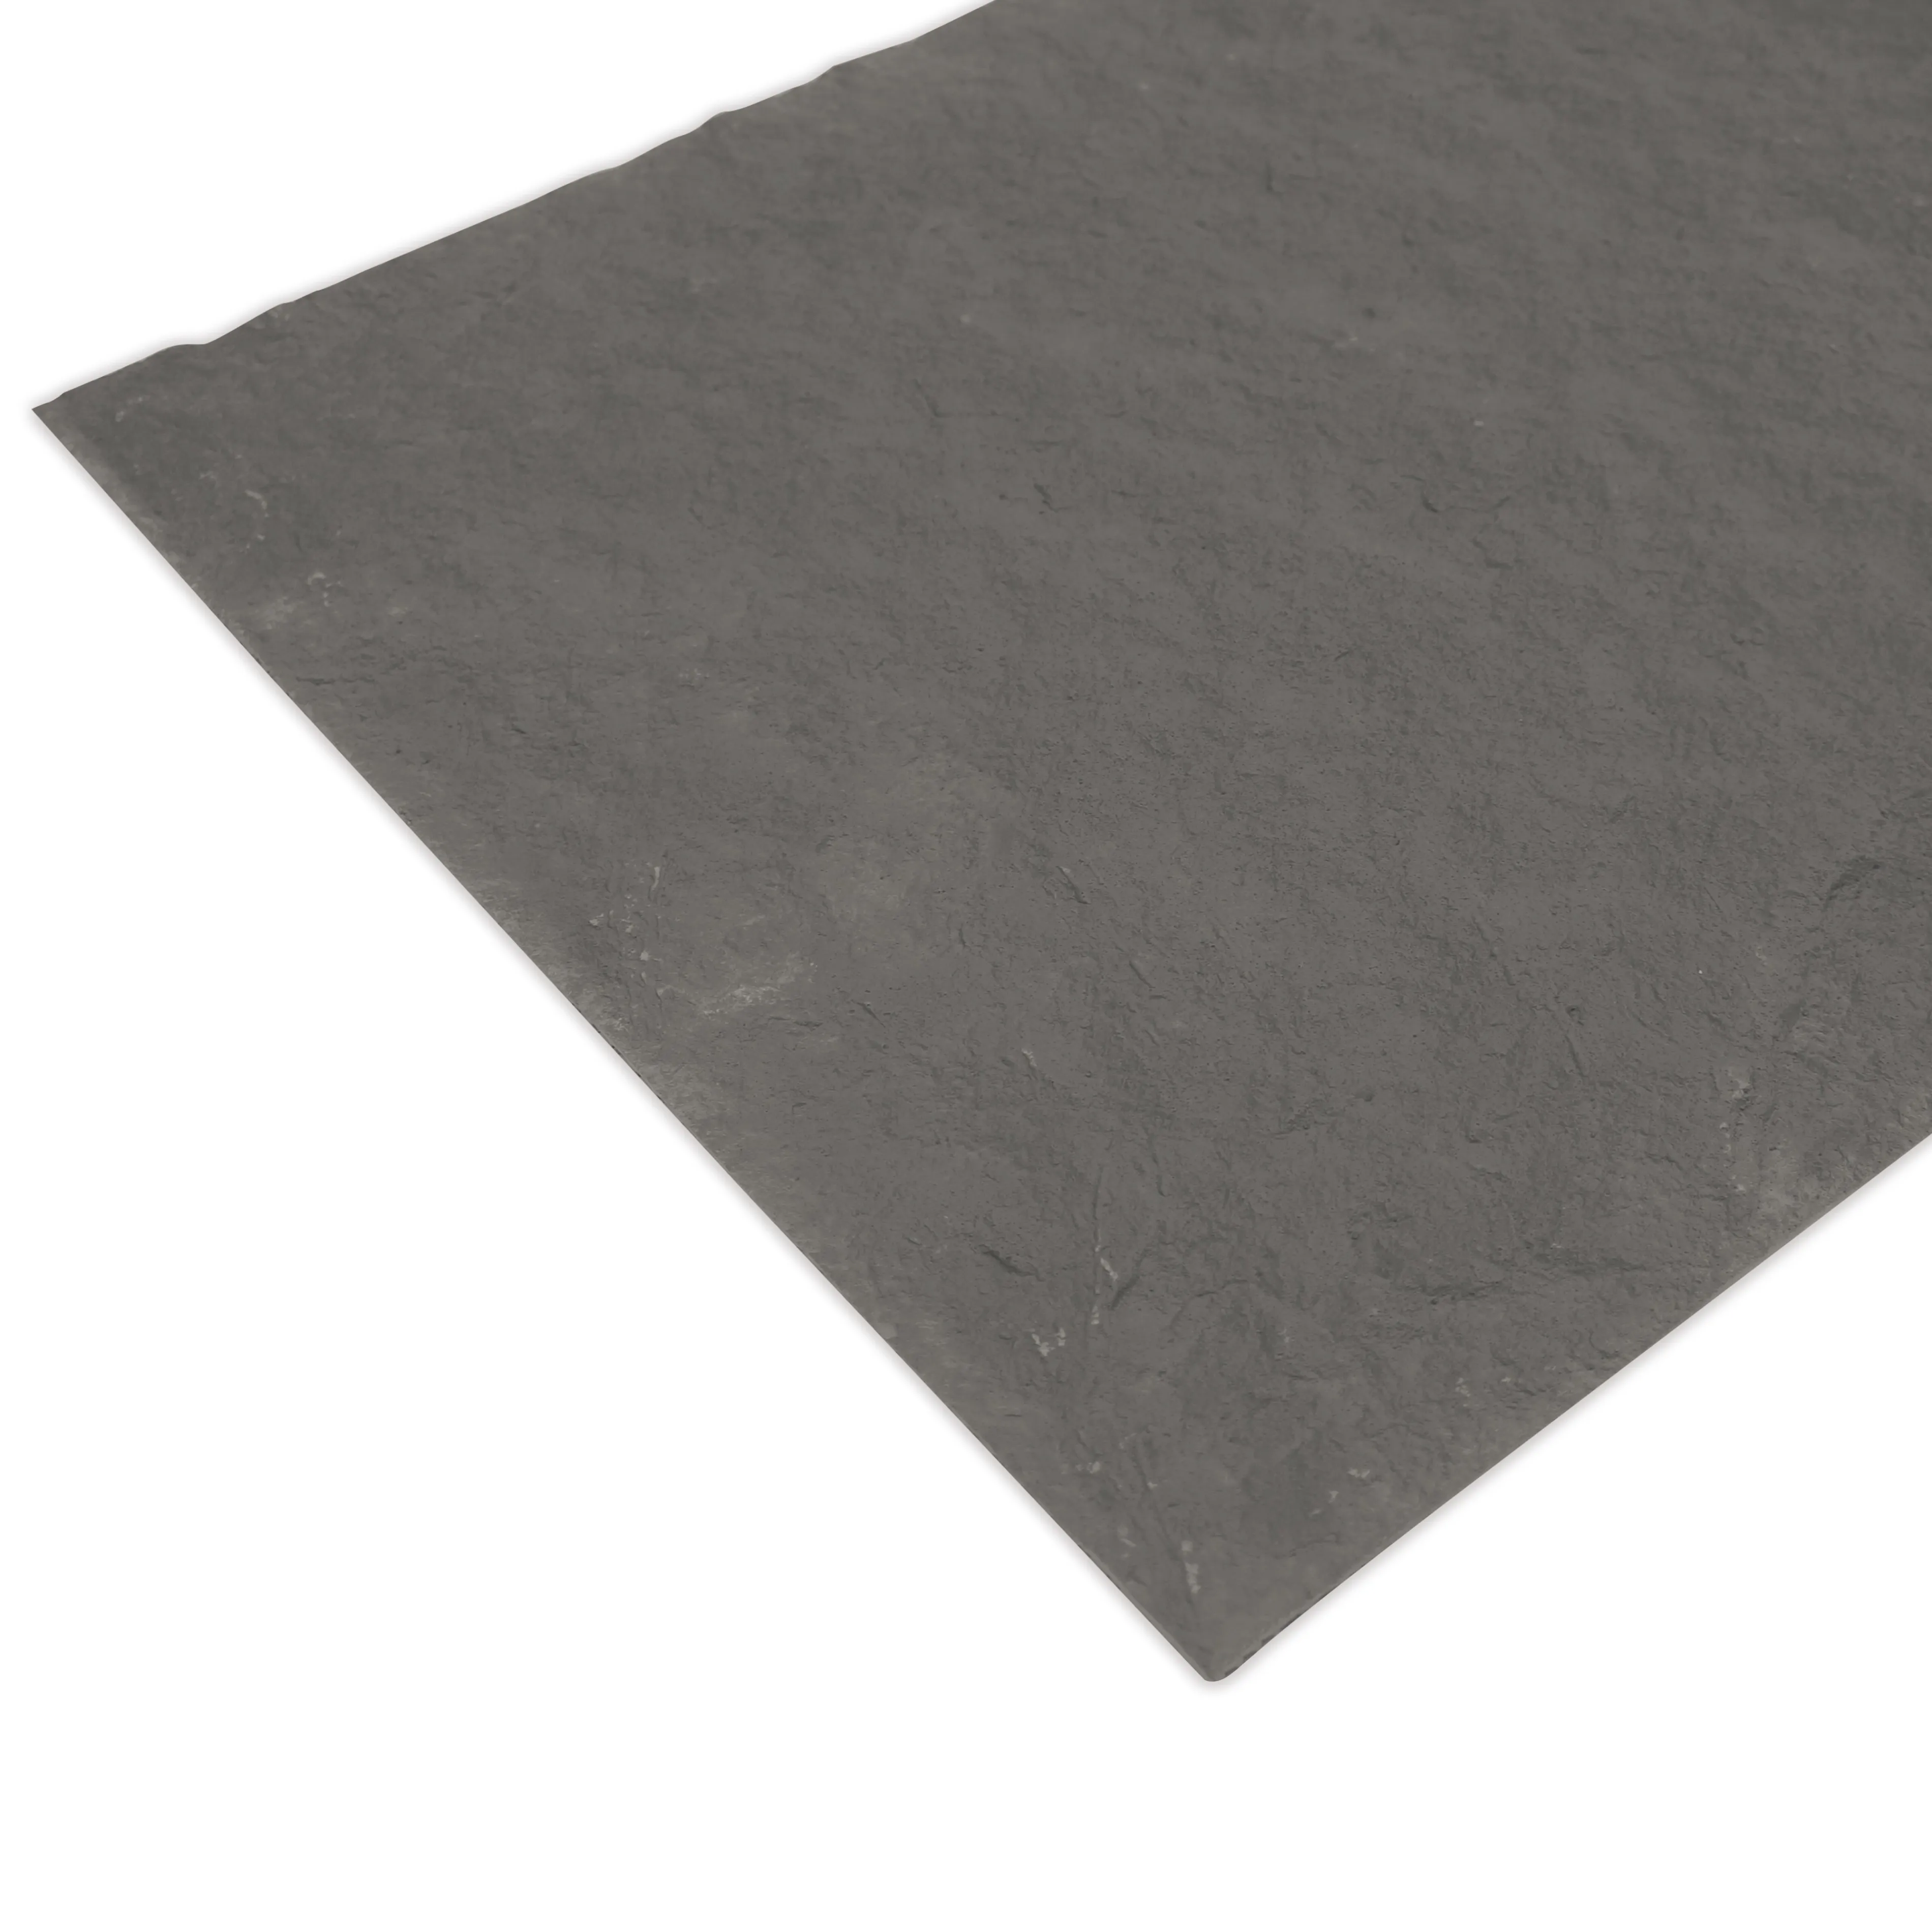
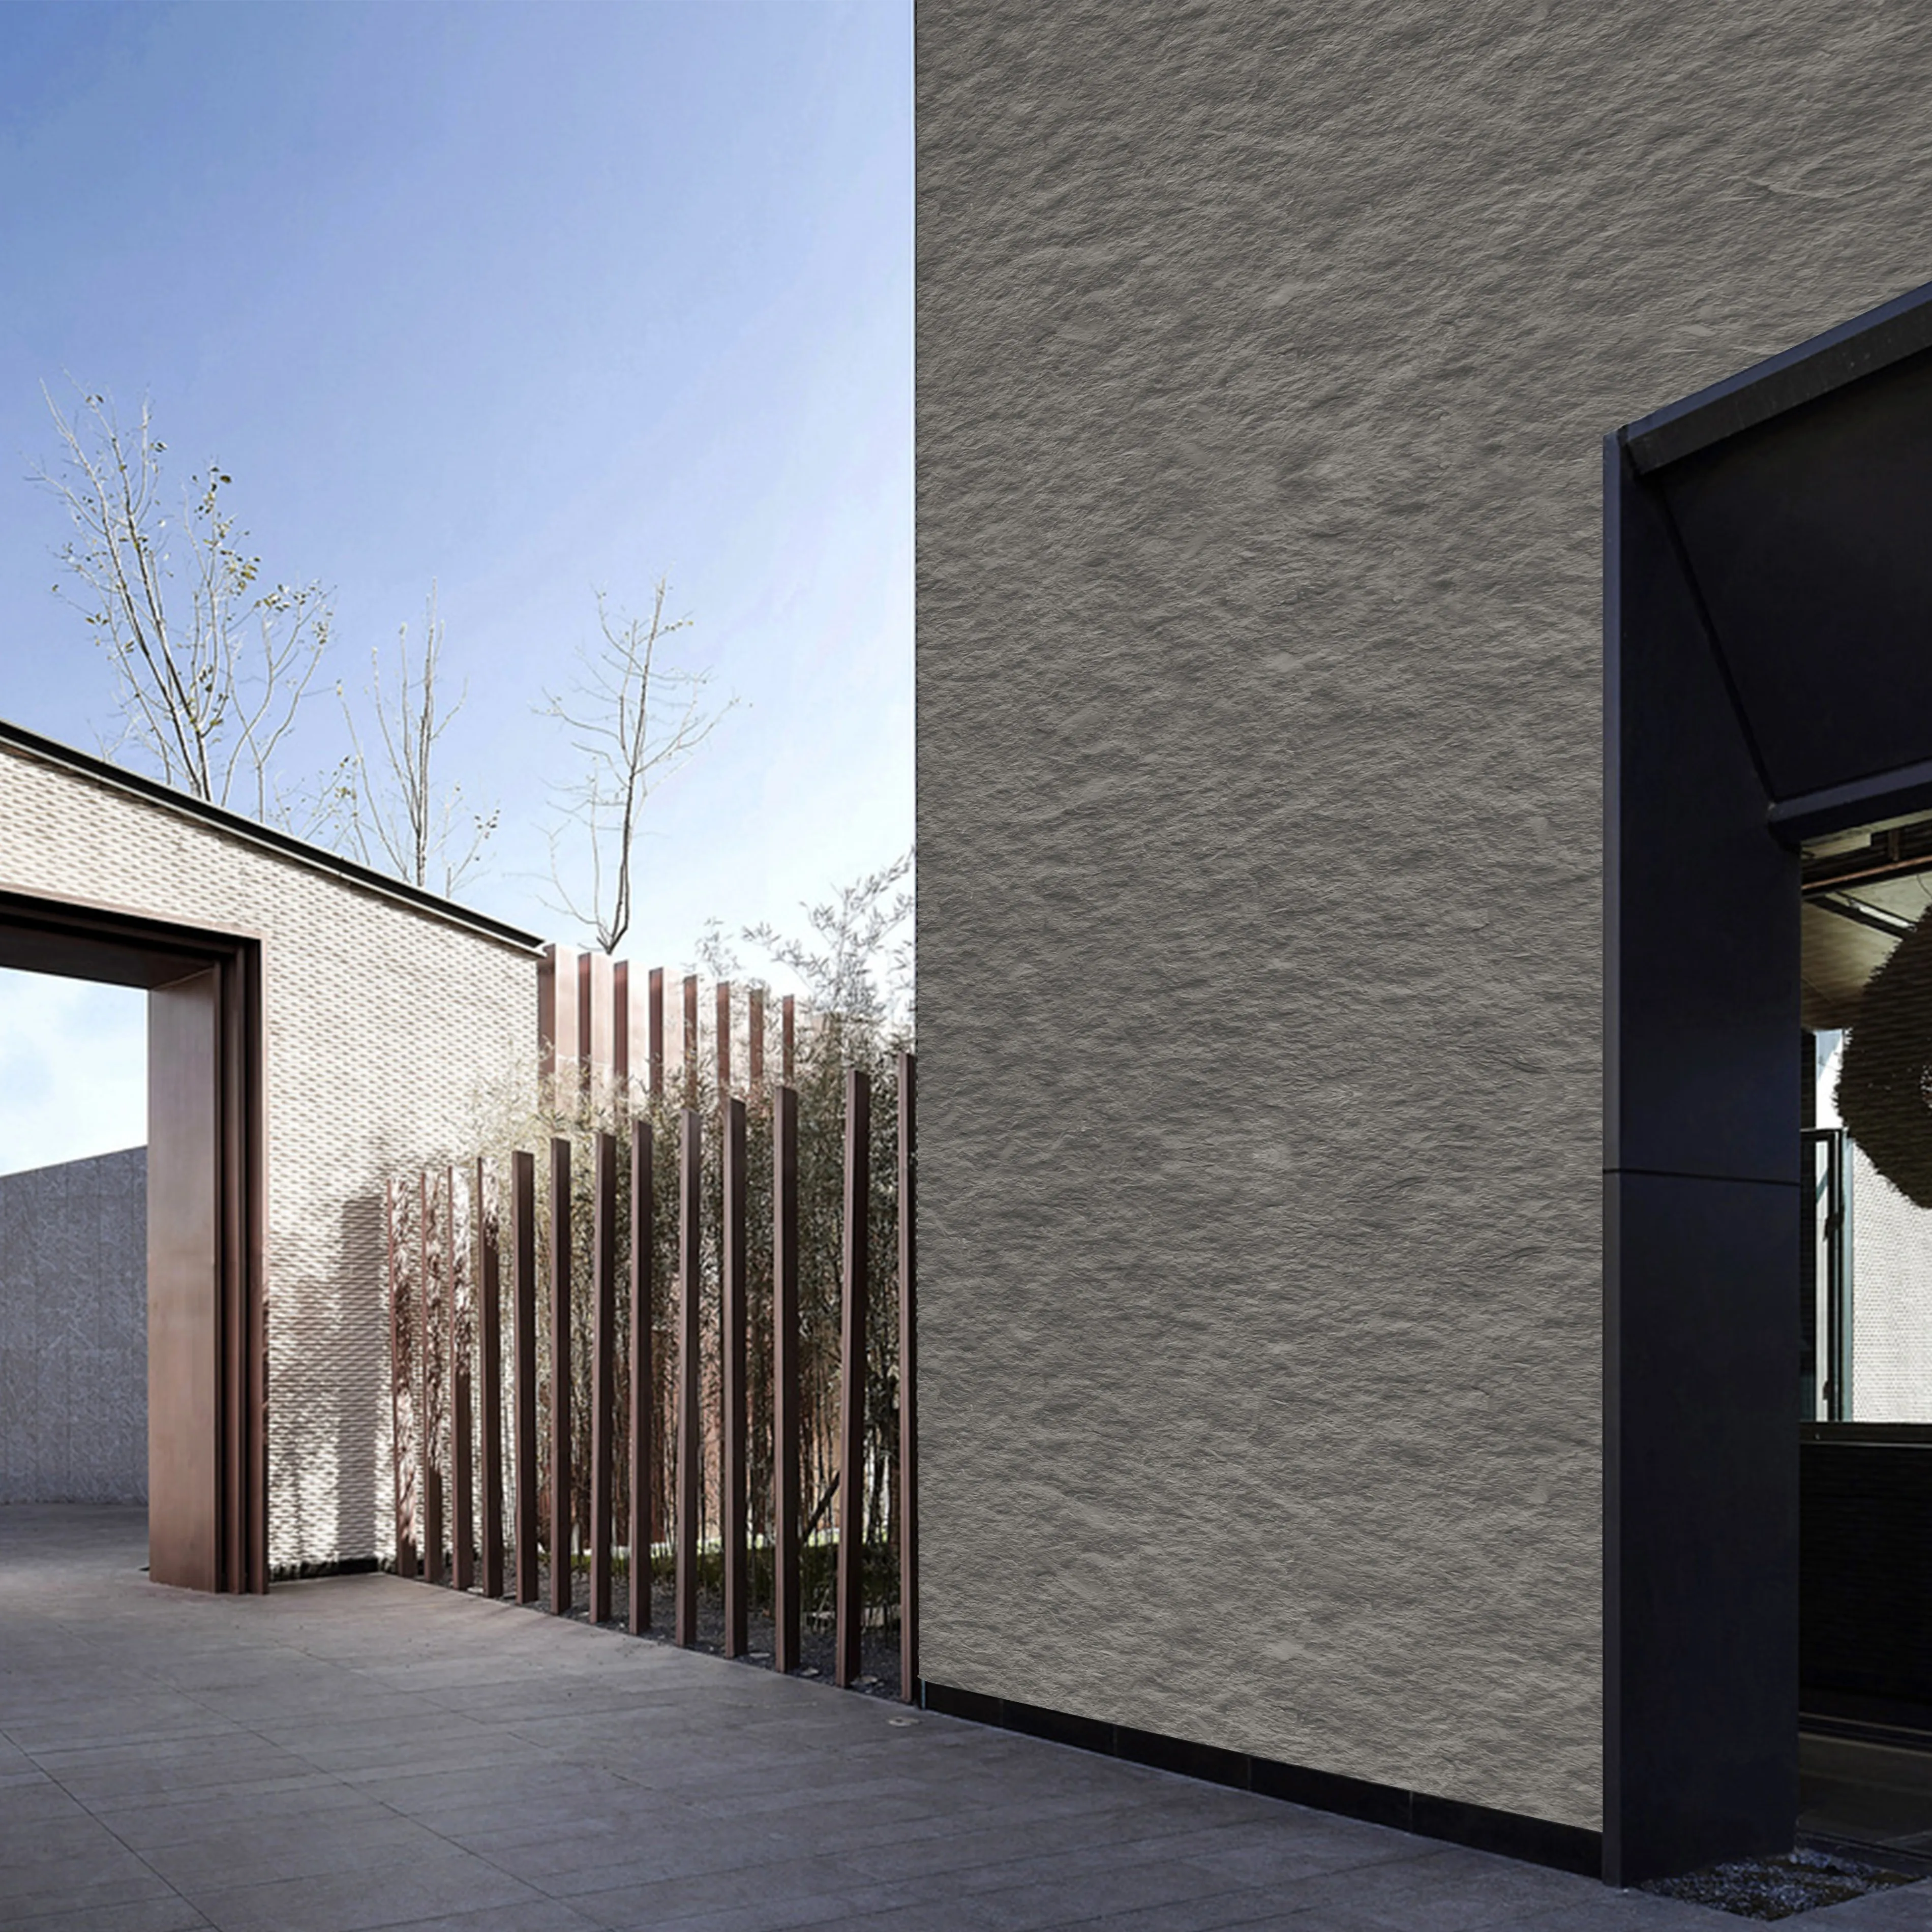
Let's start with the obvious: rough granite stone (medium grey) isn't just a building material—it's a statement. Run your hand over its surface, and you'll feel the raw, unpolished texture that speaks to centuries of geological formation. It's the kind of material that turns a plain wall into a focal point, a commercial facade into a landmark, or a residential exterior into something neighbors stop to admire. But here's the thing about working with rough granite: it demands respect. It's heavy, it's unforgiving of shortcuts, and it rewards those who take the time to do it right. As someone who's spent decades in the trade, I've seen projects where rough granite shines—and a few where it fell flat. This guide isn't just about the "how-to"; it's about the "why" behind each step, the lessons learned the hard way, and how to make sure your next installation stands strong (and looks stunning) for decades.
Before we dive into the nitty-gritty, let's talk about why you'd choose rough granite stone (medium grey) in the first place. Sure, it's durable—granite's hardness (7 on the Mohs scale) means it resists scratches, stains, and weathering better than most materials. But its real magic is in its versatility. That medium grey hue? It's a chameleon. In sunlight, it warms up, revealing flecks of silver and charcoal; under artificial light, it takes on a moody, industrial edge. Pair it with warm woods, cool metals, or even bold colors, and it adapts without losing its identity.
Contractors love it for commercial projects because it's low-maintenance once installed—no need for frequent touch-ups or replacements. Homeowners? They're drawn to its timelessness. In a world of fleeting design trends, rough granite stone (medium grey) feels permanent, like it's been there forever and will stay long after we're gone. But to unlock that potential, you need to start with the basics: preparation.
Here's a truth I've learned the hard way: 80% of installation problems stem from skimping on prep. With rough granite stone (medium grey), that number jumps even higher. This isn't flexible stone—you can't bend it to fix a wonky substrate. So let's break it down step by step.
First, walk the site. Is the area exposed to heavy rain? Will it get direct sunlight all day? Rough granite handles the elements, but the substrate it sits on might not. Check for drainage—standing water behind the stone will eventually cause issues, even with the best sealant. If you're installing on an exterior wall, ensure the sheathing has a weather barrier, and flashings are in place around windows or doors. For interiors, test the substrate's moisture levels with a meter; anything above 5% relative humidity spells trouble for adhesives.
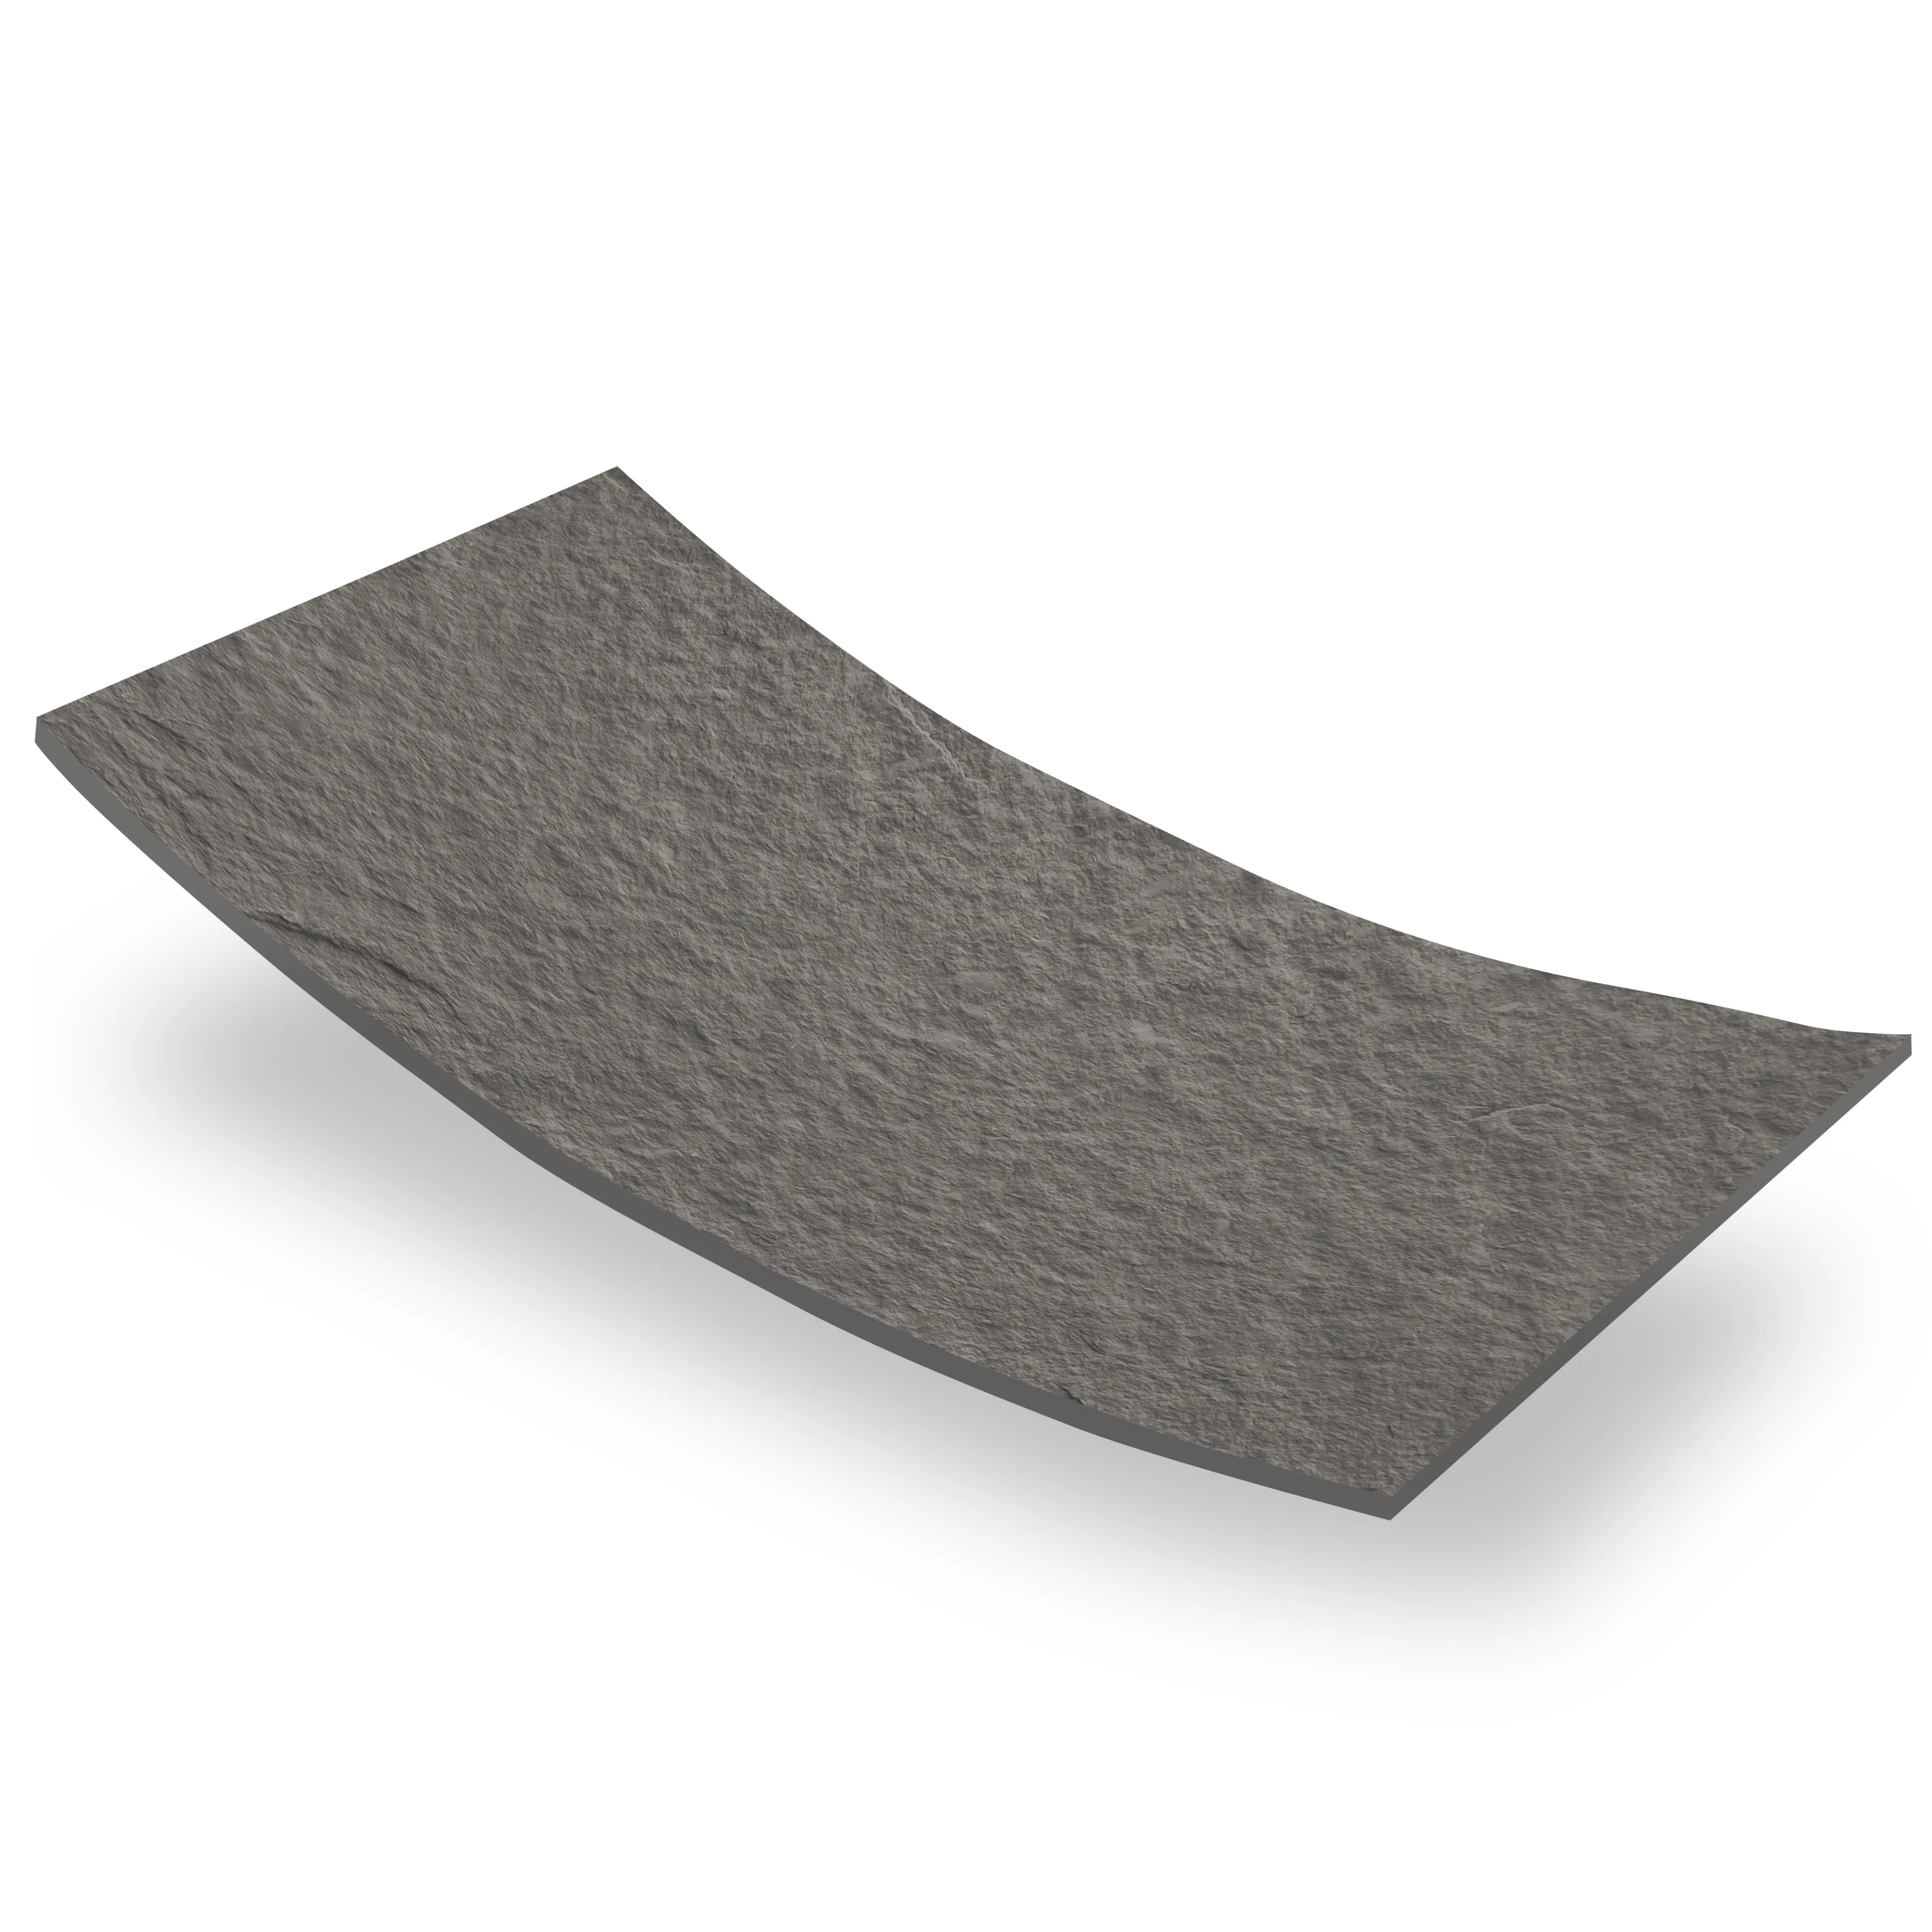
Rough granite stone (medium grey) arrives in slabs or individual pieces, and no two are exactly alike—that's part of its charm. But that variability means you need to sort through the material before installation. Lay out the pieces on a flat surface (plywood works) to check for thickness inconsistencies, cracks, or chips. Set aside any damaged pieces—don't try to "make them work" to save time; it'll cost you more later when they fail. Also, note the weight: a standard 24x24-inch slab can weigh 70-80 pounds. Have a helper on hand, and use a dolly with straps to move them—strained backs and dropped stone are both avoidable headaches.
Most contractors install rough granite over fair-faced concrete—it's strong, stable, and provides a neutral backdrop. But fair-faced concrete isn't "install-ready" right out of the box. Check for levelness with a 4-foot straightedge; any dip over 1/8 inch in 10 feet needs fixing. Use a self-leveling compound for minor issues, or grind down high spots with a concrete grinder. For older concrete, look for spalling (flaking) or efflorescence (white powdery deposits)—signs of moisture problems. Address those first, or the stone will fail within years.
Not working with concrete? If the substrate is masonry stone, ensure the mortar joints are flush and solid. Loose bricks or crumbling mortar need repointing before you start. For drywall (interior only), reinforce with cement backer board—drywall alone can't support the weight of rough granite.
You wouldn't frame a house with a butter knife, and you won't install rough granite stone (medium grey) with basic tools. Here's the kit that'll make the job smoother, faster, and more professional.
| Tool | Purpose | Pro Tip |
|---|---|---|
| Chalk Line | Marking layout lines for straight, even rows | Snap lines twice—once to mark, once to confirm. Chalk smudges, and a second snap ensures clarity. |
| Notched Trowel (1/2-inch) | Applying thinset adhesive to the substrate | A larger notch (1/2-inch) is non-negotiable for rough granite. It ensures enough adhesive contact with the stone's irregular surface. |
| Wet Saw with Diamond Blade | Cutting stone to size (for corners or custom fits) | Keep the water reservoir full—diamond blades need constant cooling to avoid overheating and dust. Wear eye and ear protection; this tool is loud. |
| Rubber Mallet | Tapping stones into place without cracking them | Use light, even taps. A heavy hand here can chip the edges of the rough granite. |
| Grout Float | Applying grout between stones | Opt for a rubber float with a soft edge—it'll press grout into gaps without scratching the stone's surface. |
| Stone Sealer (Impregnating) | Protecting against stains and moisture | Choose a water-based sealer for interior jobs (low odor) and solvent-based for exteriors (more durable). Test on a scrap piece first to check for discoloration. |
Now, let's get to the heart of the matter. Installing rough granite stone (medium grey) is a mix of precision and artistry. Follow these steps, and you'll end up with a finish that looks intentional, not haphazard.
Start by finding the center of your wall or floor—this is your anchor point. Snap vertical and horizontal chalk lines to create a grid. For walls, work from the bottom up; for floors, from the farthest corner toward the door (so you don't walk on fresh stone). Dry-fit the stones along the grid to check spacing. Remember: rough granite isn't uniform, so some pieces might need trimming to keep the layout balanced. Aim for grout lines of 1/4 to 3/8 inch—wide enough to accommodate irregular edges but not so wide they dominate the design.
Most rough granite pieces come pre-cut, but you'll inevitably need to trim a few for corners, outlets, or odd angles. Use the wet saw with a diamond blade, and mark the cut line with a pencil (it shows up better than chalk on grey stone). Cut slowly—rushing leads to chipping. If you're cutting curves (for a circular window, say), use a angle grinder with a diamond cup wheel for rough shaping, then smooth with a stone file. Always cut outdoors or in a well-ventilated area, and wear a dust mask—silica dust is no joke.
Thinset mortar is your best bet for rough granite stone (medium grey)—it's strong, water-resistant, and bonds well to both stone and substrates like fair-faced concrete. Mix it to a peanut butter consistency—too runny, and the stone will slide; too thick, and it won't spread evenly. Apply it to the substrate with the notched trowel, holding the trowel at a 45-degree angle to create ridges. Cover only as much area as you can lay stone on in 15-20 minutes (thinset sets fast in warm weather). For extra, "back-butter" the stone—spread a thin layer of thinset on the back of the piece to ensure full contact, especially on uneven surfaces.
Lower each stone into place slowly, aligning it with your chalk lines. Once positioned, give it a light tap with the rubber mallet to set it into the thinset. Check for level with a small bubble level—don't rely on your eye here. If a stone is uneven, lift it immediately, scrape off the old thinset, and reapply fresh mortar. Let the first row set overnight before moving up the wall—this prevents shifting. For floors, use spacers between stones to keep grout lines consistent, and avoid walking on them for at least 24 hours.
Wait 24-48 hours for the thinset to cure before grouting (check the mortar bag for exact times). Mix sanded grout to a creamy consistency—sanded grout is stronger and resists shrinking in wider gaps. Apply it with the rubber float, holding the float at a 45-degree angle and pushing grout into the joints. Work in small sections (3x3 feet) to avoid the grout drying out. After 15-20 minutes, wipe the excess grout off the stone with a damp sponge, using circular motions. Rinse the sponge frequently, and avoid pressing too hard—you don't want to pull grout out of the joints. Let the grout cure for 72 hours before sealing.
Sealing is non-negotiable. Rough granite is porous, and without a sealer, it'll absorb stains, oil, and water. Apply the first coat with a lamb's wool applicator, working in small sections and wiping off excess after 5 minutes. Let it dry for 2-3 hours, then apply a second coat. For high-traffic areas (like a restaurant floor), add a third coat. Test the seal after 24 hours by dropping a few drops of water on the stone—if it beads up, you're good; if it soaks in, apply another coat. Re-seal every 2-3 years for interiors, 1-2 years for exteriors.
Rough granite stone (medium grey) plays well with others—and that's where the fun of design comes in. Here are a few pairings I've seen work wonders on jobsites.
Wood grain board and rough granite are a match made in design heaven. Imagine a kitchen backsplash where rough granite covers the main wall, and wood grain board frames the range hood—suddenly, the space feels both industrial and cozy. The key is contrast: the stone's rough, organic texture balances the wood's smooth, linear pattern. Just be smart about placement: keep wood grain board away from direct water (like a sink) to prevent warping, and seal it with a polyurethane finish for extra protection.
When you pair rough granite with fair-faced concrete, you're doubling down on durability and modern appeal. I once installed a retail storefront where the lower half was rough granite (medium grey) and the upper half was fair-faced concrete panels. The monochromatic palette let the textures steal the show—the concrete's smooth, uniform surface making the granite's roughness pop even more. For a cohesive look, use the same grout color as the concrete's undertones (try a light grey) to blend the two materials.
Rough granite is rigid, but flexible stone can handle curves—and combining them lets you get creative with shapes. For a hotel lobby with a rounded feature wall, we used flexible stone for the curved sections and rough granite for the flat areas. The transition was seamless, and the client loved how it softened the space without losing the granite's boldness. Just note: flexible stone is thinner and lighter, so adjust your adhesive and installation technique accordingly (a 1/4-inch notched trowel usually works).
Your job isn't done when the last stone is sealed. Clients will ask, "How do I keep this looking good?" Here's what to tell them.
For day-to-day care, warm water and a soft brush are all you need. Avoid harsh cleaners (bleach, ammonia) or abrasive pads—they'll strip the sealer and dull the stone. For grease or oil stains, blot immediately with a paper towel, then clean with a pH-neutral stone cleaner. Never let stains sit—even sealed granite can absorb them if left too long.
Remind clients to test the seal every year (the water drop test works). If they notice water soaking in, it's time to reseal. For exteriors, pressure washing (on low setting!) before sealing helps remove dirt and mildew—just let the stone dry completely first.
Even rough granite chips sometimes. For small chips, mix a bit of epoxy with granite dust (save the dust from cutting!) to create a paste, fill the chip, and sand smooth once dry. For larger cracks, call a professional—you don't want to risk the stone coming loose.
No job goes perfectly. Here's how to solve the issues I've seen crop up most often.
| Problem | Cause | Solution |
|---|---|---|
| Stone shifting during installation | Thinset too runny or applied too thick | Mix thinset to a stiffer consistency, and apply in thinner layers. Use spacers to hold stones in place while setting. |
| Grout cracking after curing | Substrate movement (e.g., settling floor) | Use a flexible grout additive for areas prone to movement. For severe cases, install expansion joints every 10-12 feet. |
| Sealer leaving streaks | Excess sealer not wiped off | Apply sealer in thin coats, and wipe with a clean cloth immediately after application. If streaks occur, buff with a dry cloth while the sealer is still tacky. |
| Uneven stone surface | Substrate not level or stones of varying thickness | Level the substrate with self-leveling compound before installation. Sort stones by thickness during dry-fit, and use thinset to shim thinner pieces. |
Installing rough granite stone (medium grey) isn't just about sticking rocks to a wall. It's about crafting something that lasts—something that tells a story of craftsmanship and care. When you take the time to prep properly, use the right tools, and pay attention to the details, you're not just building a structure—you're creating a legacy. Clients will remember how the stone feels under their hands, how it catches the light at dawn, how it stands up to years of use without fading. And isn't that why we got into this trade? To build things that matter.
So the next time you're on a jobsite, staring at a pallet of rough granite, remember: this stone has been around for millions of years. It's counting on you to install it with the respect it deserves. Do that, and you'll deliver a project that outlasts trends, impresses clients, and makes every aching muscle from lifting those slabs worth it.
Recommend Products


