
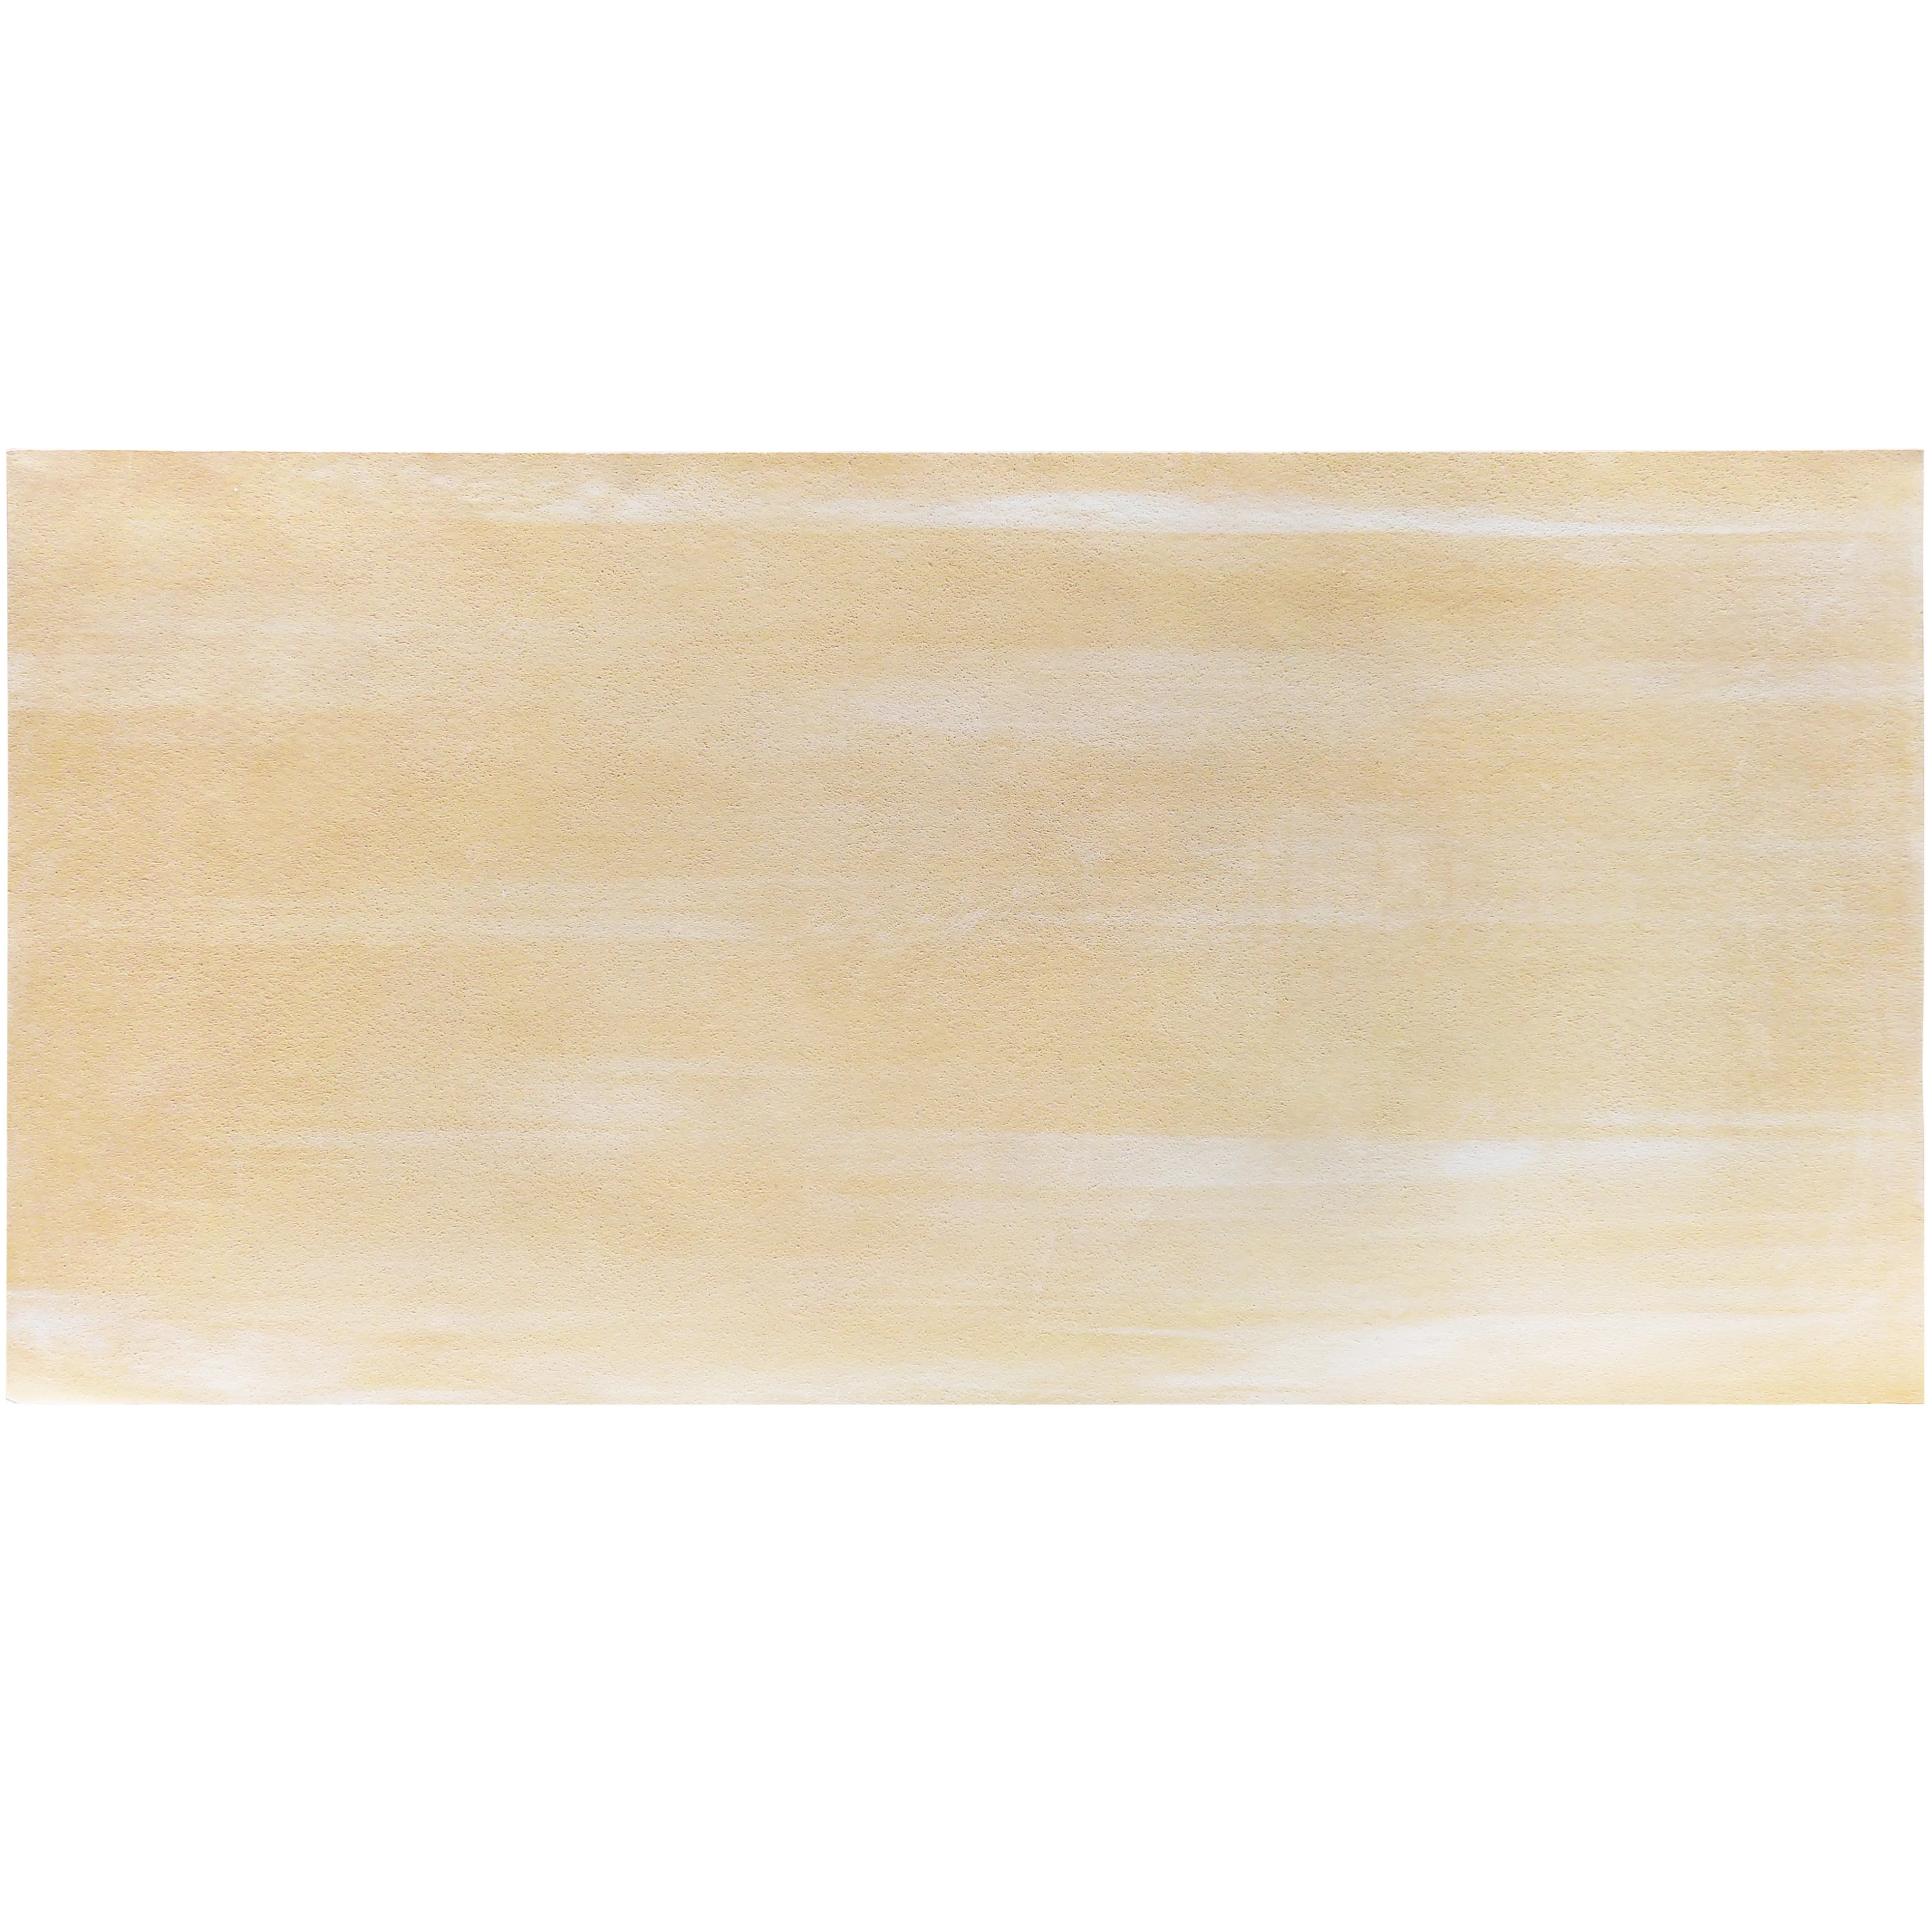
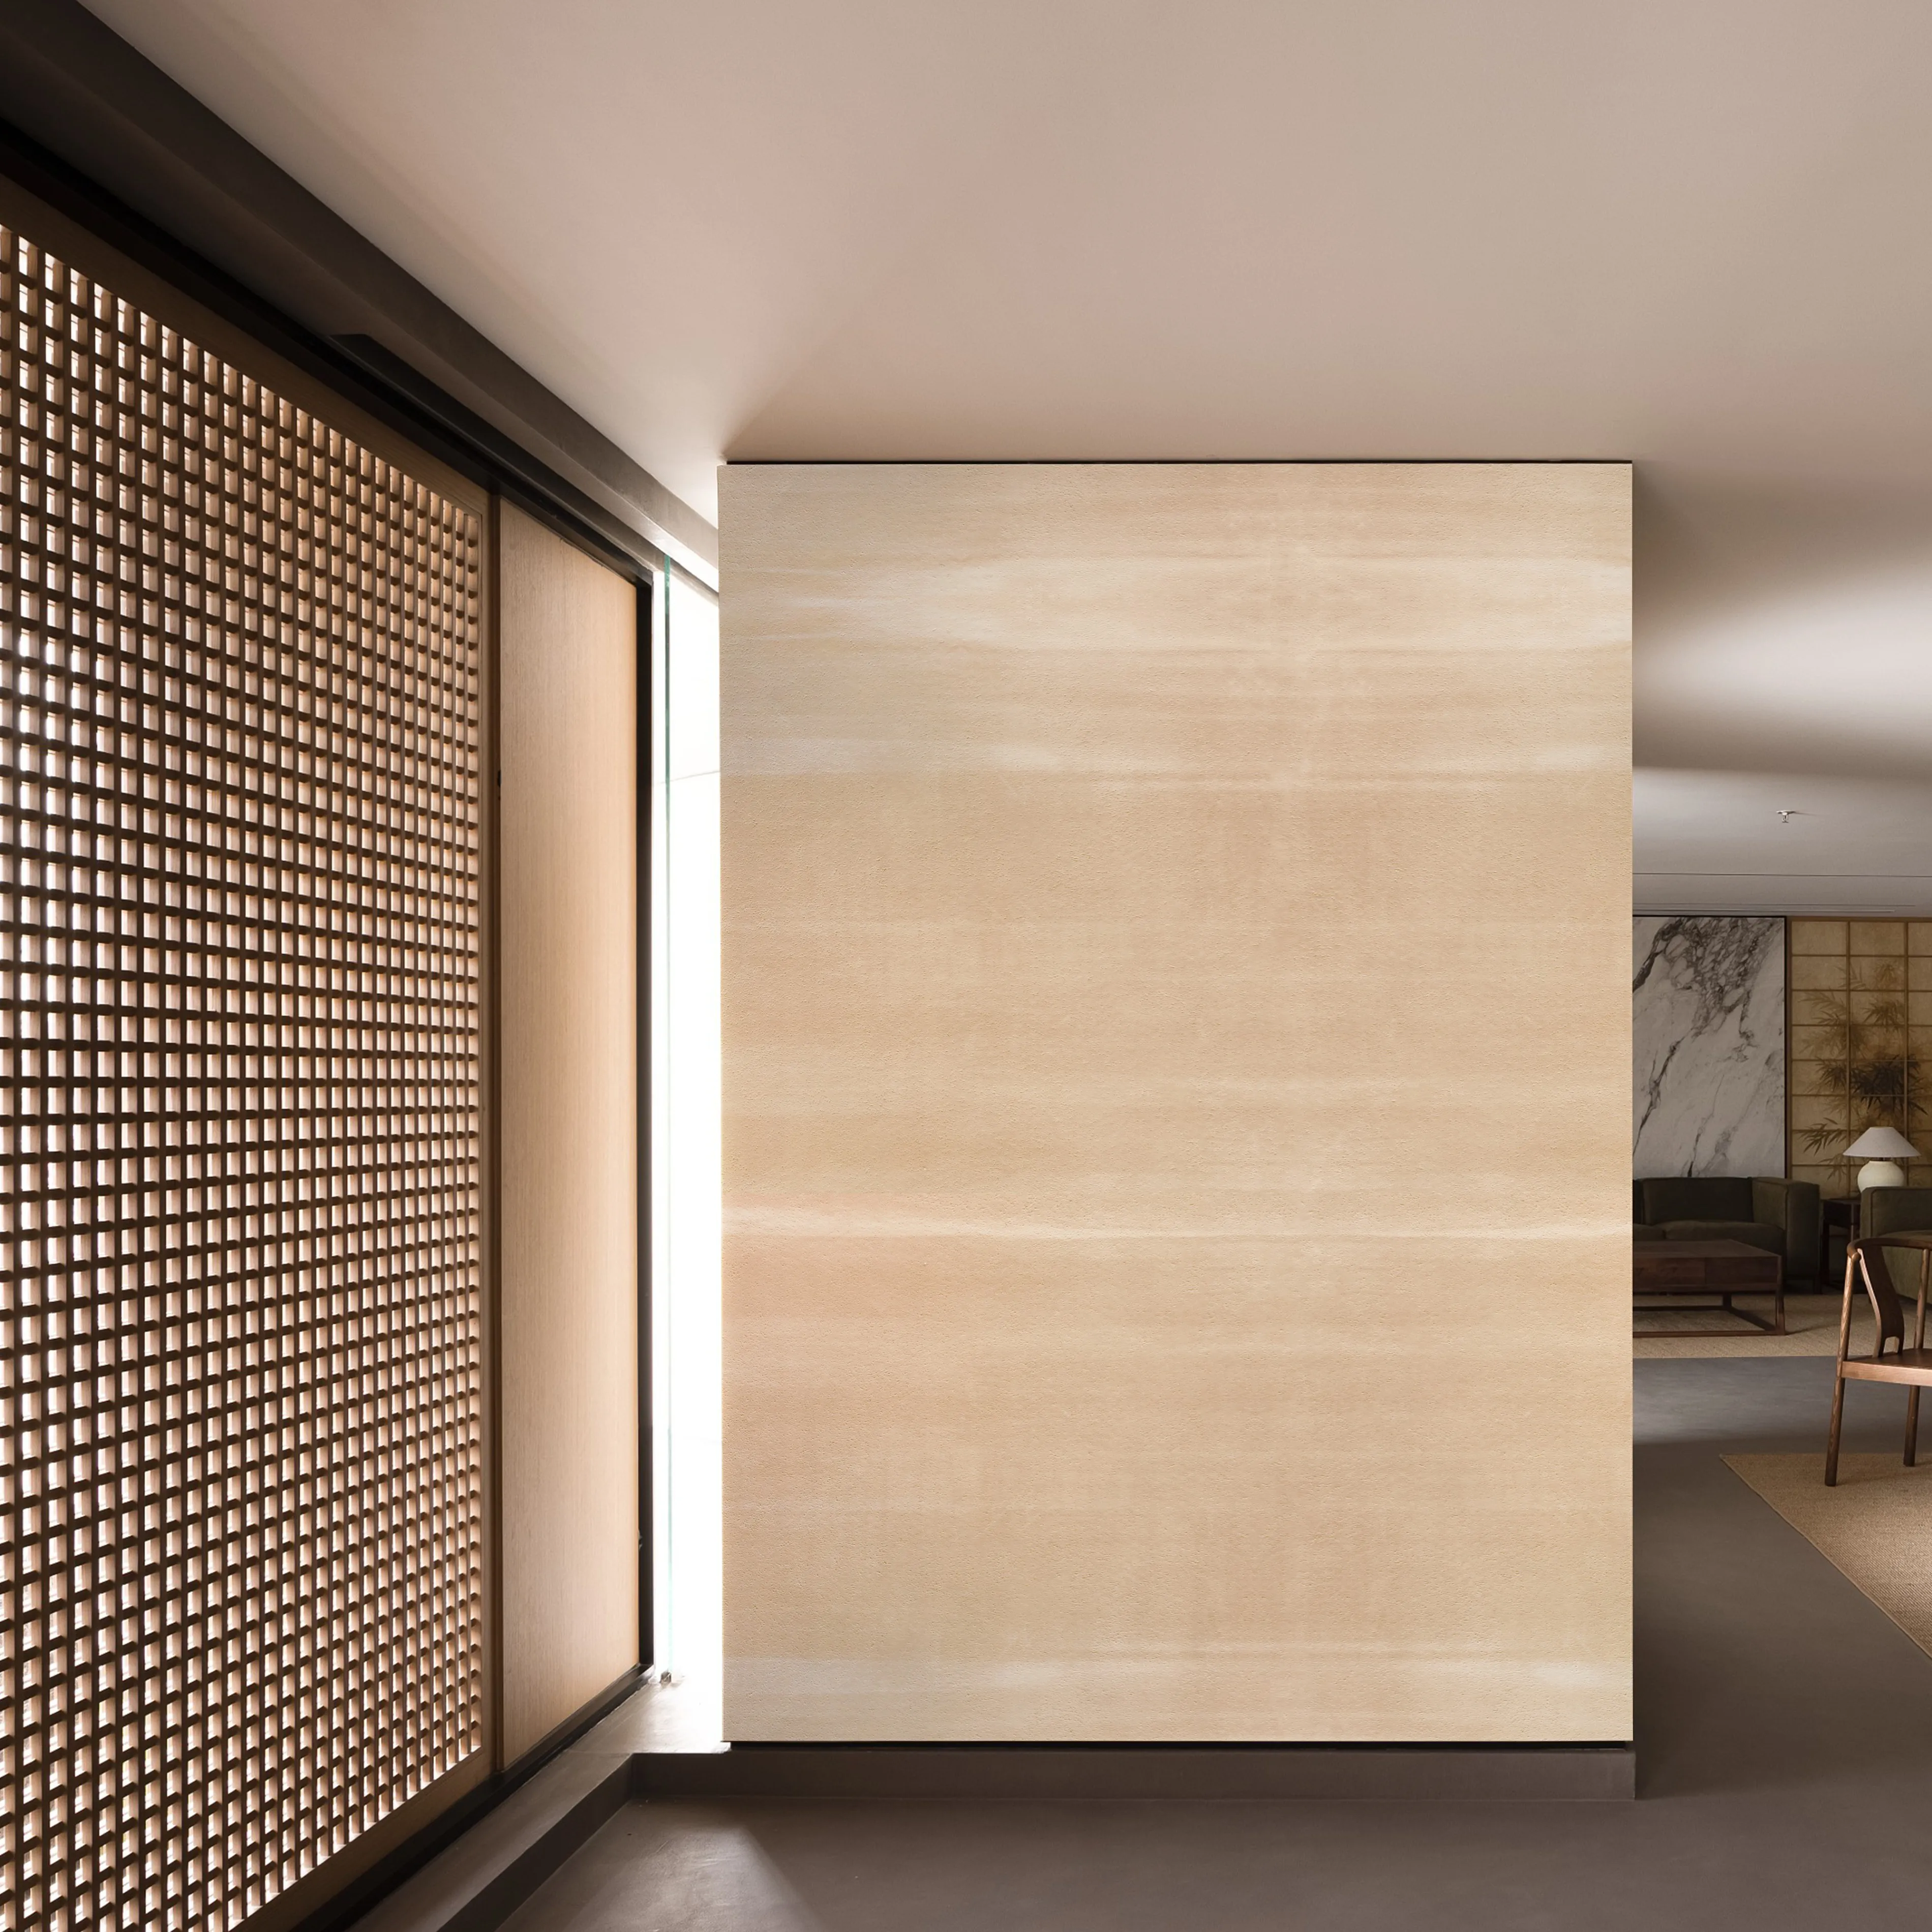
There's something timeless about the way natural stone interacts with light—how it catches the sun in the morning, softens into warmth at dusk, and adds depth to any space it inhabits. Sandstone Cloude, a standout in COLORIA GROUP's diverse portfolio, embodies this magic. With its delicate veining that mimics wispy clouds and a texture that feels both organic and refined, it's no wonder designers and homeowners alike turn to it for walls, backsplashes, and feature pieces. But like any masterpiece, its beauty relies on careful installation. Over the years, I've worked alongside contractors, architects, and DIY enthusiasts to perfect the art of installing Sandstone Cloude, and today, I'm sharing those hard-earned insights to help you achieve a finish that's as stunning as the stone itself.
Before diving into tools and techniques, let's talk about what makes Sandstone Cloude unique. Unlike denser stones like granite or marble, its porous surface and soft, sedimentary composition mean it's more susceptible to chipping during cutting and staining if not sealed properly. But don't let that intimidate you—these quirks are part of its charm. When installed with care, it becomes a focal point that tells a story of earth and time, much like COLORIA's other beloved lines, such as the rustic rammed earth board or the sleek fair-faced concrete . Think of it as working with a living material; treat it gently, and it will reward you with decades of beauty.
I've seen too many projects derailed by skipping this step, so let's start here: preparation is everything . Whether you're installing Sandstone Cloude on an interior wall, an outdoor patio, or a fireplace surround, the surface beneath it must be stable, clean, and level. Here's how to get it right:
Walk your installation area with a critical eye. Are there cracks in the wall? Loose paint or plaster? For outdoor spaces, is the concrete slab sloped properly to drain water? Sandstone Cloude is heavy—around 15-20 lbs per square foot—so the substrate must support that weight. Interior drywall should be reinforced with cement board; exterior surfaces need a waterproof membrane if they'll be exposed to rain. I once visited a home where Sandstone Cloude was installed directly on drywall without backing, and within a year, the stones began to bow and crack. Save yourself the heartache: fix uneven spots with a leveling compound, remove flaking paint, and ensure wood surfaces are sealed to prevent moisture damage.
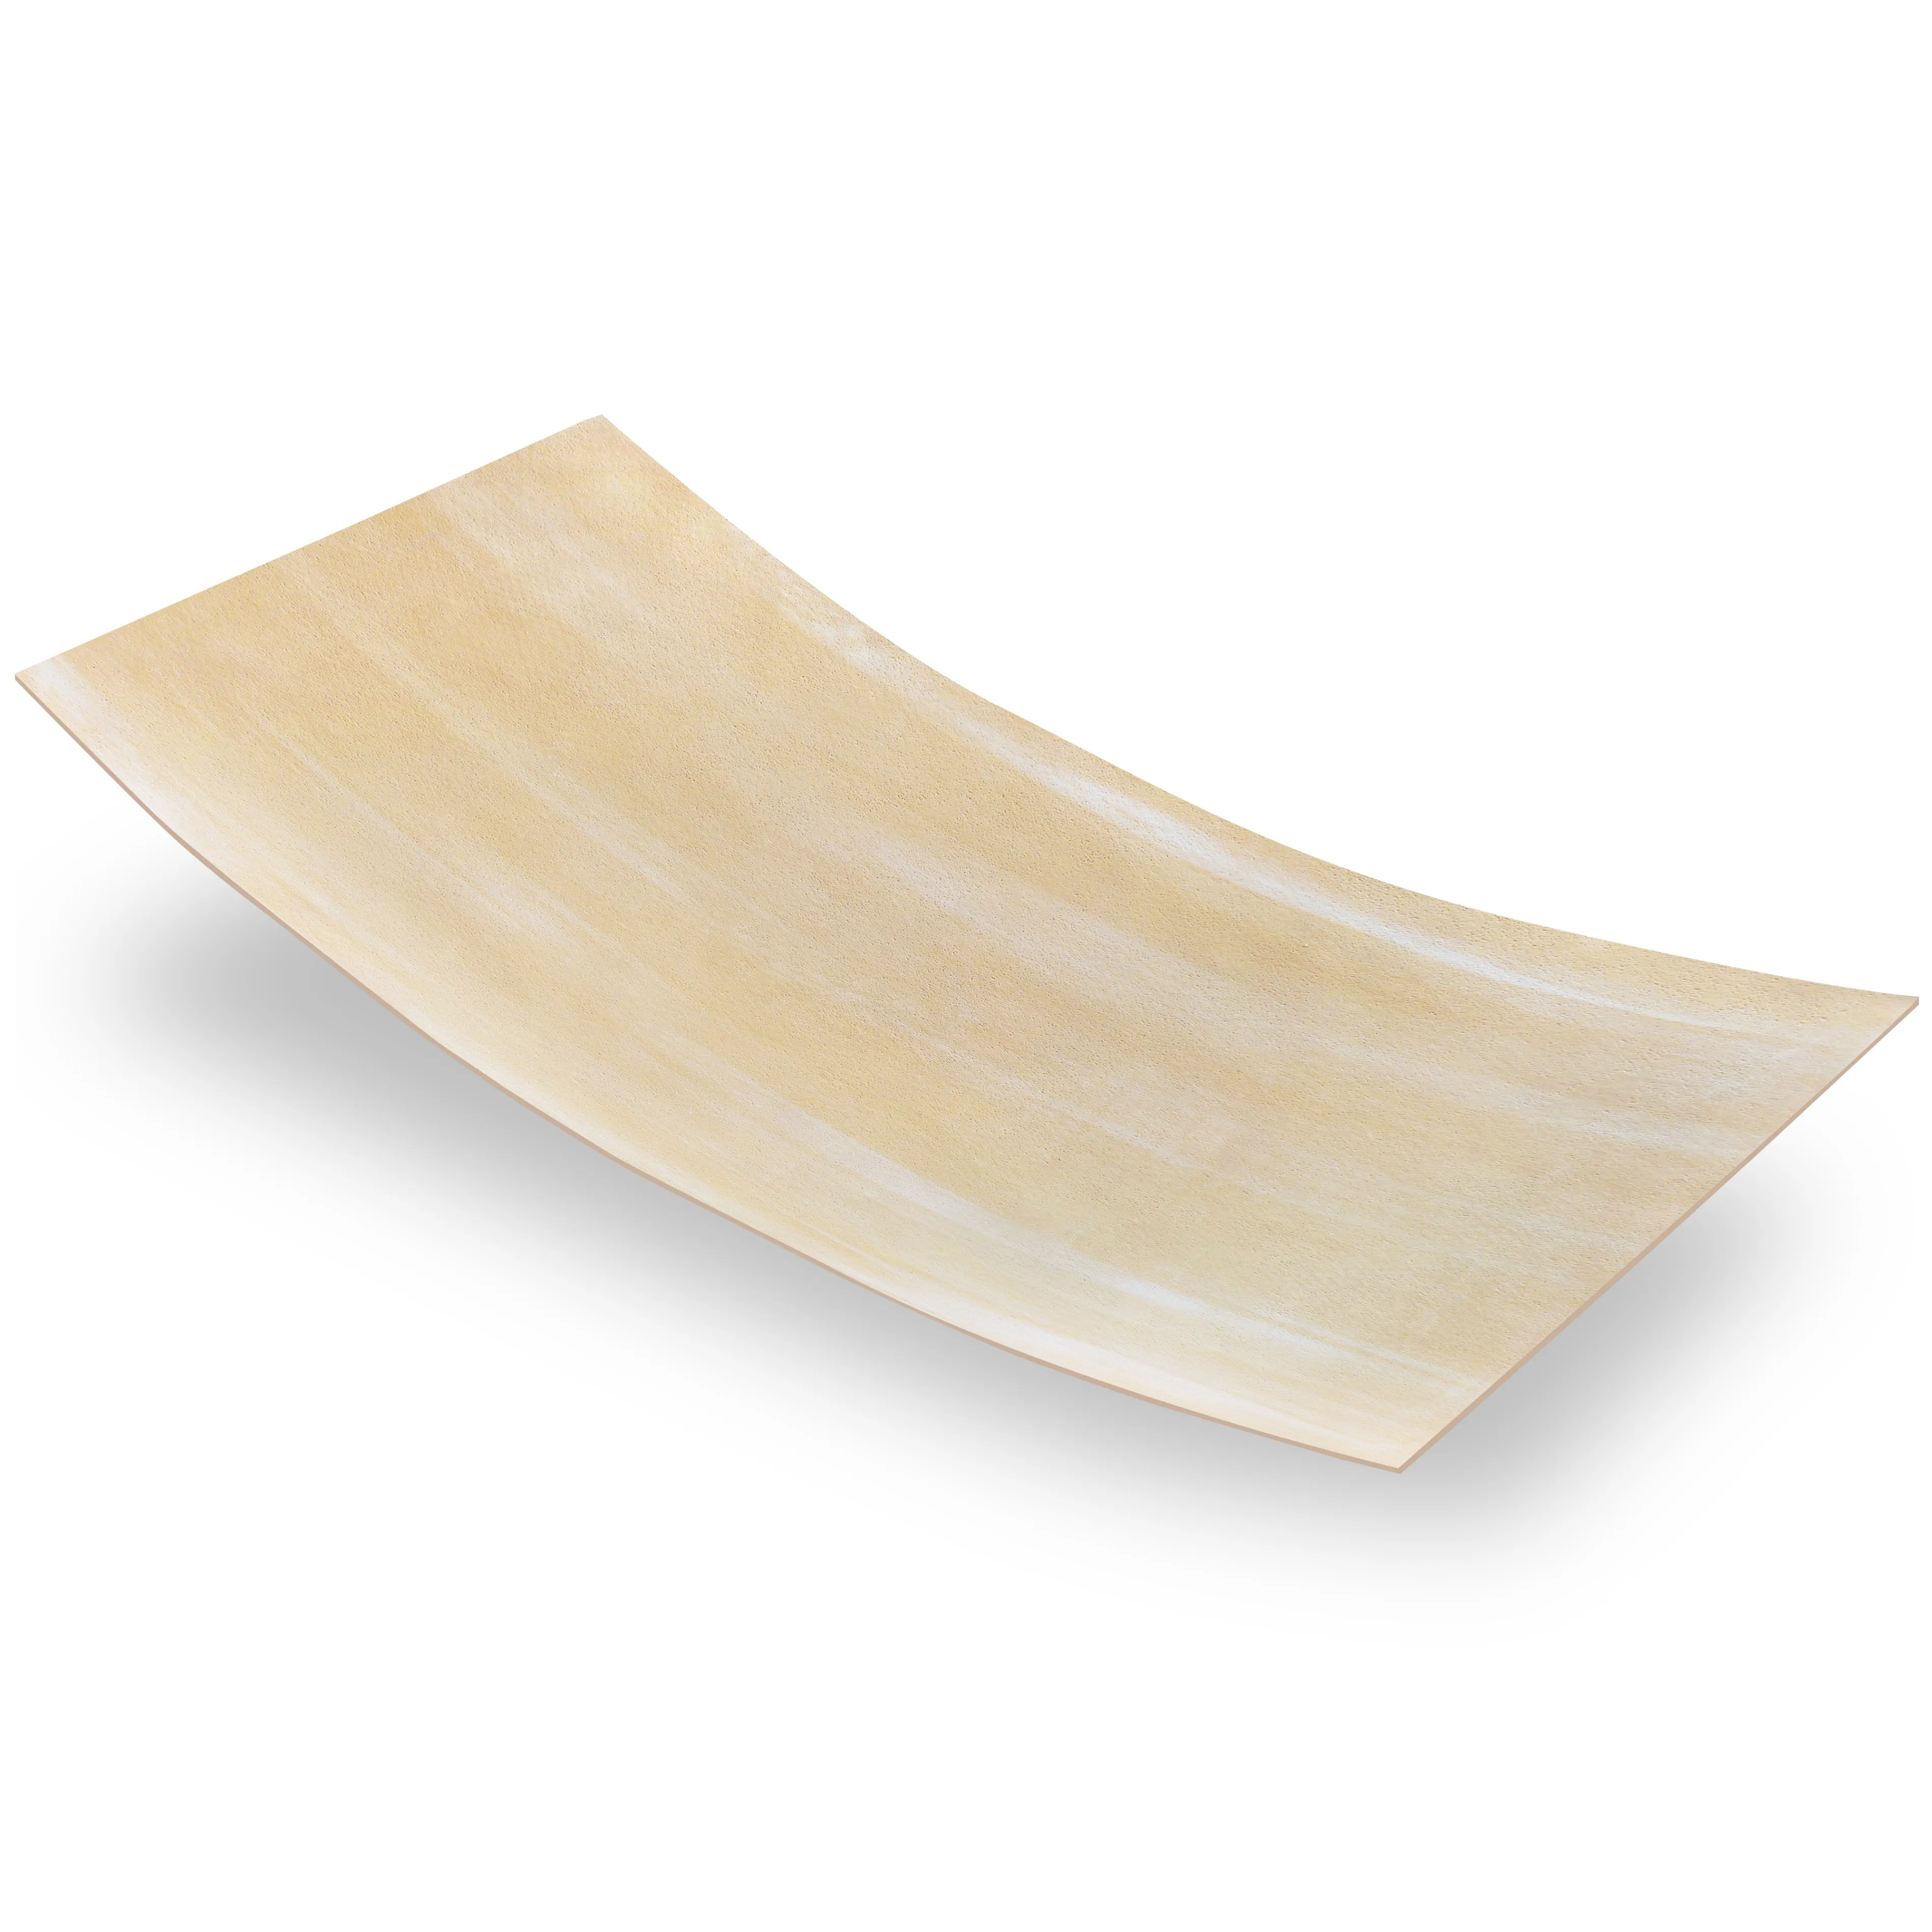
When your Sandstone Cloude slabs arrive, resist the urge to stack them haphazardly. Lay them flat on a clean, padded surface (a sheet of plywood covered in moving blankets works well) and inspect each piece. COLORIA's quality control is strict, but natural variation is part of the stone's appeal—you might notice slight differences in veining or shade, which is where the art of layout comes in. Arrange the slabs on the floor first, like a puzzle, to ensure the pattern flows naturally. This "dry fit" step also helps you identify any pieces that need trimming or have small chips (which can often be hidden in corners or grout lines). And pro tip: always carry slabs vertically, not horizontally, to avoid flexing and cracking—imagine holding a large book by its spine, not its pages.
Having the right tools isn't just about efficiency—it's about protecting the stone. Using a dull blade or the wrong adhesive can ruin a slab in seconds. Here's a breakdown of the essentials, based on years of testing with COLORIA's materials, including MCM flexible stone and rough granite stone :
| Tool/Material | Purpose | Pro Tips |
|---|---|---|
| Diamond Blade Saw | Cutting slabs to size; diamond blades minimize chipping. | Use a wet saw to reduce dust and keep the blade cool—dry cutting can overheat and crack the stone. |
| Notched Trowel | Applying adhesive to the substrate; creates ridges for better adhesion. | Use a 1/2-inch trowel for larger slabs; hold it at a 45-degree angle to ensure even coverage. |
| Polymer-Modified Thinset | Adhesive specifically designed for porous stones like sandstone. | Avoid generic mortar—it can trap moisture and cause efflorescence (white, powdery stains) on the surface. |
| Grout Float | Applying grout between slabs; choose sanded grout for joints wider than 1/8 inch. | Wipe excess grout off the stone immediately with a damp sponge—letting it dry can stain the surface. |
| Stone Sealer | Protecting against stains and moisture; use a penetrating sealer for Sandstone Cloude. | Apply two coats: one before grouting to seal pores, and a second after grouting to lock in the finish. |
| Level & Straightedge | Ensuring slabs are even horizontally and vertically. | Check level after placing each slab—don't wait until the adhesive sets to adjust! |
Now that you're prepped and tooled up, let's walk through the installation process. I'll break it down into stages, with extra attention to the nuances that make Sandstone Cloude shine.
Follow the manufacturer's instructions for mixing thinset, but aim for a consistency like peanut butter—not too runny, not too thick. If it's too watery, the slabs will slide; too thick, and it won't spread evenly. Let the mixture "slake" for 5-10 minutes after mixing, then stir again—this activates the polymers and ensures a strong bond. I've seen contractors rush this step, only to have slabs loosen months later. Take the time; your future self (and your clients) will thank you.
Using your notched trowel, spread thinset in a 3x3 foot area (you don't want it to dry before placing the slabs). Hold the trowel at a 45-degree angle and drag it across the surface to create even ridges. Then, "back-butter" each slab: spread a thin layer of thinset on the back of the stone to ensure full contact with the substrate. This double-bonding method is crucial for Sandstone Cloude, as its porous surface can absorb moisture from the thinset too quickly, weakening the bond. Think of it as giving the stone a little extra "grip" to hold on tight.
Start from the bottom corner of your installation area and work upward—this prevents slabs from shifting as you build. Press each slab firmly into the thinset, wiggling it slightly to squeeze out air bubbles. Use plastic spacers between slabs to maintain consistent grout lines (1/8 to 1/4 inch is standard for Sandstone Cloude). Then, place your level across the slab: check side-to-side and front-to-back to ensure it's flat. If it's uneven, gently tap the high spots with a rubber mallet (never a metal hammer—you'll crack the stone!). I once spent an hour adjusting a single slab because it was off by 1/16 of an inch, but when the wall was done, that precision made the entire pattern flow seamlessly. Details matter.
Wait 24 hours for the thinset to cure before grouting—rushing this can dislodge slabs. Mix grout to a creamy consistency and apply it with a rubber float, holding the float at a 45-degree angle to push it into the joints. Work in small sections (2x2 feet) and wipe excess grout off the stone with a damp sponge immediately . Sandstone Cloude's porous surface will absorb grout quickly, so don't let it sit! Rinse the sponge frequently and use a clean, dry cloth to buff away haze once the grout is slightly damp (not wet). For a polished look, match the grout color to the stone's veins—COLORIA's travertine (starry blue) or dolomitic travertine (dark grey) can inspire complementary shades.
After the grout cures (another 24-48 hours), it's time to seal. Apply a penetrating sealer with a lamb's wool applicator or a spray bottle, working in small sections. Let it sit for 5-10 minutes, then wipe off excess with a clean cloth. Wait 2 hours, then apply a second coat. Sealing not only protects against stains (think coffee spills or outdoor dirt) but also enhances the stone's natural color, making those cloud-like veins pop. For high-traffic areas like kitchen backsplashes, reseal every 1-2 years; for low-traffic walls, every 3-5 years. I recommend testing the sealer on a scrap piece first to ensure it doesn't darken the stone more than you like—better safe than sorry!
Even with careful planning, issues can arise. Here's how to handle the most common ones, based on my experience with COLORIA's stone lines, from lunar peak silvery to bamboo mat board :
Small chips can often be hidden with color-matched grout or stone filler. For larger chips, use a clear epoxy mixed with stone dust (save dust from cutting!) to fill the gap, then sand smooth once dry. I once repaired a chipped corner on a Sandstone Cloude fireplace by blending epoxy with dust from the same slab—it's barely noticeable now.
This white, powdery residue is caused by moisture drawing salts from the thinset or grout to the surface. Wipe it away with a dry cloth—if it persists, use a mild acid cleaner (like vinegar diluted with water) and rinse thoroughly. To prevent it, ensure proper drainage and use a moisture barrier for outdoor installations.
If grout lines are too high or low, use a grout saw to carefully remove excess grout, then reapply. Spacers are your friend here—always use them, even if you think you can "eyeball" it. I've seen DIYers skip spacers and end up with a wavy, unprofessional look—don't be that person!
Installing Sandstone Cloude is just the first step—proper maintenance ensures it stays stunning for decades. Here's what I recommend, based on caring for COLORIA installations in homes, hotels, and commercial spaces:
Installing Sandstone Cloude isn't just about following steps—it's about collaborating with a natural material to create something beautiful. When I walk into a space where it's been installed with care, I see more than stone; I see the skill, patience, and passion that went into every slab. Whether you're a seasoned contractor or a DIY enthusiast, remember that COLORIA's products—from foamed aluminium alloy board (vintage silver) to relic rammed earth board —are designed to inspire, but it's your hands that bring them to life.
So take your time, trust the process, and don't hesitate to reach out to COLORIA's team for guidance—we're here to help. And when you step back to admire your finished Sandstone Cloude wall, know that you've created something that will be loved for years to come. After all, the best installations aren't just built—they're felt.
Recommend Products


