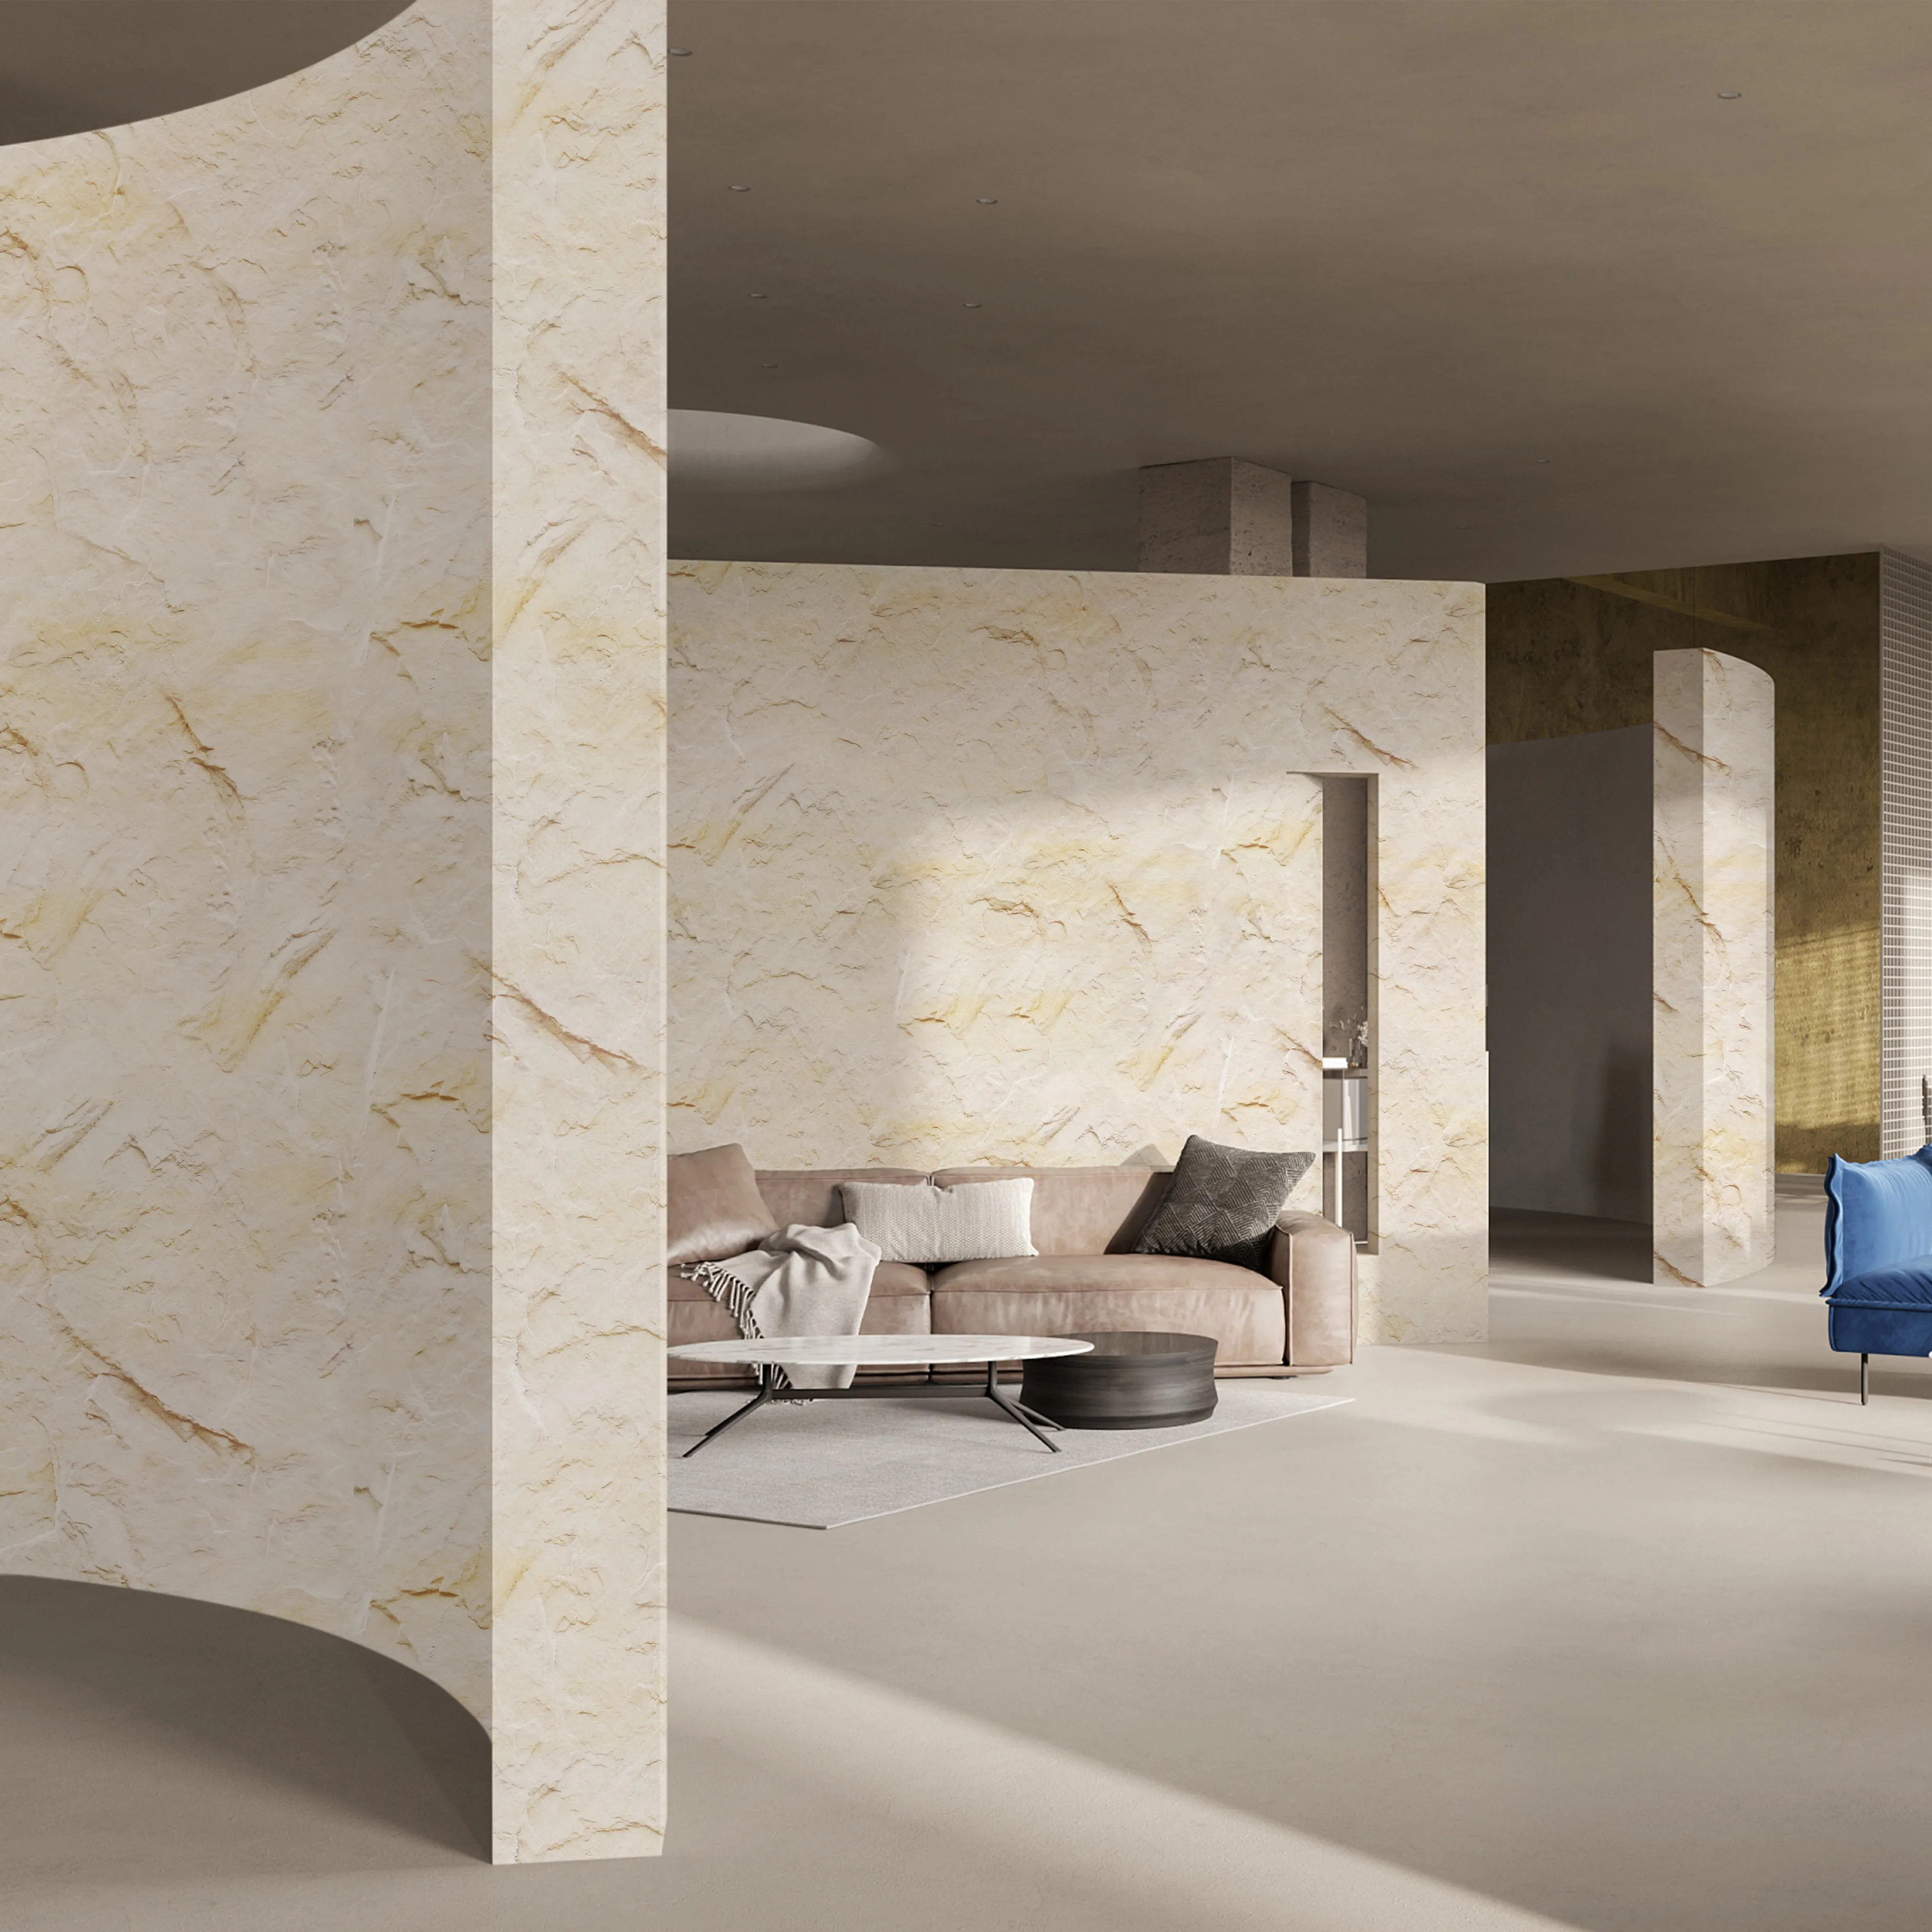
Now for the fun part—turning that blank wall into a Slate Sunnye masterpiece. Follow these steps, and you'll be admiring your handiwork in no time.
1. Prep the Wall (Again!)
Wipe the wall clean with a damp cloth to remove dust, grease, or old paint. If you're using a backer board, secure it with screws (not nails—they loosen over time) and tape the seams with fiberglass mesh tape. Apply a thin layer of thinset over the tape to create a smooth surface.
2. Plan Your Layout
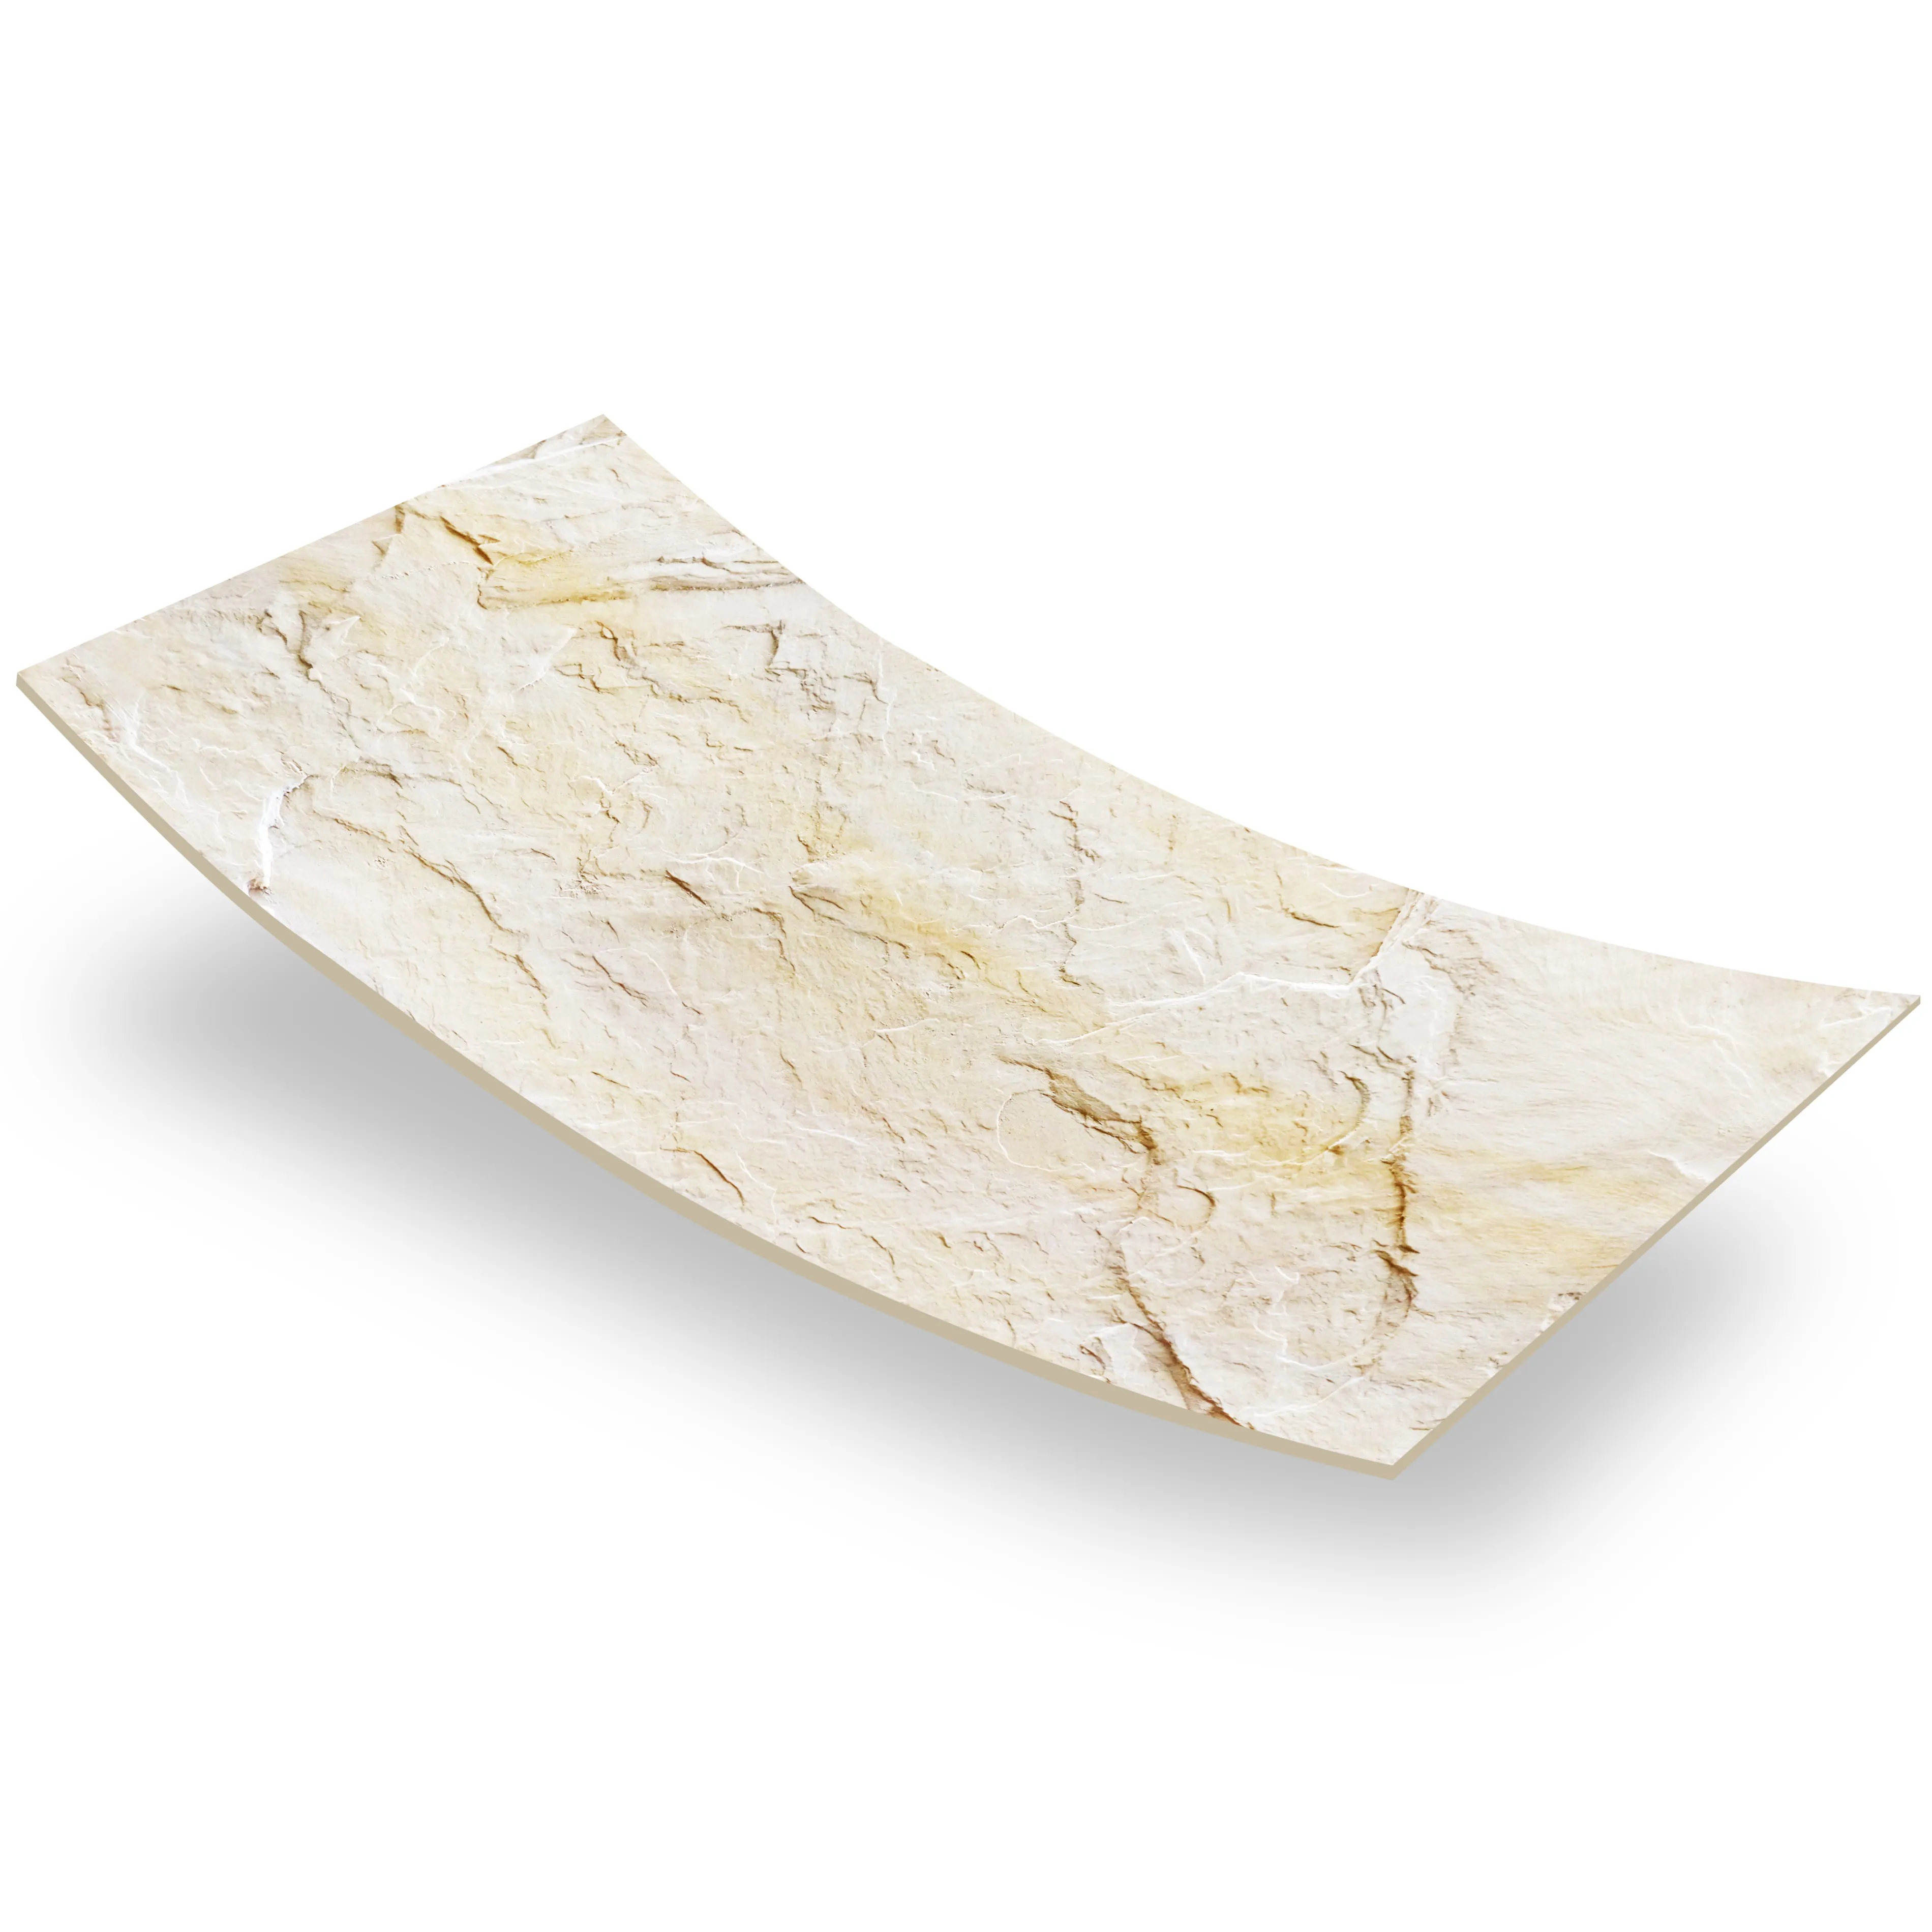
Lay out your Slate Sunnye pieces on the floor first, arranging them like a puzzle. Mix light and dark pieces evenly to avoid "clustering" similar tones. If you're using
rough granite stone (medium grey)
as an accent, decide where those pieces will go—maybe a vertical stripe or a border along the top. Mark the wall with a pencil to outline your layout, using a level to ensure straight lines.
3. Apply Adhesive
Start at the bottom center of the wall (this keeps the installation balanced). Use your notched trowel to spread thinset mortar in a 2-foot by 2-foot area—don't cover the entire wall at once, as the mortar dries quickly. Hold the trowel at a 45-degree angle to create ridges; these ridges help the stone adhere better.
4. Set the Stone
Press a Slate Sunnye piece into the mortar, twisting slightly to ensure full contact. Use the rubber mallet to tap it gently—you want it to sit flush with the wall, not sink too deep. Check with your level: is it straight? Adjust immediately if it's tilting. Place spacers between stones (1/8 inch is standard for slate) to keep grout lines even. Repeat, working your way up and out, and cut stones as needed for edges or outlets using the wet saw.
5. Grout & Seal
Let the adhesive dry for 24 hours (patience, grasshopper!). Then mix your grout according to the package directions—it should be the consistency of peanut butter. Use the grout float to press it into the joints at a 45-degree angle, forcing out air bubbles. Wait 15 minutes, then wipe the excess grout off the stone with a damp sponge (don't use too much water—this can weaken the grout). Let the grout cure for 72 hours, then apply two coats of sealer, waiting 2 hours between coats. The sealer will protect against stains and make cleaning a breeze.