

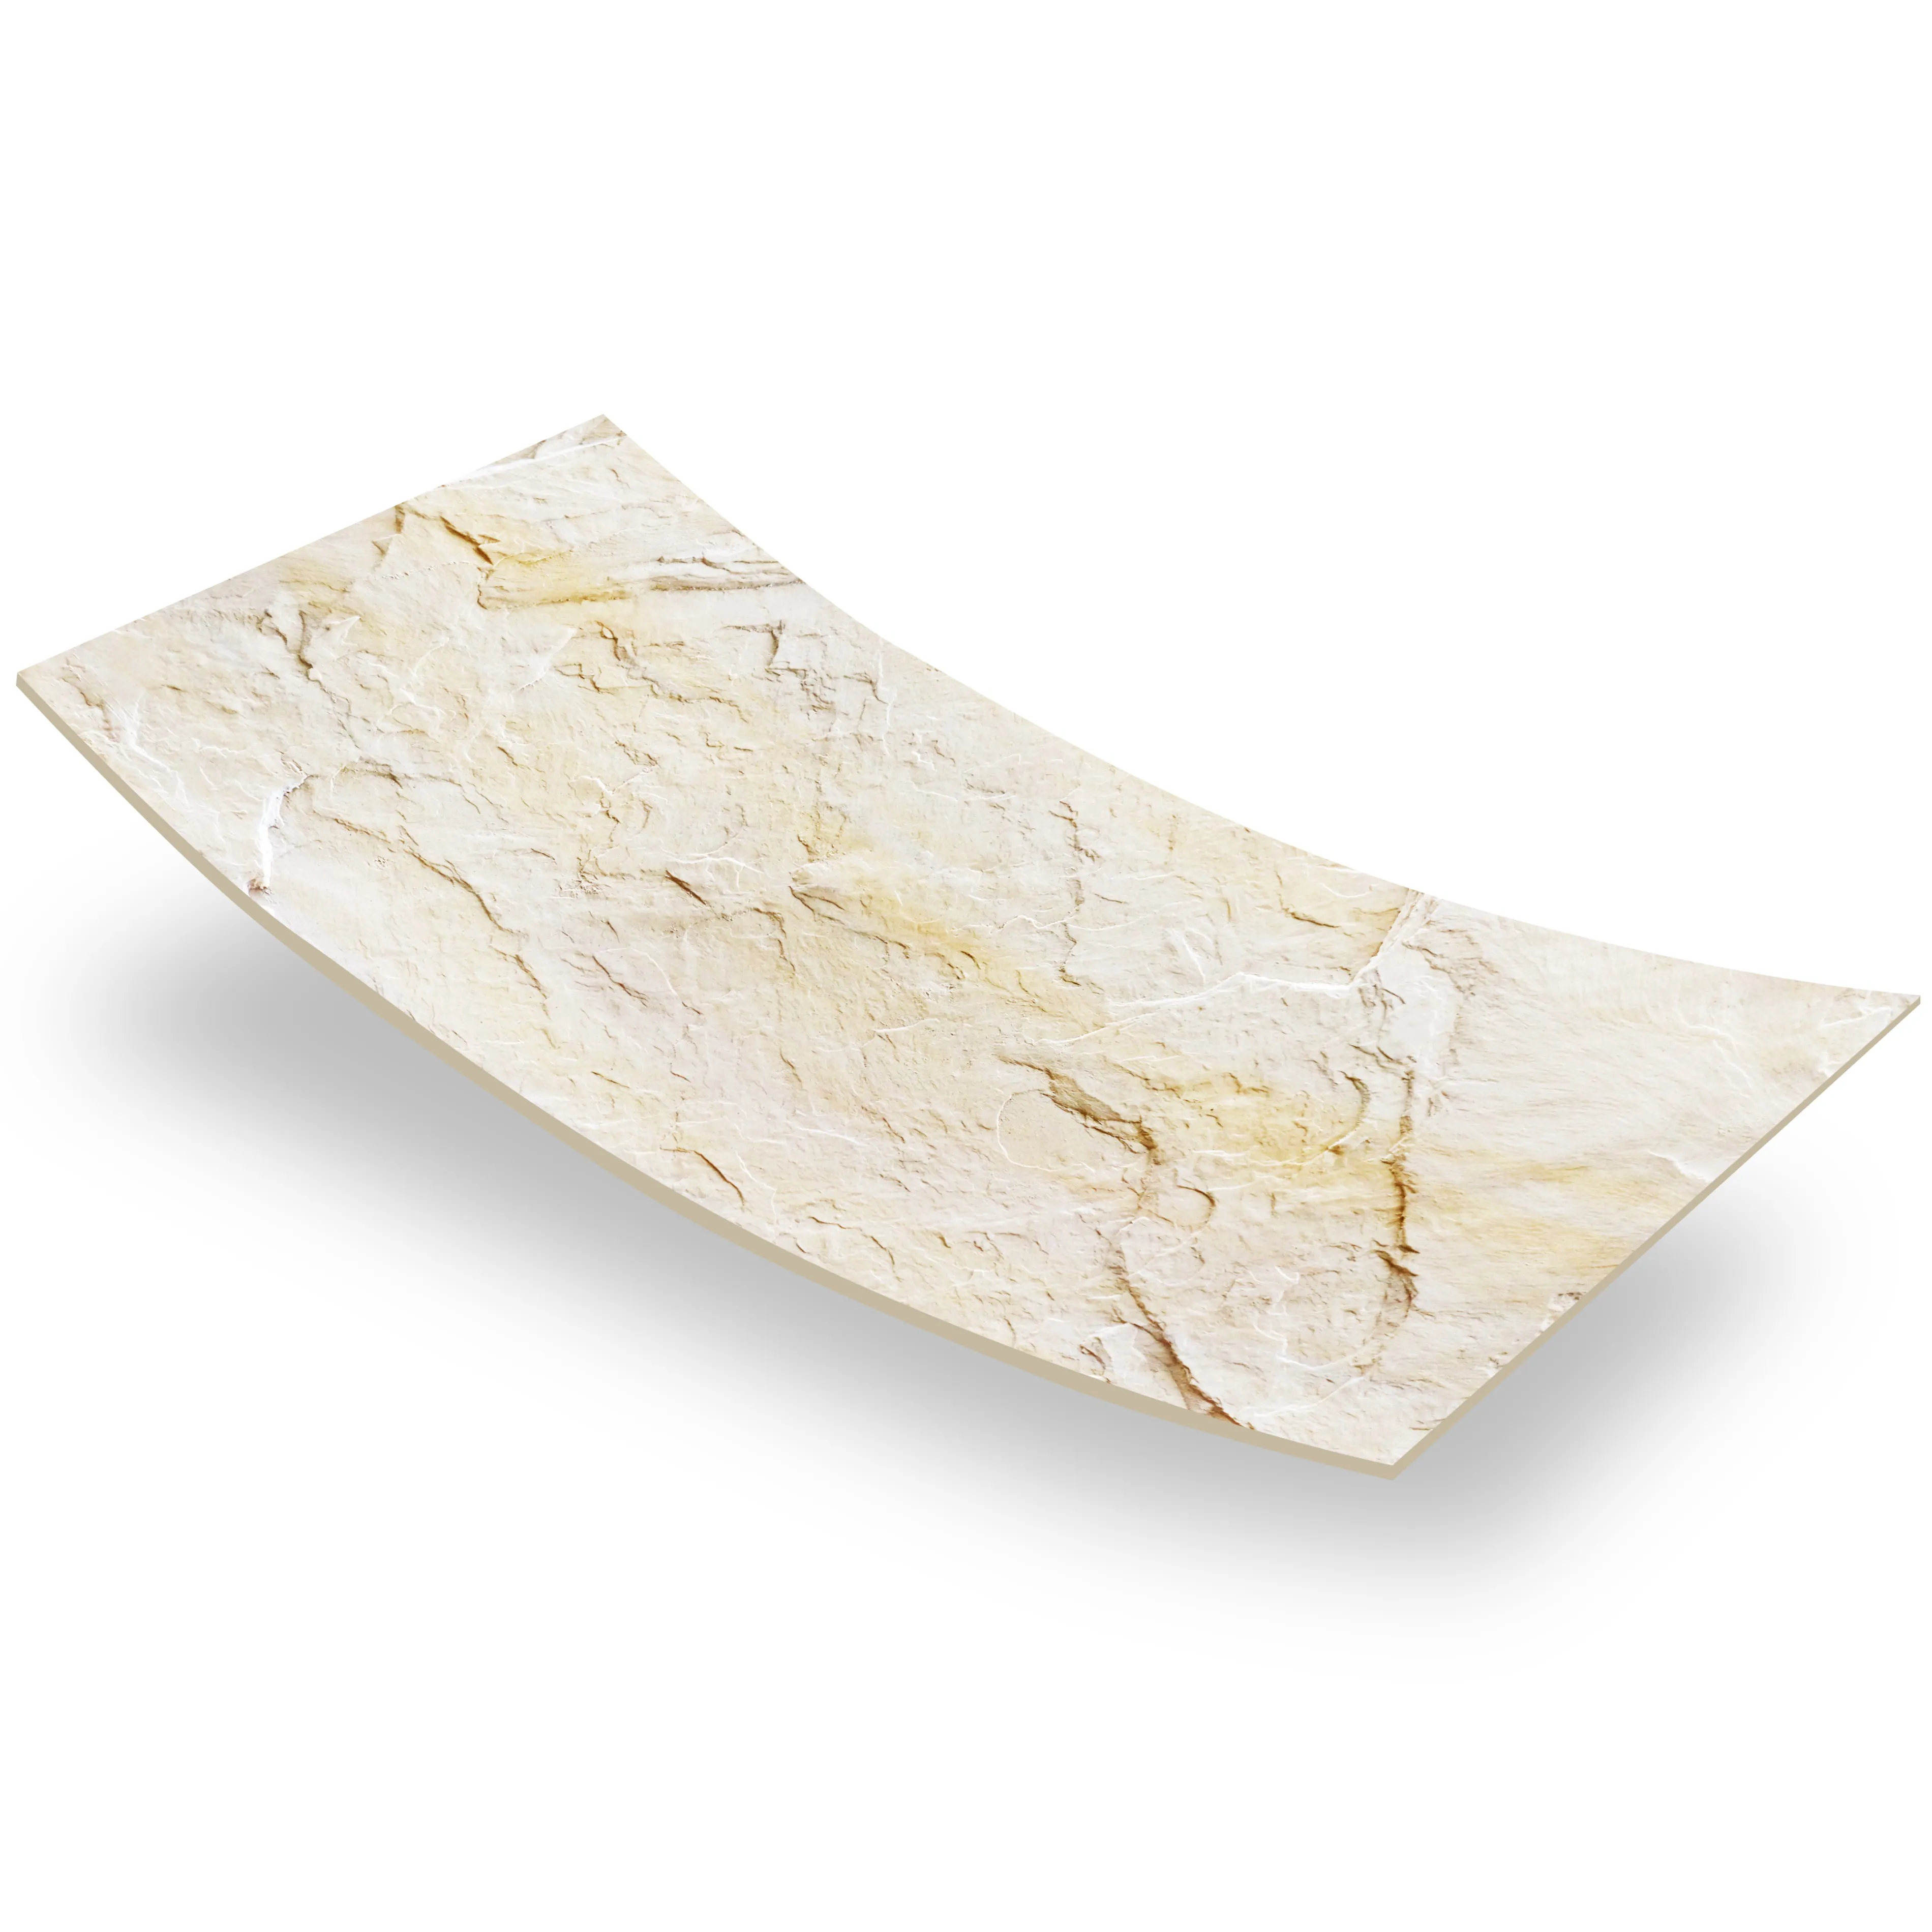
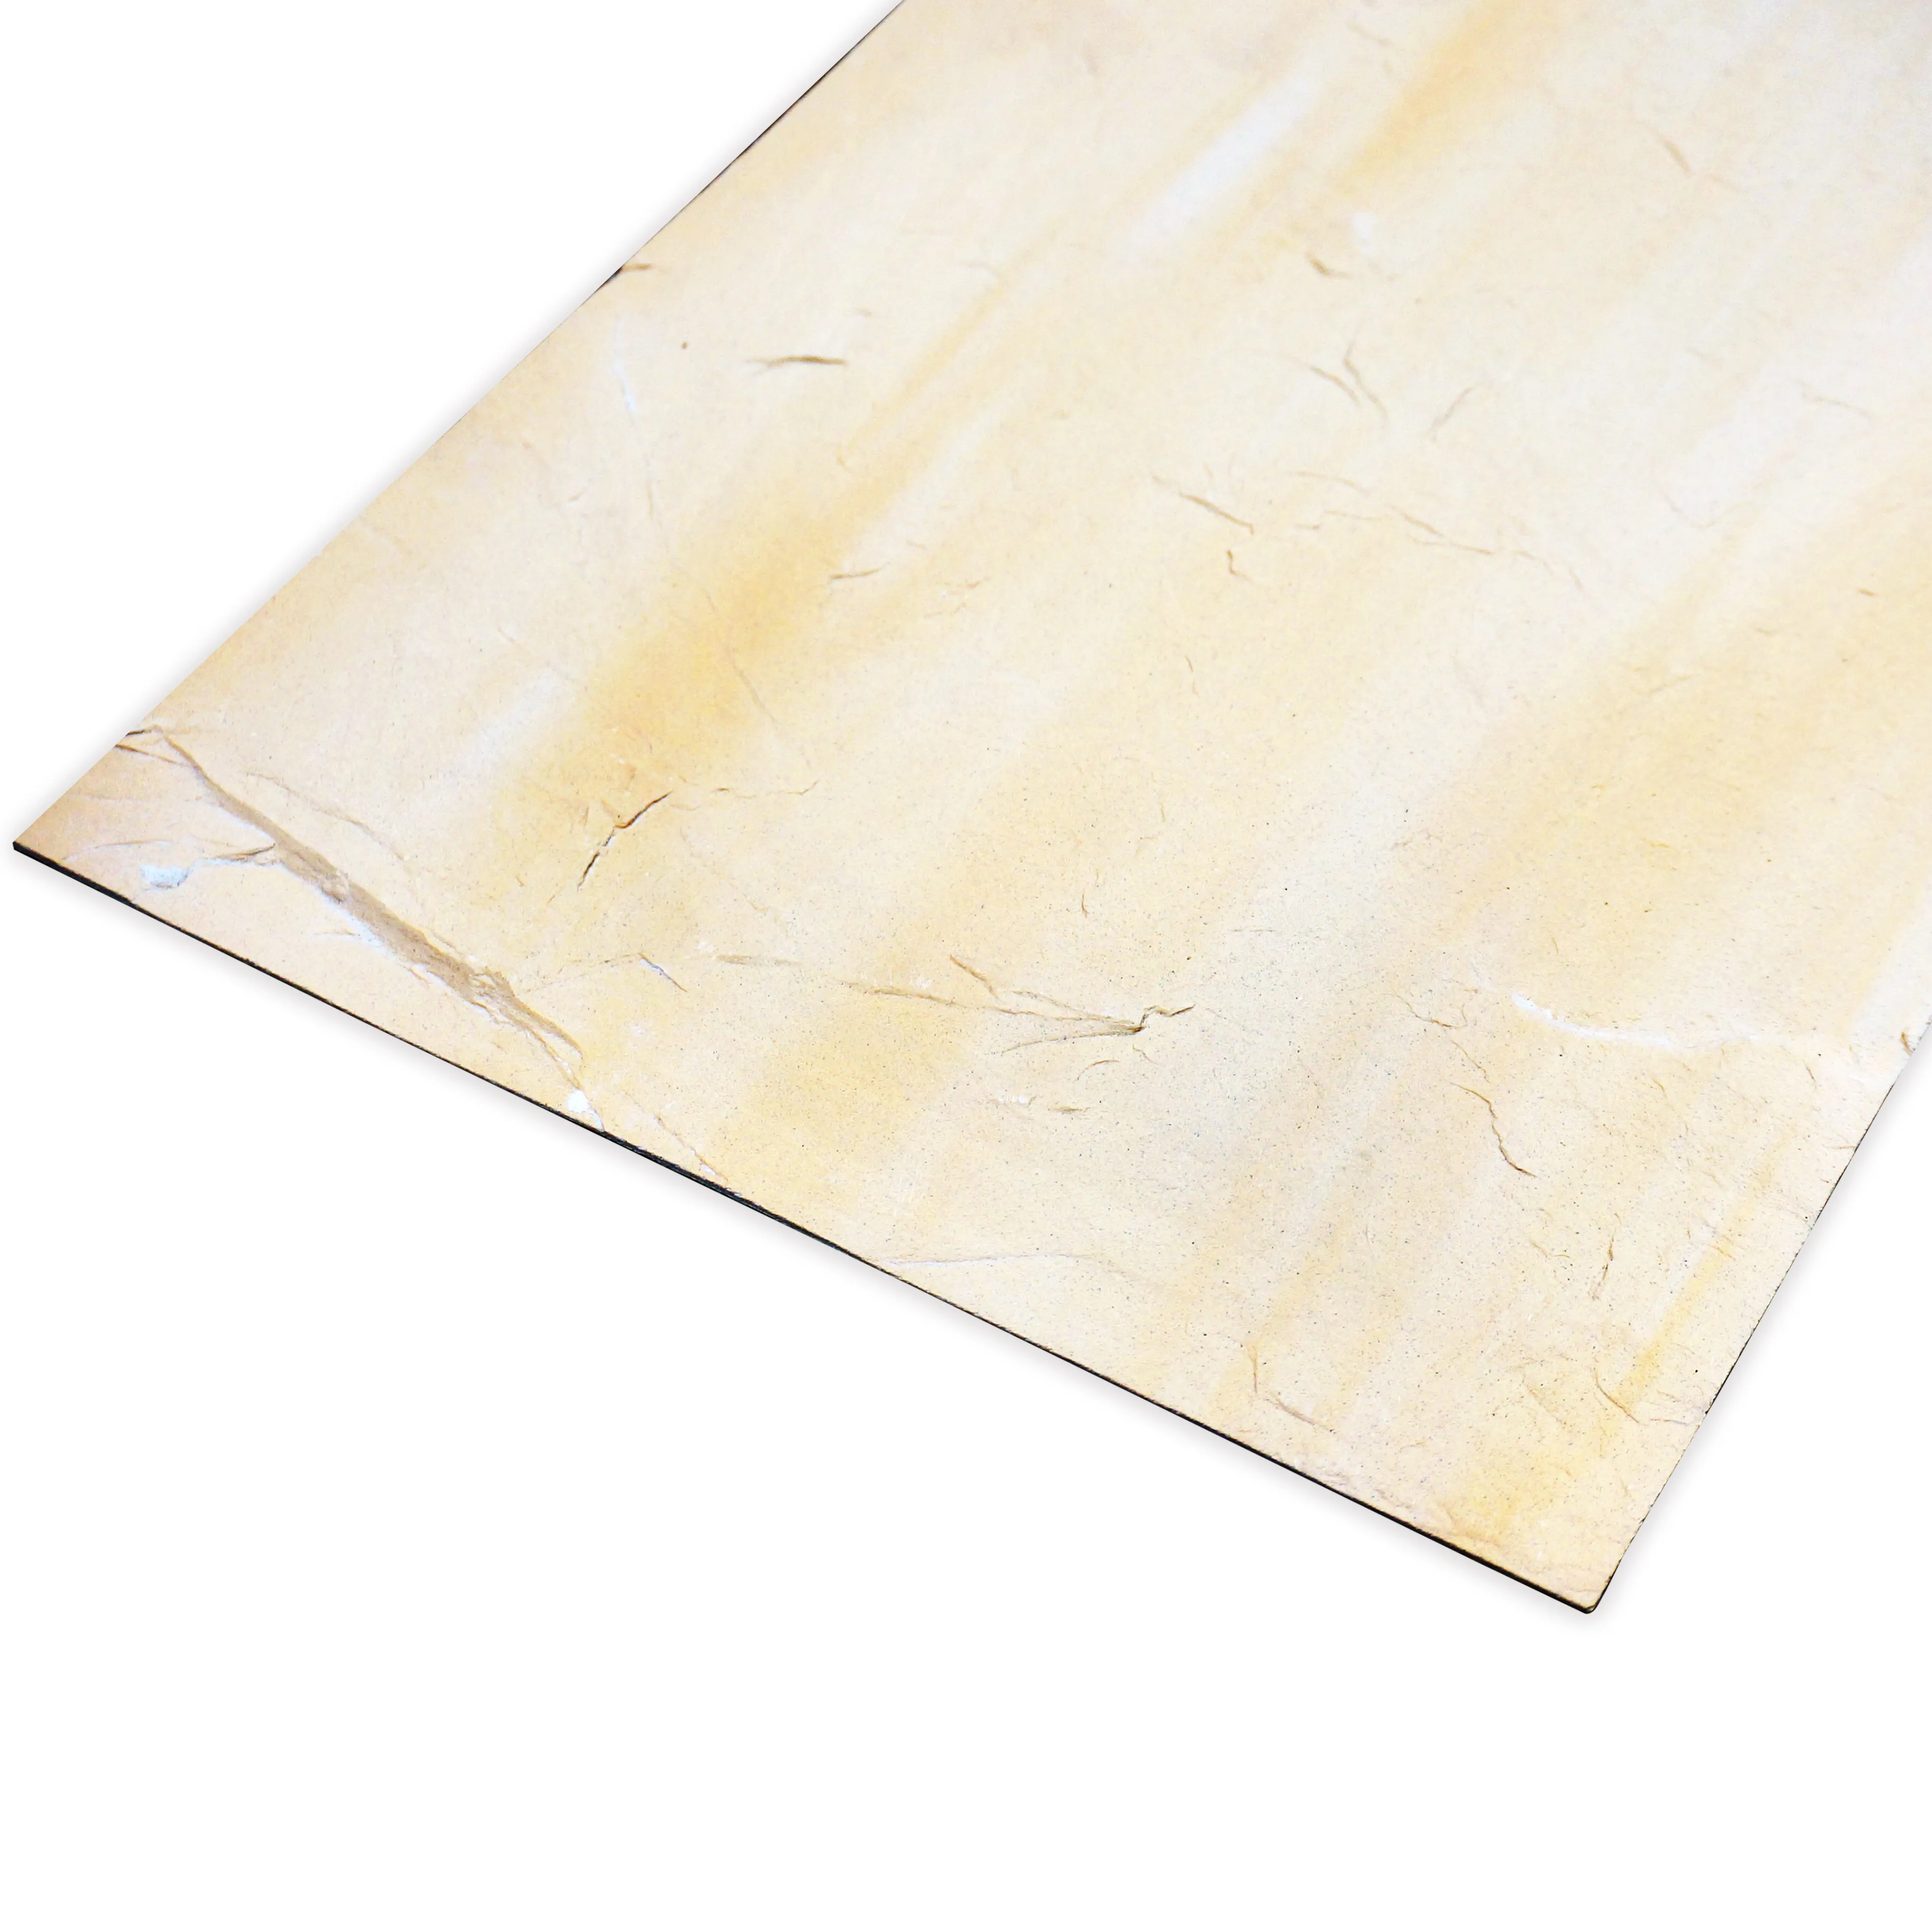
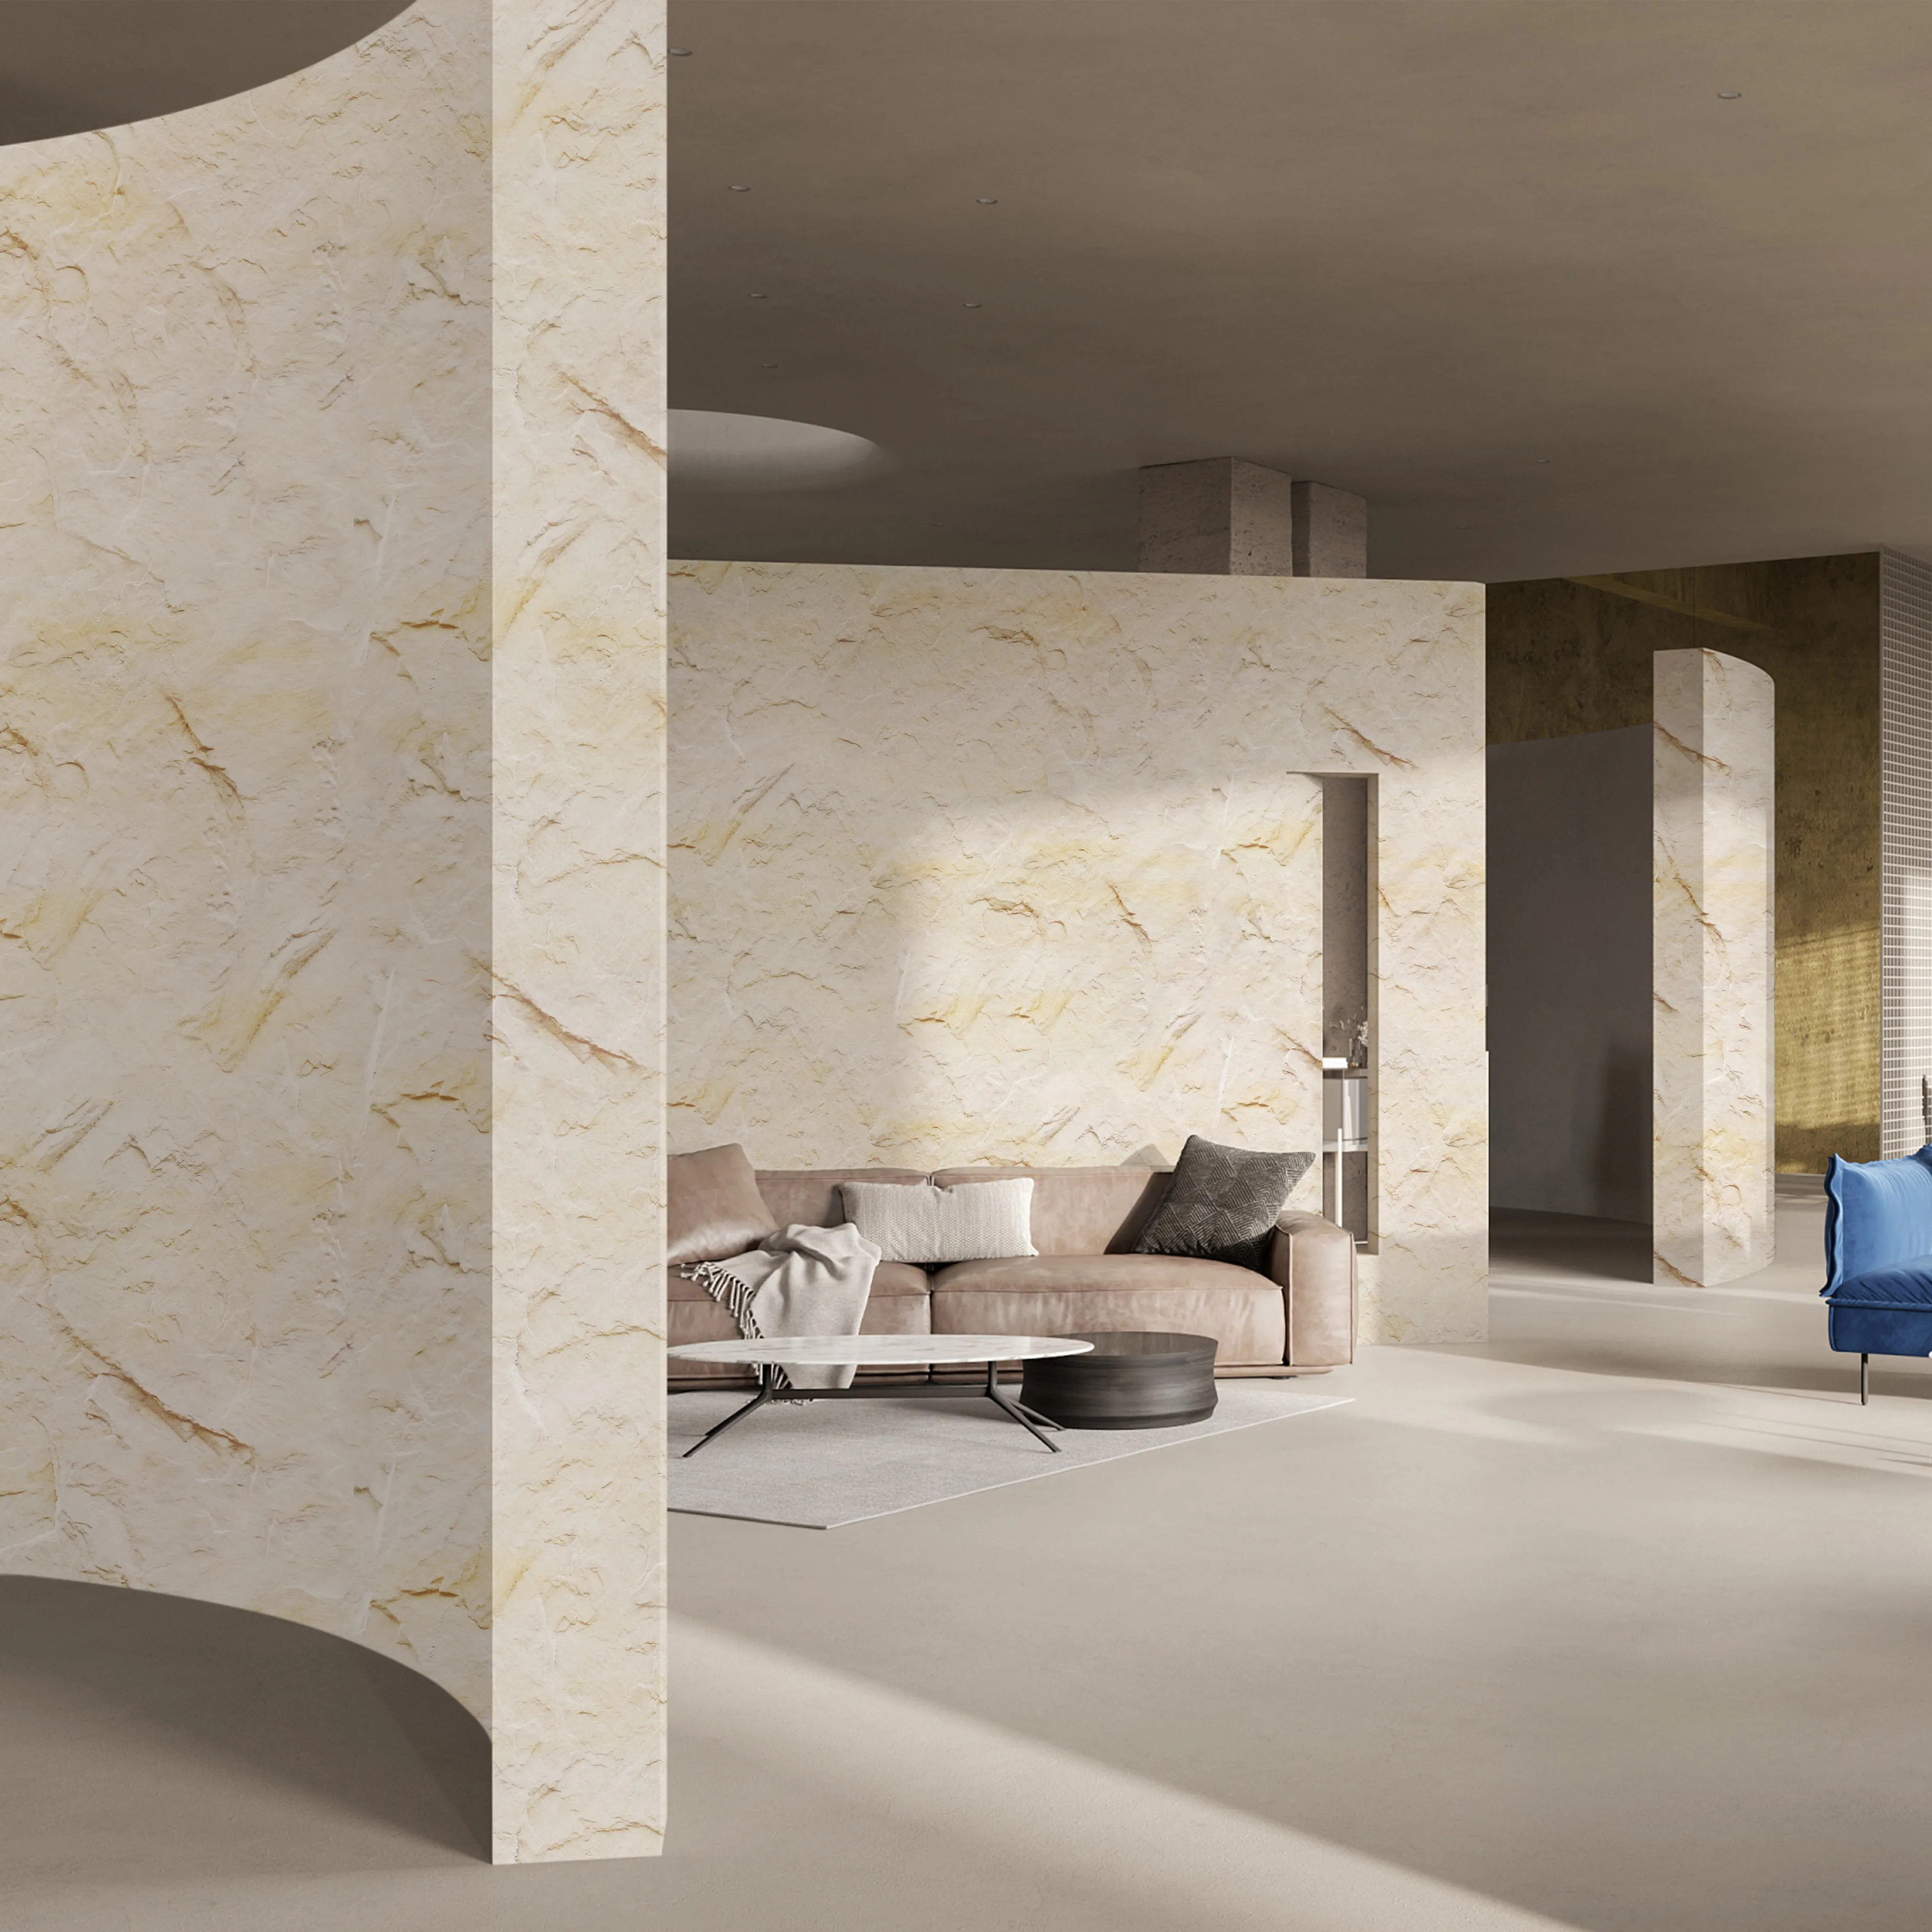
Choosing the perfect building material for your space is like picking out the star of a show—exciting, personal, and full of potential. But here's the thing: even the most stunning materials, like the beloved Slate Sunnye, can fall flat if their installation is rushed, careless, or just plain wrong. At COLORIA GROUP, we've spent years guiding homeowners, designers, and contractors through the highs and lows of material installation, and one truth always stands out: great materials deserve great installation . Slate Sunnye, with its warm, earthy veining and rugged charm, has become a favorite for everything from kitchen backsplashes to outdoor patios. But its unique texture and composition also mean it demands a little extra care during setup. Let's dive into the most common installation mistakes we see, and how to steer clear of them—because your project deserves to shine, from the first cut to the final seal.
Imagine this: You've ordered your Slate Sunnye tiles, unboxed them, and can't wait to see them up on the wall. So you grab your adhesive, slather it on the existing drywall, and start sticking. Sounds simple, right? Wrong. We once visited a project where a homeowner skipped prepping their wall—turns out, there was a layer of old paint that was peeling, and hidden moisture from a previous leak. Within months, the tiles started popping off, leaving gaps and unsightly cracks. Surface preparation isn't just a "nice-to-have"; it's the foundation of your entire installation. Slate Sunnye, like many natural stone products (think mcm flexible stone or even fair-faced concrete), relies on a stable, clean base to bond properly. Dirt, dust, grease, or even minor unevenness can create weak spots where tiles lift or crack over time.
COLORIA Expert Tip:
Start with a inspection. Use a level to check for dips or bumps—even 1/8-inch unevenness can cause problems. Clean the surface with a pH-neutral cleaner (avoid harsh chemicals that might leave residues), and repair any cracks or holes with a high-quality patching compound. For porous surfaces like drywall, prime first to seal pores and improve adhesion. And don't forget moisture! Use a moisture meter to test for hidden dampness—especially in bathrooms or basements. If levels are high, address the source (like a leaky pipe) before installing. A little time here saves you from big headaches later.
"Adhesive is adhesive, right?" We've heard this more times than we can count, and it's almost always followed by a call for help. Here's the reality: Slate Sunnye isn't just any tile. Its density, porosity, and weight mean it needs an adhesive formulated to handle its specific needs. Using a generic "all-purpose" adhesive might work for lightweight ceramic tiles, but for Slate Sunnye? It's a recipe for disaster. We recently consulted on a restaurant project where the contractor used a basic thinset meant for walls on a floor installation of Slate Sunnye. Within weeks, foot traffic caused tiles to shift, creating tripping hazards and ruining the seamless look they'd aimed for. The issue? The adhesive couldn't handle the tile's weight or the stress of daily use.
COLORIA Expert Tip:
Match the adhesive to the job. For interior walls or low-traffic areas, a polymer-modified thinset with medium flexibility works well. For floors, countertops, or outdoor spaces, opt for a high-strength, latex-enhanced thinset designed for natural stone. If you're installing Slate Sunnye over a substrate that moves (like wood floors), add a crack isolation membrane to prevent shifting from damaging the tiles. And don't skimp on coverage! Use a notched trowel (we recommend 1/4-inch for walls, 1/2-inch for floors) to ensure full contact between tile and adhesive—no air pockets allowed. When in doubt, check the manufacturer's specs or ask your COLORIA rep—we're here to help you pick the perfect bond.
Weather might seem like a "big picture" concern, but when it comes to installing Slate Sunnye, it's actually a day-to-day detail that can make or break your project. We once worked with a homeowner in a coastal area who installed their outdoor Slate Sunnye patio during a heatwave. The adhesive cured too quickly, leaving weak bonds, and when the rainy season hit, water seeped in, causing tiles to lift. On the flip side, installing in freezing temperatures can stop adhesive from setting entirely—we've seen tiles slide right off walls in unheated garages during winter installs. Slate Sunnye, with its porous surface, also absorbs moisture easily, which can lead to staining or efflorescence (that white, powdery residue) if installed in humid conditions without proper ventilation.
COLORIA Expert Tip:
Check the forecast—and your workspace. Aim to install Slate Sunnye when temperatures are between 50°F (10°C) and 90°F (32°C). Avoid installing outdoors on rainy, windy, or extremely humid days (humidity above 80% can slow curing). If you're working indoors, use fans or dehumidifiers to keep air moving and moisture levels in check. For outdoor projects, protect tiles from direct sunlight during installation—heat can dry out adhesive before you've set the tile. And here's a pro move: Let your Slate Sunnye acclimate to the space for 24-48 hours before installing. This helps the stone adjust to temperature and humidity, reducing the risk of warping or cracking later.
There's a temptation to rush cutting, especially when you're on a tight timeline. But Slate Sunnye's natural structure—with its layers of sediment and occasional mineral deposits—means it can chip or crack if not cut carefully. We visited a home where the installer used a dull diamond blade on their wet saw, resulting in jagged edges that ruined the tile's clean lines. Another common issue? Not supporting the tile properly during cutting. When a tile hangs off the edge of the saw table, it flexes, leading to uneven cuts or even breakage. The worst part? These mistakes are almost always visible—no amount of grout can hide a crooked edge or a chipped corner.
COLORIA Expert Tip:
Invest in the right tools and take your time. Use a wet saw with a sharp, diamond-tipped blade designed for natural stone—dull blades generate heat, which can damage Slate Sunnye's surface. Mark your cuts with a pencil and a straightedge (masking tape can help prevent chipping along the line). Support the tile fully on the saw table, using clamps if needed to keep it steady. For intricate cuts (like around outlets or corners), use a tile nipper for small adjustments—slow, gentle bites are better than forcing the tool. And always wear safety gear: goggles, gloves, and a dust mask. Remember, a clean cut makes for a clean install—and a space you'll love showing off.
Tiles expand and contract with temperature and humidity changes—it's just science. But you'd be surprised how many installers skip adding expansion gaps, thinking "it's just a little tile, it won't move that much." Wrong again. Slate Sunnye, like rough granite stone (medium grey) or travertine (beige), is a natural material with slight porosity, meaning it absorbs and releases moisture, leading to subtle size changes. Without gaps to accommodate this movement, tiles press against each other, causing cracks, bulges, or even lifting. We once saw a kitchen backsplash where the installer butted tiles right up against the cabinets—no gap, no buffer. When the kitchen heated up during summer, the tiles expanded and cracked along the edges, requiring a full redo. Ouch.
COLORIA Expert Tip:
Measure twice, gap once. For walls, leave a 1/8-inch gap between tiles and at the edges (where tiles meet cabinets, ceilings, or other surfaces). For floors, especially large areas, bump that up to 1/4-inch. Use plastic spacers during installation to keep gaps consistent—they're cheap, easy to use, and save you from guessing. After installing, don't forget to fill these gaps with a flexible grout (sanded for floors, unsanded for walls) that can move with the tiles. For outdoor installations or areas with extreme temperature swings, consider adding expansion joints every 10-12 feet to prevent large-scale shifting. Your tiles will thank you for the extra space to "breathe."
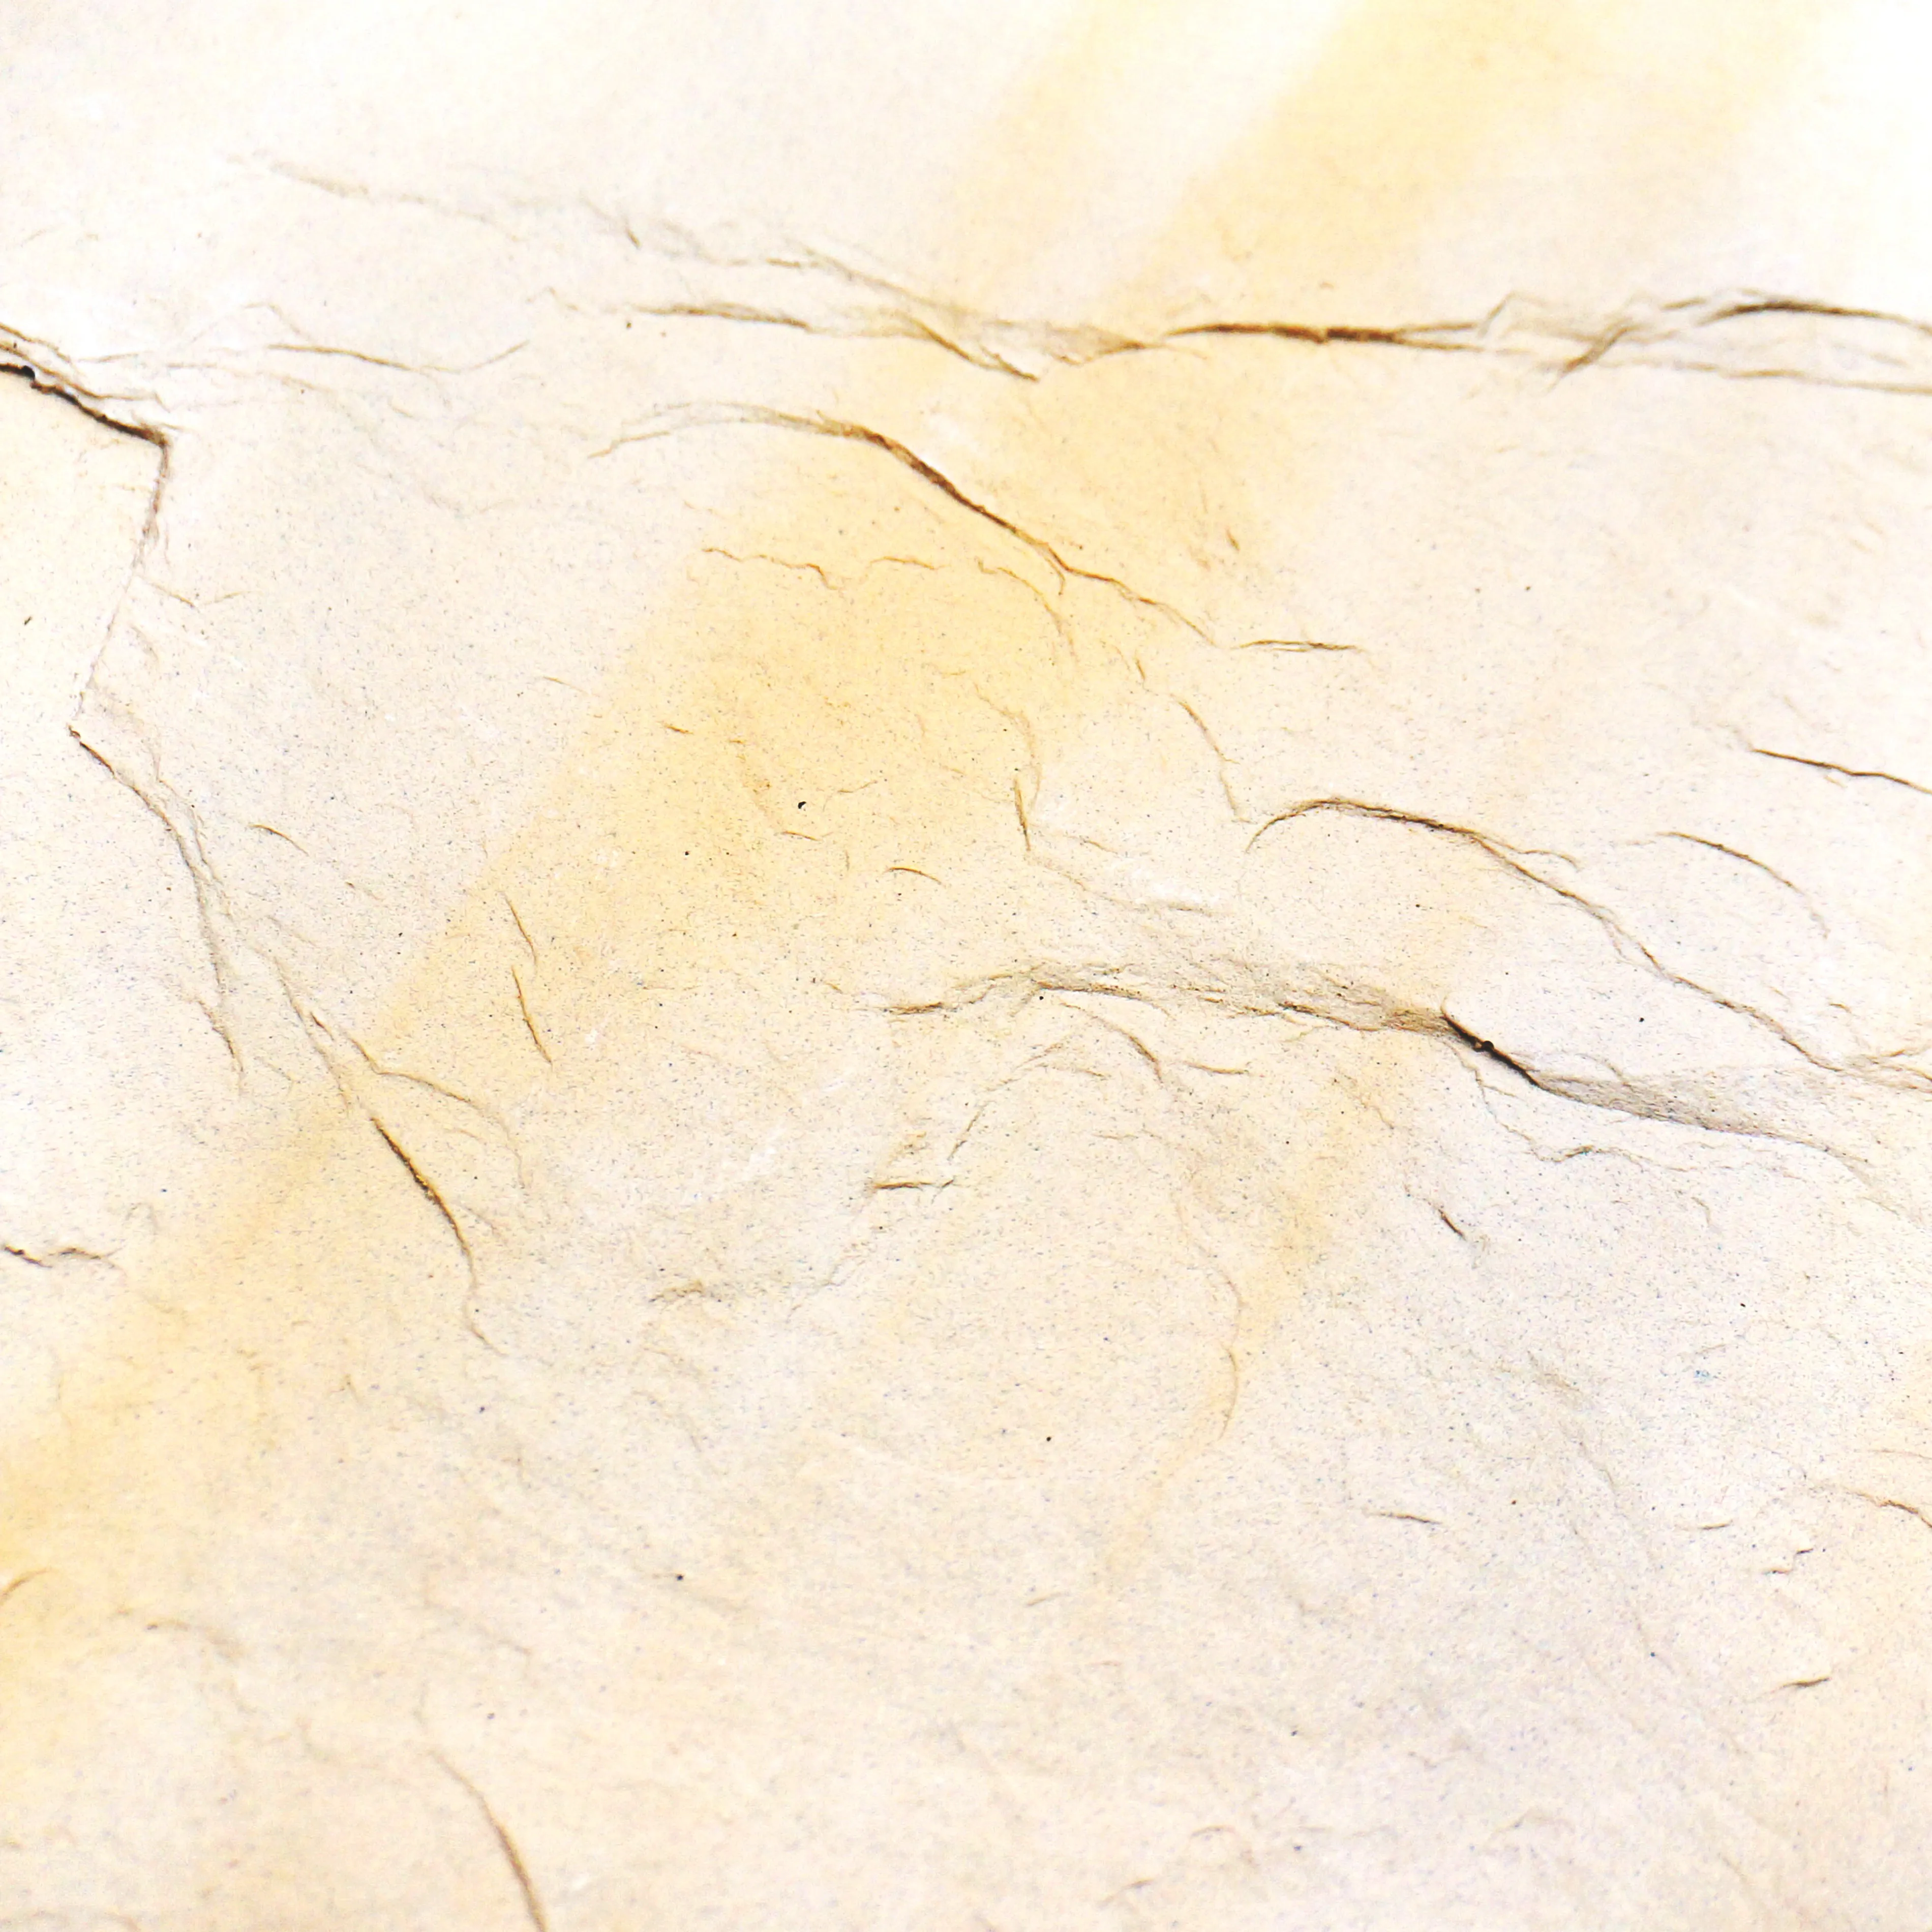
You've prepped, cut, installed, and grouted—now you're done, right? Not quite. Slate Sunnye is a porous stone, which means it's like a sponge for liquids, stains, and even dirt. We've seen countless projects where homeowners skipped sealing, only to find red wine spills, oil splatters, or mildew stains seeping into the tile's surface months later. One client was devastated when their new Slate Sunnye patio started absorbing rainwater, leading to dark, blotchy spots that wouldn't fade. The culprit? No sealer to block moisture from penetrating the stone. Sealing isn't just about protecting against stains—it also enhances Slate Sunnye's natural color and texture, making those earthy veins pop and keeping the stone looking fresh for years.
COLORIA Expert Tip:
Seal early, seal often. Wait at least 48-72 hours after grouting to let the grout cure, then apply a penetrating sealer designed for natural stone (we recommend a water-based sealer for indoor use, and a solvent-based one for outdoor areas, which offers better UV resistance). Apply the sealer with a clean sponge or spray bottle, working in small sections, and wipe off excess after 5-10 minutes (don't let it dry on the surface). For high-traffic areas like floors or countertops, apply a second coat after the first dries. Re-seal every 1-2 years (or more often for outdoor spaces) to keep protection strong. Pro tip: Test the sealer on a spare tile first to ensure it doesn't darken the stone more than you'd like—better safe than sorry!
| Mistake | Why It Happens | Expert Fix |
|---|---|---|
| Skipping surface prep | Dirt, moisture, or unevenness weakens adhesion | Clean, level, and repair surfaces; test for moisture |
| Wrong adhesive | Generic adhesives can't handle weight/stress | Use polymer-modified thinset for stone; match to tile location |
| Ignoring weather/humidity | Extremes cause poor curing or tile movement | Install in 50-90°F; acclimate tiles and control moisture |
| Rushing cuts | Dull blades or poor support cause chips/cracks | Use sharp diamond blades; support tiles fully during cutting |
| No expansion gaps | Tiles press against each other, cracking | Leave 1/8-1/4 inch gaps; use spacers and flexible grout |
| Skipping sealer | Porous stone absorbs stains and moisture | Apply penetrating sealer after grouting; re-seal yearly |
Installing Slate Sunnye isn't just about sticking tiles to a wall or floor—it's about honoring the material's natural beauty and ensuring it lasts for years to come. At COLORIA GROUP, we believe every project tells a story, and the best stories are built on care, attention to detail, and a little expert know-how. By avoiding these common mistakes—taking the time to prep, choosing the right tools, and respecting the stone's needs—you'll transform your Slate Sunnye from a pile of tiles into a space that feels intentional, durable, and uniquely yours. Remember, we're here to help—whether you're a seasoned pro or a first-time DIYer. Your project deserves to be more than just "good enough"—it deserves to be great . Now go out there, take your time, and let your Slate Sunnye shine.
Recommend Products


