

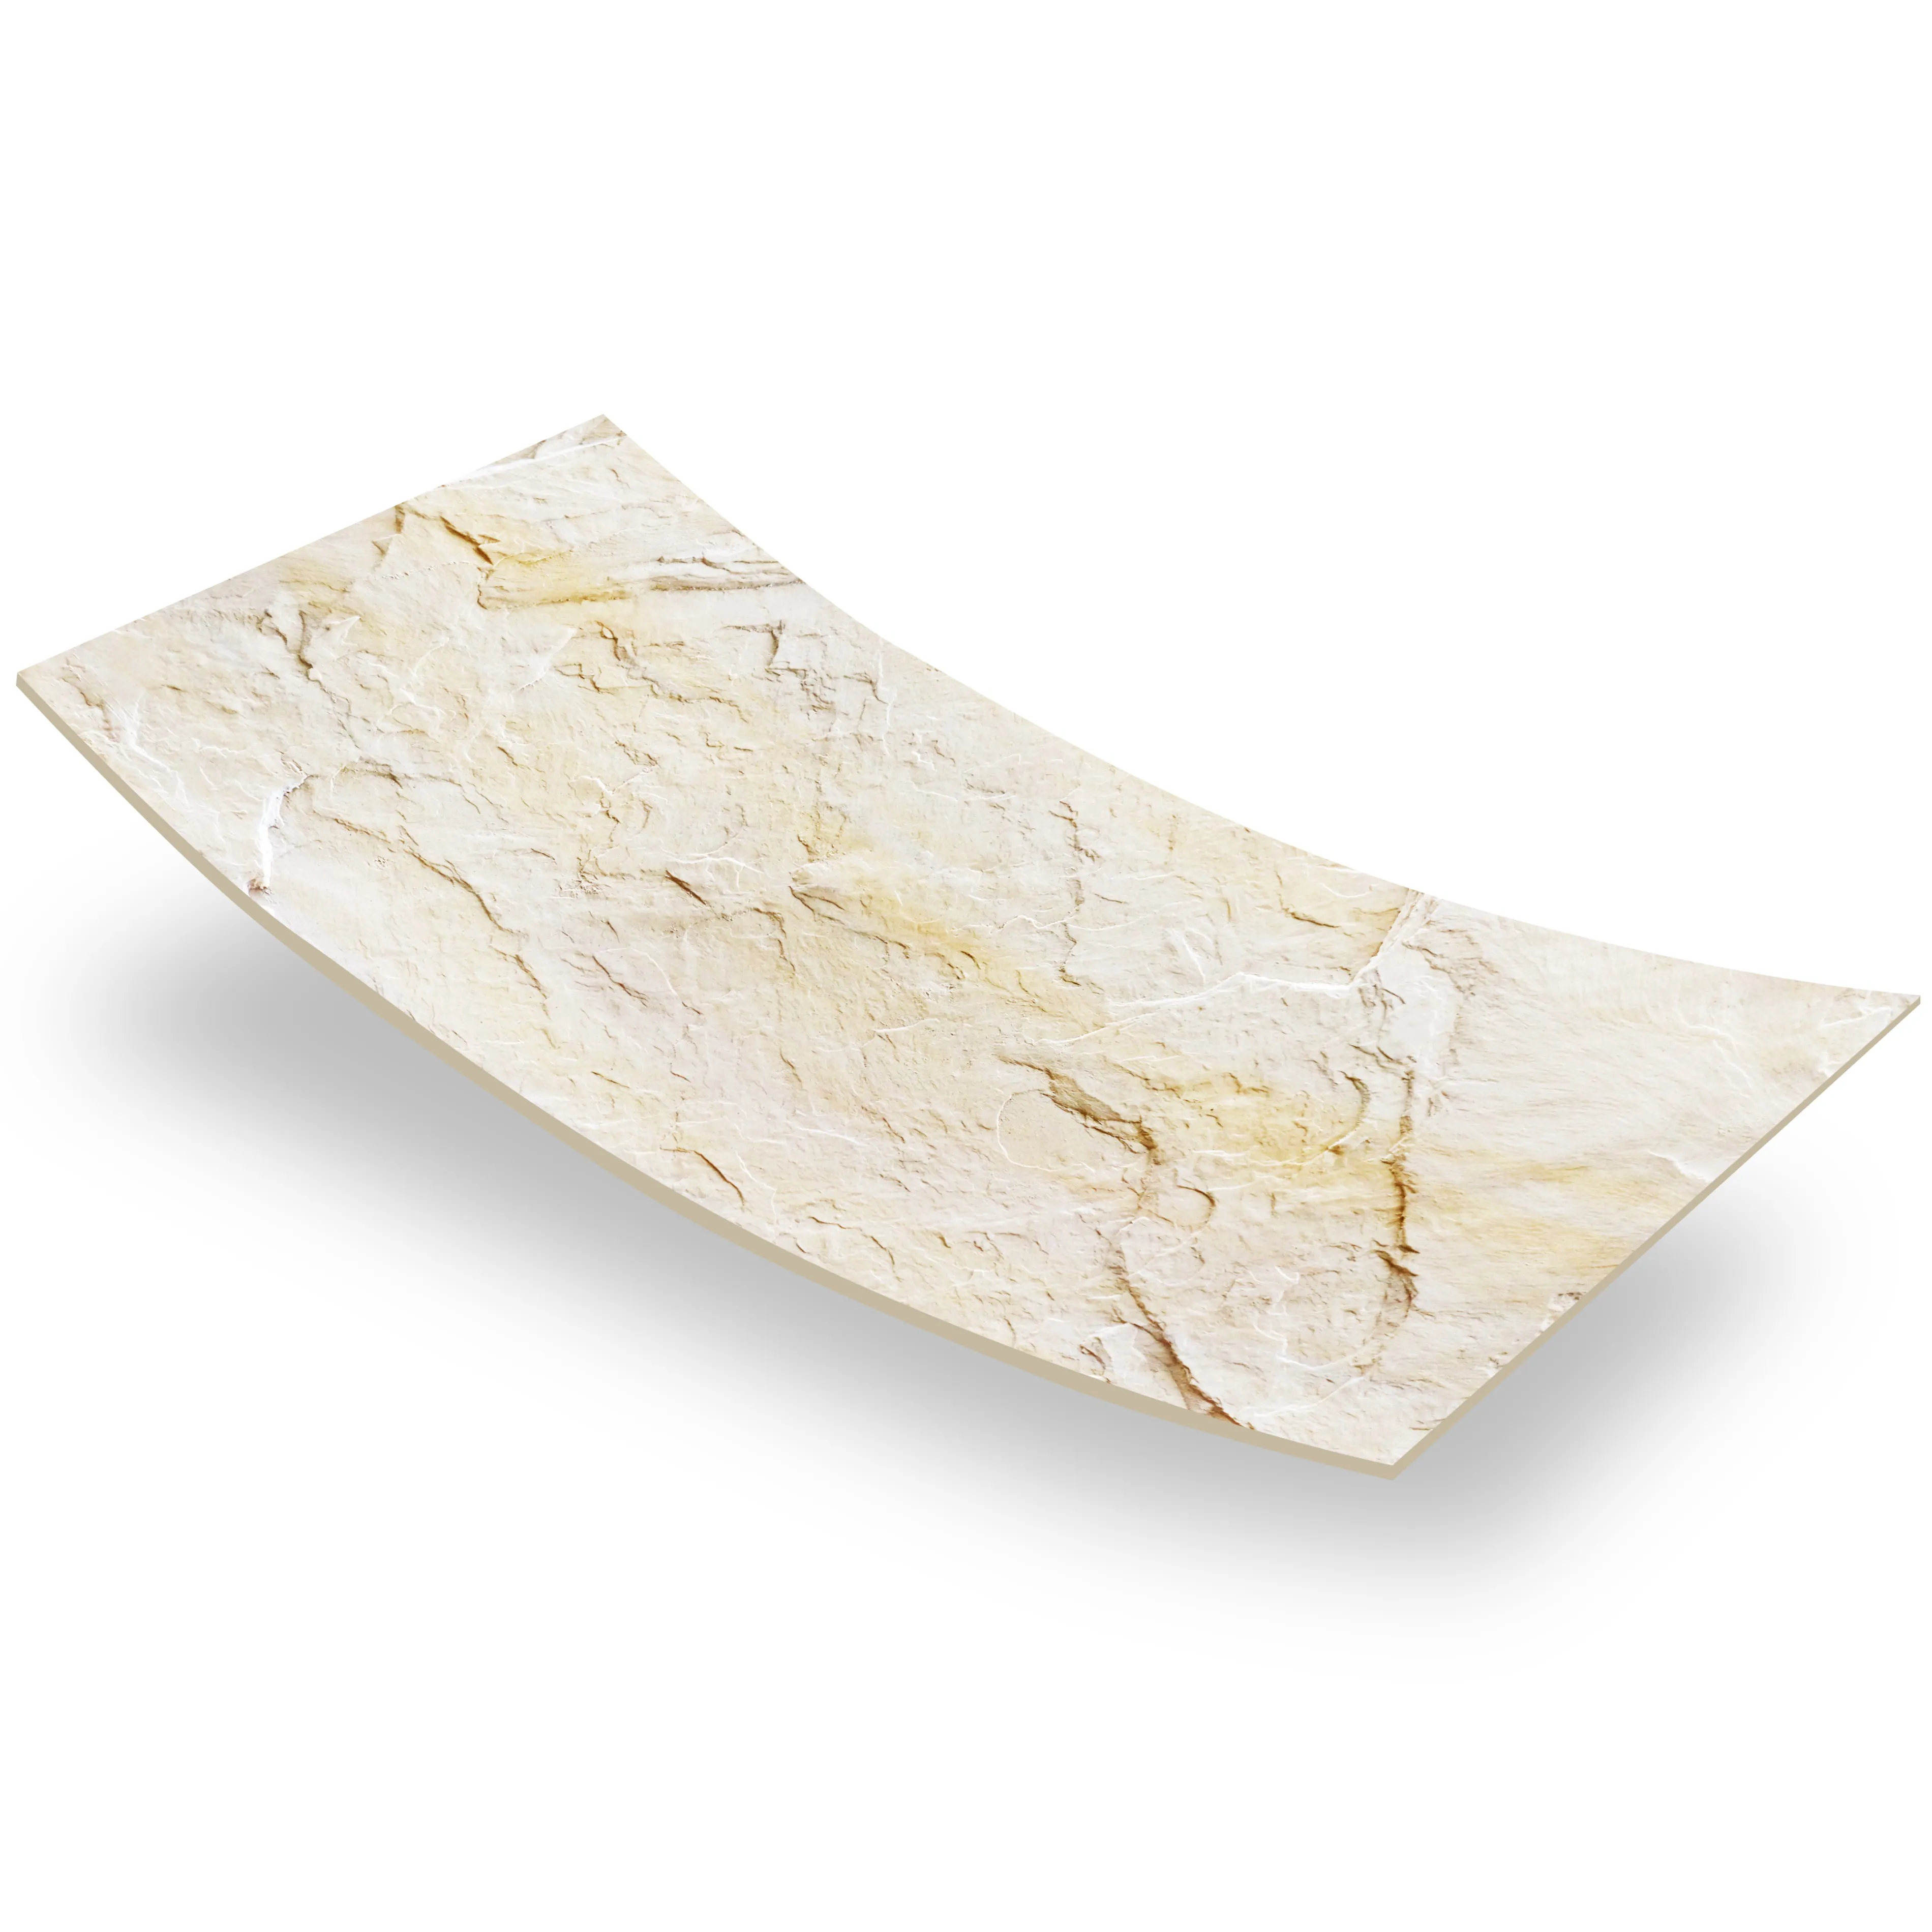
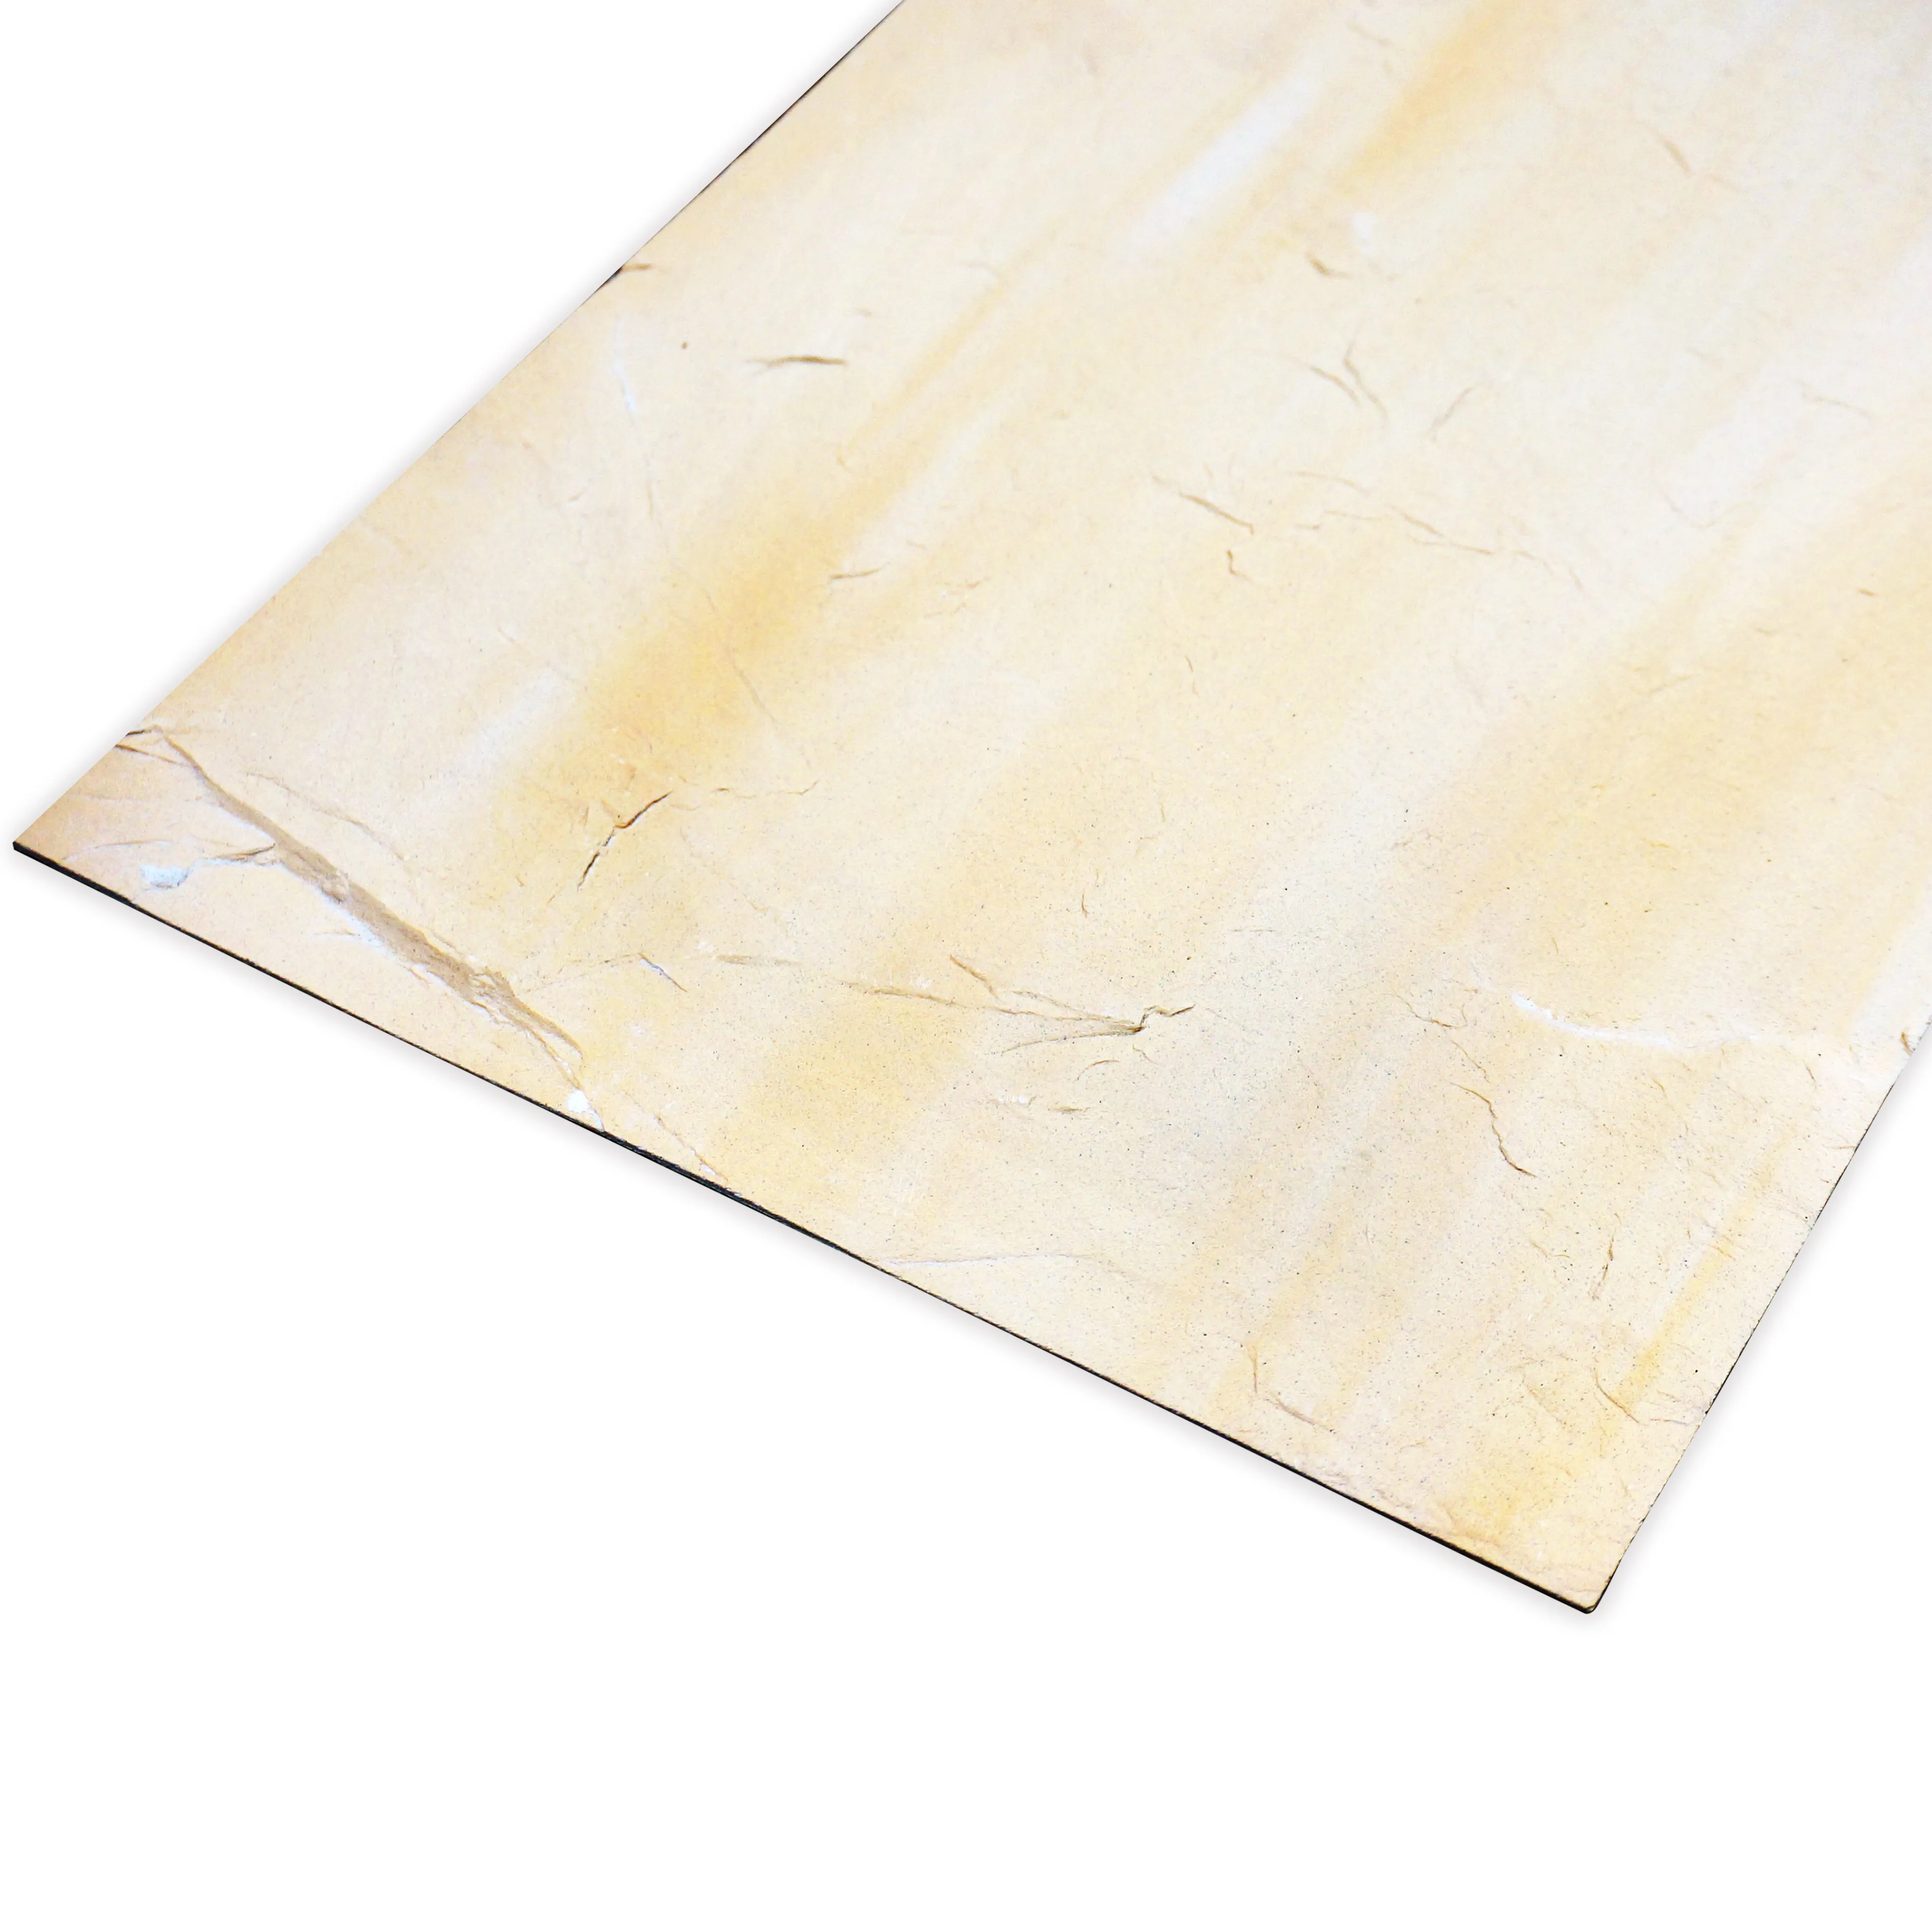
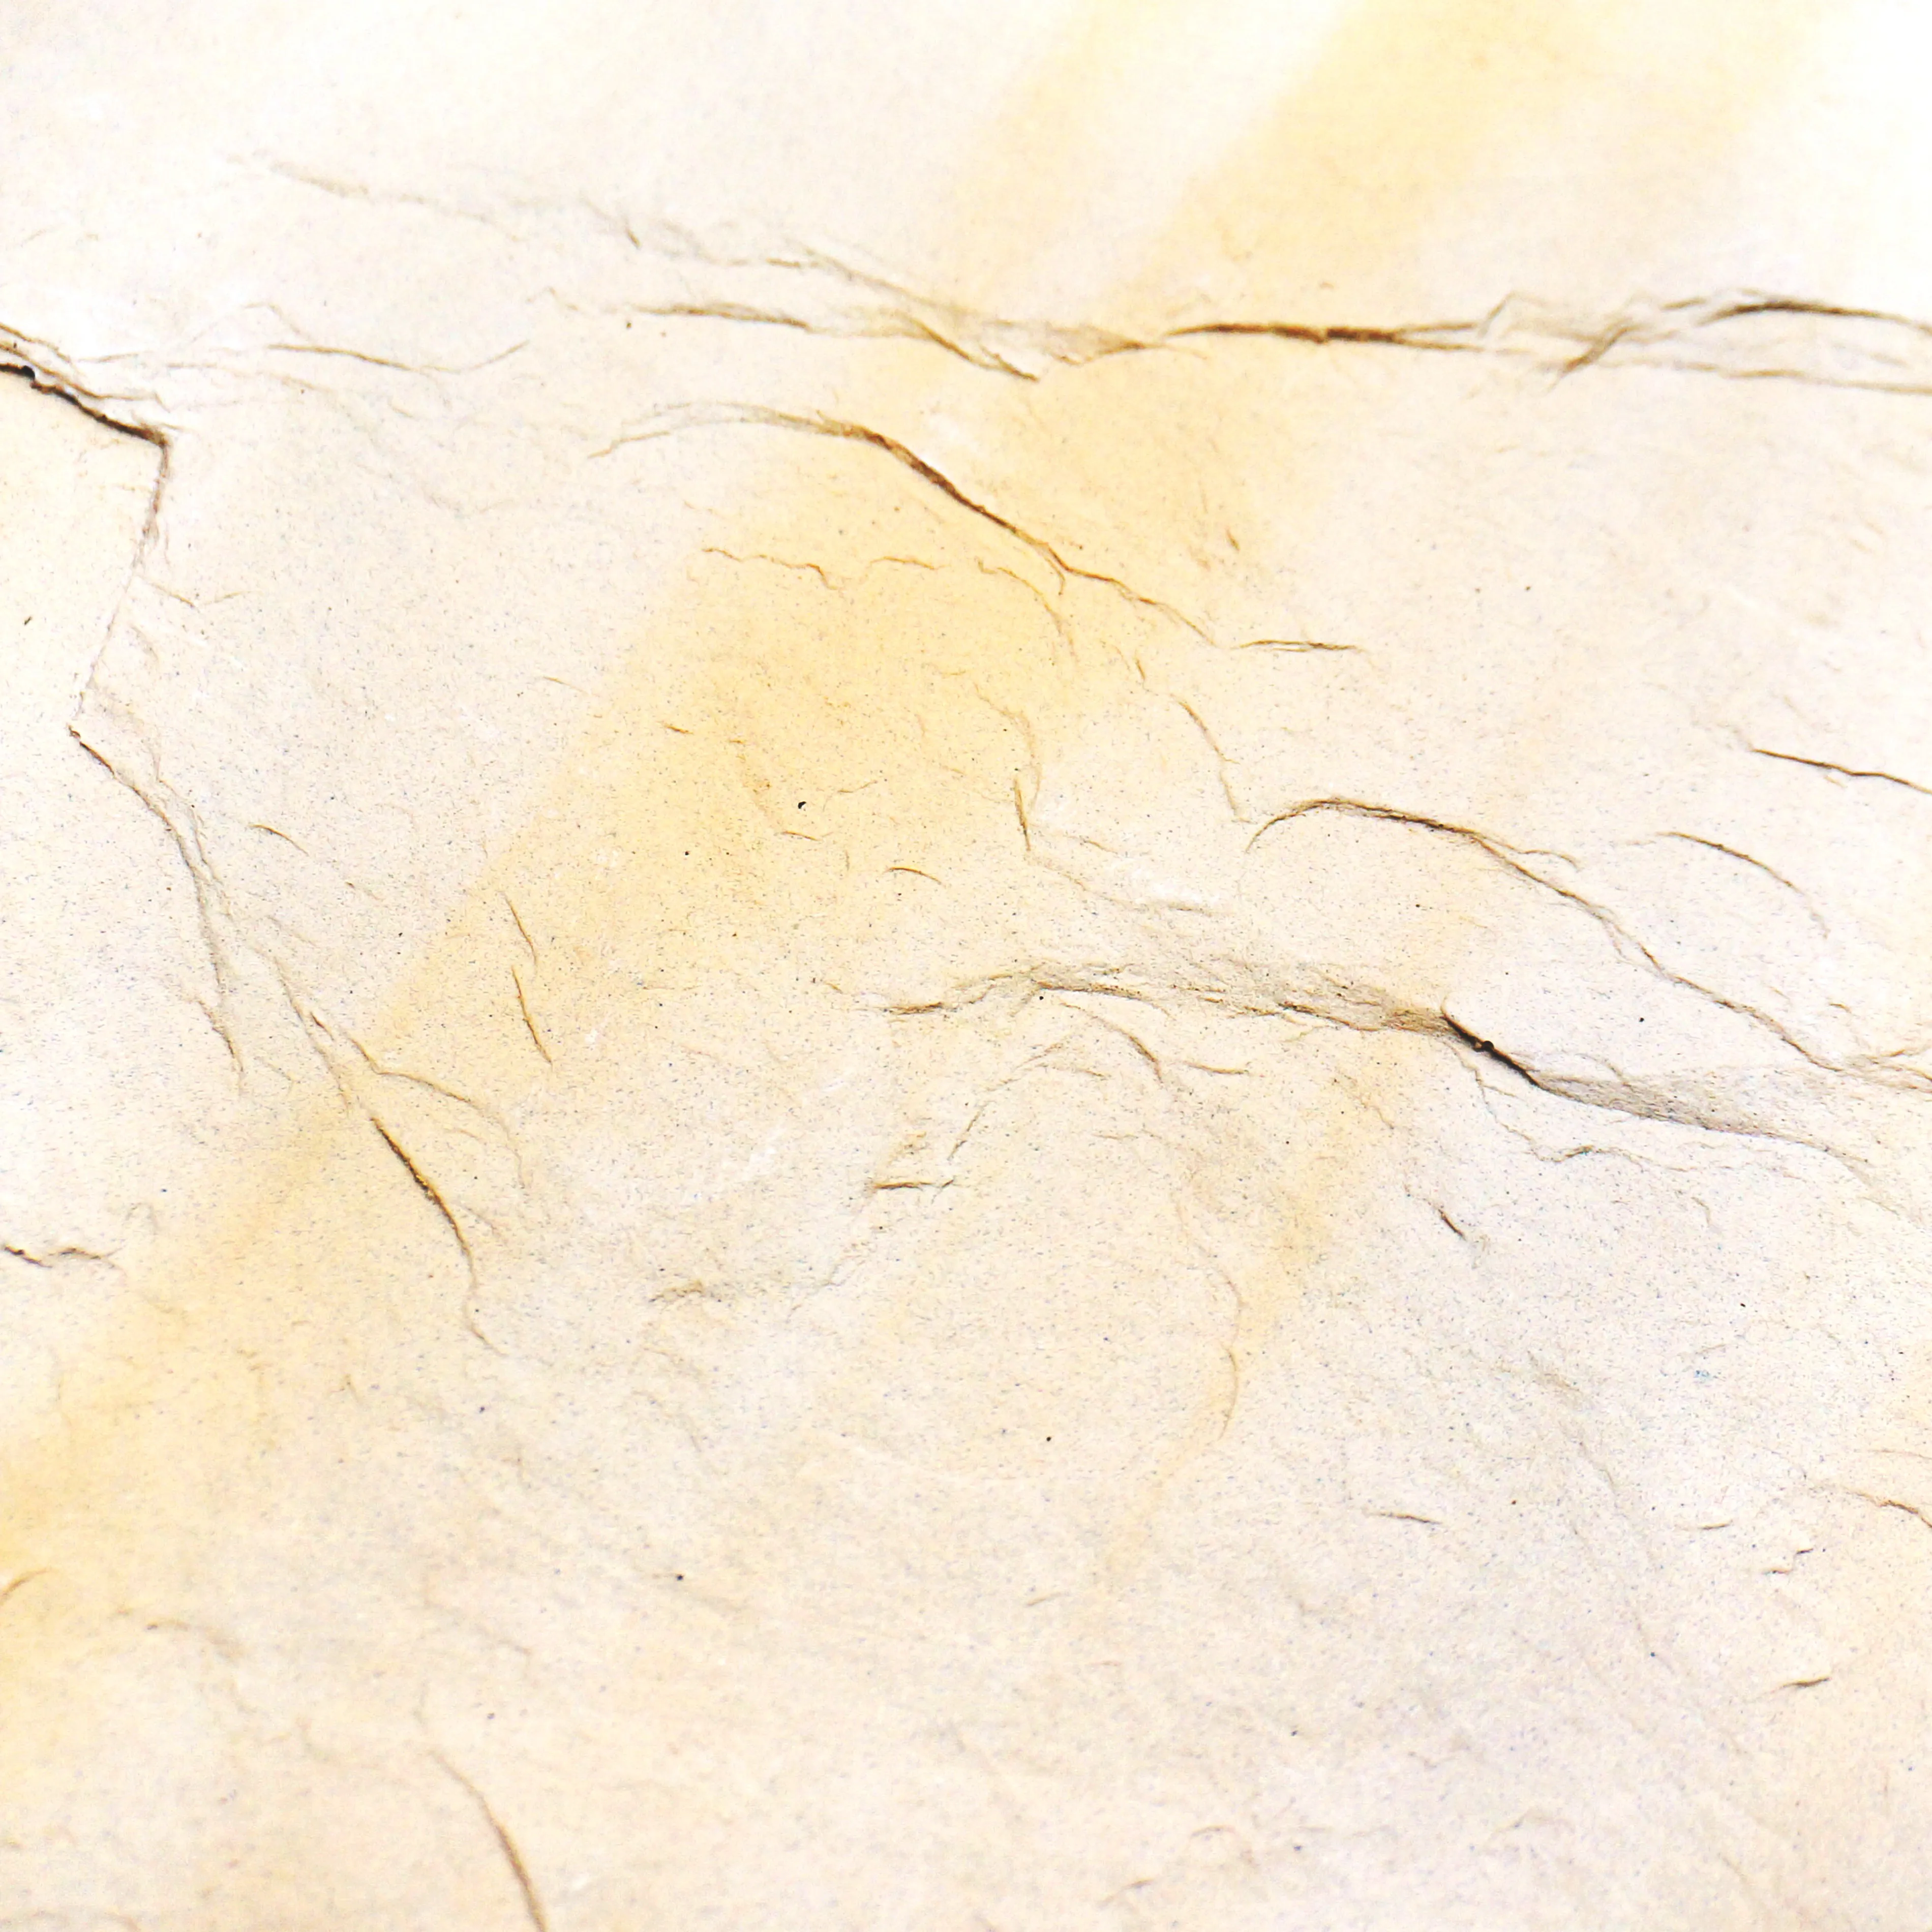
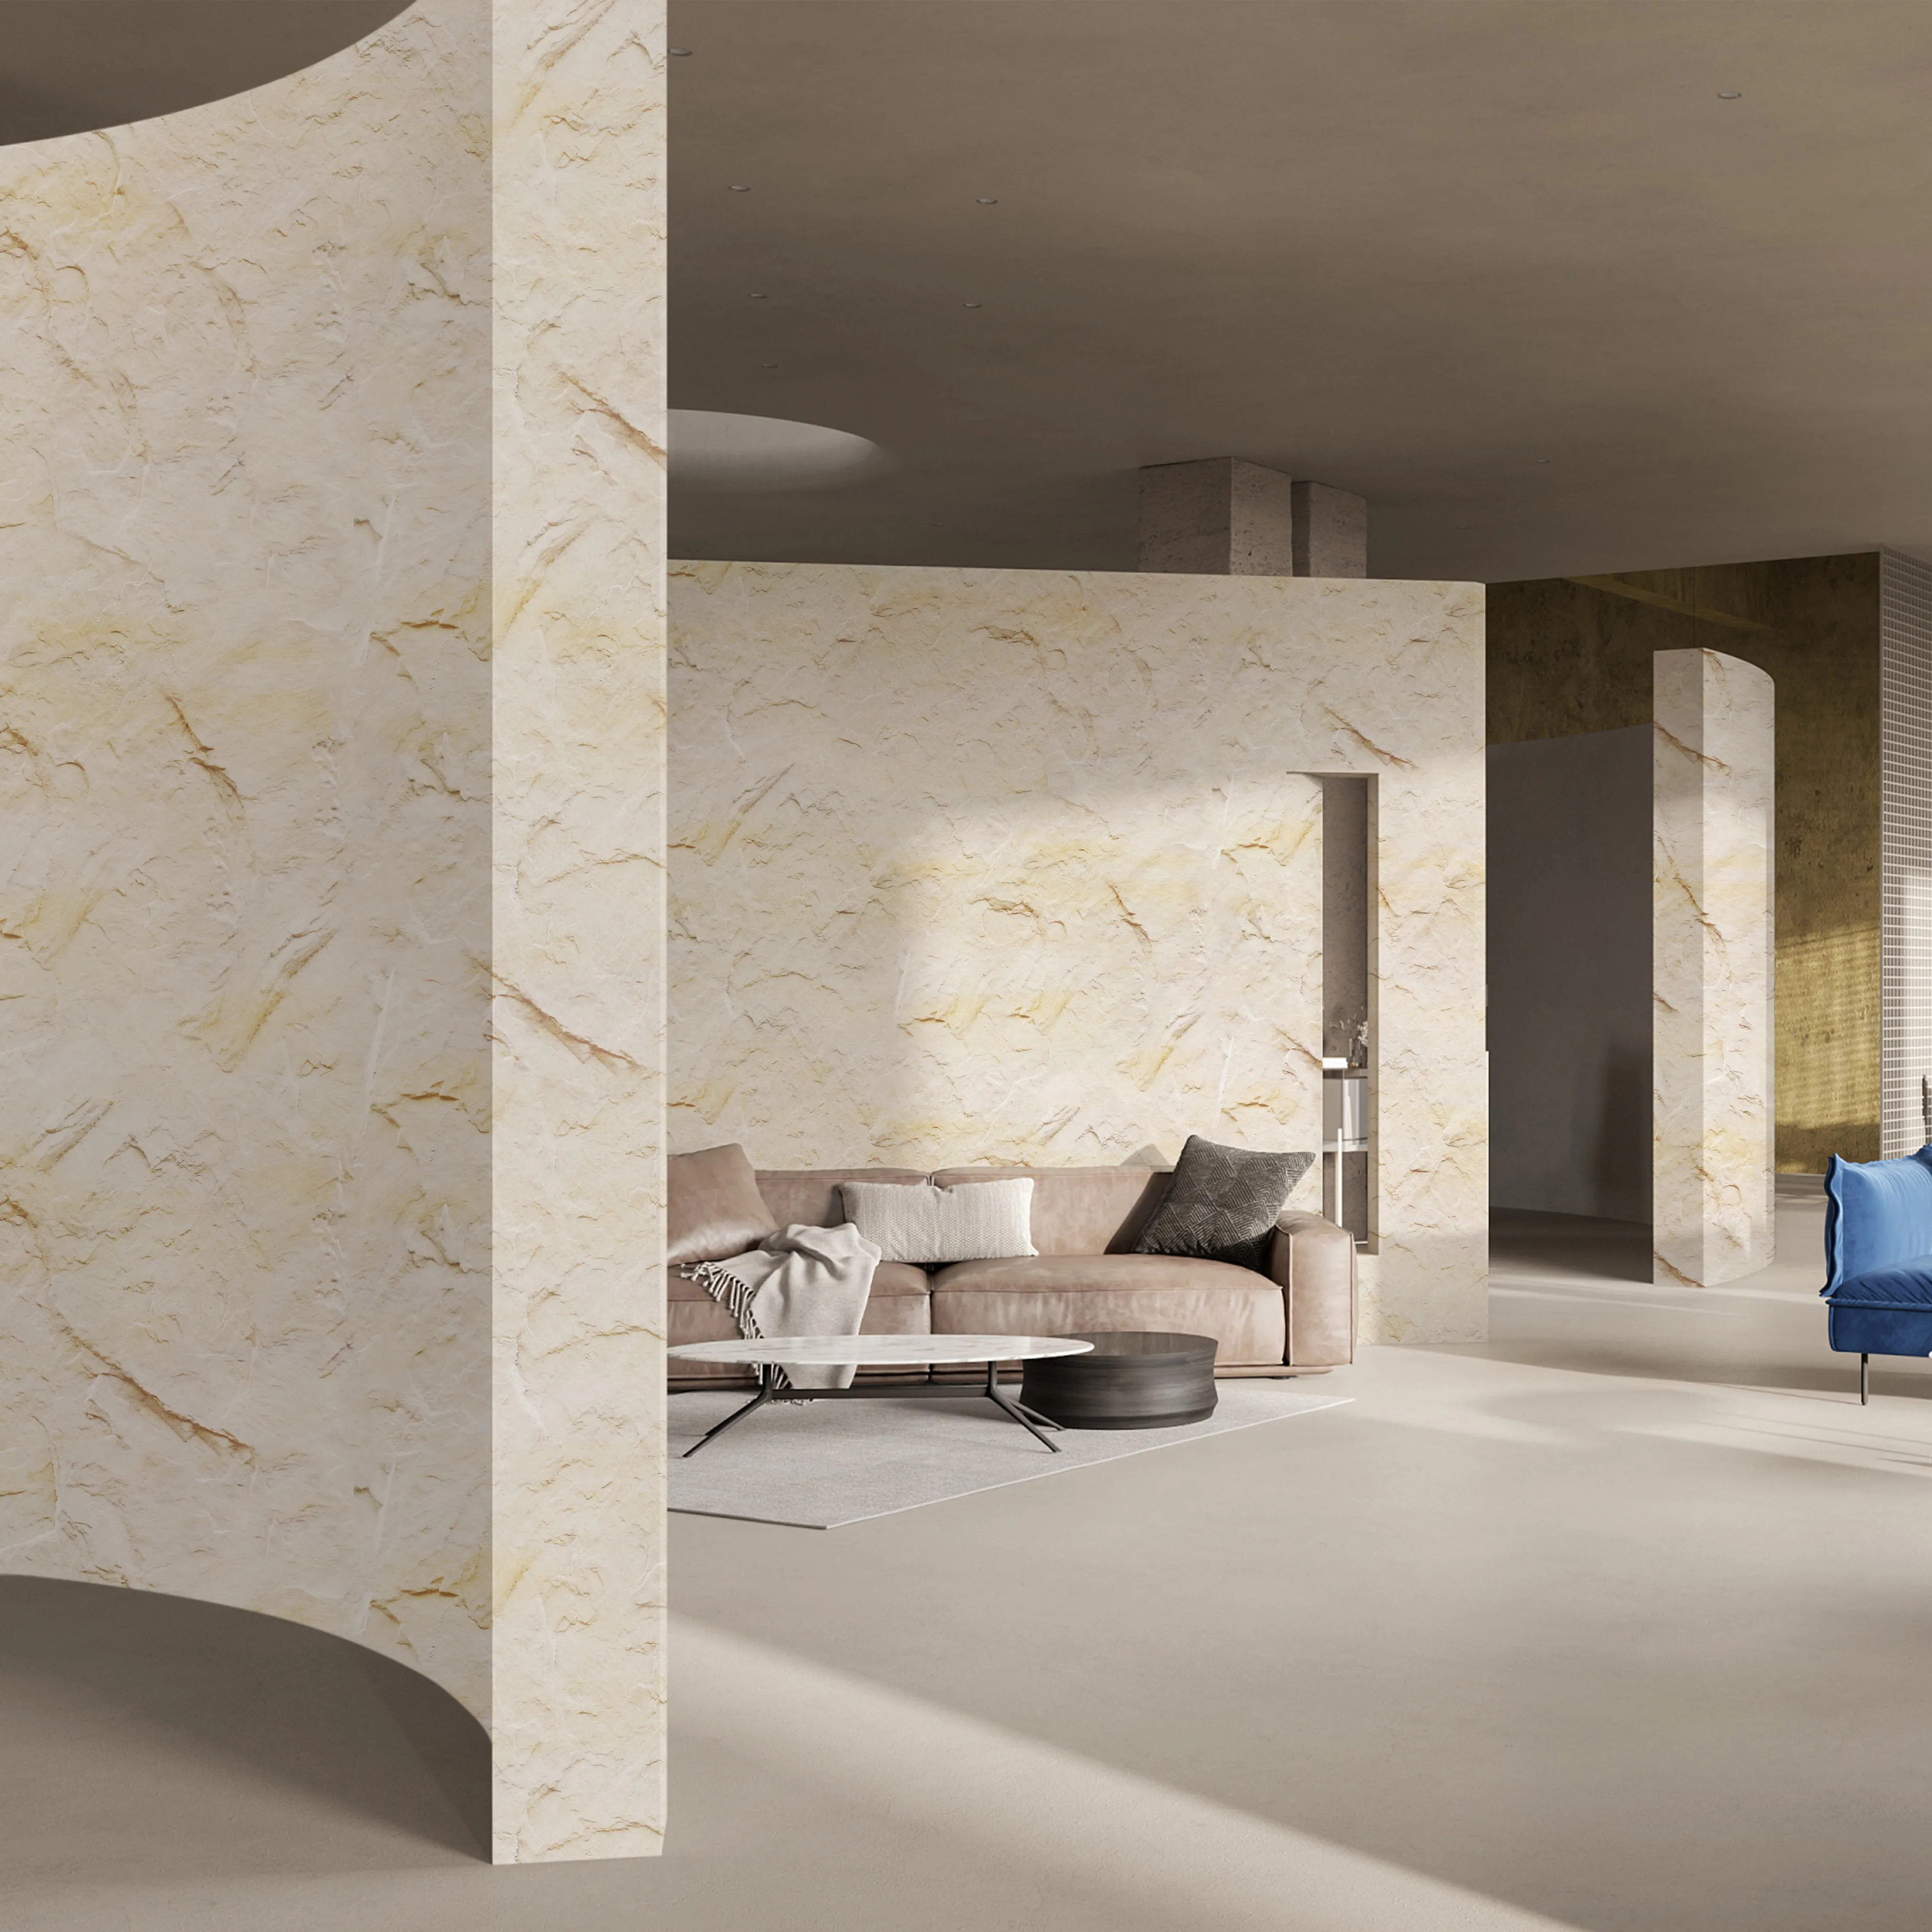
If you've ever run your hand over a wall finished with Slate Sunnye, you know there's something almost magical about it. Its soft, sunlit veining—warm as a summer afternoon—and subtle texture that feels both organic and refined make it a standout choice for designers aiming to craft spaces with soul. Whether it's gracing a boutique hotel lobby, adding depth to a home's accent wall, or elevating a restaurant's interior, Slate Sunnye has a way of turning ordinary surfaces into conversation starters. But here's the thing: even the most stunning material can fall flat if you don't have the right tools to install it. For professionals, this isn't just about getting the job done—it's about honoring the material, protecting your reputation, and ensuring every inch of Slate Sunnye looks as breathtaking as it was meant to be.
Let me start with a story. A few years back, I visited a client who'd hired a contractor to install Slate Sunnye in their kitchen backsplash. The result? Chipped edges, uneven grout lines, and a few tiles that looked like they'd been hacked at with a butter knife. The contractor had skimped on tools, using a dull utility knife to cut the slate and a regular hammer instead of a rubber mallet. The client was heartbroken, and the contractor? They lost not just that job's profit but future referrals. Slate Sunnye, with its delicate layers and unique composition, demands precision. It's not like installing basic ceramic tile—rush it, use the wrong gear, and you risk ruining the material's natural beauty. The right tools don't just make the installation smoother; they're an investment in your work's quality and your client's satisfaction.
And let's not forget efficiency. When you're juggling deadlines, the last thing you need is a tool that slows you down. A sharp blade cuts through Slate Sunnye in seconds; a dull one leaves you struggling, wasting time and increasing frustration. Good tools keep your workflow steady, help you avoid callbacks, and let you take pride in the finished product. So, what exactly do you need in your toolkit to do Slate Sunnye justice?
Think of your toolkit as a partner in craftsmanship. Each tool has a role, and when they work together, you'll get results that make clients say, "Wow, how did you do that?" Below are the must-haves, along with why they matter and how to use them effectively.
| Tool | Purpose | Key Features to Look For |
|---|---|---|
| Wet Tile Saw with Diamond Blade | Precision cutting of Slate Sunnye sheets or tiles | Variable speed settings, water cooling system (prevents dust and overheating), 7-10 inch diamond blade (specifically for natural stone) |
| Notched Trowel | Applying adhesive evenly to the substrate | 1/4 inch or 3/8 inch notches (depending on Slate Sunnye thickness), stainless steel blade (resists corrosion), comfortable grip |
| Rubber Mallet | Gently setting Slate Sunnye into adhesive without cracking | Soft rubber head (prevents surface damage), weighted handle for controlled strikes, non-slip grip |
| 4-foot Spirit Level | Ensuring straight, level installation | Aluminum frame (lightweight but durable), easy-to-read vials (for horizontal, vertical, and 45° angles), shock-resistant design |
| Grout Float | Applying grout evenly between Slate Sunnye tiles | Soft rubber pad (molds to uneven surfaces), ergonomic handle, beveled edges (prevents grout buildup) |
| Safety Gear | Protecting yourself during cutting and installation | Cut-resistant gloves (for handling sharp edges), safety goggles (shields eyes from dust), ear protection (for power tools), dust mask (if working in enclosed spaces) |
Pro Tip: When shopping for a wet tile saw, don't skimp on the diamond blade. A cheap blade will chip Slate Sunnye's edges, no matter how careful you are. Look for blades labeled "continuous rim" or "turbo rim"—they're designed for clean, smooth cuts on natural stone like slate.
Not all Slate Sunnye installations are straightforward. Maybe you're working around outlets, creating a curved accent wall, or pairing Slate Sunnye with other materials like foamed aluminium alloy board (vintage silver) for a modern-industrial look. In these cases, a few specialized tools can make all the difference.
Angle Grinder with Diamond Cup Wheel: Perfect for detailed cuts, shaping edges, or smoothing rough spots. I once used this to cut a custom archway in Slate Sunnye for a client's fireplace—it allowed me to follow the curve precisely without chipping. Just remember to use a dust shroud attachment to keep the air clean.
Tile Nippers: For small, intricate cuts—like notching around a pipe or outlet. They're handheld, easy to control, and ideal for adjustments that a wet saw can't handle. Look for nippers with carbide tips; they'll grip Slate Sunnye better and last longer.
Suction Cup Lifters: If you're installing large Slate Sunnye slabs (some can be 24x48 inches or bigger), these are non-negotiable. They let you lift and position the slabs safely without straining your back or risking dropping them. I keep two in my toolkit—one for lifting, one for adjusting alignment once the slab is on the wall.
Grout Sponge and Bucket: Seems basic, but a high-quality, dense sponge (not the flimsy kitchen kind!) will make cleaning excess grout off Slate Sunnye a breeze. Slate is porous, so you need to wipe grout off quickly—dampen the sponge, wring it well, and wipe in a circular motion to avoid smearing.
Slate Sunnye rarely shines alone. Designers often pair it with materials like rough granite stone (medium grey) for contrast or fair-faced concrete for a minimalist vibe. When mixing materials, you'll need tools that can handle both. For example, if you're installing Slate Sunnye next to rough granite, your wet saw's diamond blade should work for both, but you may need a different trowel size for the granite (it's denser, so a 1/2 inch notched trowel might be better for adhesive coverage).
Foamed aluminium alloy board (vintage silver) is another popular pairing—it adds a sleek, metallic touch that balances Slate Sunnye's earthiness. For cutting this, a jigsaw with a metal-cutting blade works well, but be gentle—aluminium can bend if you force it. And when setting it next to Slate Sunnye, use a level to ensure both materials align perfectly; even a 1/8 inch difference will stick out like a sore thumb.
Even pros make mistakes, but many can be avoided with the right tools and a little mindfulness. Here are a few I've learned the hard way:
Mistake #1: Using a Dry Saw on Slate Sunnye. Dry cutting creates dust that's harmful to breathe and can scratch the slate's surface. Always use a wet saw—it keeps the blade cool, reduces dust, and ensures clean cuts.
Mistake #2: Rushing the Adhesive Application. A notched trowel isn't just for spreading glue—it creates ridges that help the Slate Sunnye bond securely. Skipping this step or using a flat trowel leads to weak adhesion and tiles that pop loose later.
Mistake #3: Ignoring Safety Gear. I once thought I could "just be careful" without goggles while cutting Slate Sunnye. A tiny stone chip flew into my eye, and I spent the next hour at urgent care. Safety gear isn't optional—it's part of being a professional.
At the end of the day, installing Slate Sunnye is more than a job—it's an art. The material's beauty lies in its details: the way light plays off its veining, the texture that invites touch, the warmth it brings to a room. Your tools are the brush and palette that let you bring that art to life. Investing in quality gear isn't about spending money—it's about respecting your work, your clients, and the material itself.
So, before your next Slate Sunnye project, take stock of your toolkit. Sharpen those blades, replace worn trowels, and add any missing specialized tools. Your hands (and your clients) will thank you. And when you step back to admire the finished wall—smooth, even, and glowing with Slate Sunnye's natural charm—you'll know it was worth every penny.
Recommend Products


