
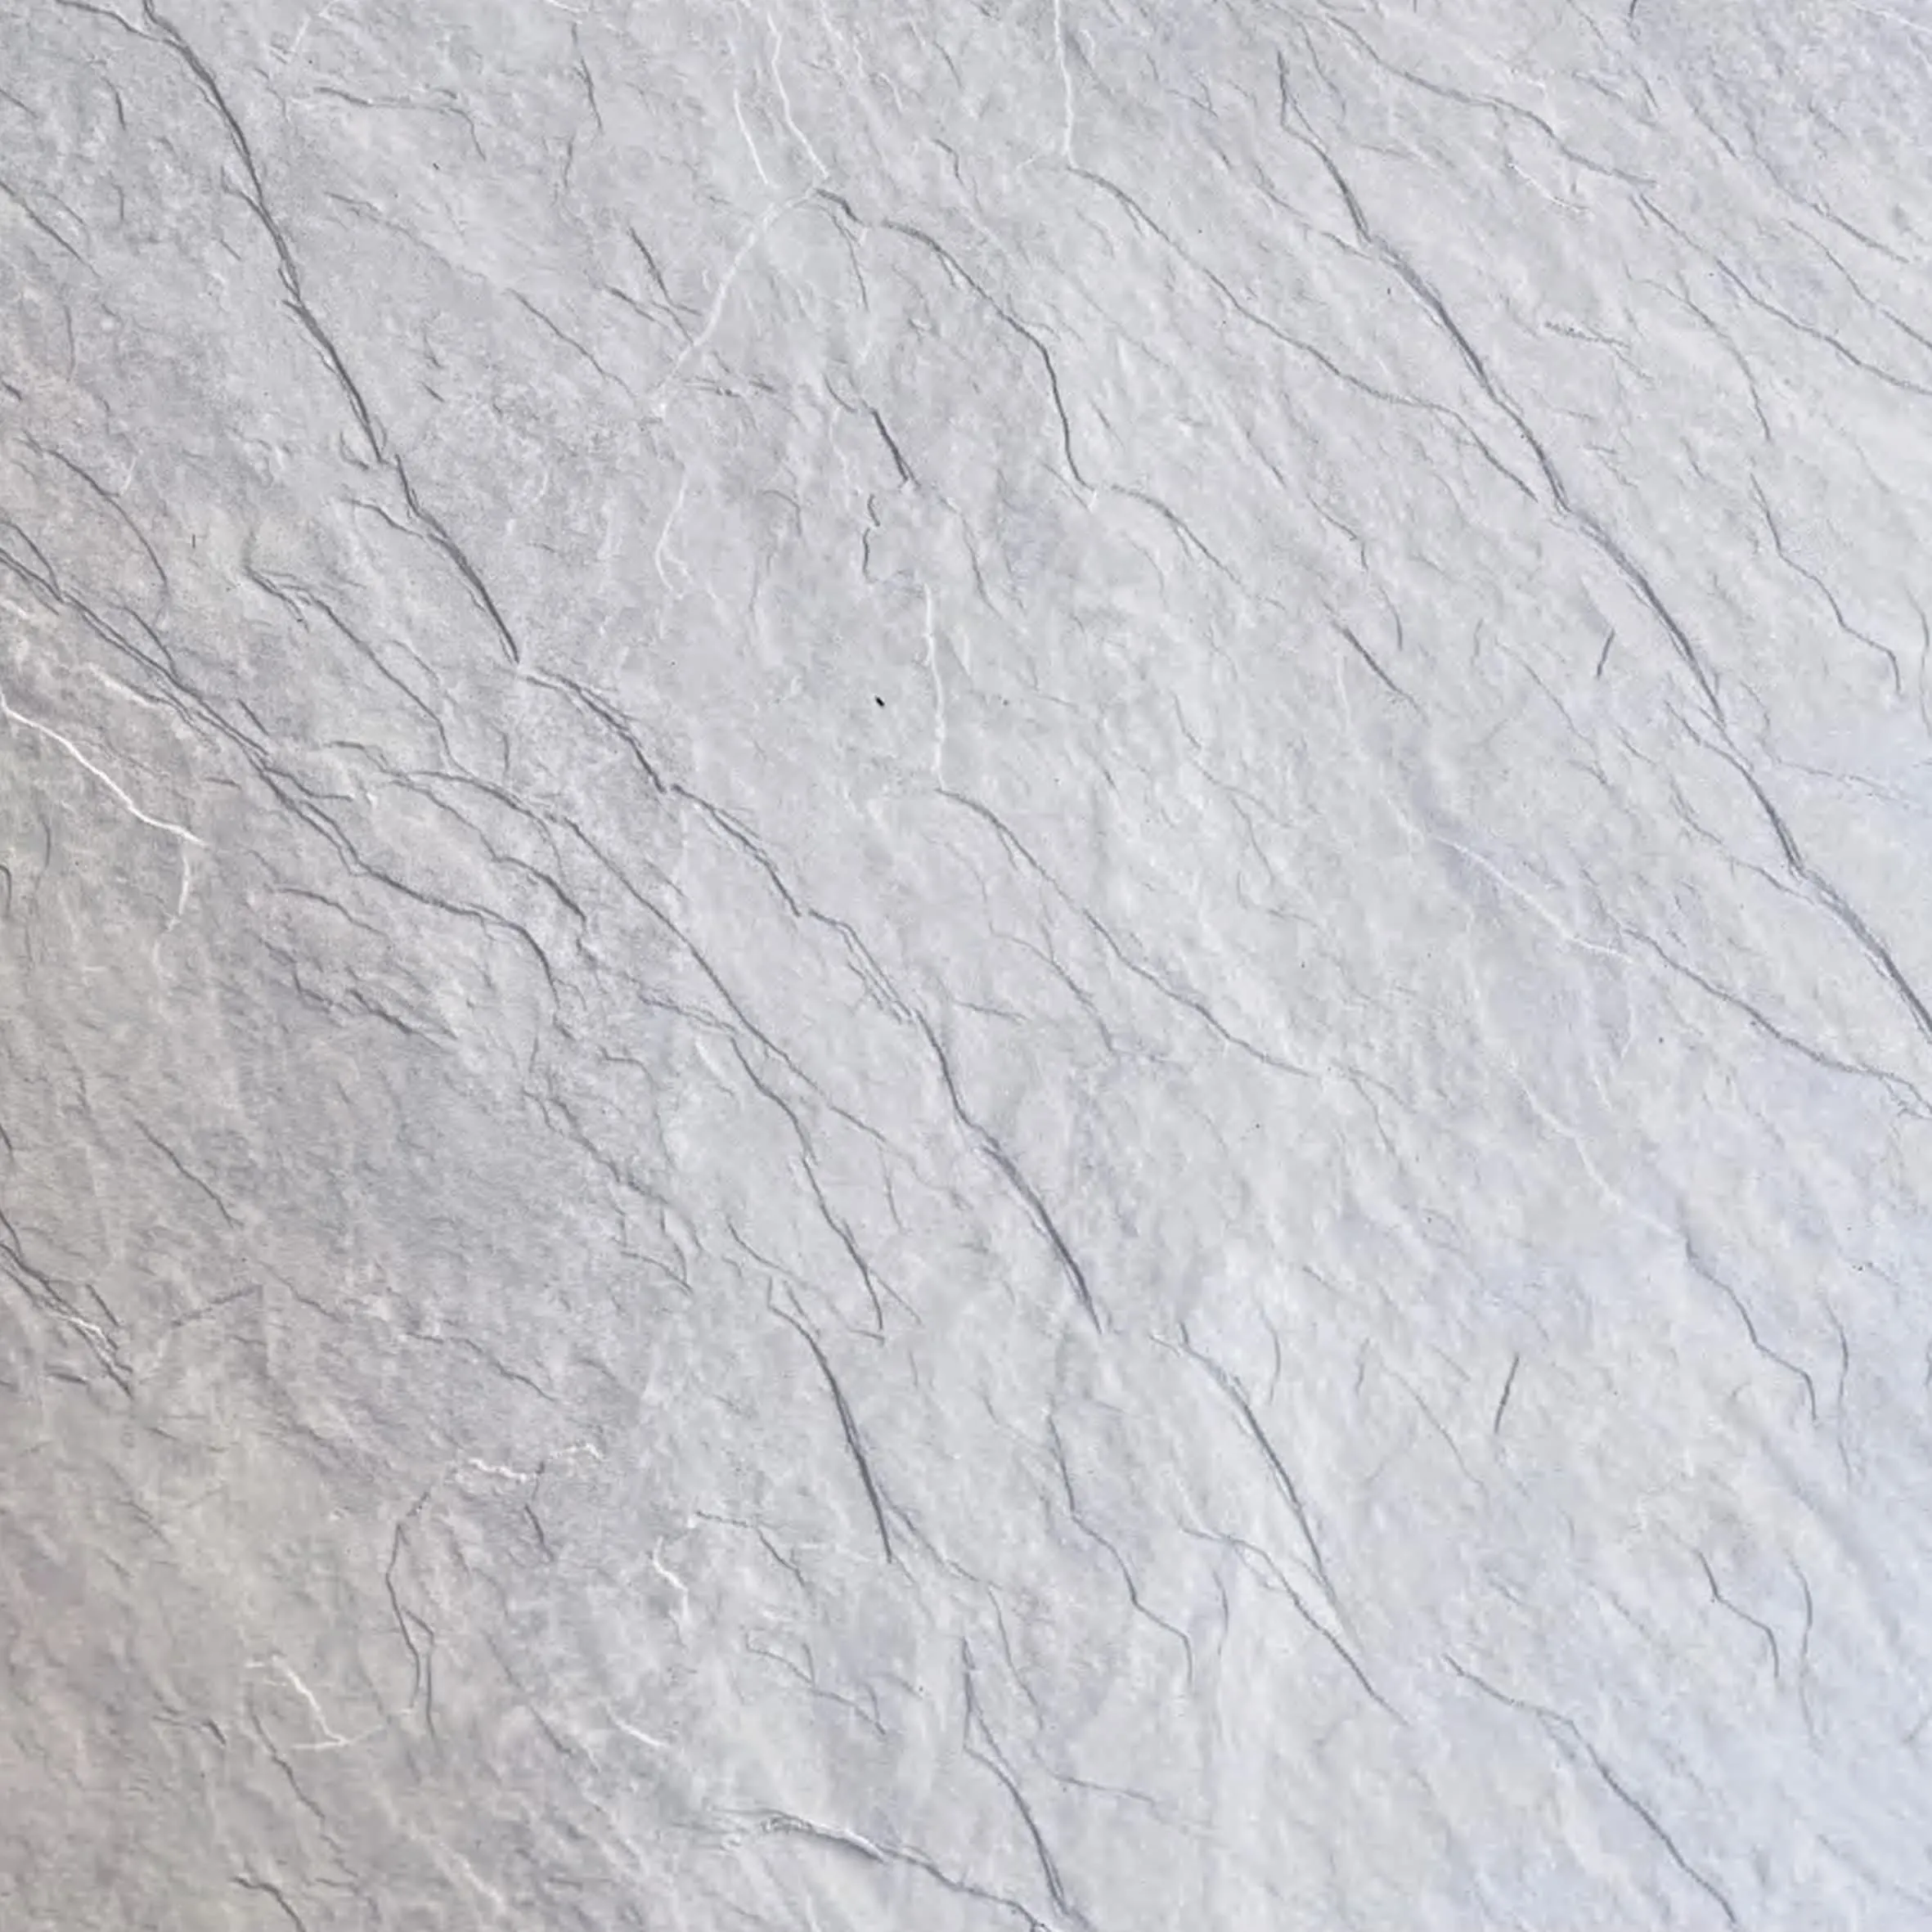
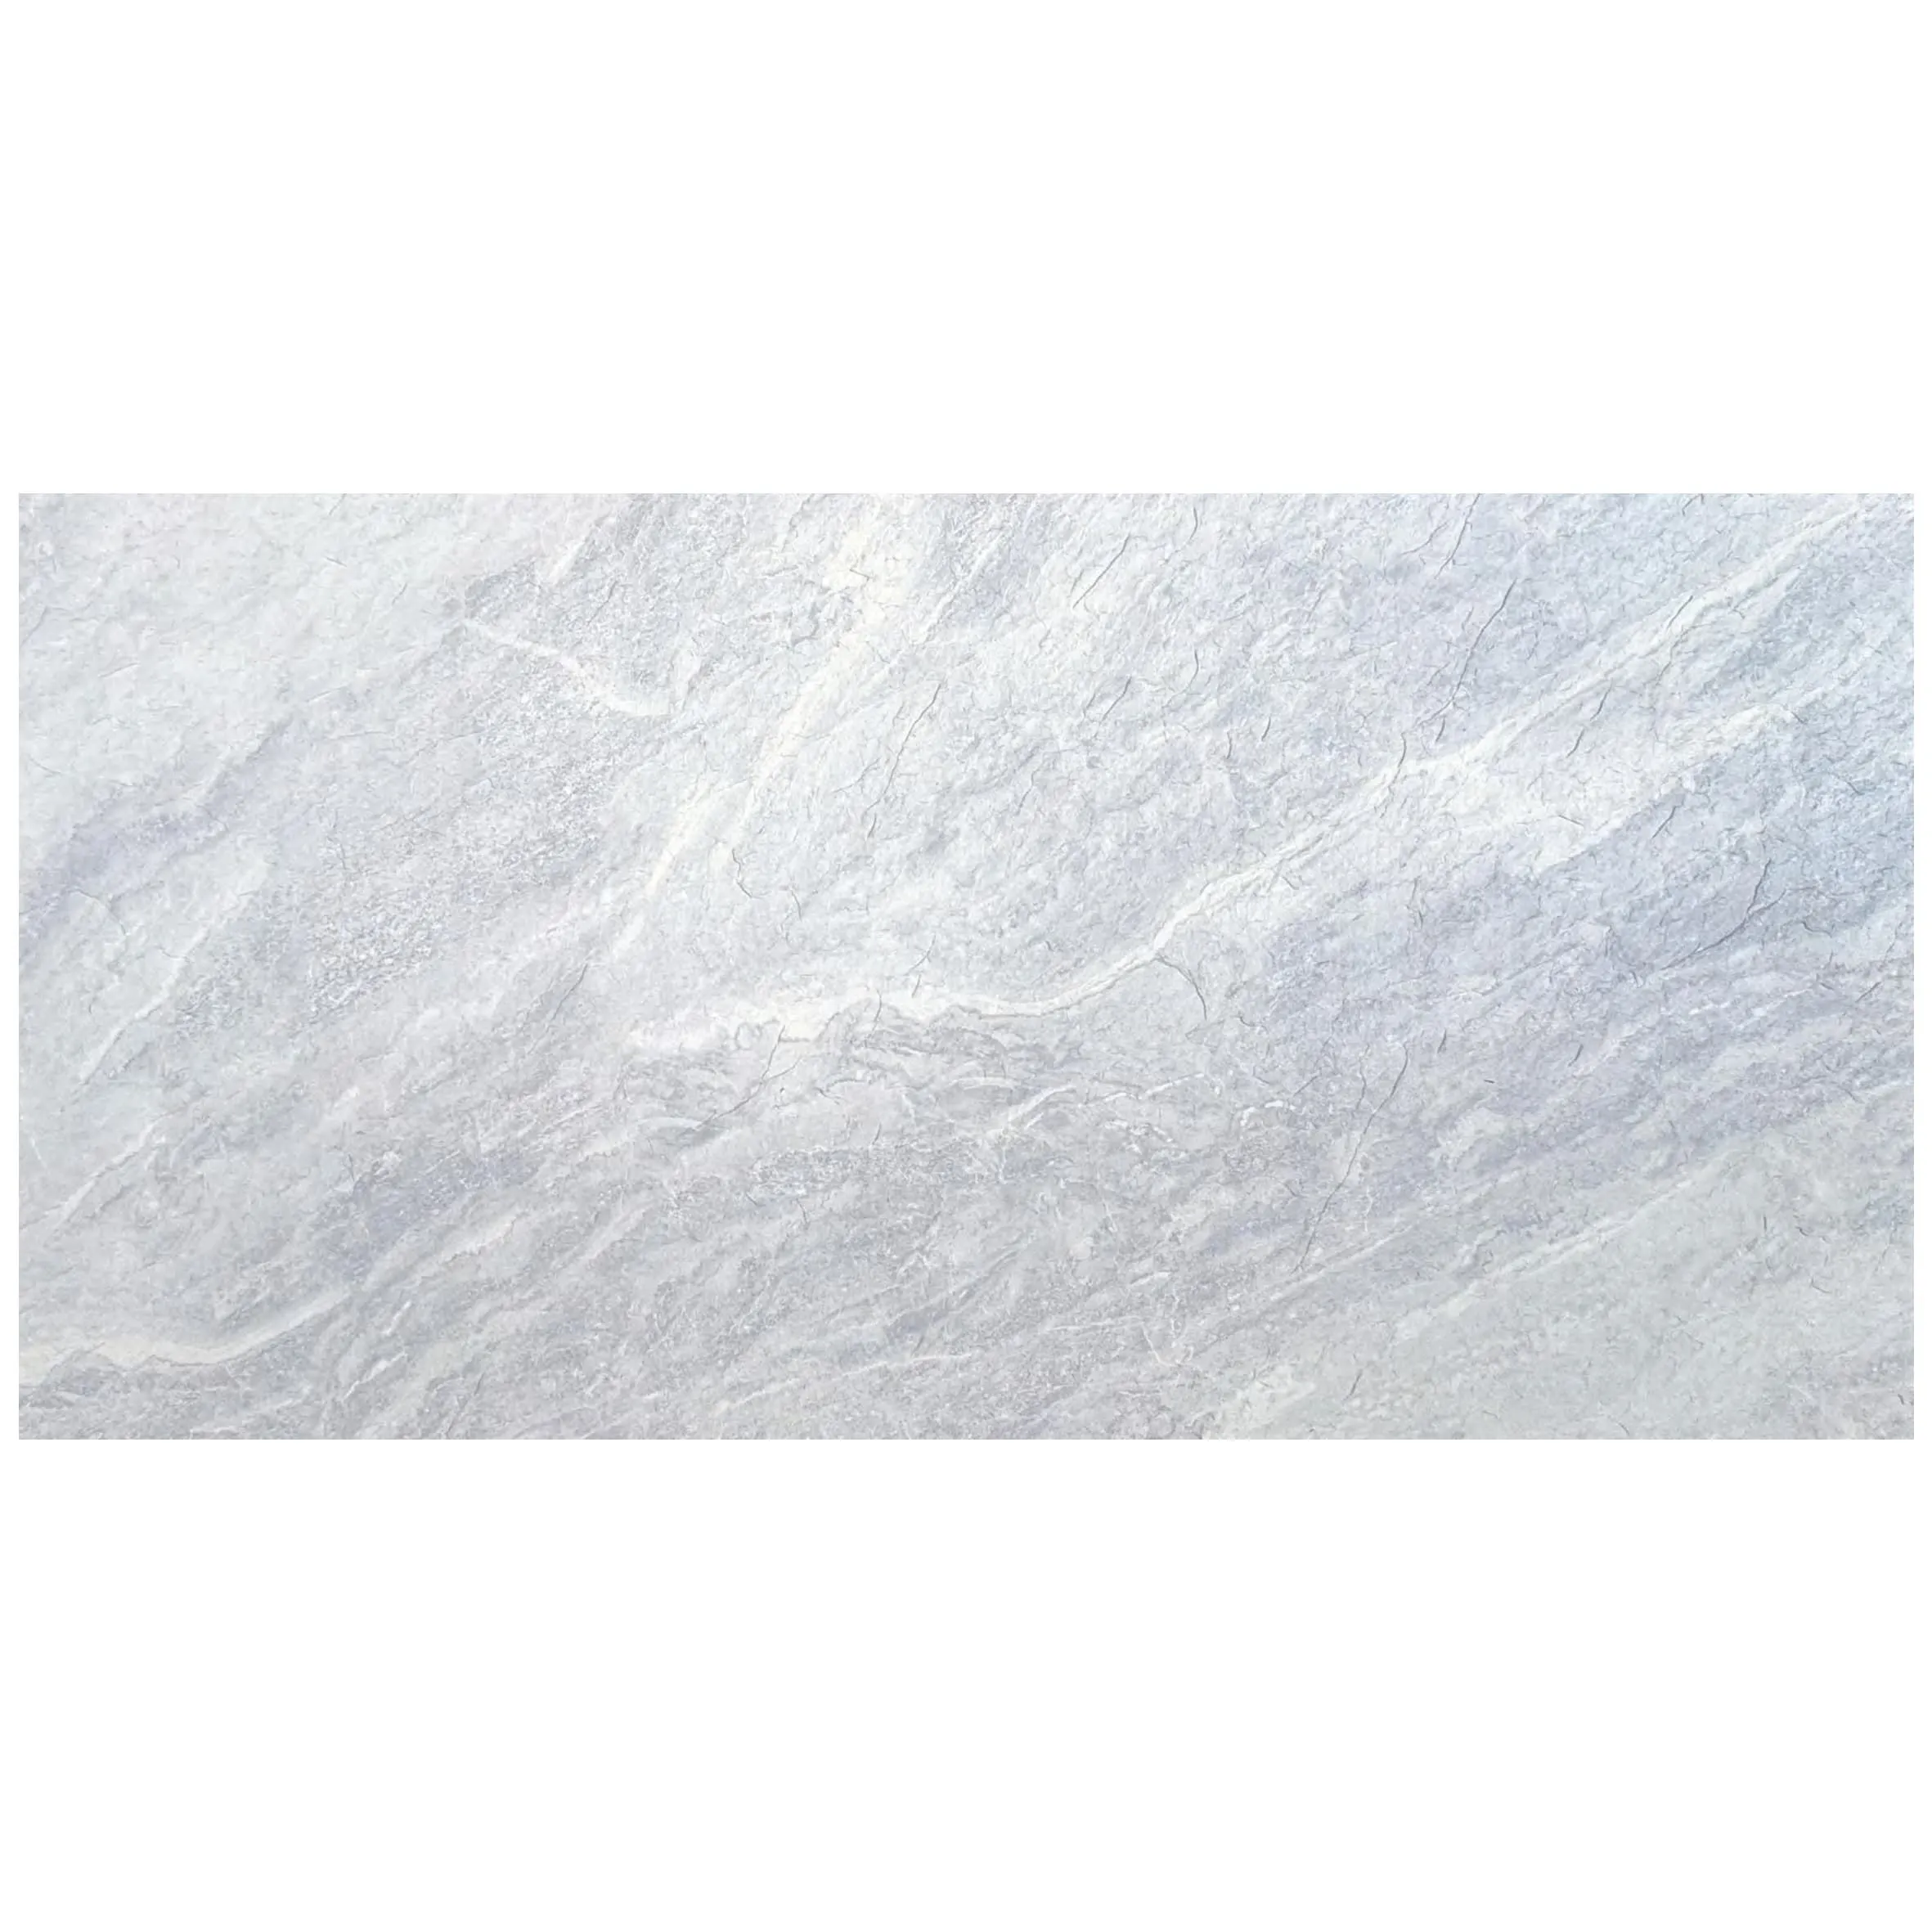
If you've been scrolling through interior design blogs or flipping through architecture magazines lately, chances are you've stumbled upon the soft, ethereal beauty of Slate Veil White MCM. This material has become a darling of designers and homeowners alike, and it's not hard to see why. With its delicate white base swirled with faint gray veining—reminiscent of mist settling over a mountain slope—Slate Veil White MCM brings a sense of calm sophistication to any space. But beyond its good looks, it's the practicality that seals the deal: as part of the MCM flexible stone family, it's lightweight, durable, and surprisingly easy to install, even for those who don't consider themselves "handy."
In this guide, we're going to walk you through everything you need to know to install Slate Veil White MCM like a pro. From prepping your wall to putting on the finishing touches, we'll break it down in simple, conversational steps. We'll also share tips for troubleshooting common hiccups, maintaining your new cladding, and even how to pair it with other materials—like warm wood grain board or industrial fair-faced concrete—to create a look that's uniquely yours. Let's dive in.
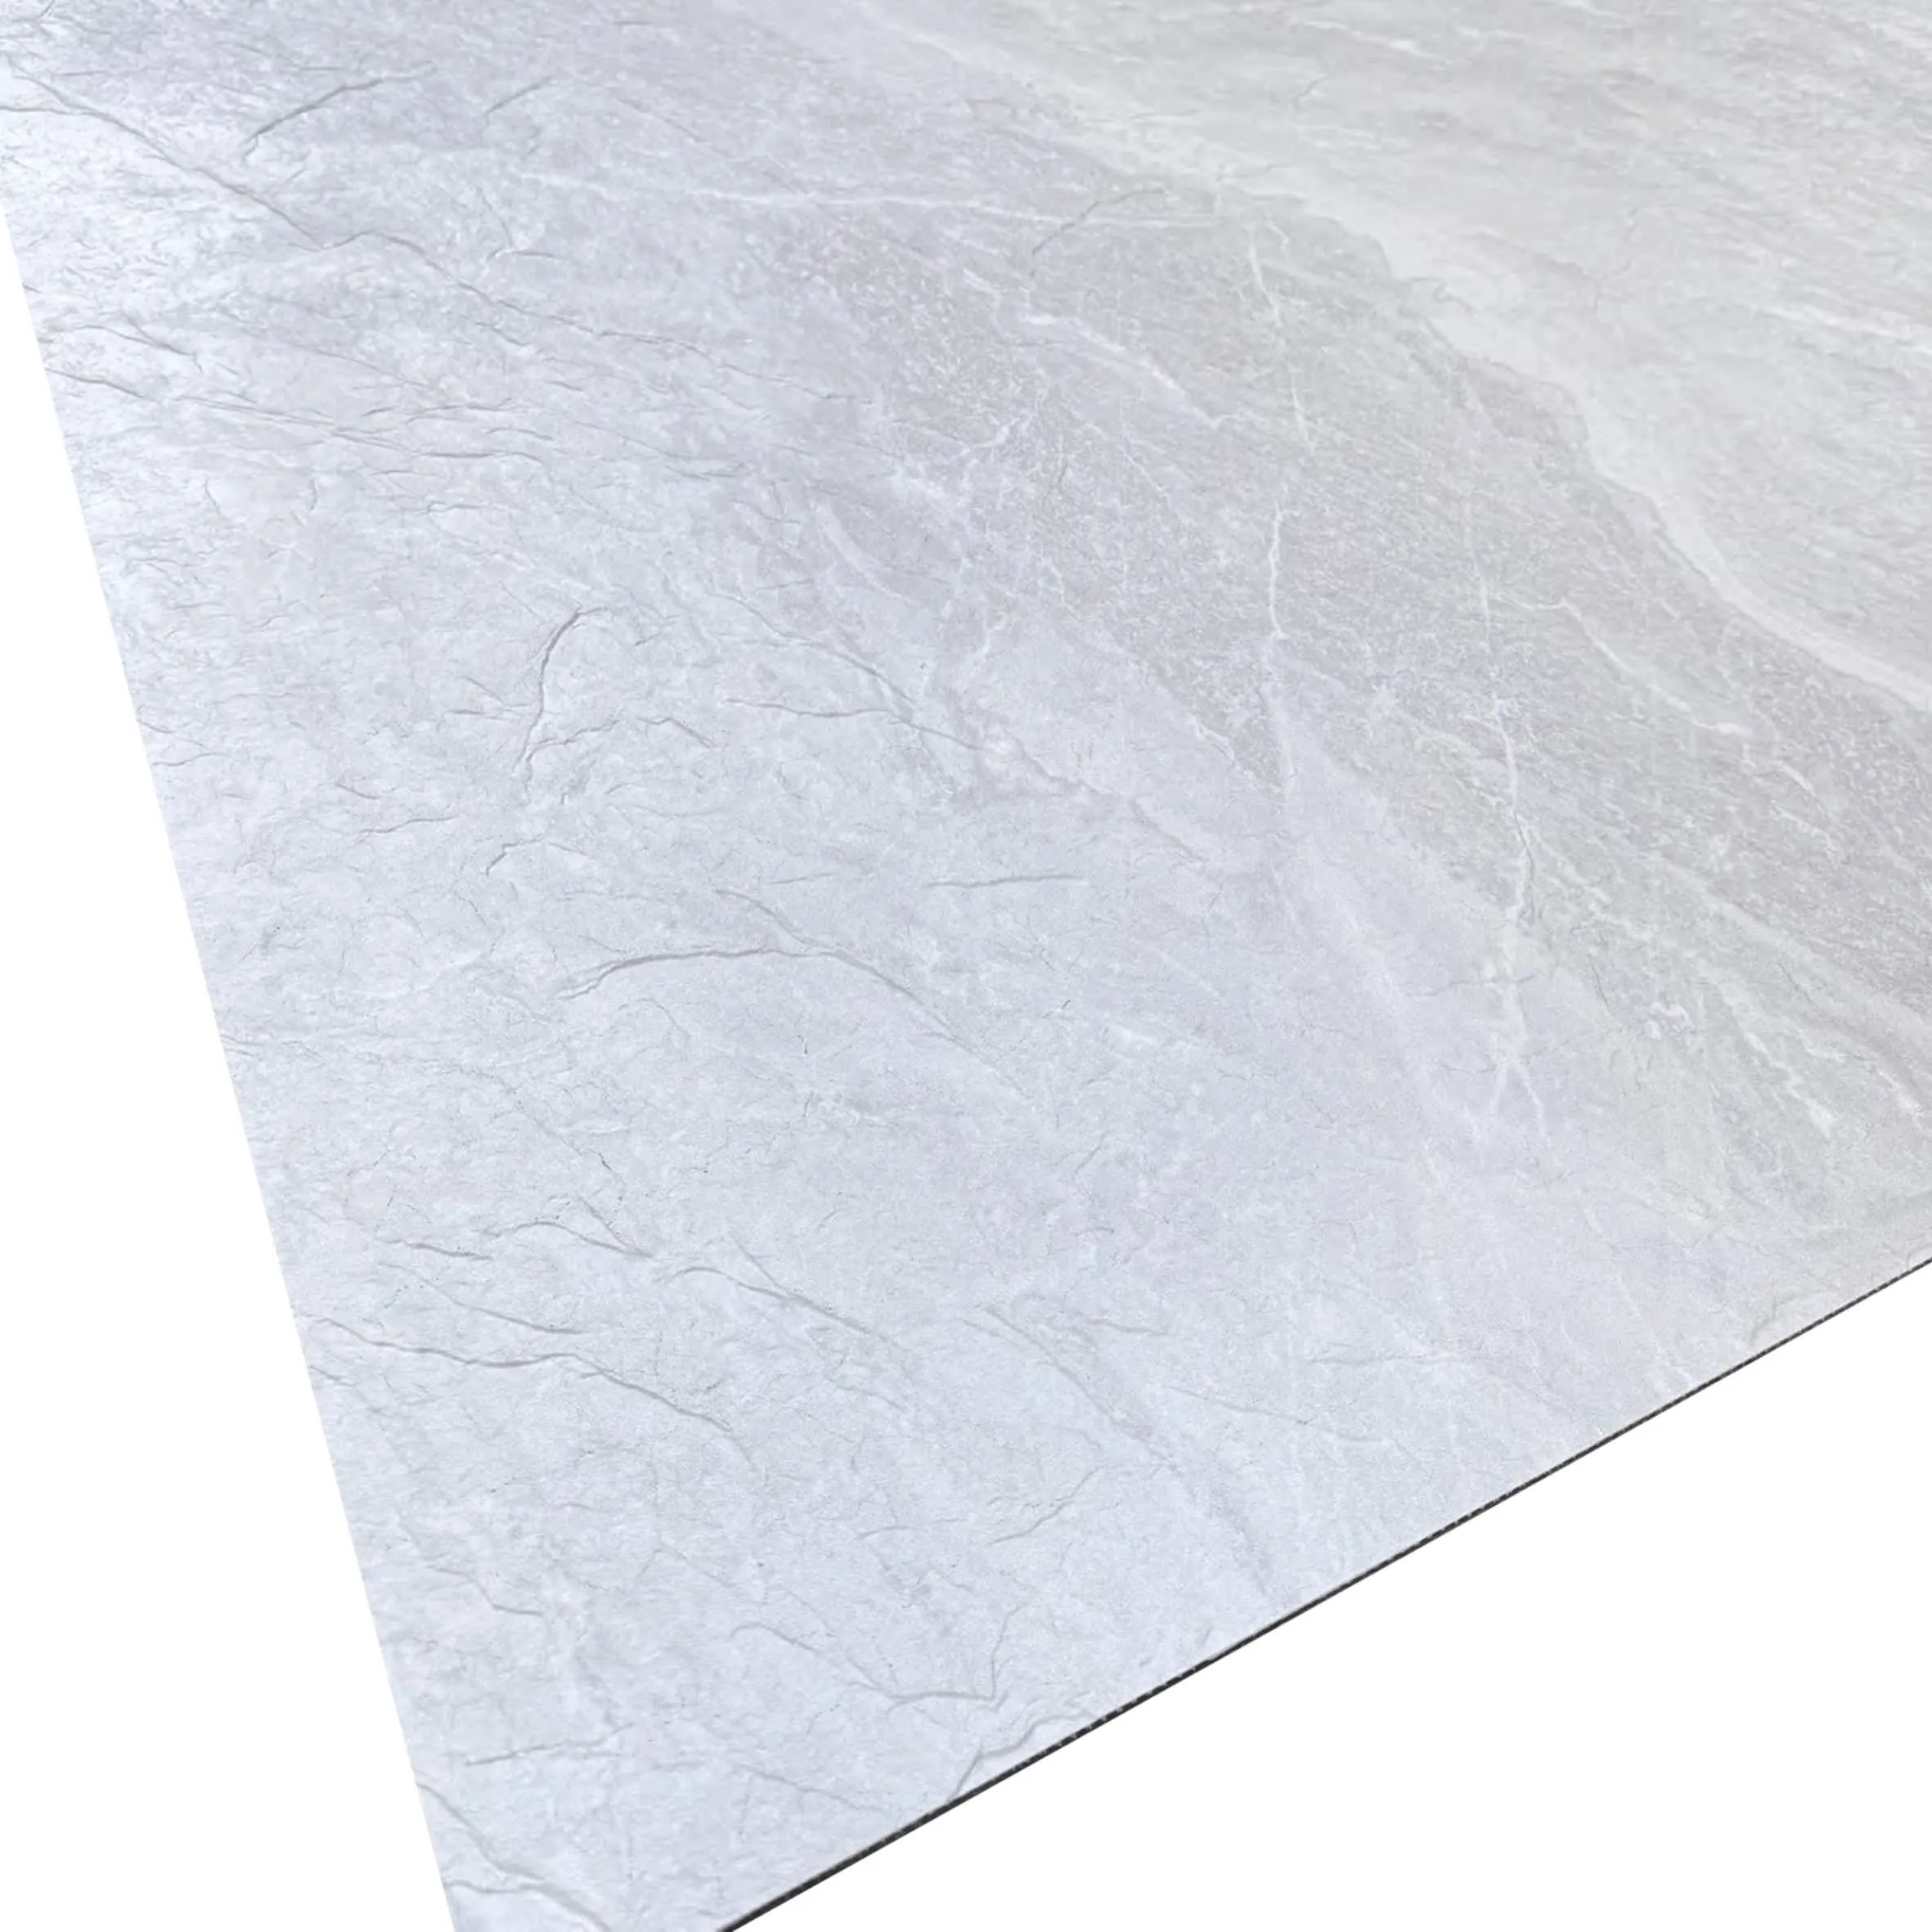
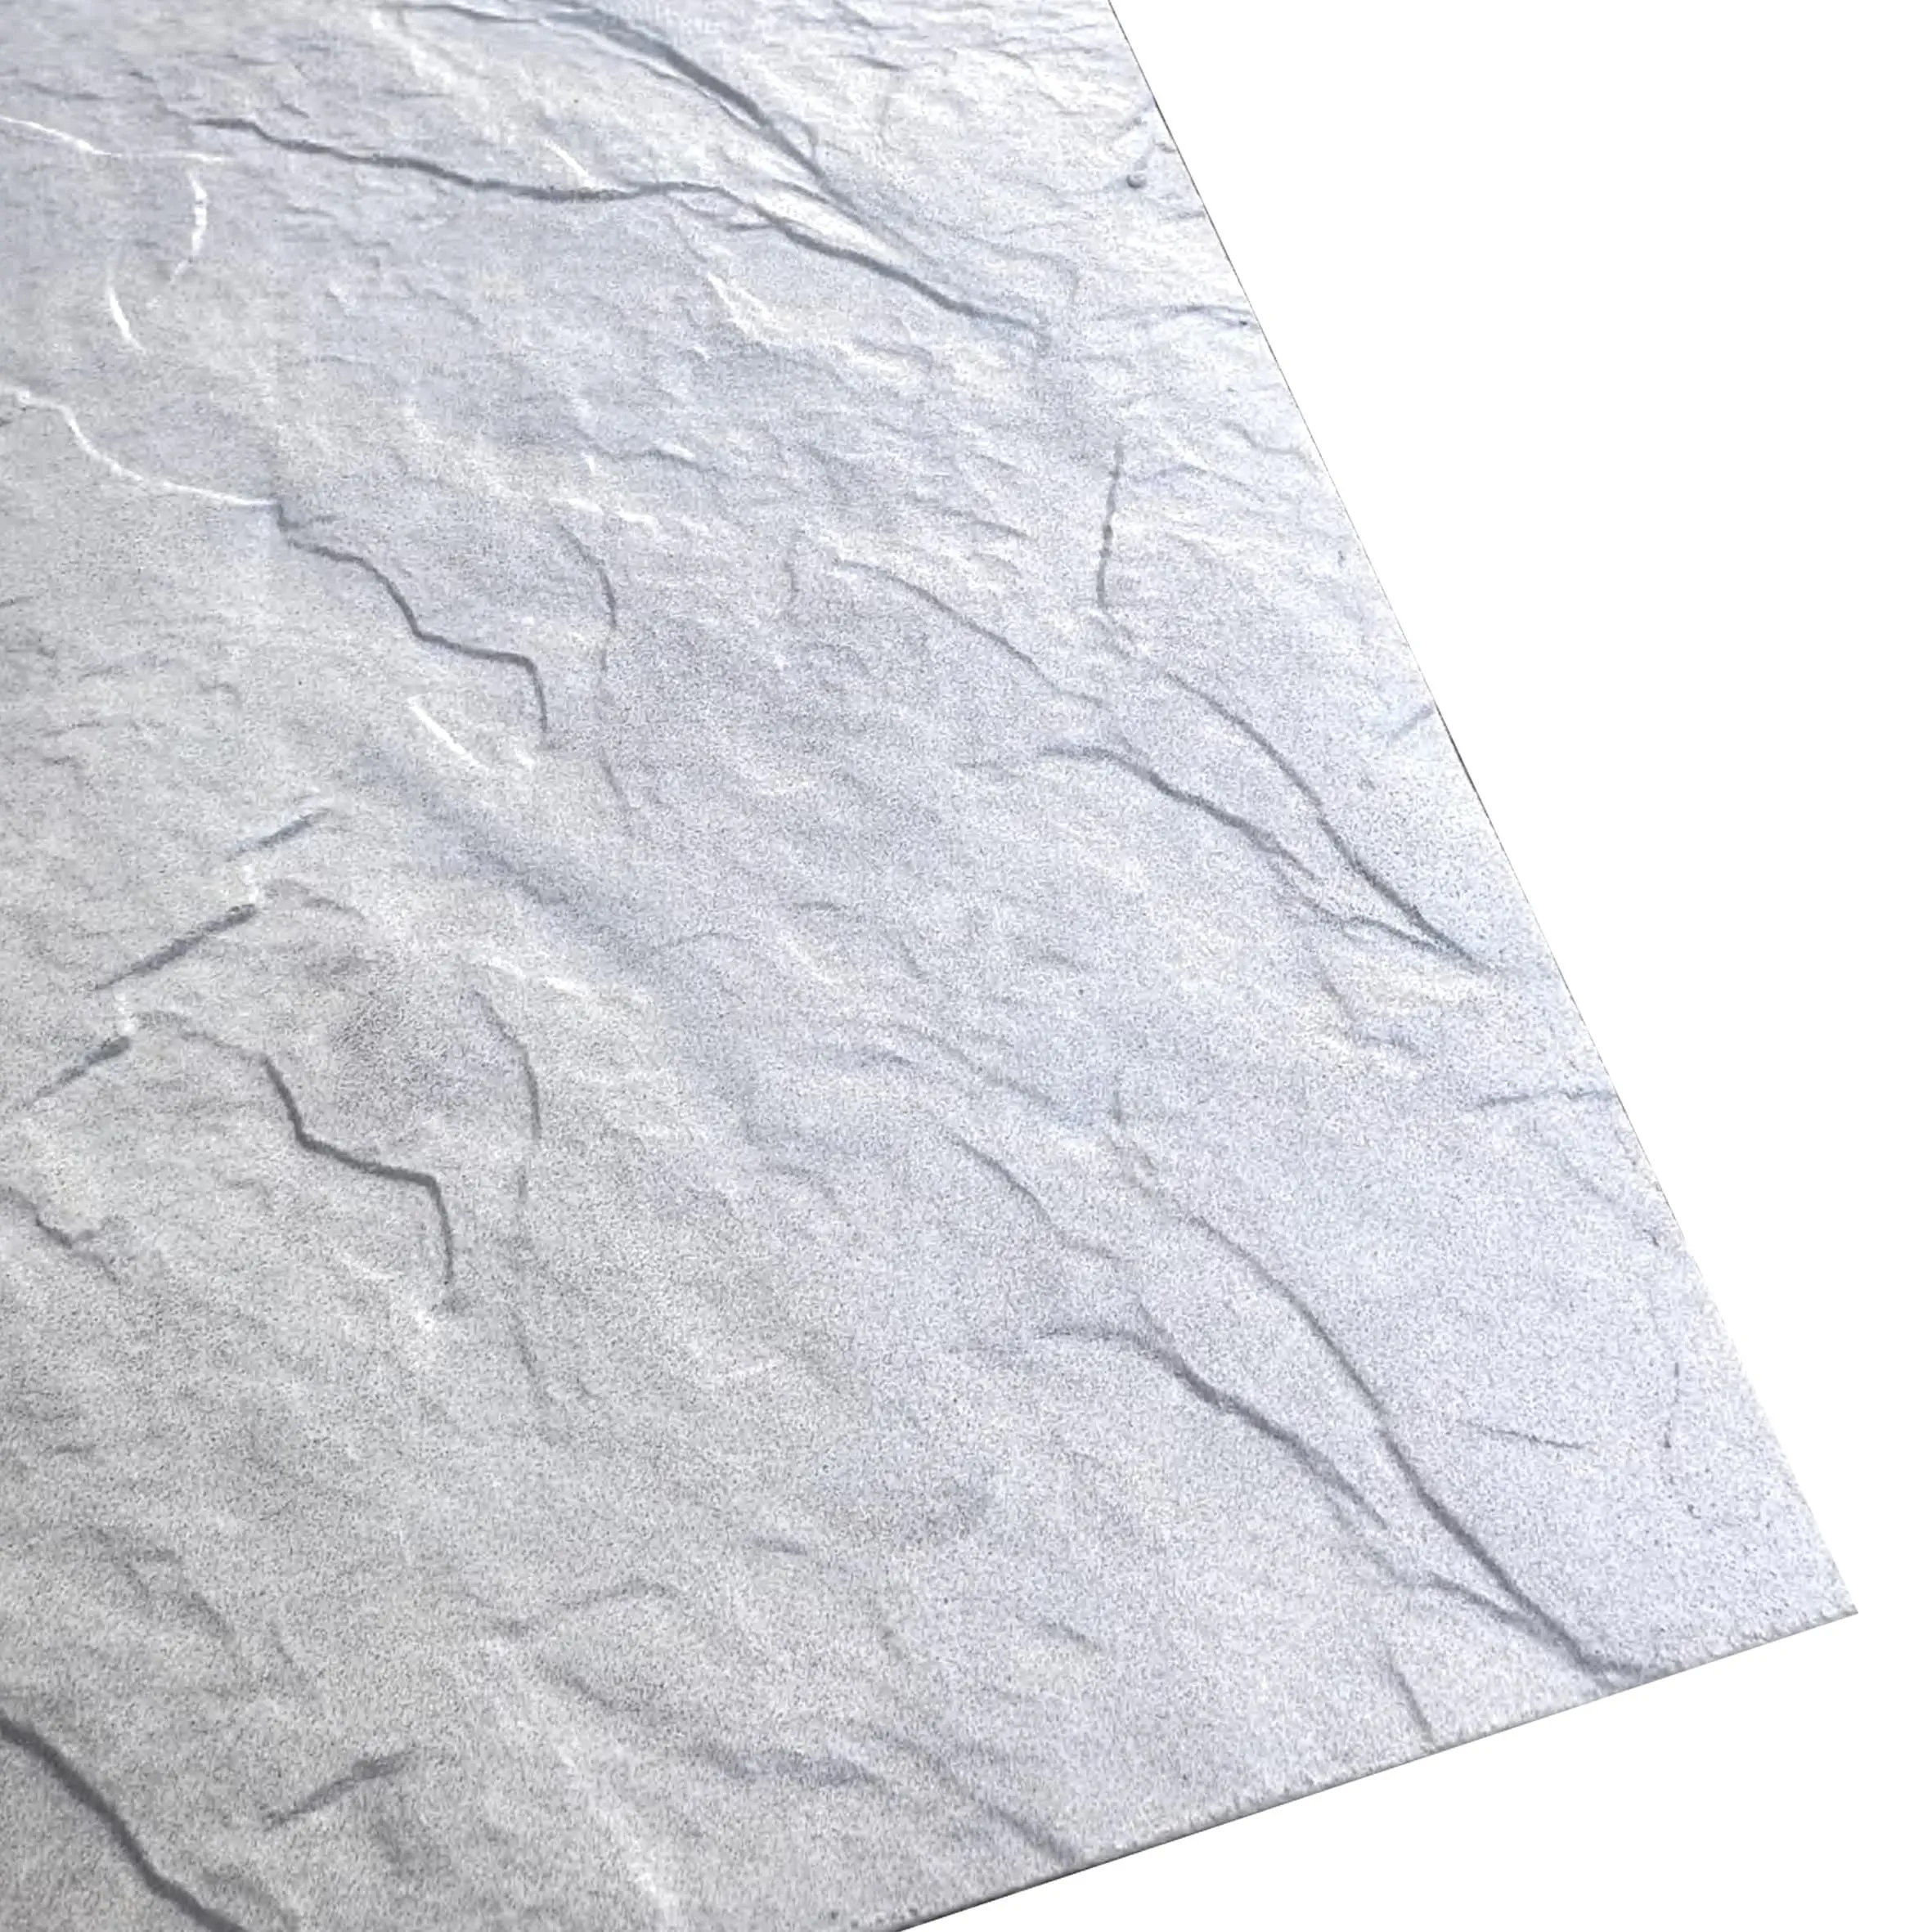
Before we get our hands dirty, let's take a minute to appreciate why Slate Veil White MCM stands out. Unlike heavy natural stone slabs or brittle ceramic tiles, MCM (Modified Composite Material) flexible stone is engineered to mimic the look of natural stone without the drawbacks. It's made by blending natural minerals with polymers, resulting in a panel that's about 70% lighter than traditional stone. That means you can install it on interior and exterior walls without worrying about structural stress—perfect for renos where you don't want to reinforce framing.
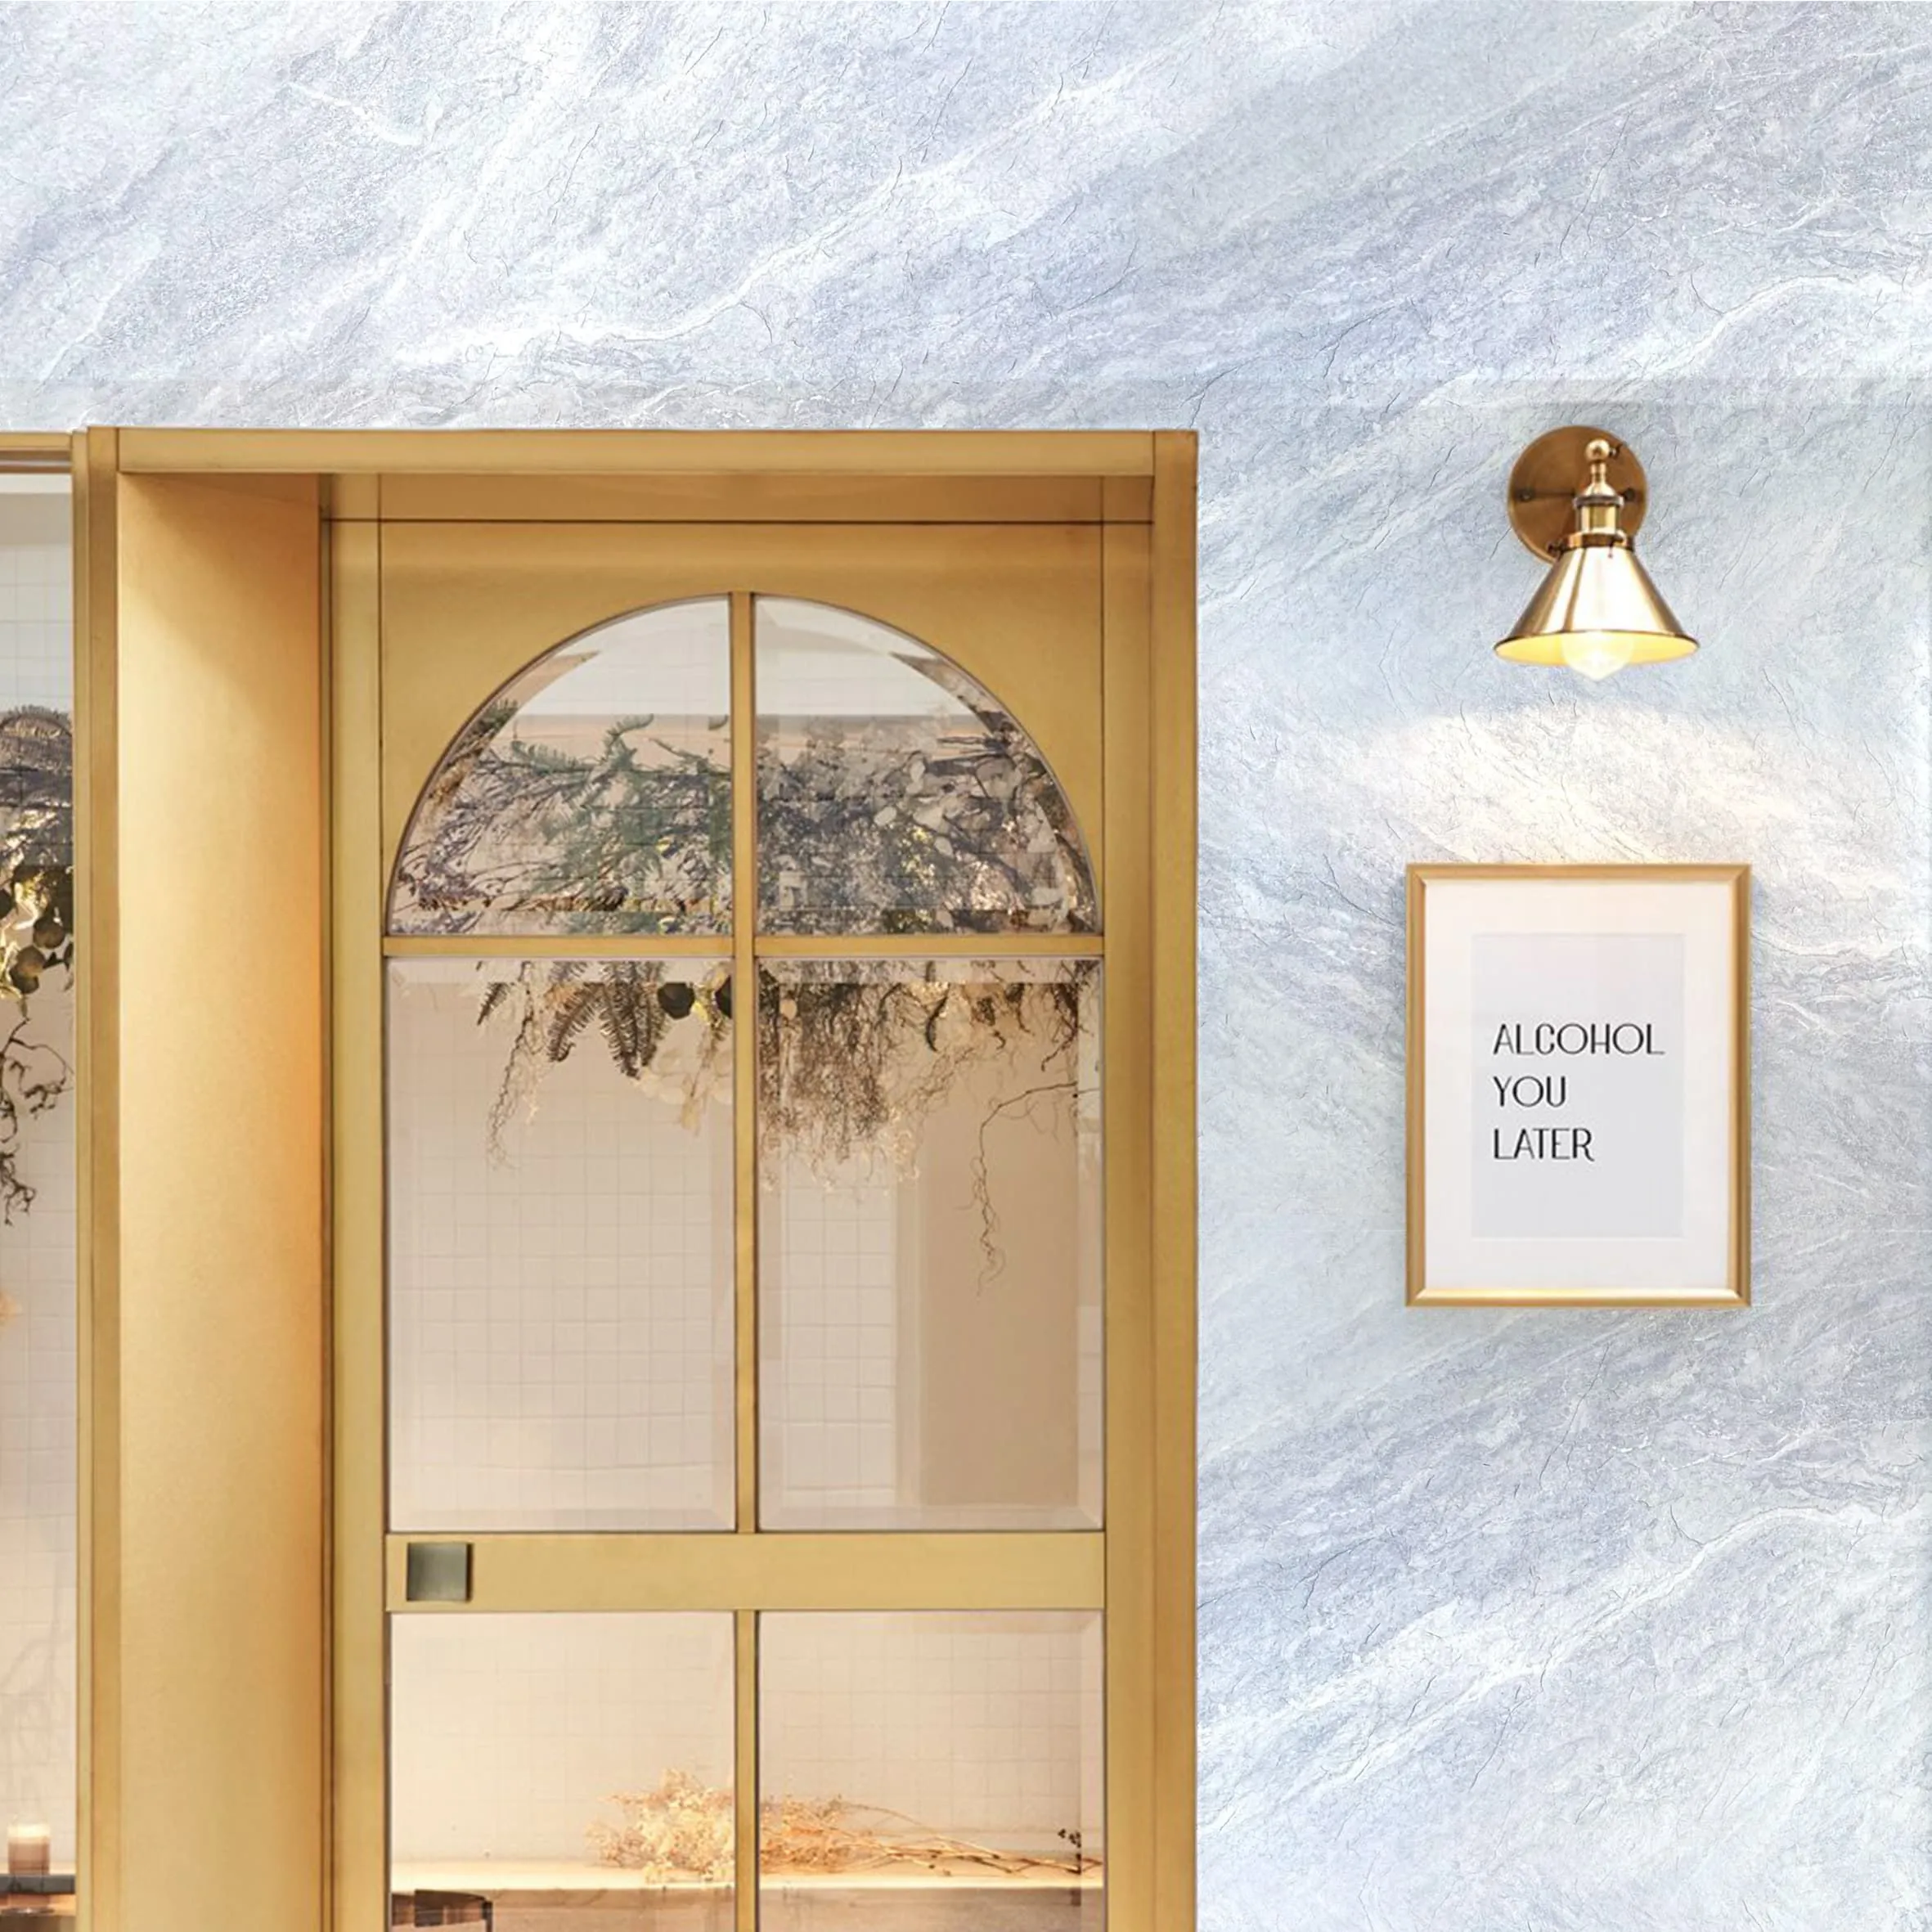
Slate Veil White, in particular, has a chameleon-like quality. In bright, sunlit rooms, its white base glows, making spaces feel larger and airier. In dimmer settings, the gray veining deepens, adding warmth and texture. It's versatile enough to work in a minimalist bathroom, a rustic kitchen backsplash, or even an outdoor patio wall. And because it's resistant to moisture, stains, and UV rays, it holds up beautifully in high-traffic areas or exposed outdoor spaces—no fading, no cracking, just that same soft elegance year after year.
Any seasoned installer will tell you: the key to a smooth installation is preparation. Rushing this step is like baking a cake without preheating the oven—you might get something edible, but it won't be pretty. Let's break down what you need to do before you even open the first box of Slate Veil White MCM panels.
First, round up your supplies. Here's a checklist to make sure you don't run to the hardware store mid-project:
Slate Veil White MCM can stick to most surfaces, but it needs a clean, dry, and flat base to bond properly. Let's walk through how to prep different wall types:
Drywall: Start by inspecting for damage. Fill any holes or cracks with spackle, then sand the area smooth once it's dry. If the drywall is new, make sure it's fully cured (at least 24 hours after installation). Wipe down the wall with a damp cloth to remove dust, and let it dry completely—moisture is the enemy here!
Concrete or Masonry: Check for loose mortar or flaking paint. Scrape off any debris, then etch the surface with a concrete cleaner (follow the product instructions) to help the adhesive grip. If the wall is uneven, use a leveling compound to fill low spots—you want no more than 1/8-inch variation over a 10-foot span.
Existing Tile: You can install MCM over tile if the tile is firmly attached and in good condition. Give it a thorough cleaning with a degreaser, then sand the surface lightly to rough it up—this helps the adhesive bond. Avoid installing over cracked or loose tile, though; it's better to remove old tile first if there's any doubt.
Pro Tip: If you're installing outdoors, make sure the wall has proper drainage. Slate Veil White MCM is moisture-resistant, but trapped water behind the panels can cause mold or damage over time. Install a vapor barrier if needed, and leave a small gap at the bottom of the cladding to let water escape.
Now for the fun part! Installing Slate Veil White MCM is a bit like putting together a puzzle—just with more adhesive. Take your time, and remember: measure twice, cut once. Let's go step by step.
Grab your tape measure and pencil—it's time to map out your wall. Start by measuring the height and width of the area you're cladding. Then, measure the size of your Slate Veil White MCM panels (most are around 32x32 inches, but double-check your specific product). Do a little math to figure out how many panels you'll need, and don't forget to account for cuts at the edges. It's always smart to buy 10% extra panels to cover mistakes or future repairs.
Next, mark your starting point. Most installers start at the bottom center of the wall and work their way up and out—that way, any uneven cuts end up at the top or corners, where they're less noticeable. Use your level to draw a horizontal line at the bottom of the installation area (this is your "baseline"). Then, snap a chalk line along this mark—it will keep your first row straight, which is crucial for the rest of the project.
If your wall has outlets, switches, or other obstacles, measure their positions and mark them on the panels before cutting. It's easier to cut around these now than to try to adjust later!
Cutting MCM panels is less intimidating than it sounds, thanks to their flexibility. For straight cuts, a circular saw with a diamond blade works best—just make sure to wear your goggles and dust mask, as it will create some dust. Set the panel on a stable surface (like a workbench), mark your cut line, and guide the saw slowly along the line. For curves or notches (like around outlets), use a jigsaw with a diamond blade, or score the panel deeply with a utility knife and snap it along the line.
Pro Tip: If you're new to cutting stone-like materials, practice on a scrap panel first. It might take a few tries to get the hang of it, and it's better to mess up a spare than a panel you need!
Now it's time to get sticky. Mix your adhesive according to the manufacturer's instructions—most come as a powder that you mix with water, or a pre-mixed paste. Aim for a consistency like thick peanut butter—not too runny, not too stiff. Let it sit for 5-10 minutes (this is called "slaking") to activate the chemicals, then stir it again before using.
Using your notched trowel, apply the adhesive to the wall in small sections (about 2x2 feet at a time—you don't want it to dry out before you place the panel). Hold the trowel at a 45-degree angle and spread the adhesive evenly, making sure the notches create ridges. This helps the panel bond better and allows air to escape, preventing bubbles.
You can also apply a thin layer of adhesive directly to the back of the panel (this is called "back-buttering") for extra grip, especially on vertical surfaces. Just avoid getting adhesive on the edges where the grout will go—clean it off with a damp cloth if you do.
Pick up your first panel (they're lightweight, but still, be careful!) and align it with your chalk line and vertical guidelines. Gently press it into the adhesive, starting from the bottom and working your way up to push out air bubbles. Use a slight twisting motion to ensure full contact with the adhesive. Then, slide spacers between the panel and the wall edges (or between panels, once you start the next one) to set the grout line width.
Grab your level and check that the panel is straight both horizontally and vertically. If it's off, gently lift and reposition it—you have about 15-20 minutes before the adhesive starts to set, so take your time. Once it's level, press firmly on the surface with a clean cloth or a rubber mallet (wrap the mallet in a towel to avoid scratching the panel) to ensure good adhesion.
Repeat this process for the rest of the panels, working row by row. Stagger the seams like brickwork (offsetting the panels by half their length) to create a stronger, more visually appealing pattern. This also helps hide any slight misalignments.
Once all the panels are up and the adhesive has dried (check the manufacturer's instructions—usually 24-48 hours), it's time to grout. Grout not only fills the gaps between panels but also locks everything together and protects against moisture.
Mix the grout according to the package directions—again, like thick peanut butter. Use a rubber grout float to scoop up grout and press it into the joints at a 45-degree angle, making sure to fill them completely. Work in small sections (3-4 square feet) so the grout doesn't dry out before you can clean it. Let the grout sit for 10-15 minutes (this is called "setting time"), then wipe the panels with a damp sponge to remove excess grout. Rinse the sponge frequently to avoid smearing, and use a circular motion to get into the crevices of the veining.
After 24 hours, you might notice a thin haze on the panels—that's normal! Buff it off with a dry, soft cloth, and your Slate Veil White MCM will shine.
If you're installing Slate Veil White MCM in a high-moisture area (like a shower or outdoor wall), consider applying a sealer. Choose a water-based sealer designed for natural stone or MCM, and apply it with a paintbrush or roller according to the instructions. Sealer helps repel water and stains, keeping your cladding looking fresh for longer. For dry indoor areas, sealing is optional, but it can still add an extra layer of protection against spills.
Curious how Slate Veil White MCM holds up against other popular cladding materials? We've put together a quick comparison to help you see why it's such a strong contender:
| Material | Weight (per sq. ft) | Durability | Installation Ease | Best For |
|---|---|---|---|---|
| Slate Veil White MCM | 2-3 lbs | High (resistant to scratches, moisture, UV rays) | Easy (lightweight, flexible, DIY-friendly) | Interior walls, backsplashes, outdoor patios |
| Travertine (Starry Blue) | 4-5 lbs | Medium-High (porous, needs sealing) | Moderate (heavier, more brittle) | Accent walls, fireplaces |
| Fair-Faced Concrete | 8-10 lbs | Very High (durable, industrial look) | Difficult (heavy, requires professional mixing/pouring) | Commercial spaces, modern exteriors |
| Wood Grain Board | 1-2 lbs | Low-Medium (prone to warping, needs regular sealing) | Easy (lightweight, nails or adhesive) | Warm, rustic interiors (avoid high moisture) |
Even with careful planning, things can go wrong. Here's how to fix common issues:
Panels Not Sticking: If a panel slides or pops off, check the adhesive. Did you mix it correctly? Was the wall damp? Scrape off the old adhesive, clean the area, and reapply with fresh adhesive. Press firmly and use painter's tape to hold the panel in place while it dries.
Misaligned Seams: If a row starts to drift off level, don't panic! While the adhesive is still wet, gently lift the panels and reposition them using your chalk lines as a guide. Use a level to double-check before the adhesive sets.
Grout Haze That Won't Budge: If wiping with a damp sponge doesn't work, mix a solution of equal parts water and white vinegar, and gently scrub the haze with a non-abrasive pad. Rinse thoroughly afterward.
Cracked Panel: Small cracks can be filled with clear epoxy. For larger cracks, it's better to replace the panel—this is why we recommended buying extra!
The best part about Slate Veil White MCM? It's low-maintenance. Here's how to keep it looking like new:
Slate Veil White MCM is a team player—it pairs beautifully with other materials to create layered, interesting spaces. Here are a few ideas to spark your creativity:
With Wood Grain Board: The cool, crisp look of Slate Veil White balances perfectly with the warmth of wood grain board. Try cladding the lower half of a living room wall with wood grain board and the upper half with Slate Veil White MCM, separated by a thin trim piece. It's cozy yet elevated.
With Travertine (Starry Blue) Accents: Add pops of color by incorporating travertine (starry blue) MCM panels as a backsplash or accent wall in a kitchen with Slate Veil White countertops. The blue and white combination feels fresh and modern, like a summer sky.
With Fair-Faced Concrete: For an industrial-chic vibe, pair Slate Veil White MCM with fair-faced concrete floors or a concrete accent wall. The contrast between the soft veining of the MCM and the raw, textured concrete creates a striking, contemporary look.
With Metallics: Hang brass or copper light fixtures above a Slate Veil White MCM fireplace to add warmth and glamour. The metallic accents will reflect light off the white surface, making the space feel brighter and more luxurious.
Installing Slate Veil White MCM might seem daunting at first, but as we've walked through, it's really just a series of simple steps—prep, measure, cut, stick, grout. With a little patience and the right tools, you can transform a plain wall into a stunning focal point that will make you proud every time you walk into the room.
Remember, the key is to take your time and not stress over small mistakes. Even professionals have off days! And when you're done, sit back, admire your handiwork, and enjoy the beauty and durability of your new Slate Veil White MCM cladding. Who knows—you might just catch the DIY bug and move on to your next project (we hear travertine starry blue MCM is calling…).
Happy installing!
Recommend Products


