
Curved walls have a way of softening a space, don't they? They flow where sharp corners interrupt, turning a room from ordinary to something almost poetic. Whether it's in a modern living room, a boutique hotel lobby, or a cozy home office, a well-executed curved wall feels intentional—like the architect whispered, "Let's make this space breathe." But here's the catch: installing materials on those gentle bends? It's not as straightforward as slapping tiles on a flat wall. Rigid materials crack, heavy stones sag, and even "flexible" options can misbehave if you don't know the tricks of the trade. That's where Starmoon Stone and MCM flexible stone come into play—materials designed to bend without breaking, to hug curves like they were made for them. Today, we're diving deep into how to get that curved wall perfection with Starmoon Stone flexible stone, sharing tips that'll save you time, frustration, and maybe a few choice words when things don't go as planned.
First, let's get acquainted with the star of the show: Starmoon Stone. Part of the broader MCM flexible stone family—short for modified composite material—this stuff is a game-changer for curved surfaces. Unlike traditional stone slabs that feel more like stubborn boulders than building materials, MCM flexible stone is thin (usually 3-5mm), lightweight (around 4-6 kg/m²), and surprisingly pliable. Think of it as stone with a yoga membership—it bends, twists, and conforms without losing its strength. Starmoon Stone, in particular, stands out for its celestial-inspired patterns; some variants, like travertine (starry blue), have subtle, shimmering flecks that catch the light, making a curved wall feel like a slice of the night sky. But to truly master curved wall installation, you need to pair this flexibility with strategy—and maybe a few comparisons to other materials in the MCM lineup.
| Material | Flexibility (1-10) | Weight (kg/m²) | Best Curve Radius (cm) | Surface Vibe |
|---|---|---|---|---|
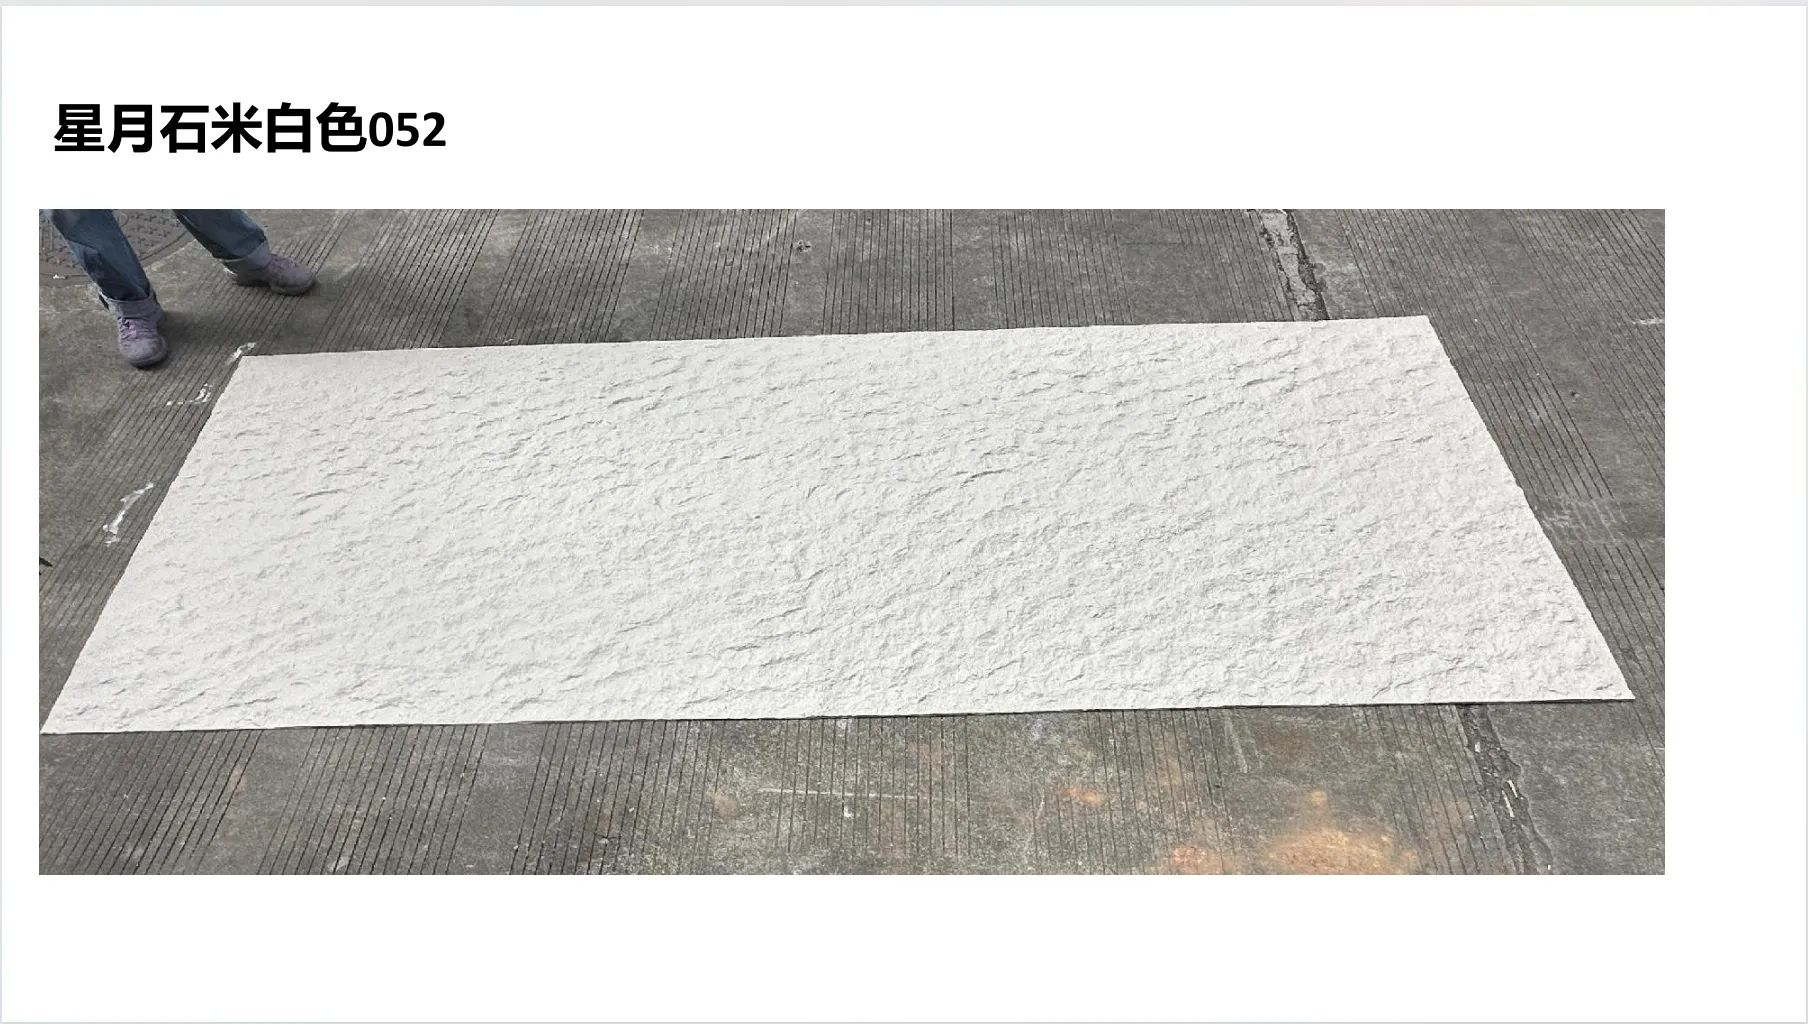
| Starmoon Stone | 9/10 | 4.5 | ≥15cm | Starry, iridescent, soft |
| Lunar Peak Silvery | 7/10 | 5.2 | ≥25cm | Matte, metallic sheen, modern |
| Foamed Aluminium Alloy Board (Vintage Silver) | 8/10 | 3.8 | ≥20cm | Lightweight, industrial-chic, textured |
| Travertine (Starry Blue) | 9/10 | 4.8 | ≥18cm | Swirled, blue-gray base, star-like flecks |
See the pattern? Starmoon Stone and travertine (starry blue) top the flexibility chart, making them ideal for tight curves (think 15-20cm radius), while Lunar Peak Silvery or foamed aluminium work better for gentler bends. But no matter which you choose, the real secret to curved wall success starts long before you crack open a bucket of adhesive. Let's talk prep—because skipping this step is like trying to bake a cake without preheating the oven: messy, unpredictable, and likely to flop.
Curved walls aren't all created equal. Some are gentle arcs (like a half-circle), others are tight bends (think a C-shape). To avoid ending up with stone that's too stiff or gaps that look like you gave up halfway, start by measuring the curve's radius. Here's a pro tip: grab a long string, a pencil, and a helper. Anchor one end of the string to the "center" of the curve (you might need to guess at first—just eye where the curve seems to pivot), hold the pencil at the other end, and trace the wall's shape on a large piece of cardboard. The length of the string? That's your radius. Write it down—this number will dictate everything from material choice to cutting techniques.
Next, check the wall's surface. Is it smooth? Any bumps, cracks, or lumps? Flexible stone hides minor imperfections, but major ones will show through. Grab a level tool and run it along the curve—if it wobbles more than 2mm, you'll need to patch with a thin-set mortar or sand down high spots. Moisture is another enemy: use a moisture meter to test the wall (aim for ≤5% moisture content). Damp walls = adhesive failure, and no one wants to redo a curved wall because the stone decided to take a vacation.
Remember that table earlier? Use it. If your curve radius is 18cm, Starmoon Stone or travertine (starry blue) are your best bets—their high flexibility means they'll wrap around the bend without cracking. If it's 30cm, Lunar Peak Silvery adds a sleek, silvery texture that contrasts nicely with warmer tones. And if weight is a concern (say, you're installing on a partition wall), foamed aluminium alloy board (vintage silver) is a lightweight hero at just 3.8kg/m².
Pro move: Buy an extra box of stone. Color variation is normal in natural materials, and you don't want to discover halfway through that the new batch looks like a different planet. Mix tiles from multiple boxes as you install to blend any differences—your future self will thank you.
You'll need the basics: a tape measure, pencil, straightedge, and a utility knife with fresh blades (dull blades = ragged cuts). But here's what most DIYers skip: a notched trowel (4mm notches work best for curved walls—they spread adhesive evenly without globs) and a rubber roller (7-10kg weight). The roller is critical—after placing the stone, rolling it firmly ensures every inch sticks, no air bubbles allowed. Also, grab painter's tape (to hold edges while adhesive sets) and a bucket of clean water with a sponge (for wiping off excess adhesive before it dries).
Even if you're a pro at freehand cutting, templates save sanity. Cut a large piece of cardboard (moving boxes work great) to the height of your wall. Hold it against the curve, and use a pencil to trace the wall's shape onto the cardboard. Cut out the template—this is your "map" for cutting the stone. Pro tip: Label the template with "top" and "bottom" so you don't mix up orientation later.
Lay the Starmoon Stone flat on a worktable (use a piece of scrap wood underneath to protect the table). Place the template on top, aligning the edges, and trace around it with a pencil. Now, grab your utility knife—hold it at a 45-degree angle, and score the stone along the line. Do this 3-4 times (the stone is thin, so you don't need to cut all the way through). Then, gently bend the stone along the scored line—it should snap cleanly. If it doesn't, score again. For tight curves, make tiny "relief cuts" along the edge (small notches, 1-2mm deep) to help the stone flex without cracking. Test the cut piece against the wall—if it gaps, trim a hair more until it fits like a puzzle piece.
Not all adhesives are created for flexible stone. Look for a polymer-modified thin-set mortar (check the label for "flexible" or "for curved surfaces"). Mix it according to the instructions—too runny, and it'll slide; too thick, and it won't spread evenly. Aim for the consistency of peanut butter. Let it sit for 5 minutes (this is called "slaking"), then stir again. Pro move: Mix only as much as you can use in 30 minutes—adhesive sets fast, and you don't want to waste it.
Start at the bottom of the wall—this way, you won't accidentally smudge adhesive on already installed stone. Use the notched trowel to spread adhesive on a 1m² section of the wall (don't cover the entire wall at once—adhesive dries quickly). Hold the trowel at a 45-degree angle and comb the adhesive in one direction (horizontal or vertical—just be consistent). Now, pick up your cut stone, align the bottom edge with your starting line, and press gently into place. Wiggle it slightly side-to-side to ensure good contact, then use the rubber roller to press firmly, starting from the center and moving outward. This pushes out air bubbles—if you skip this, bubbles will pop later, leaving gaps.
Work in small sections, overlapping each stone by 1-2mm (this hides any cutting imperfections). Use painter's tape to hold edges that want to lift—leave the tape on for at least 2 hours while the adhesive sets. Wipe off any adhesive that squeezes out with a damp sponge immediately—once it dries, it's like concrete.
After the adhesive has cured (check the label—usually 24 hours), it's time to finish the joints. For a seamless look, use a color-matched grout (sandless grout works best for narrow joints). Mix it to a creamy consistency, apply with a rubber float, and wipe off excess with a damp sponge. If you prefer a more modern, gapless look, use a clear silicone sealant—run a bead along the joints, then smooth with a wet finger. Let it dry for 48 hours before touching.
Spot a bubble a day later? Don't panic. Take a sharp needle, prick the bubble, then press gently with your finger to push out the air. If the adhesive is still tacky, add a tiny dab of fresh adhesive and press again. If it's dry, use a syringe to inject a little adhesive, then weight it down with a heavy book for a few hours.
Edges lifting? This usually happens because the adhesive wasn't spread evenly or the stone wasn't rolled enough. Use a utility knife to carefully lift the edge, scrape off old adhesive, apply fresh adhesive, then press and tape it down. Leave the tape on overnight—by morning, it'll be stuck like glue.
Natural stone (even MCM) has color variations—that's part of its charm! If two stones look drastically different, swap them with others from the box—sometimes rearranging fixes the issue. If not, embrace it—those subtle differences add depth, like how a forest isn't just one shade of green.
Installing Starmoon Stone on a curved wall isn't rocket science, but it does take patience. Prep is everything—measure the curve, fix the wall, and cut carefully. And don't underestimate the power of a rubber roller—seriously, that tool will save you from so much frustration. Once it's done, step back and admire: a wall that doesn't just divide space, but flows through it, with the shimmer of Starmoon Stone or the sleekness of Lunar Peak Silvery catching the light. It's the kind of detail that makes a house feel like a home—or a commercial space feel unforgettable.
And hey, if you're feeling bold? Mix materials. Pair Starmoon Stone with a strip of foamed aluminium alloy board (vintage silver) halfway up the curve for contrast, or add accents of travertine (starry blue) to mimic a night sky. Curved walls are all about creativity—so have fun with it. After all, the best installations aren't just perfect—they're personal.
Recommend Products


