
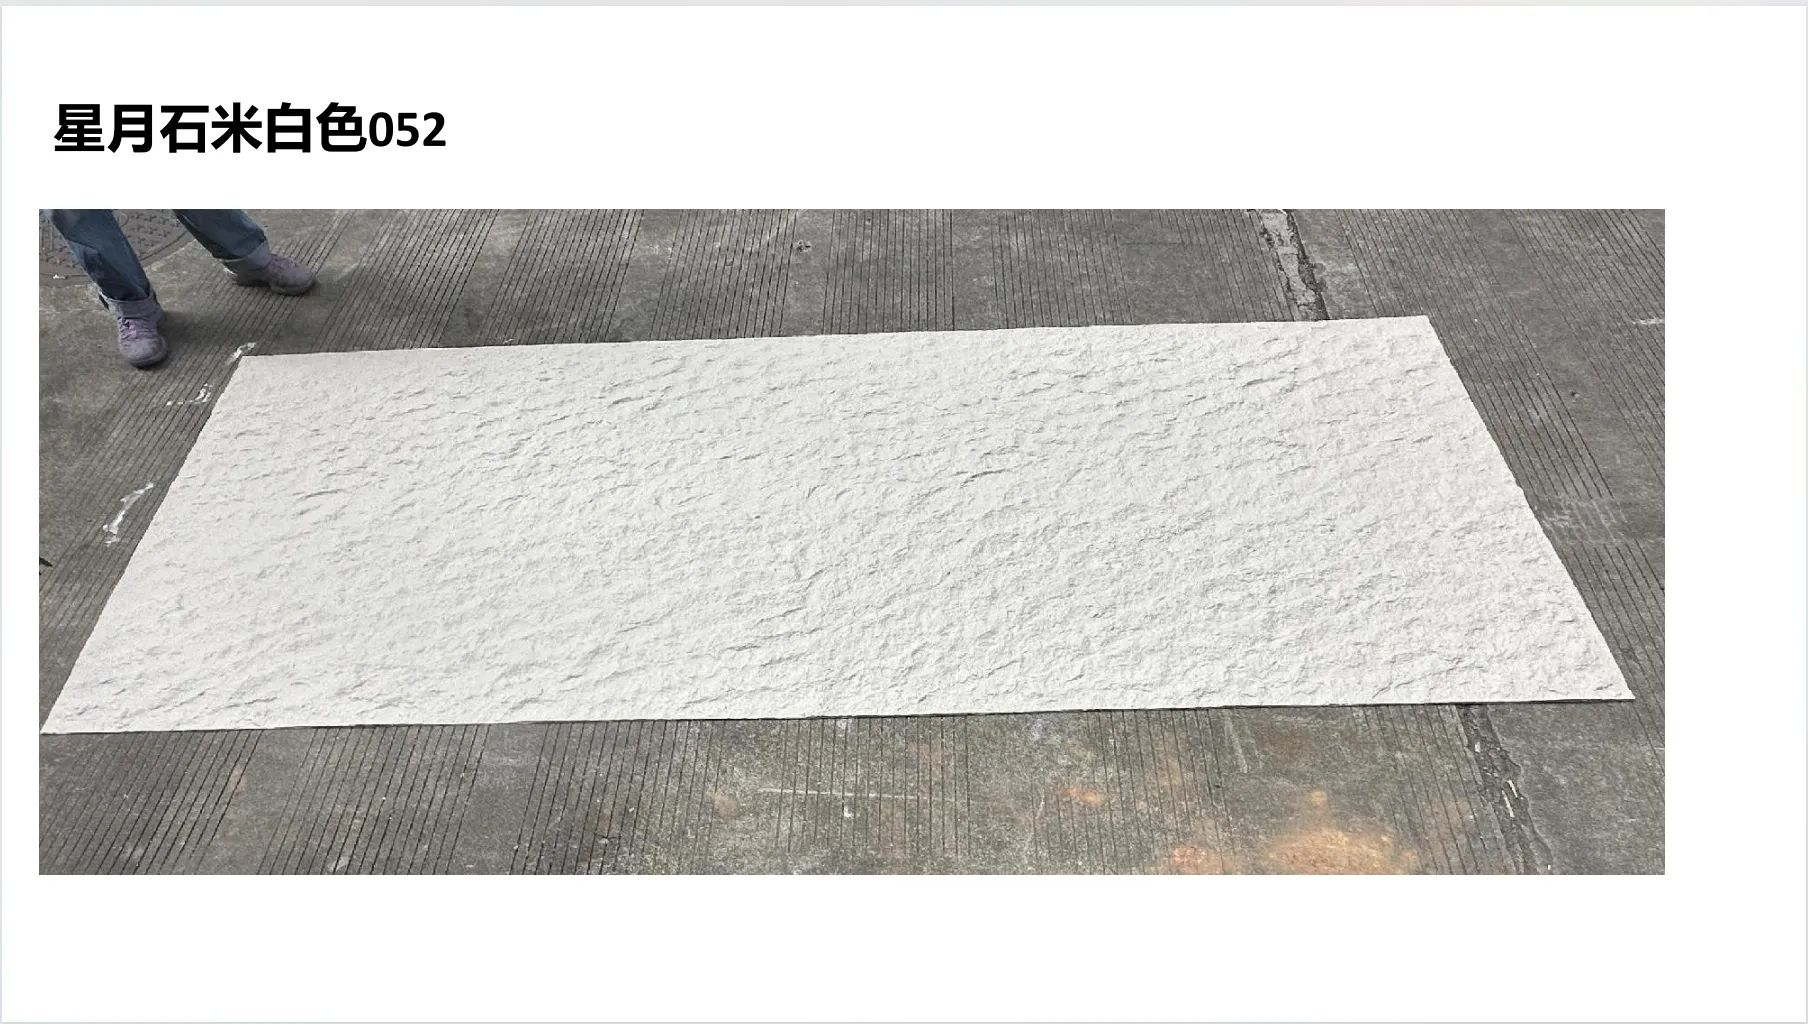
If you've ever walked into a space and thought, "Wow, that wall feels alive," chances are you were looking at a surface clad in Starmoon Stone. Part of MCM's innovative lineup of architectural materials, Starmoon Stone has become a favorite among designers and homeowners alike for its otherworldly texture, durability, and versatility. Whether you're dreaming of a kitchen backsplash that shimmers like a night sky or an exterior facade that stands up to harsh weather, this guide will walk you through every step of installing Starmoon Stone—plus share tips for pairing it with complementary materials like MCM flexible stone, Lunar peak silvery, and even fair-faced concrete for a cohesive look.
Before we dive into the "how," let's talk about the "why." Starmoon Stone isn't just another cladding material—it's a statement. Its unique blend of natural stone aggregates and advanced binders gives it the strength of granite with the lightweight flexibility of modern composites. Unlike traditional stone, which can be heavy and brittle, Starmoon Stone panels are easy to handle, making DIY projects feasible even for weekend warriors. And let's not forget the aesthetics: with hues that range from deep indigos to soft silvers (think Lunar peak silvery but with a celestial twist), it adds depth and drama to any space, indoors or out.
But what really sets Starmoon Stone apart is its compatibility with other MCM products. Pair it with MCM flexible stone for curved surfaces, or contrast its organic texture with the clean lines of fair-faced concrete for a modern-industrial vibe. The possibilities are endless—and we're here to help you bring them to life.
Any seasoned installer will tell you: the work you do before picking up a trowel matters more than the installation itself. Rushing this step is the #1 reason projects go off the rails, so let's take it slow and steady.
Starmoon Stone can adhere to most surfaces—drywall, concrete, plywood, even metal—but they all need to be clean, flat, and dry . Start by inspecting the area: patch any cracks or holes with a quality filler, sand down rough spots, and wipe away dust, grease, or mildew with a mild detergent. For exterior walls, check for water damage or rot; if you find any, address it first—moisture is the enemy of any cladding project.
Measure your space carefully, accounting for windows, doors, or any obstacles. Then, add 10-15% to your total square footage to cover cuts, mistakes, and future repairs. Starmoon Stone panels come in standard sizes, but custom cuts are possible—just allow extra time for fabrication. If you're mixing materials (say, Starmoon Stone for the main wall and Lunar peak silvery for accents), order all materials at once to ensure color consistency. There's nothing worse than realizing mid-project that your "silvery" accent panels are a shade off because they came from a different batch.
Starmoon Stone hates extreme temperatures and humidity. For interior projects, aim for a room temperature between 50°F and 85°F (10°C to 29°C) with humidity below 60%. Exterior installations? Avoid rainy, windy, or freezing days—adhesive needs time to cure, and water can weaken the bond. If you're working in a garage or basement, use a dehumidifier or space heater to create ideal conditions. Your panels (and your patience) will thank you.
Having the right tools on hand makes the job feel like a breeze. Here's your checklist:
| Tools | Purpose |
|---|---|
| Notched trowel (1/4 inch or 1/2 inch) | Applies adhesive evenly—size depends on panel thickness |
| 4-foot level | Ensures panels are straight and level (no wonky walls!) |
| Tile cutter or wet saw | Cuts Starmoon Stone panels to size—wet saws reduce dust |
| Rubber mallet | Gently taps panels into place without damaging the surface |
| Grout float | Applies grout smoothly between panels |
| Sealant gun | Applies silicone caulk around edges to prevent water intrusion |
| Materials | Purpose |
|---|---|
| Starmoon Stone panels | The star of the show—order 10-15% extra for cuts/waste |
| MCM flexible stone adhesive | Specially formulated for MCM products—flexible to prevent cracking |
| Grout (color-matched to Starmoon Stone) | Fills gaps between panels; choose sanded for gaps >1/8 inch |
| Waterproofing membrane (exteriors only) | Adds an extra layer of protection against rain/snow |
| Stone sealer | Protects against stains and moisture—matte or gloss finish available |
Installing Starmoon Stone indoors is similar to tiling, but with a few tweaks for its lightweight nature. Exteriors, however, require extra care to combat the elements. Let's break it down.
Whether you're cladding a feature wall, backsplash, or fireplace surround, interior installation is all about precision and aesthetics. Here's how to do it:
Exterior walls, patios, and facades face sun, rain, wind, and temperature swings—so we need to beef up the installation process. Here's what's different:
Pro tip for exteriors: Pair Starmoon Stone with rammed earth board for a natural, earthy look that ages beautifully. Rammed earth's warm tones complement Starmoon's cool silvers, and both materials are low-maintenance—perfect for busy homeowners.
Even with careful prep, hiccups happen. Here's how to troubleshoot common issues:
Starmoon Stone is tough, but it still needs a little love to stay looking its best. Here's the lowdown:
Compare this to fair-faced concrete, which requires regular sealing and can stain easily, and you'll see why Starmoon Stone is a homeowner favorite for low-maintenance luxury.
Installing Starmoon Stone is more than a home improvement project—it's a chance to turn a blank wall into a story. Whether you're going for a cozy interior nook or a showstopping exterior facade, the key is to take your time with prep, use the right materials (MCM flexible stone adhesive is non-negotiable!), and don't be afraid to get creative with pairings like Lunar peak silvery or rammed earth board.
Remember: even pros make mistakes, so be patient with yourself. And when you step back and see that first panel catch the light, shimmering like a constellation come to life? That's the magic of Starmoon Stone. Now go grab your trowel—and let's make something amazing.
Recommend Products


