
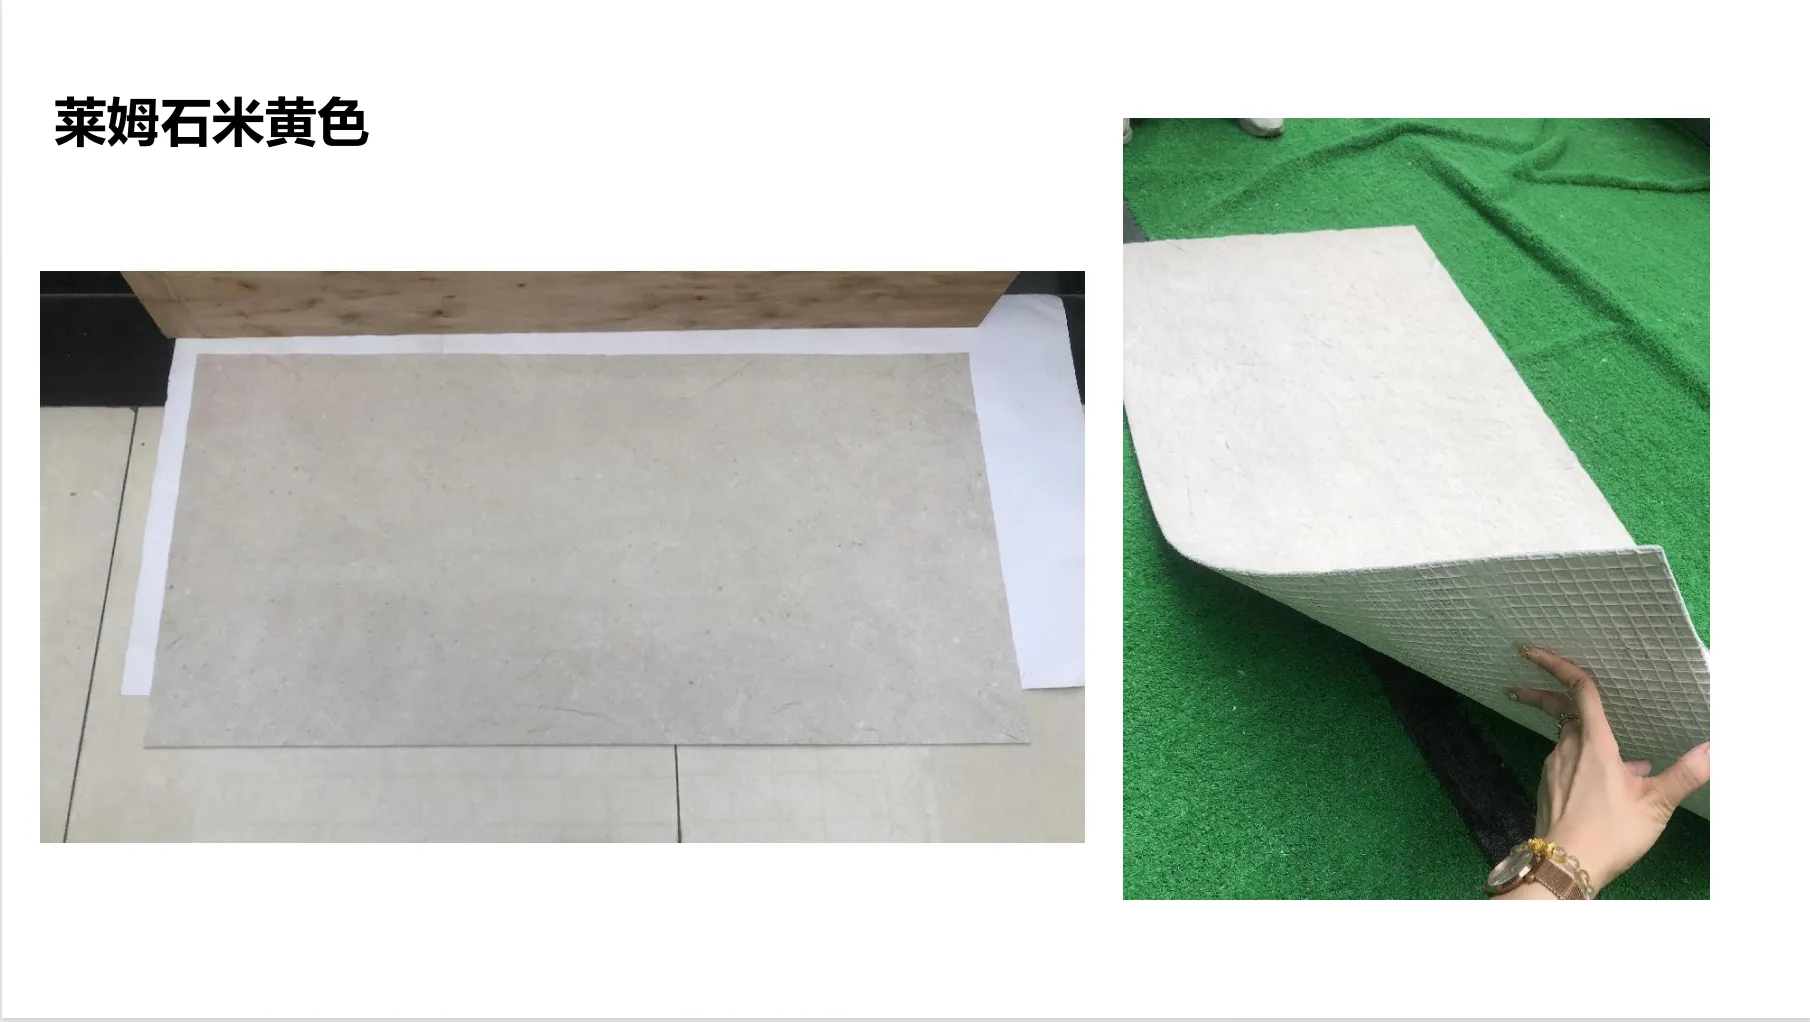
There's a quiet magic in capturing the raw, earthy beauty of natural stone through a lens. Last summer, I stood in a sunlit studio, staring at a slab of lime stone(beige) spread out on a wooden table, and realized—this wasn't just rock. It was a story written in sediment, a tapestry of time etched in every pore and ridge. But when I lifted my camera, the photo fell flat. The texture that made my fingers trace its surface vanished; the warm beige tones turned dull, almost gray. That's when I learned: photographing stone isn't just about pointing and shooting. It's about understanding how light dances with texture, how angles breathe life into inert matter. And nowhere is this truer than with lime stone(beige)—a material so subtly complex, it demands a photographer's full attention to reveal its soul.
Over the years, I've shot everything from rough granite stone (beige) quarried in Italian hillsides to sleek fair-faced concrete panels fresh from a modern factory. Each material has its own personality, its own way of interacting with light and perspective. But lime stone(beige) remains my favorite challenge. Its surface is a study in contradictions: soft yet sturdy, porous yet dense, warm yet understated. To capture it well, you need more than a good camera—you need to think like the stone itself, to see the world through its layers of time.
Lighting is the heartbeat of stone photography. Get it wrong, and even the most stunning slab looks like a flat, lifeless prop. Get it right, and you'll make viewers reach out to touch the screen. Let's break it down.
Natural light is a double-edged sword. On one hand, it's free, abundant, and inherently "natural"—perfect for showcasing stone's organic qualities. On the other hand, it's unpredictable. The sun moves, clouds roll in, and suddenly your perfect shot is bathed in harsh shadows or washed-out brightness. For lime stone(beige), the key is to harness natural light's softness without letting it flatten the texture.
Golden hour—those magical 60 to 90 minutes after sunrise or before sunset—is stone photography's secret weapon. The light here is warm, diffused, and rich in red and yellow wavelengths, which complement the earthy beige tones of lime stone(beige). I once shot a lime stone(beige) slab at sunrise in a garden, positioning it so the light hit at a 45-degree angle. The result? The stone's tiny pores and fossilized fragments (yes, lime stone often contains ancient sea creatures!) caught the light like scattered gold dust, turning a simple slab into a window into prehistory.
But golden hour isn't always an option. What if you're stuck shooting indoors, or the weather's gloomy? Enter diffused natural light. Think north-facing windows (which provide soft, consistent light all day) or shooting under a sheer white tent outdoors. I tested this with a piece of rough granite stone (beige) once, placing it near a north window on an overcast day. The light was so soft, it wrapped around the stone's jagged edges, turning harsh shadows into gentle gradients. The rough granite, which can look aggressive under direct light, suddenly felt approachable, almost tactile.
Midday sun, though, is the enemy. Its high angle and blue-white light can wash out lime stone(beige)'s warmth, making it look gray or even greenish. I once made this mistake, shooting a lime stone(beige) wall at noon in the desert. The light was so harsh, the stone's texture disappeared—what should have looked like a mosaic of sediment became a flat, featureless expanse. Lesson learned: if you must shoot midday, use a diffuser (a white bedsheet works in a pinch!) or reflectors to bounce warm light back onto the stone.
When natural light fails, artificial light steps in—offering precision, consistency, and the ability to shape light exactly how you need it. For stone photography, two setups reign supreme: softboxes and ring lights for small slabs, and studio strobes for larger installations.
Softboxes are a godsend for lime stone(beige). These light modifiers produce a broad, diffused light that mimics golden hour, even at 2 p.m. in a windowless room. I recently shot a series of lime stone(beige) samples for a client, using two softboxes: one positioned to the left of the stone (main light) and a smaller one to the right (fill light) to lift shadows. The main light highlighted the stone's texture, while the fill light ensured no detail was lost in the darker crevices. The client later told me those photos helped them close a $50,000 contract—proof that good lighting isn't just about aesthetics; it's about selling the stone's story.
Then there's fair-faced concrete—a material that thrives under artificial light. Unlike lime stone(beige), which craves warmth, fair-faced concrete's appeal lies in its cool, industrial sleekness. I once shot a fair-faced concrete wall for a modern architecture firm, using two studio strobes with grid modifiers (which narrow the light beam) to create sharp, parallel shadows. The result? The concrete's smooth surface and tiny air bubbles (a hallmark of fair-faced concrete) stood out in stark relief, emphasizing its minimalist, contemporary vibe. It was a far cry from the warm, fuzzy lighting of lime stone(beige), but that's the point: artificial light lets you tailor the mood to the material.
Color temperature matters, too. Most stone—especially earthy tones like lime stone(beige)—looks best under warm light (2700K to 3500K, similar to incandescent bulbs). Cool light (5000K+) can make beige stone look cold and clinical, which might work for fair-faced concrete but robs lime stone of its warmth. I keep a set of color gels handy to adjust my studio lights: a CTO (Color Temperature Orange) gel can turn a harsh 5500K LED into a cozy 3000K glow, perfect for making lime stone(beige) feel like it's bathed in sunset light.
| Stone Type | Best Natural Light | Best Artificial Light | Color Temperature |
|---|---|---|---|
| lime stone(beige) | Golden hour (45° angle) | 2 softboxes (45° left/right) | 2700K–3500K (warm) |
| fair-faced concrete | Midday sun (direct, overhead) | Studio strobes with grids | 4500K–5500K (cool) |
| rough granite stone (beige) | North window (diffused) | Ring light (macro shots) | 3000K–4000K (neutral-warm) |
Flat light is what happens when light hits the stone head-on, with no angle or direction. Think: shooting a lime stone(beige) slab under a ceiling light directly above it. The light bounces straight down, eliminating shadows and texture. The stone becomes a flat, two-dimensional blob. To avoid this, always remember the 45-degree rule: position your light source (natural or artificial) so it hits the stone at a 45-degree angle relative to the camera. This creates side shadows that emphasize texture—those tiny grooves and bumps that make stone feel alive.
Light sets the mood, but angles give stone depth. A single stone slab can look like a geological wonder or a boring countertop, depending on where you stand. Let's explore the angles that turn stone photos from "meh" to "wow."
Get low—kneel, lie on the ground, or even set your camera on the floor. Shooting from below makes stone look larger than life, emphasizing its mass and solidity. I used this trick with a lime stone(beige) wall at a historic castle once. By lying on my stomach and shooting upward, the wall (which was only 8 feet tall) suddenly towered like a ancient fortress, its rough-hewn edges and weathered patina stretching toward the sky. The photo ended up in a travel magazine, with the caption: "Where history meets stone."
Low angles work wonders for rough granite stone (beige), too. Its jagged, uneven surface, when shot from below, becomes a mountain range in miniature. I once photographed a small rough granite stone (beige) sample on a table, angling the camera so it looked up at the stone. The result? A photo that made viewers squint and say, "Is that a real mountain?" It wasn't—but the angle tricked the eye into seeing grandeur in something small.
Sometimes, the beauty of stone isn't in its height, but in its surface. Enter the overhead angle: shooting straight down on the stone, like a bird surveying a landscape. This angle is perfect for showcasing patterns, especially in materials like lime stone(beige) that have fossilized shells, sediment layers, or unique veining.
I shot a lime stone(beige) slab this way last month, placing it on a white backdrop and using a softbox directly above. The light flooded the surface, revealing a hidden mosaic: tiny fossilized snail shells arranged in a spiral, like a prehistoric piece of art. No one had noticed them before—not even the stone supplier. The photo became a hit on social media, with comments like, "I never knew stone could be so beautiful up close." That's the power of the overhead angle: it turns stone into a canvas.
Fair-faced concrete, with its smooth, uniform texture, also shines from above. Shooting it overhead highlights its clean lines and symmetry, making it ideal for modern design portfolios. I once shot a fair-faced concrete floor for an architect, using an overhead angle to emphasize the grid pattern of the formwork (the wooden molds used to cast concrete). The result was a photo that felt both industrial and artistic—a reminder that even "simple" materials have hidden depth.
Not all stone photos need to be dramatic. Sometimes, the most powerful shots are the ones that meet viewers at eye level, inviting them to lean in and touch. Eye-level shooting (holding the camera at chest height, parallel to the stone) creates intimacy, making the stone feel relatable and accessible.
I used this angle for a lime stone(beige) fireplace in a cozy cabin. By shooting at eye level, I framed the stone alongside a crackling fire and a stack of logs, making the viewer feel like they were sitting right there, warming their hands. The stone's beige tones blended with the firelight, creating a sense of home and comfort. It wasn't a "stunning" photo in the traditional sense, but it was deeply emotional—and that's often more memorable.
Eye level also works for small stone samples, like the rough granite stone (beige) chunks I photographed for a geology textbook. By placing the stone on a wooden table and shooting at eye level, I made it look like something you'd pick up and examine, not just a specimen in a lab. The photo included a hand gently resting on the stone, reinforcing that connection between human and earth.
Even the best-lit, perfectly angled stone photo needs a little help to shine. Post-processing isn't about "faking" the stone—it's about enhancing what's already there, bringing out the details the camera might have missed.
Start with contrast. Stone thrives on contrast; it's what makes texture pop. For lime stone(beige), I usually bump up the contrast by 10–15% in Lightroom, being careful not to blow out the highlights (those bright spots that can wash out texture). Then, adjust the shadows: pulling up the shadow slider by 5–10% reveals hidden details in the stone's darker crevices. I once had a lime stone(beige) photo where the shadows were so deep, you couldn't see the fossilized coral in the stone. A quick shadow adjustment, and suddenly there it was—a tiny, delicate pattern that made the photo infinitely more interesting.
Color correction is next. Lime stone(beige) can sometimes take on a greenish or gray tint in photos, especially under artificial light. I use the HSL (Hue, Saturation, Luminance) panel to tweak the yellow and orange sliders, warming up the beige tones until they match what my eye saw in person. For fair-faced concrete, I might cool down the blues and grays slightly to emphasize its modern, industrial feel.
Finally, sharpening. Stone's texture is all in the details—those tiny pores, scratches, and ridges. A little sharpening (I use the "Clarity" slider in Lightroom, set to 15–20%) can make those details sing. But be careful: over-sharpening makes stone look grainy and unnatural. I once overdid it on a rough granite stone (beige) photo, and the stone ended up looking like sandpaper. Lesson learned: sharpening should be subtle, like adding a pinch of salt to a dish—enough to enhance, not overpower.
At the end of the day, photographing stone—whether it's lime stone(beige), fair-faced concrete, or rough granite stone (beige)—isn't about technical perfection. It's about storytelling. Each stone has a story: of ancient oceans, of volcanic eruptions, of time itself. Your job as a photographer is to be its translator, using light and angles to turn rock into narrative.
I still have that first lime stone(beige) photo I took—the one that fell flat. I keep it on my desk as a reminder: stone photography isn't easy. It demands patience, curiosity, and a willingness to see beyond the surface. But when you get it right—when the light hits a lime stone(beige) slab just so, and the angle reveals a hidden fossil, and the photo makes someone gasp and say, "I never knew stone could be so beautiful"—it's worth every frustrating moment.
So the next time you pick up a camera to shoot stone, remember: you're not just taking a photo. You're capturing a piece of the earth's history. And with the right light, the right angle, and a little bit of heart, you might just make that history feel alive.
Recommend Products


