
Let's start with a scenario we've all been through: You're admiring your living room wall—clad in the stunning texture of MCM Flexible Stone—and suddenly, your eye catches something. A tiny, thread-like scratch or fray along the edge of a panel. Your heart sinks a little. "Did I do that?" you wonder. "Is this going to get worse?" If this sounds familiar, take a deep breath. Minor damage like "thread" fraying in MCM Flexible Stone is far more common than you think, and the good news? It's totally fixable. No need for expensive contractors or replacing entire panels. Today, I'm going to walk you through how to tackle this yourself, step by step. Whether you're a seasoned DIYer or someone who's never picked up a putty knife, by the end of this guide, you'll feel confident restoring your wall to its original glory.
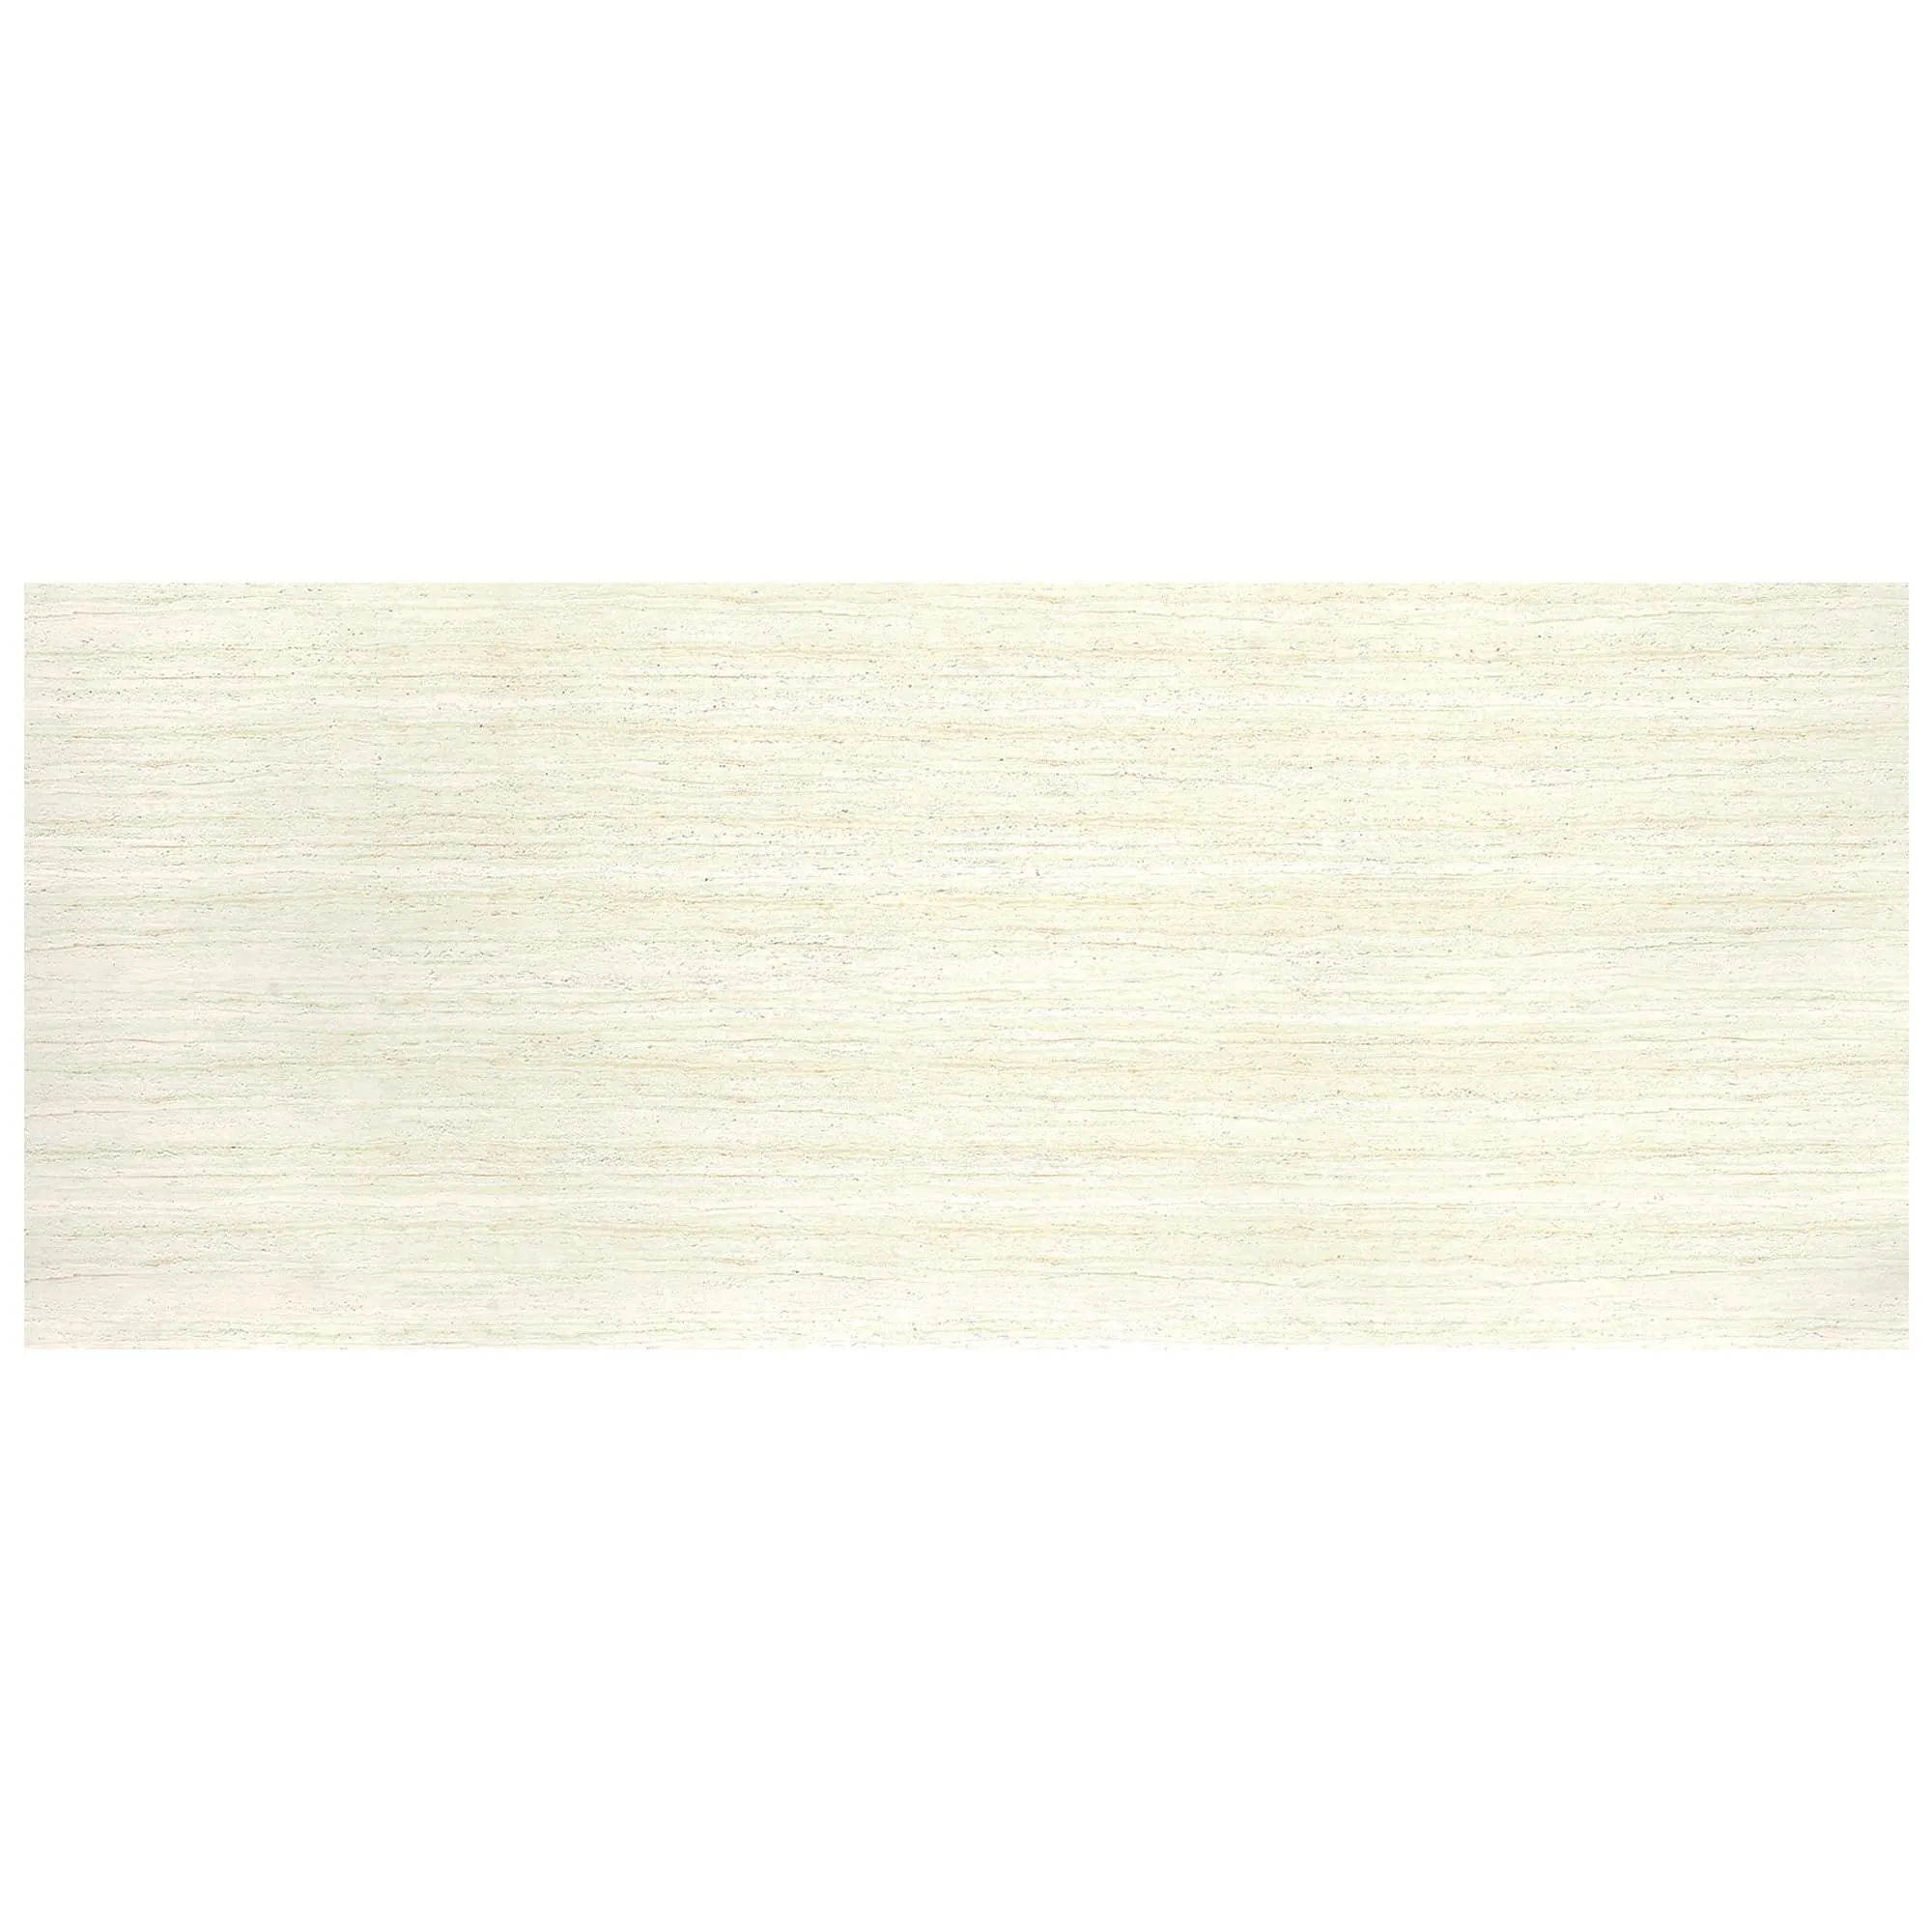
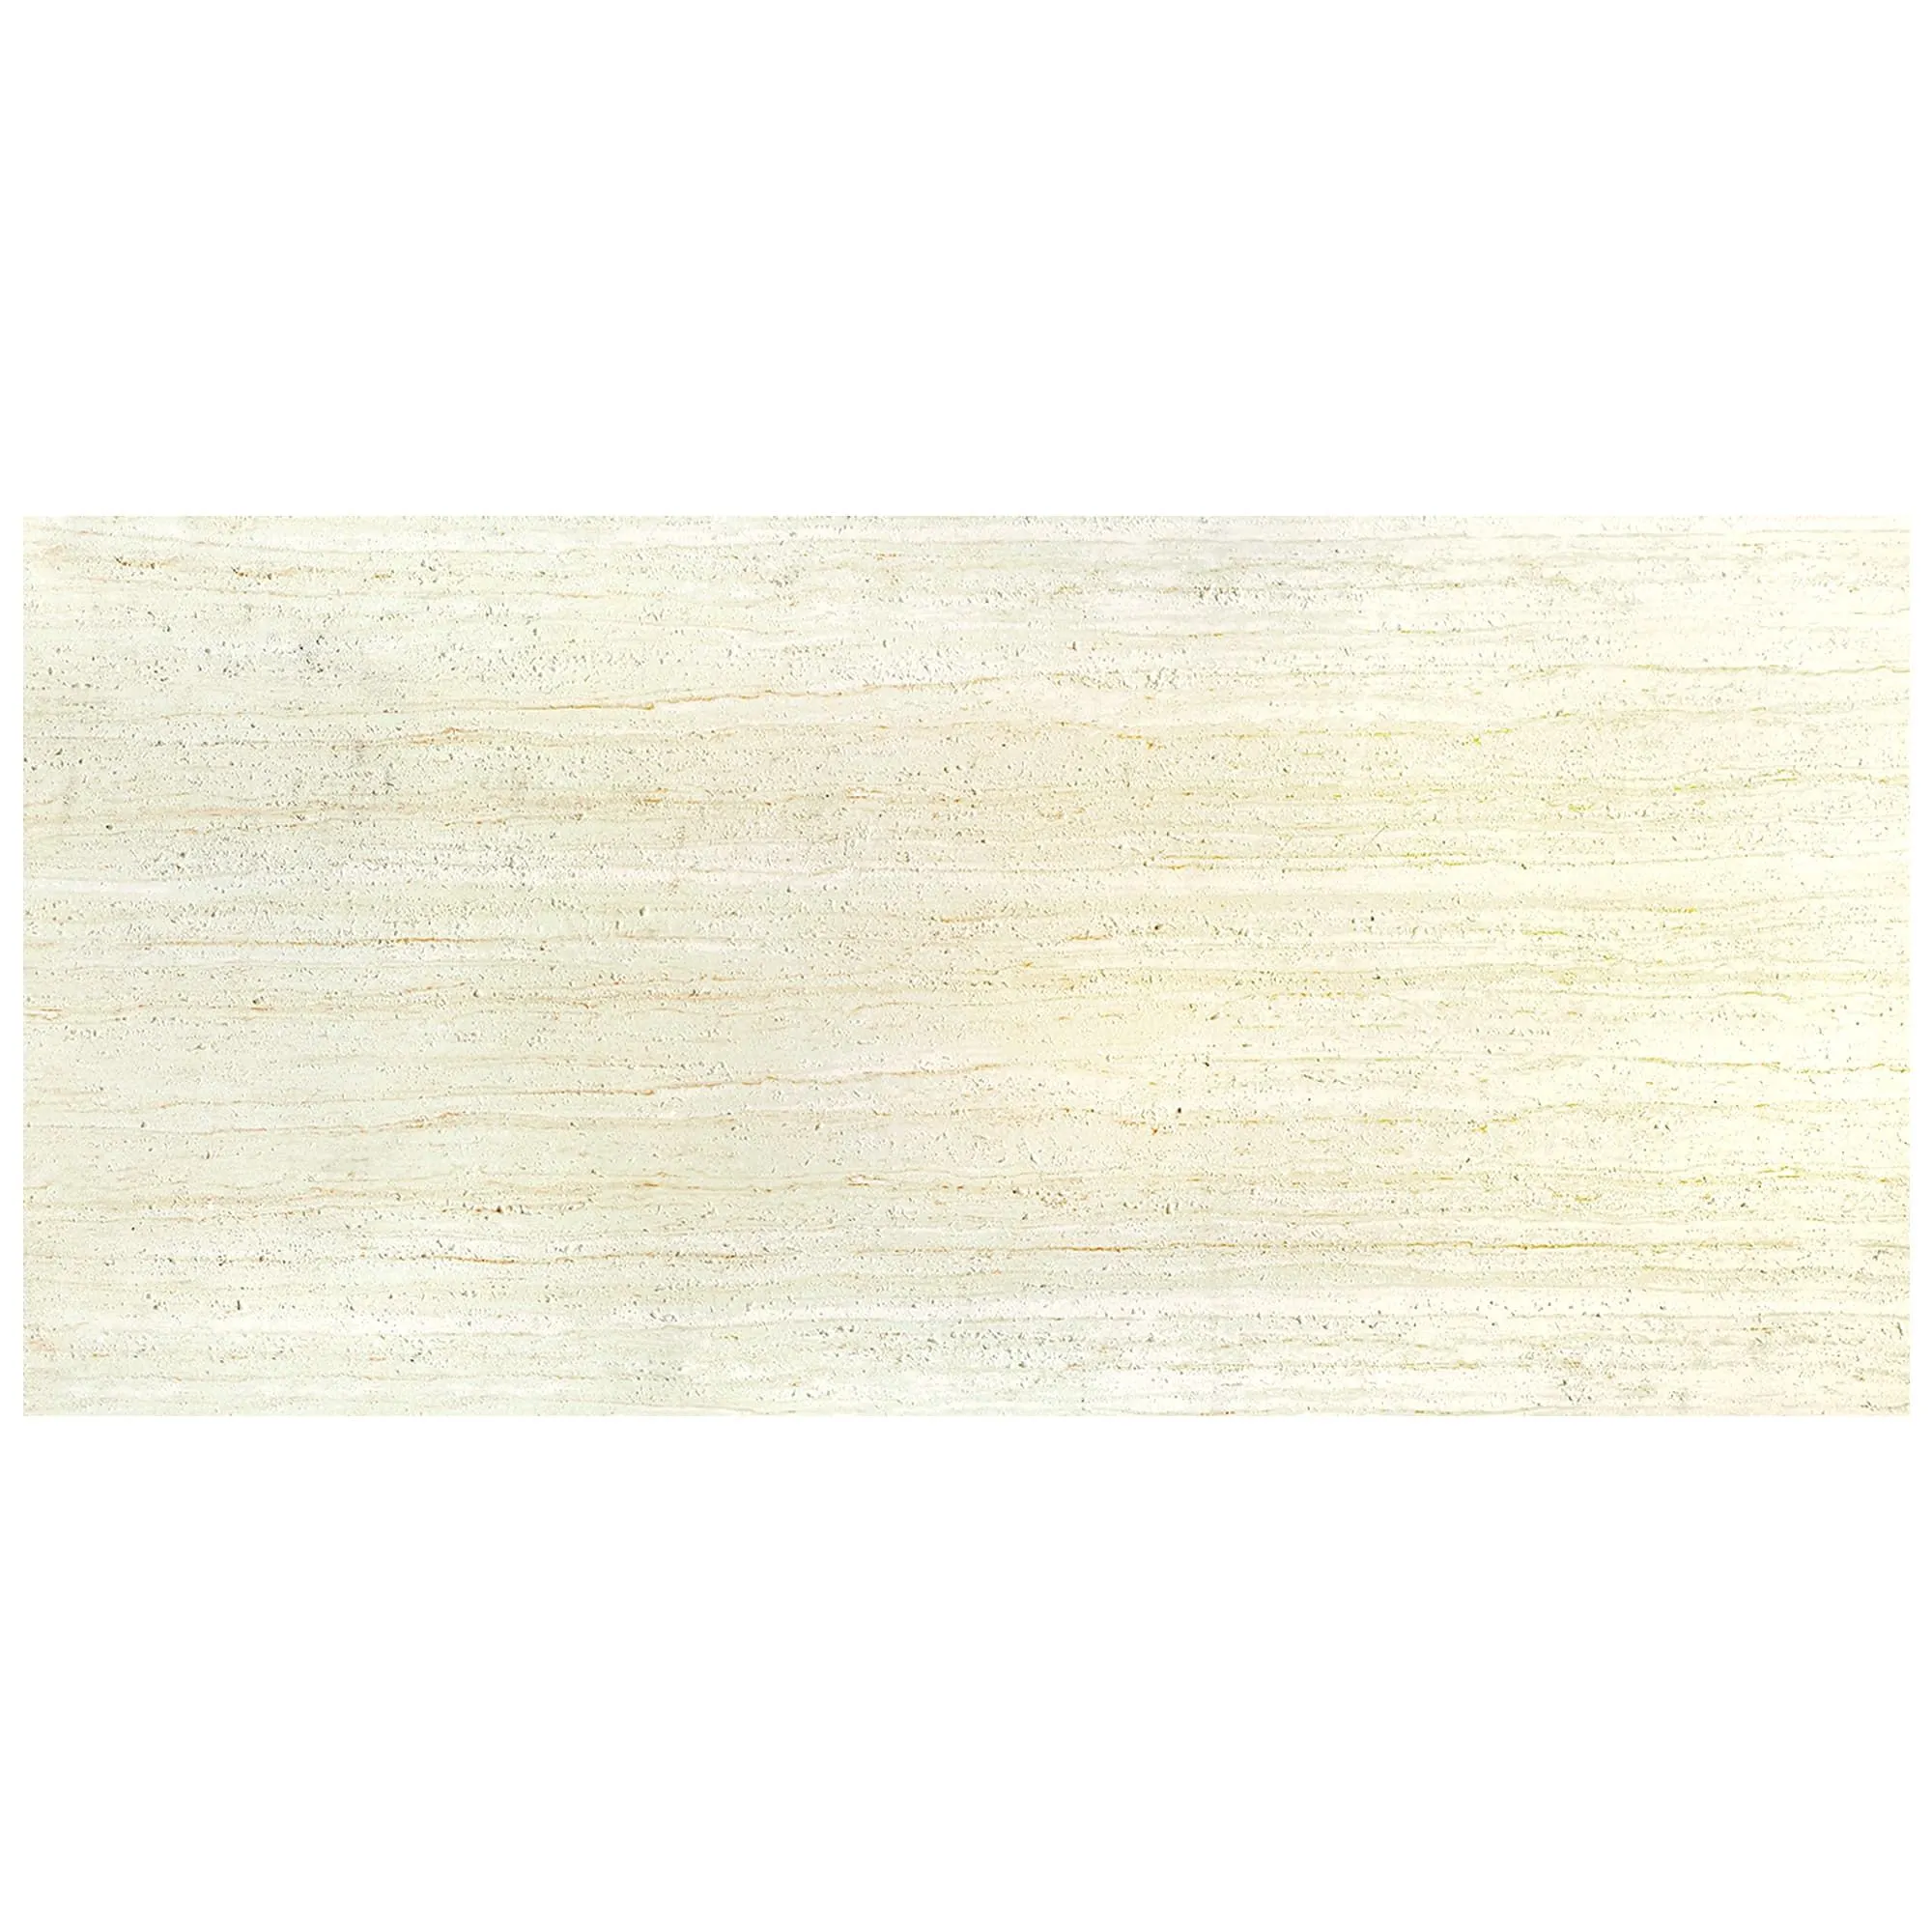
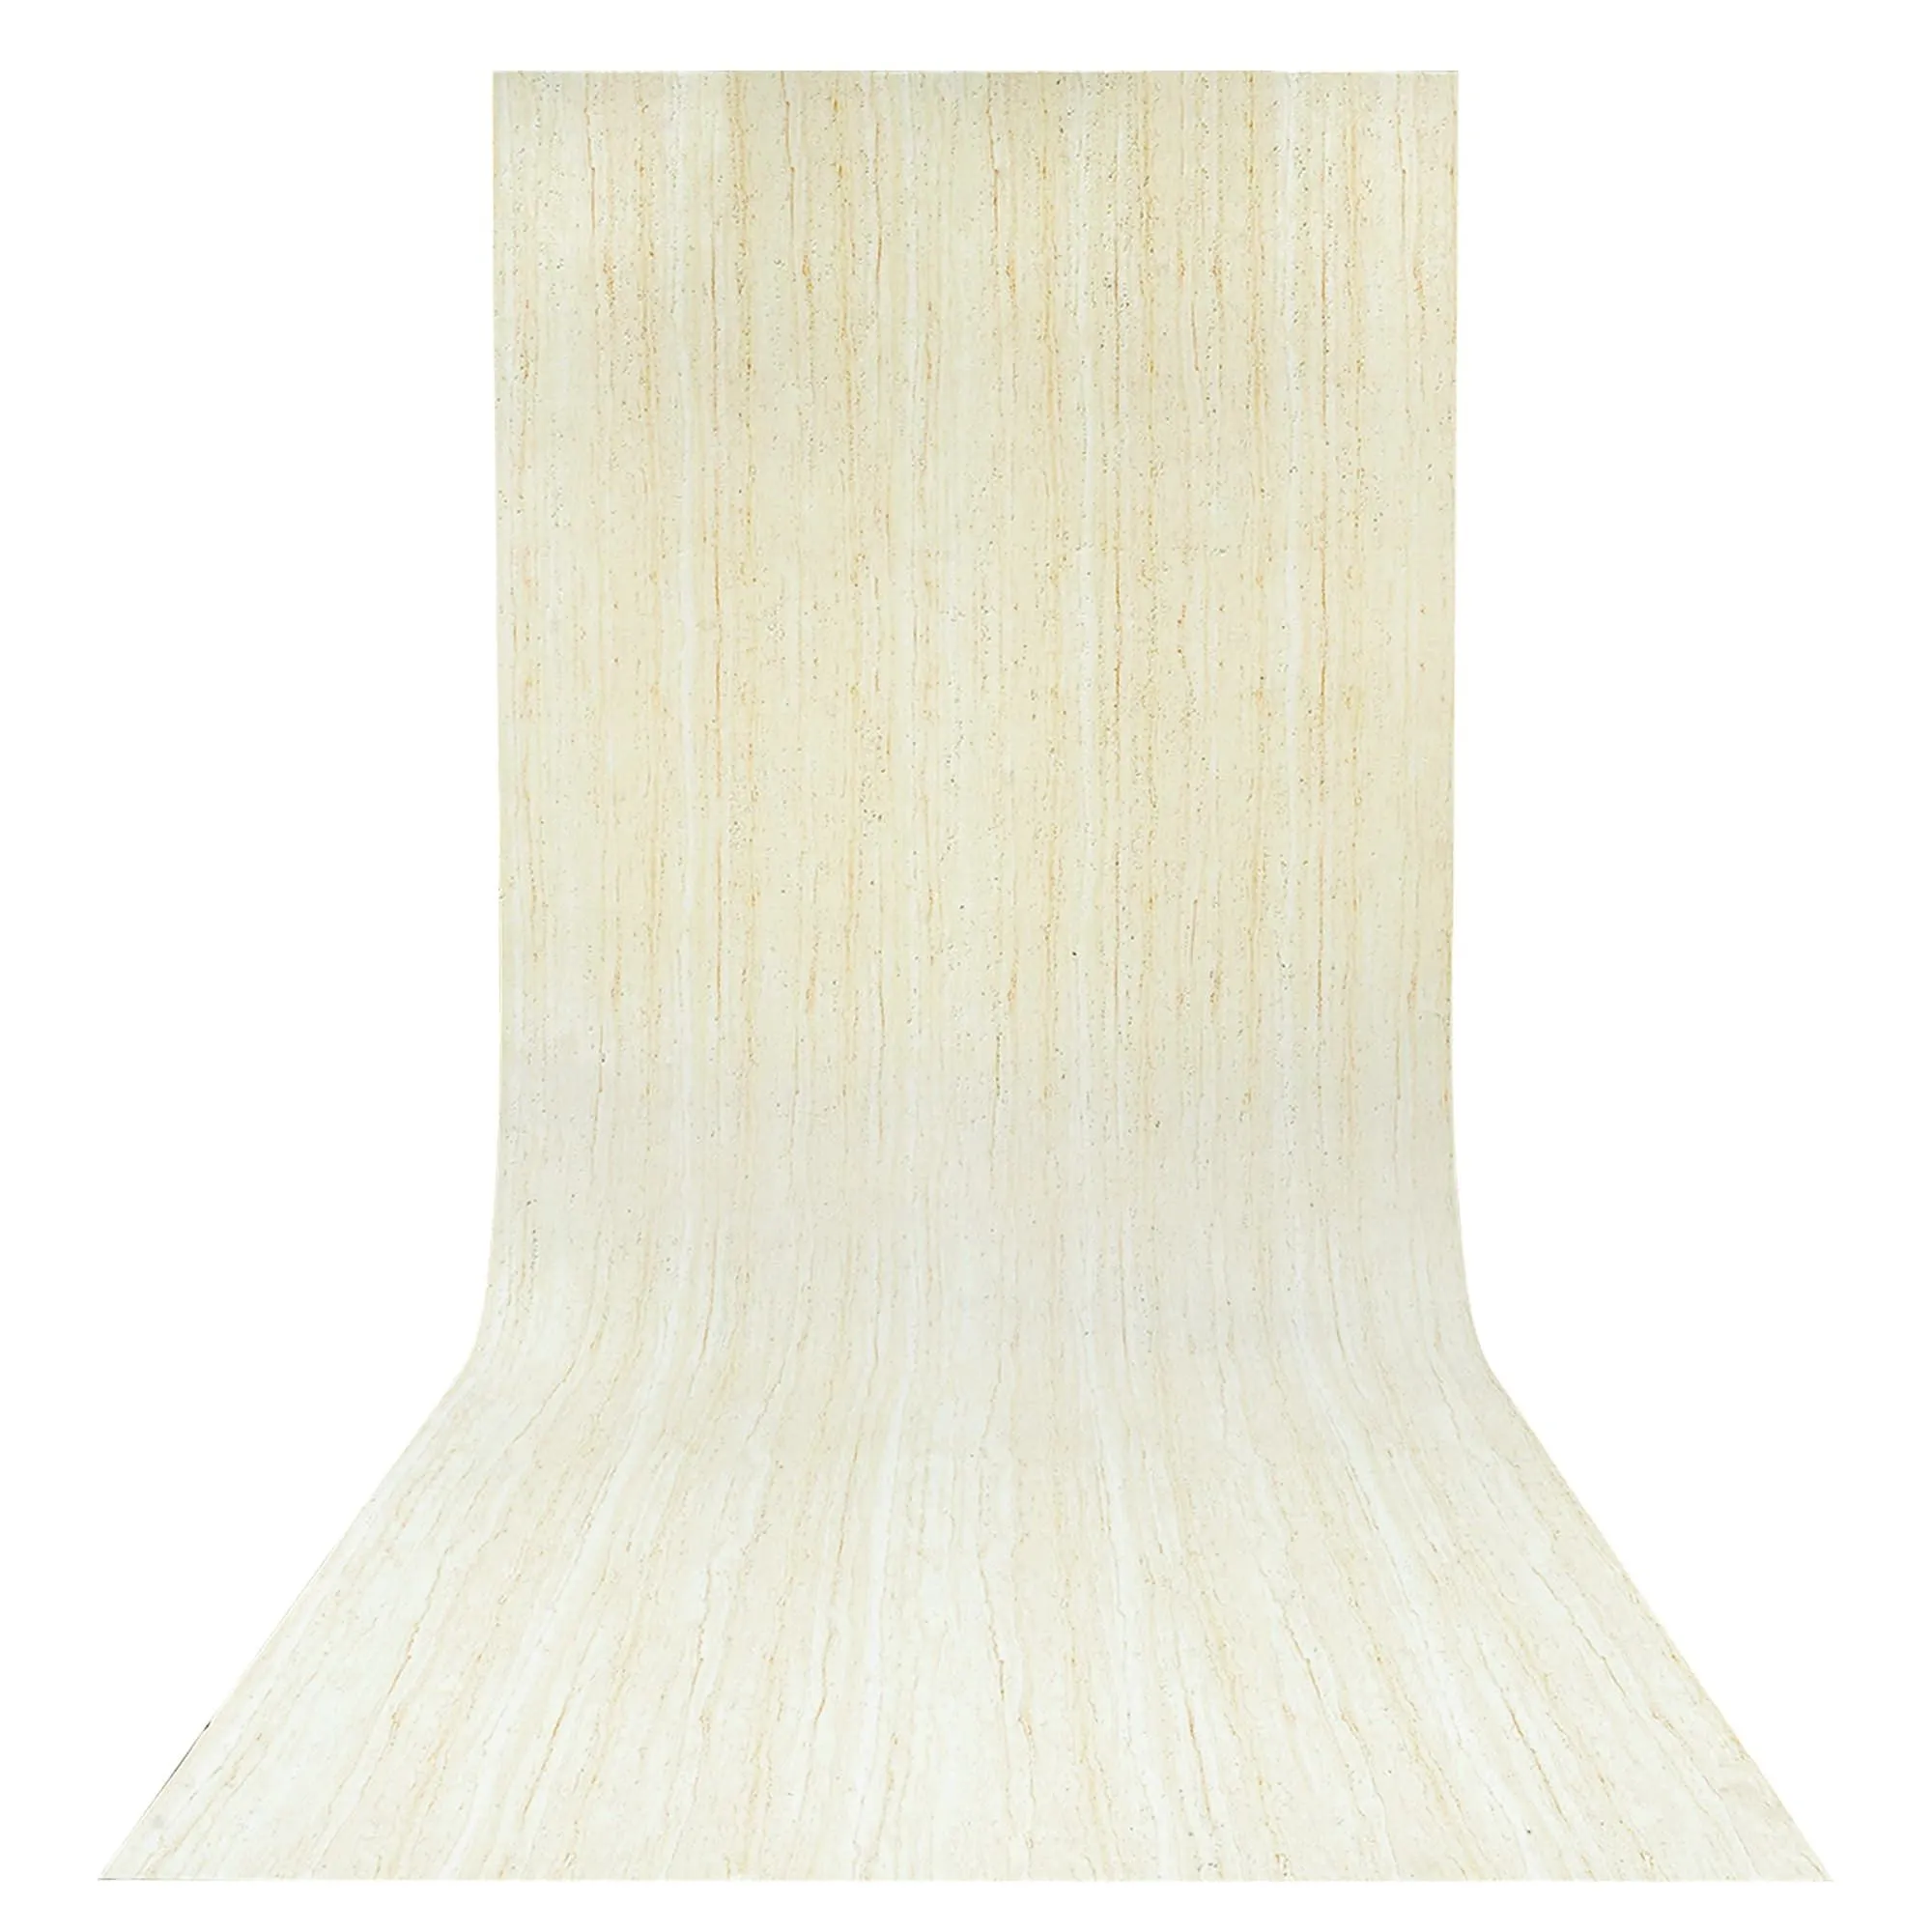
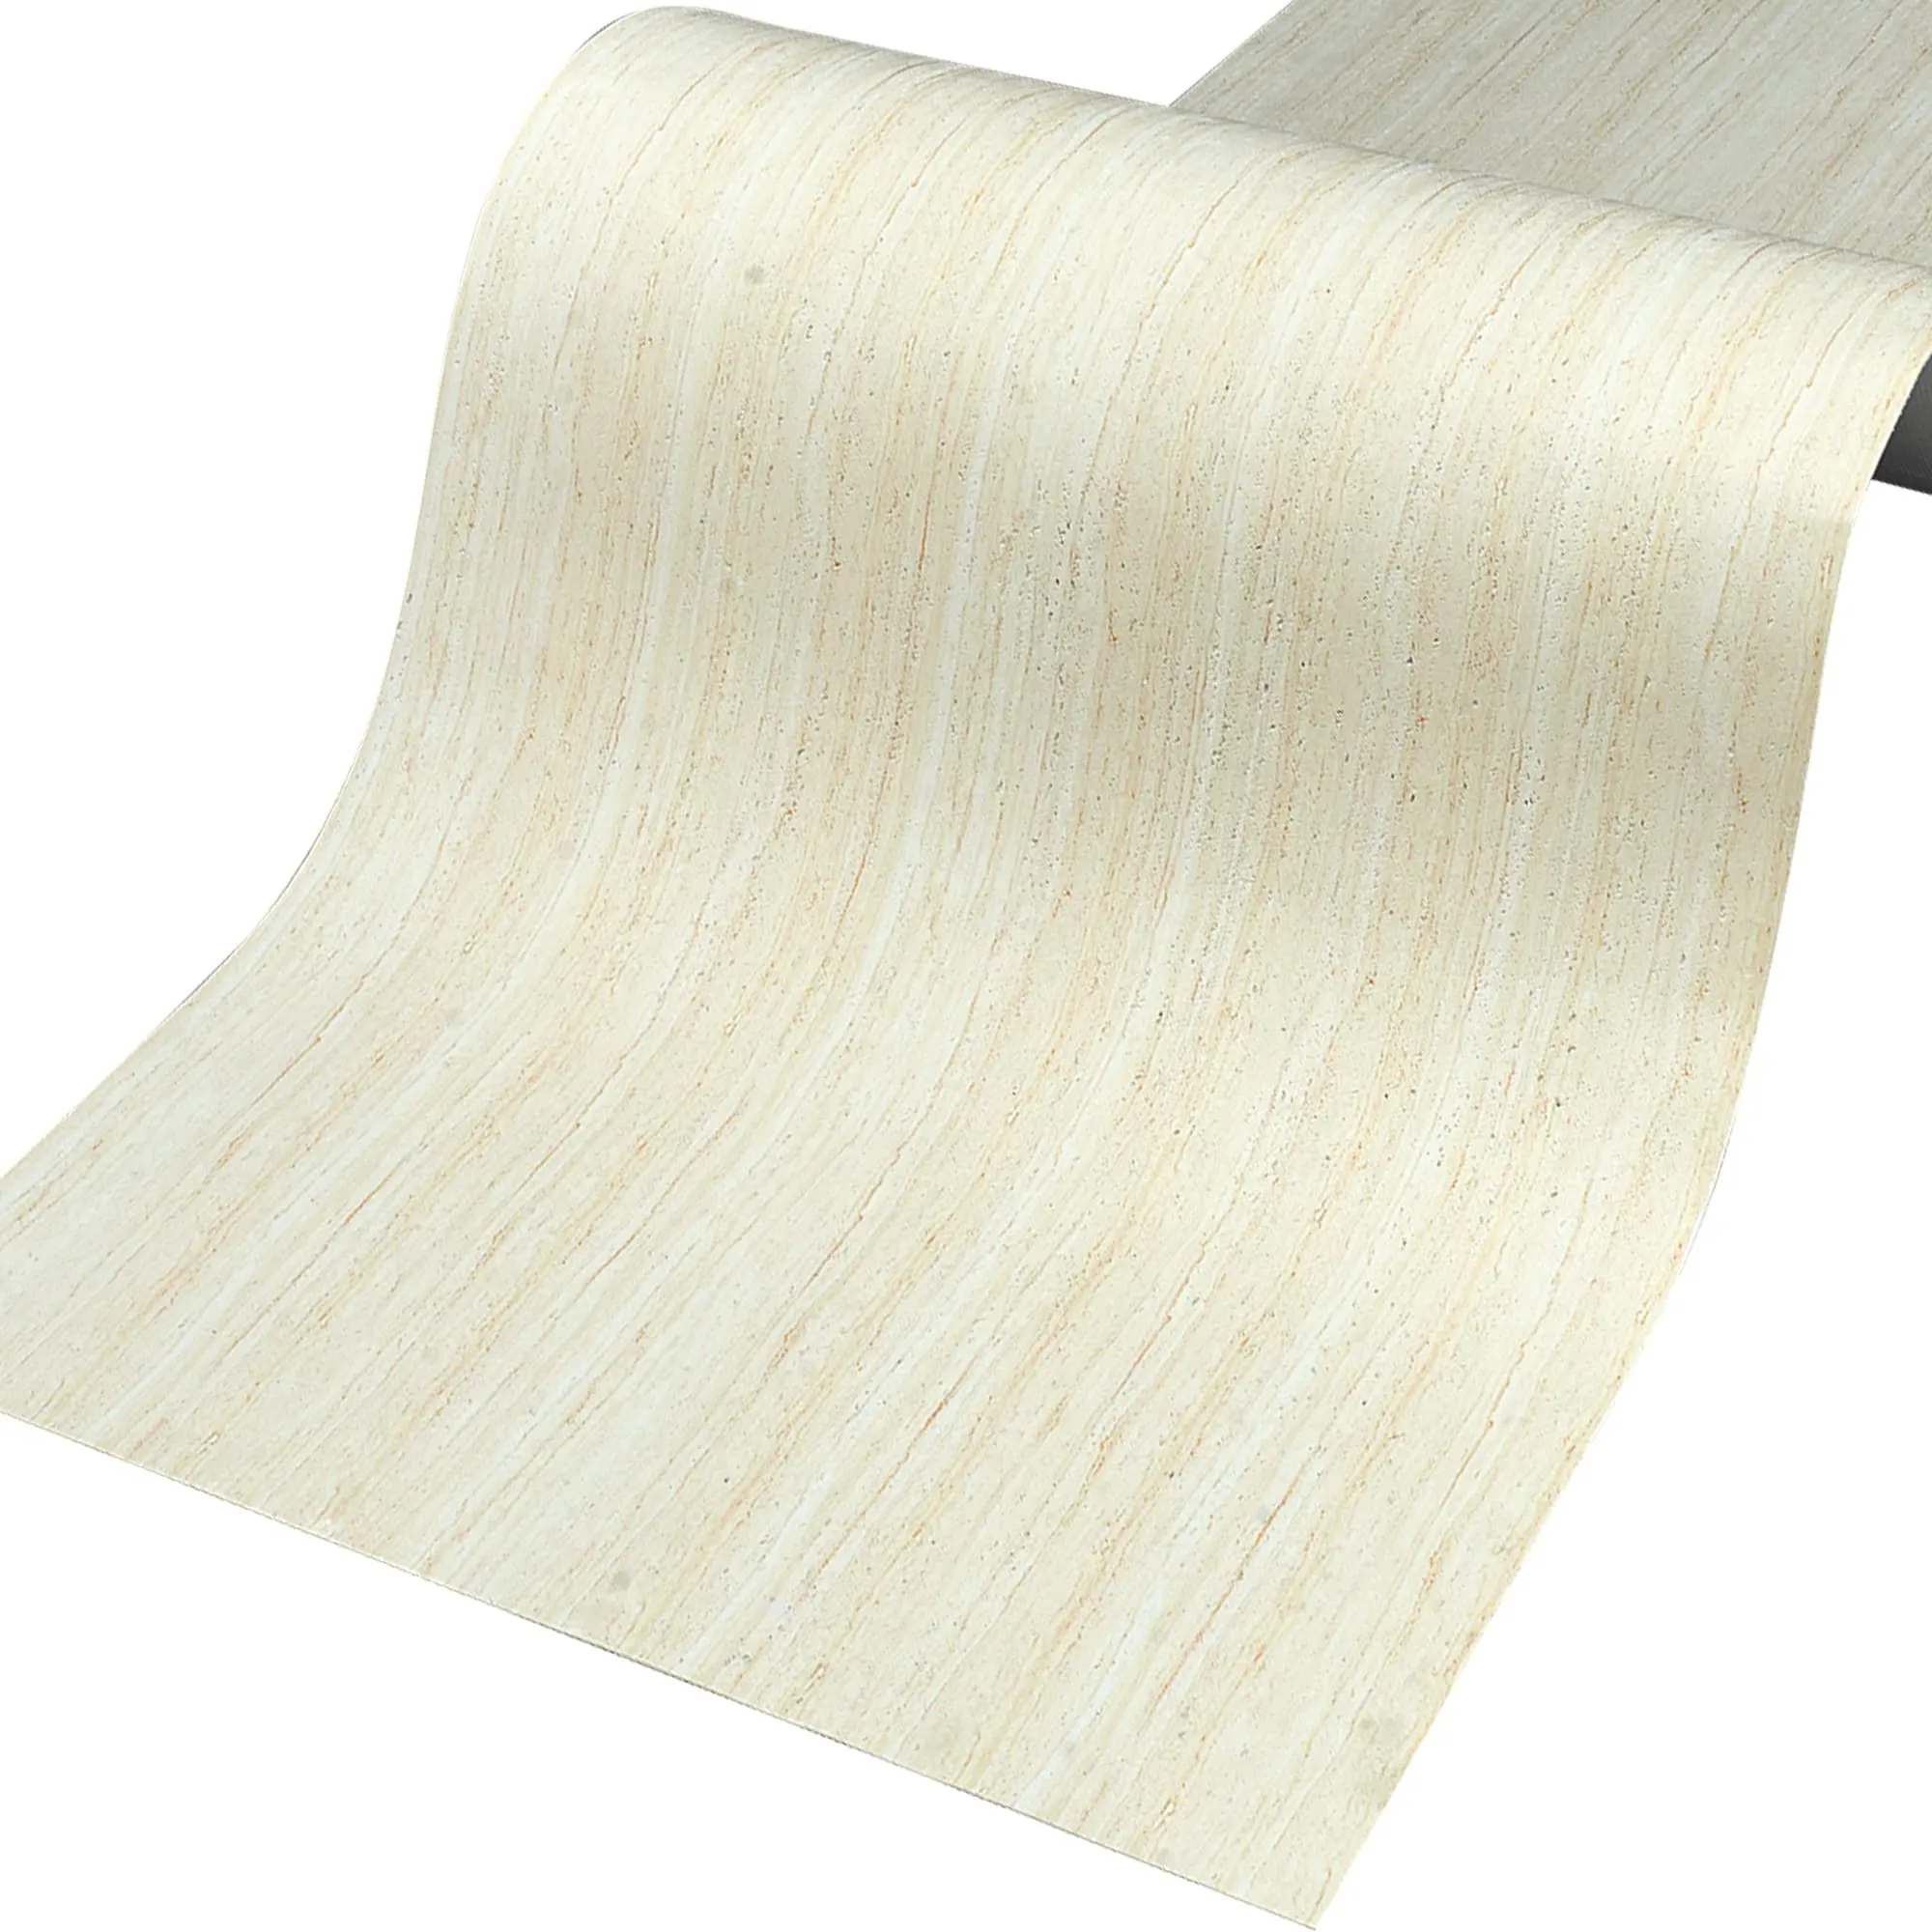
Before we dive into repairs, let's make sure we're on the same page about what MCM Flexible Stone actually is. Unlike rigid masonry stone or heavy marble, MCM (Modified Composite Material) Flexible Stone is a game-changer in interior and exterior design. It's lightweight, durable, and designed to mimic the look of natural stone—think travertine (beige), lunar peak silvery, or even gobi panel textures—without the bulk or fragility. Its flexibility means it can be installed on curved surfaces, and it's resistant to cracks… but that doesn't make it invincible. Small nicks, scratches, or "thread" frays (those thin, hair-like damages along edges or seams) can happen from everyday life: a stray elbow, a furniture bump, or even a rogue toy. The key is catching these issues early and addressing them before they escalate.
So, what exactly is a "thread" damage? Imagine a loose string on a sweater—small, slightly frayed, but not a full tear. In MCM Flexible Stone, this often looks like a thin, raised or frayed edge along a panel, usually less than 1/4 inch wide. It might be caused by friction, a minor impact, or even just age if the panel wasn't fully sealed. The good news is that this type of damage is superficial; it hasn't compromised the structural integrity of the panel. With a few simple tools and a little patience, you can smooth it out and make it disappear.
You don't need a fully stocked workshop for this repair. Most of these tools are probably already in your garage or utility closet. If not, a quick trip to the hardware store will set you up. Here's what you'll need:
| Tool/Item | Purpose | Pro Tips |
|---|---|---|
| Fine-grit sandpaper (220-grit or higher) | To gently smooth the frayed "thread" edge and prep the area for repair. | Opt for sandpaper labeled "wet/dry" for better control. Avoid coarse grit—you don't want to create more damage. |
| MCM Flexible Stone repair compound (color-matched) | To fill and blend the damaged area. These compounds are designed to mimic the texture of MCM stone. | Most manufacturers sell repair kits specific to their stone lines (e.g., travertine beige, lunar peak golden). If you're unsure, take a photo of your stone to the store for matching. |
| Small putty knife or plastic scraper | To apply and shape the repair compound smoothly. | Choose a flexible putty knife (1-2 inches wide) for precision. A plastic scraper is gentler if your stone has a delicate texture. |
| Soft, lint-free cloth | To clean the area before and after repair, and to wipe away excess compound. | Microfiber cloths work best—they won't leave lint behind. |
| Water in a spray bottle (optional) | To slightly dampen the sandpaper or cloth for wet sanding, which reduces dust and creates a smoother finish. | Use distilled water to avoid mineral deposits on the stone. |
| MCM stone sealer (if recommended by the manufacturer) | To protect the repaired area and blend it with the rest of the panel. | Check if your stone is sealed—some MCM panels come pre-sealed, so you'll want a compatible sealer. |
| Painter's tape (optional) | To mask off surrounding areas and keep the repair neat, especially if the damage is near a seam or edge. | Use low-tack tape to avoid peeling off any finish when removed. |
Now that you have your tools ready, let's walk through the repair process. Take your time—rushing can lead to mistakes, but with a steady hand, this will take less than an hour (plus drying time). I'll break it down into simple, actionable steps.
First, take a close look at the "thread" damage. Is it a single frayed edge, or are there multiple loose strands? Is it raised, or slightly indented? Run your finger gently over it—does it catch, or is it smooth but discolored? This helps you gauge how much sanding and compound you'll need. Remember: We're dealing with minor damage here. If the panel is cracked, loose, or the damage is wider than 1/2 inch, this guide might not be enough—you'll want to contact a professional. But for small, thread-like frays? You've got this.
Even the tiniest speck of dust can ruin a repair, so start by cleaning the damaged area. Use a soft, dry cloth to wipe away any loose debris. If there's grime or fingerprints, dampen the cloth with a little water (or a mild, pH-neutral cleaner—avoid bleach or ammonia-based products, which can discolor MCM stone). Let the area dry completely before moving on. Moisture trapped under the repair compound can cause bubbling or mold later, so patience here pays off.
Take your fine-grit sandpaper and fold it into a small square (this gives you better control). Hold it at a 45-degree angle to the damaged area and sand very lightly in a circular motion. The goal is to smooth down any raised or frayed "threads," not to sand away material. Think of it like petting a cat—gentle, with light pressure. Check your progress every few strokes by brushing away dust with a dry cloth. You want the edge to feel smooth to the touch, with no rough or loose bits. If you're nervous about over-sanding, try "wet sanding": dampen the sandpaper slightly with water, which slows down the process and creates a smoother finish.
Now, it's time for the repair compound. Open the container and stir it gently with a popsicle stick or small tool—some compounds separate, so you want an even consistency. If you're using painter's tape, apply it around the damaged area, leaving a tiny border (about 1/8 inch) around the fray to keep the compound contained.
Dip the edge of your putty knife into the compound and scoop up a small amount—about the size of a pea for tiny thread damage. Hold the knife at a 30-degree angle to the wall and gently press the compound into the damaged area. Use smooth, overlapping strokes to spread it evenly, feathering the edges to blend with the surrounding stone. The key here is to build up thin layers rather than slapping on a thick glob. If the damage is a bit deeper, let the first layer dry (check the compound's instructions—usually 20-30 minutes) and apply a second thin layer. This prevents cracking as it dries.
Once the compound is applied and shaped, set a timer. Most MCM repair compounds dry to the touch in 30-60 minutes, but full curing can take 24 hours. Avoid touching it, and keep the area well-ventilated to speed up drying. If you're in a humid climate, consider using a fan (on low!) to circulate air—but don't point it directly at the repair, as this can cause uneven drying and cracking.
After the compound is fully dry, it's time for a final sanding. Use the same fine-grit sandpaper (dry this time) and gently sand the repaired area in a circular motion. The goal is to smooth any rough edges and make the repair flush with the rest of the panel. Wipe away dust with a dry cloth and check your work. If there are still slight imperfections, apply a tiny bit more compound, let it dry, and sand again. This might take 2-3 rounds for perfection, but that's okay—this is about making it look seamless.
If your MCM Flexible Stone is sealed (check the manufacturer's specs—many are, especially if used in kitchens or bathrooms), you'll want to seal the repaired area to protect it. Use a small brush to apply a thin layer of sealer over the repair, feathering it out to blend with the surrounding stone. Let it dry according to the sealer's instructions (usually 1-2 hours). If you're unsure about the sealer type, test it on an inconspicuous area first (like the back of a panel or a corner) to ensure it doesn't discolor the stone.
Now that your repair is done, let's talk about keeping your MCM Flexible Stone looking fresh. Prevention is always easier than repair, and a little care goes a long way. Here are my top tips:
And here's a bonus tip: If you live in a humid climate, consider a dehumidifier in rooms with MCM stone. Excess moisture can weaken the adhesive holding panels in place, leading to loosening and, you guessed it, more fraying. A little climate control goes a long way.
Repairing a thread-like fray in MCM Flexible Stone might seem intimidating at first, but as you've seen, it's a straightforward process with the right tools and a little patience. The next time you spot a minor imperfection, you'll know exactly what to do—no panic, no expensive fixes, just a quick DIY repair. Remember, MCM Flexible Stone is designed to be durable and low-maintenance, but even the toughest materials need a little love. By addressing small issues early, you'll keep your walls looking stunning for years to come.
So go ahead—stand back and admire your handiwork. That tiny thread damage? Gone. And the best part? You did it yourself. Here's to many more years of enjoying the beauty and texture of your MCM Flexible Stone.
Recommend Products


