
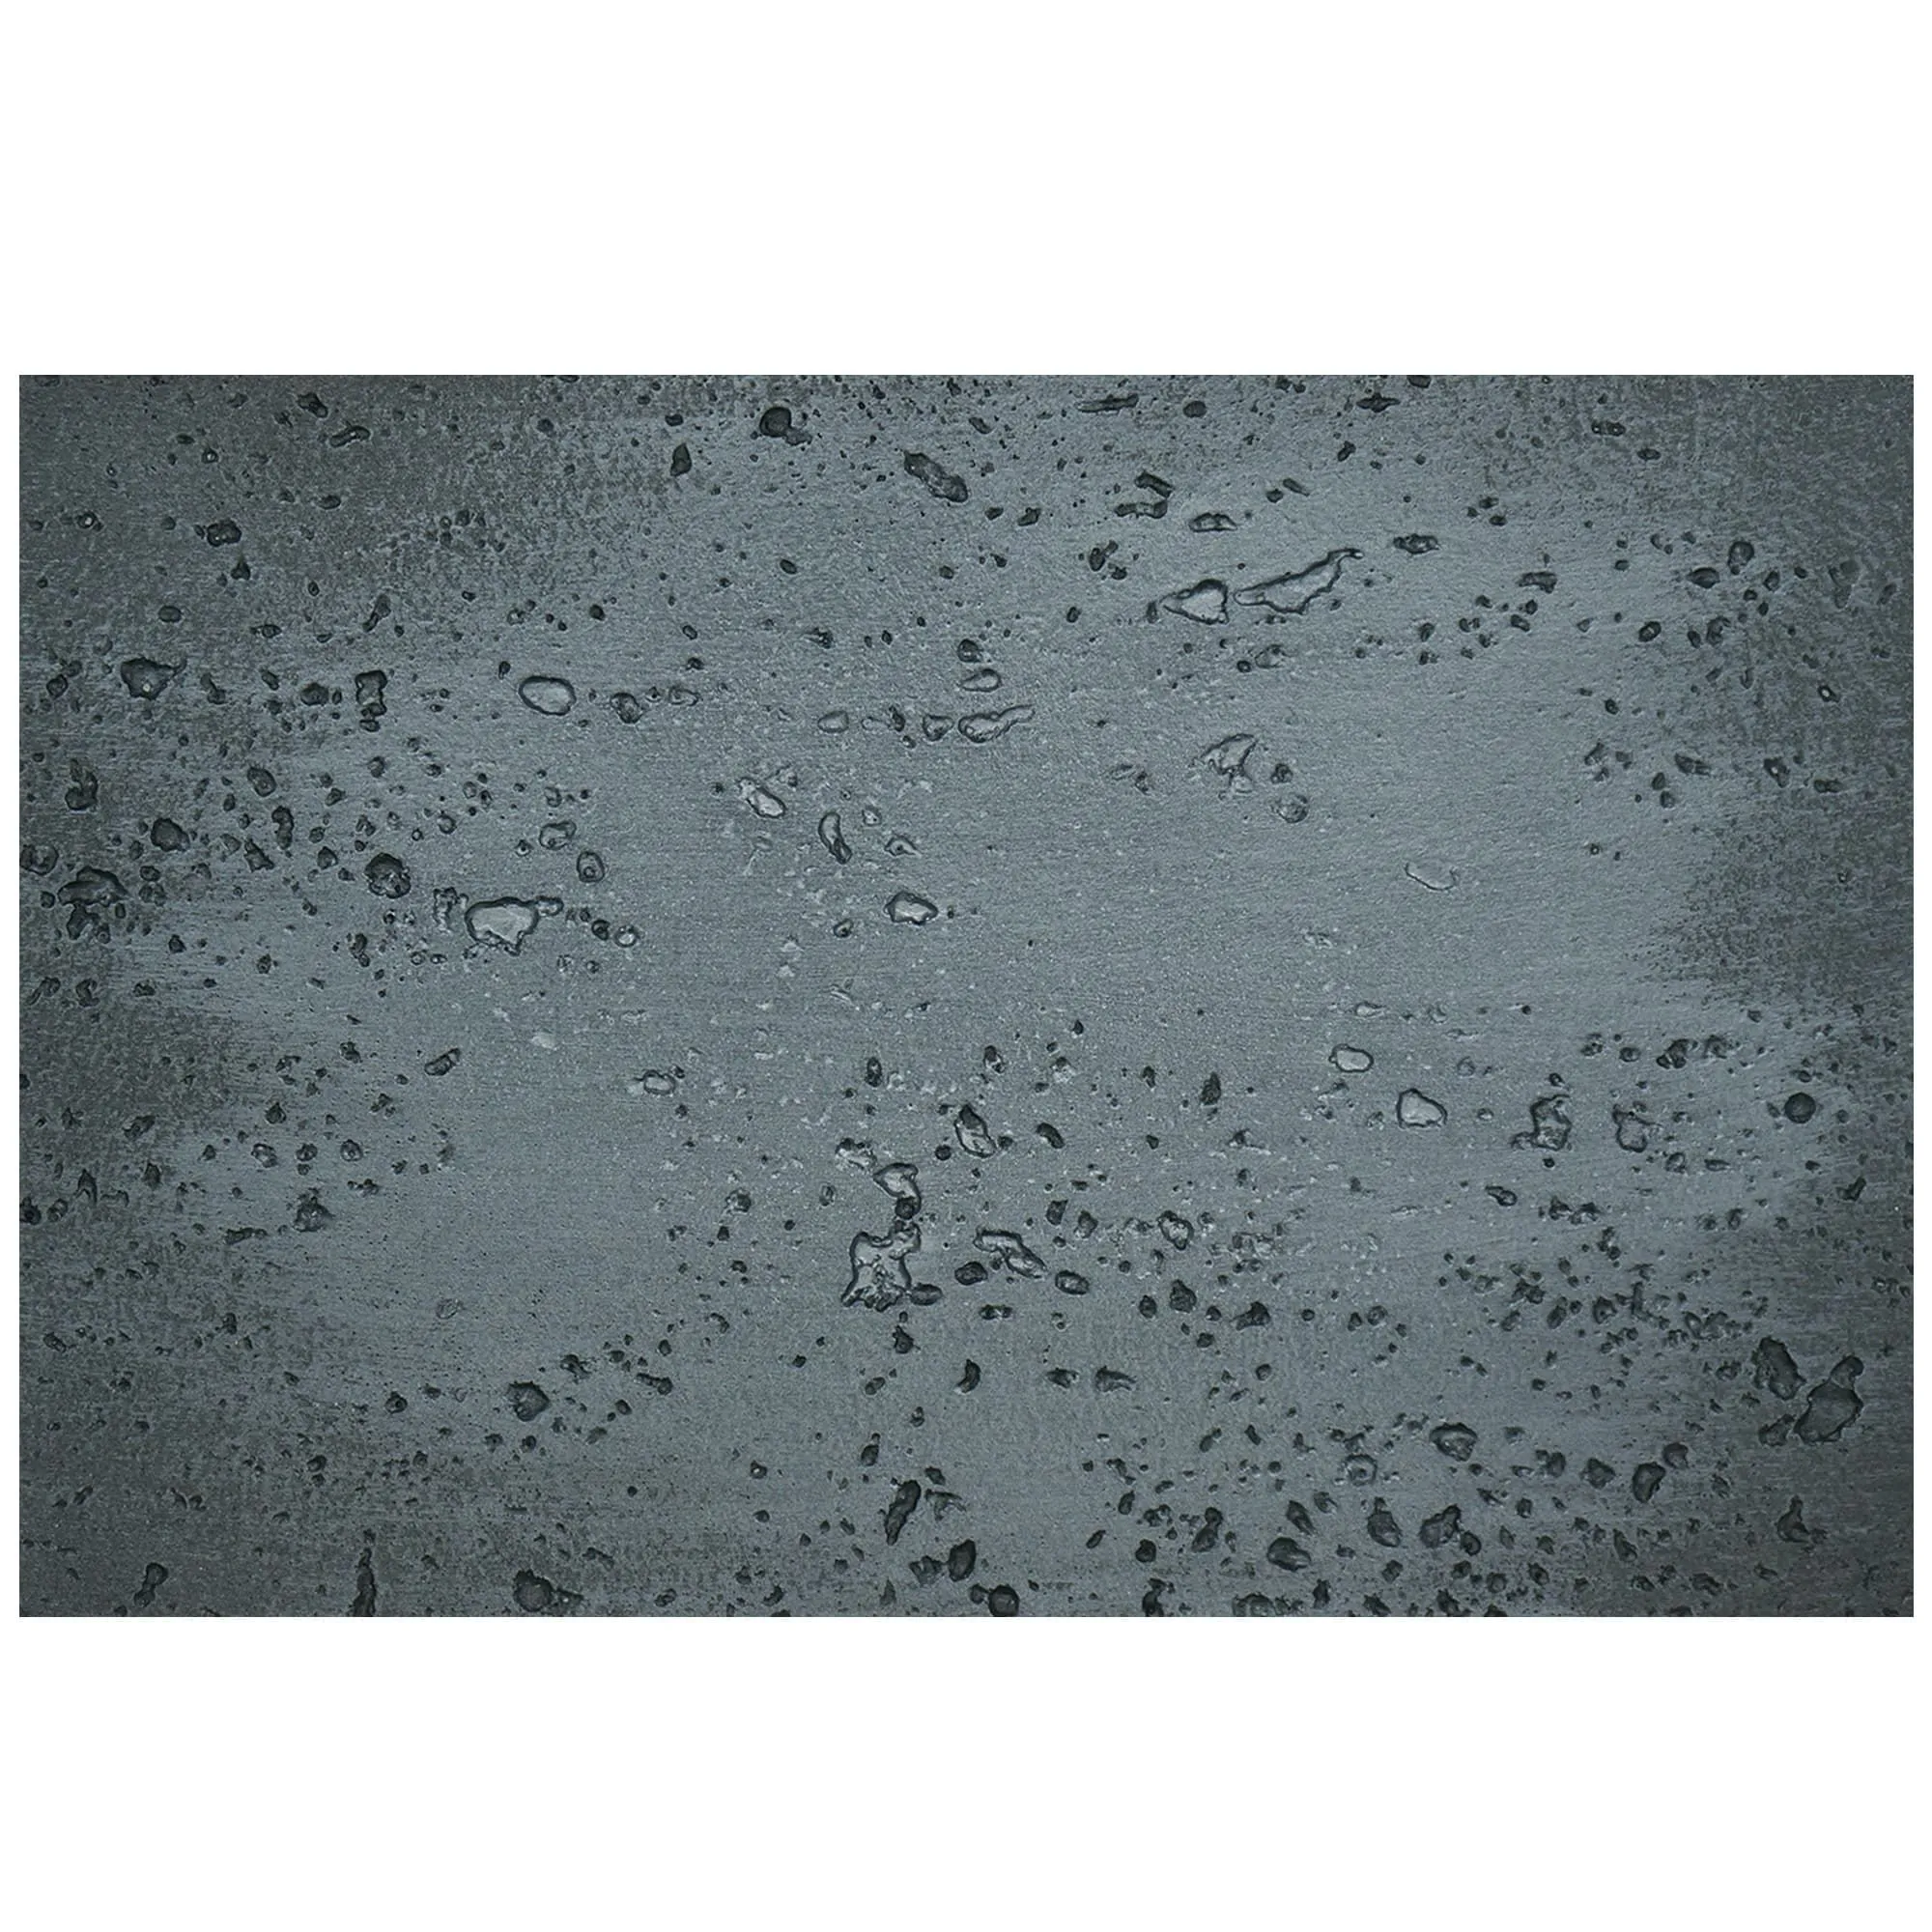
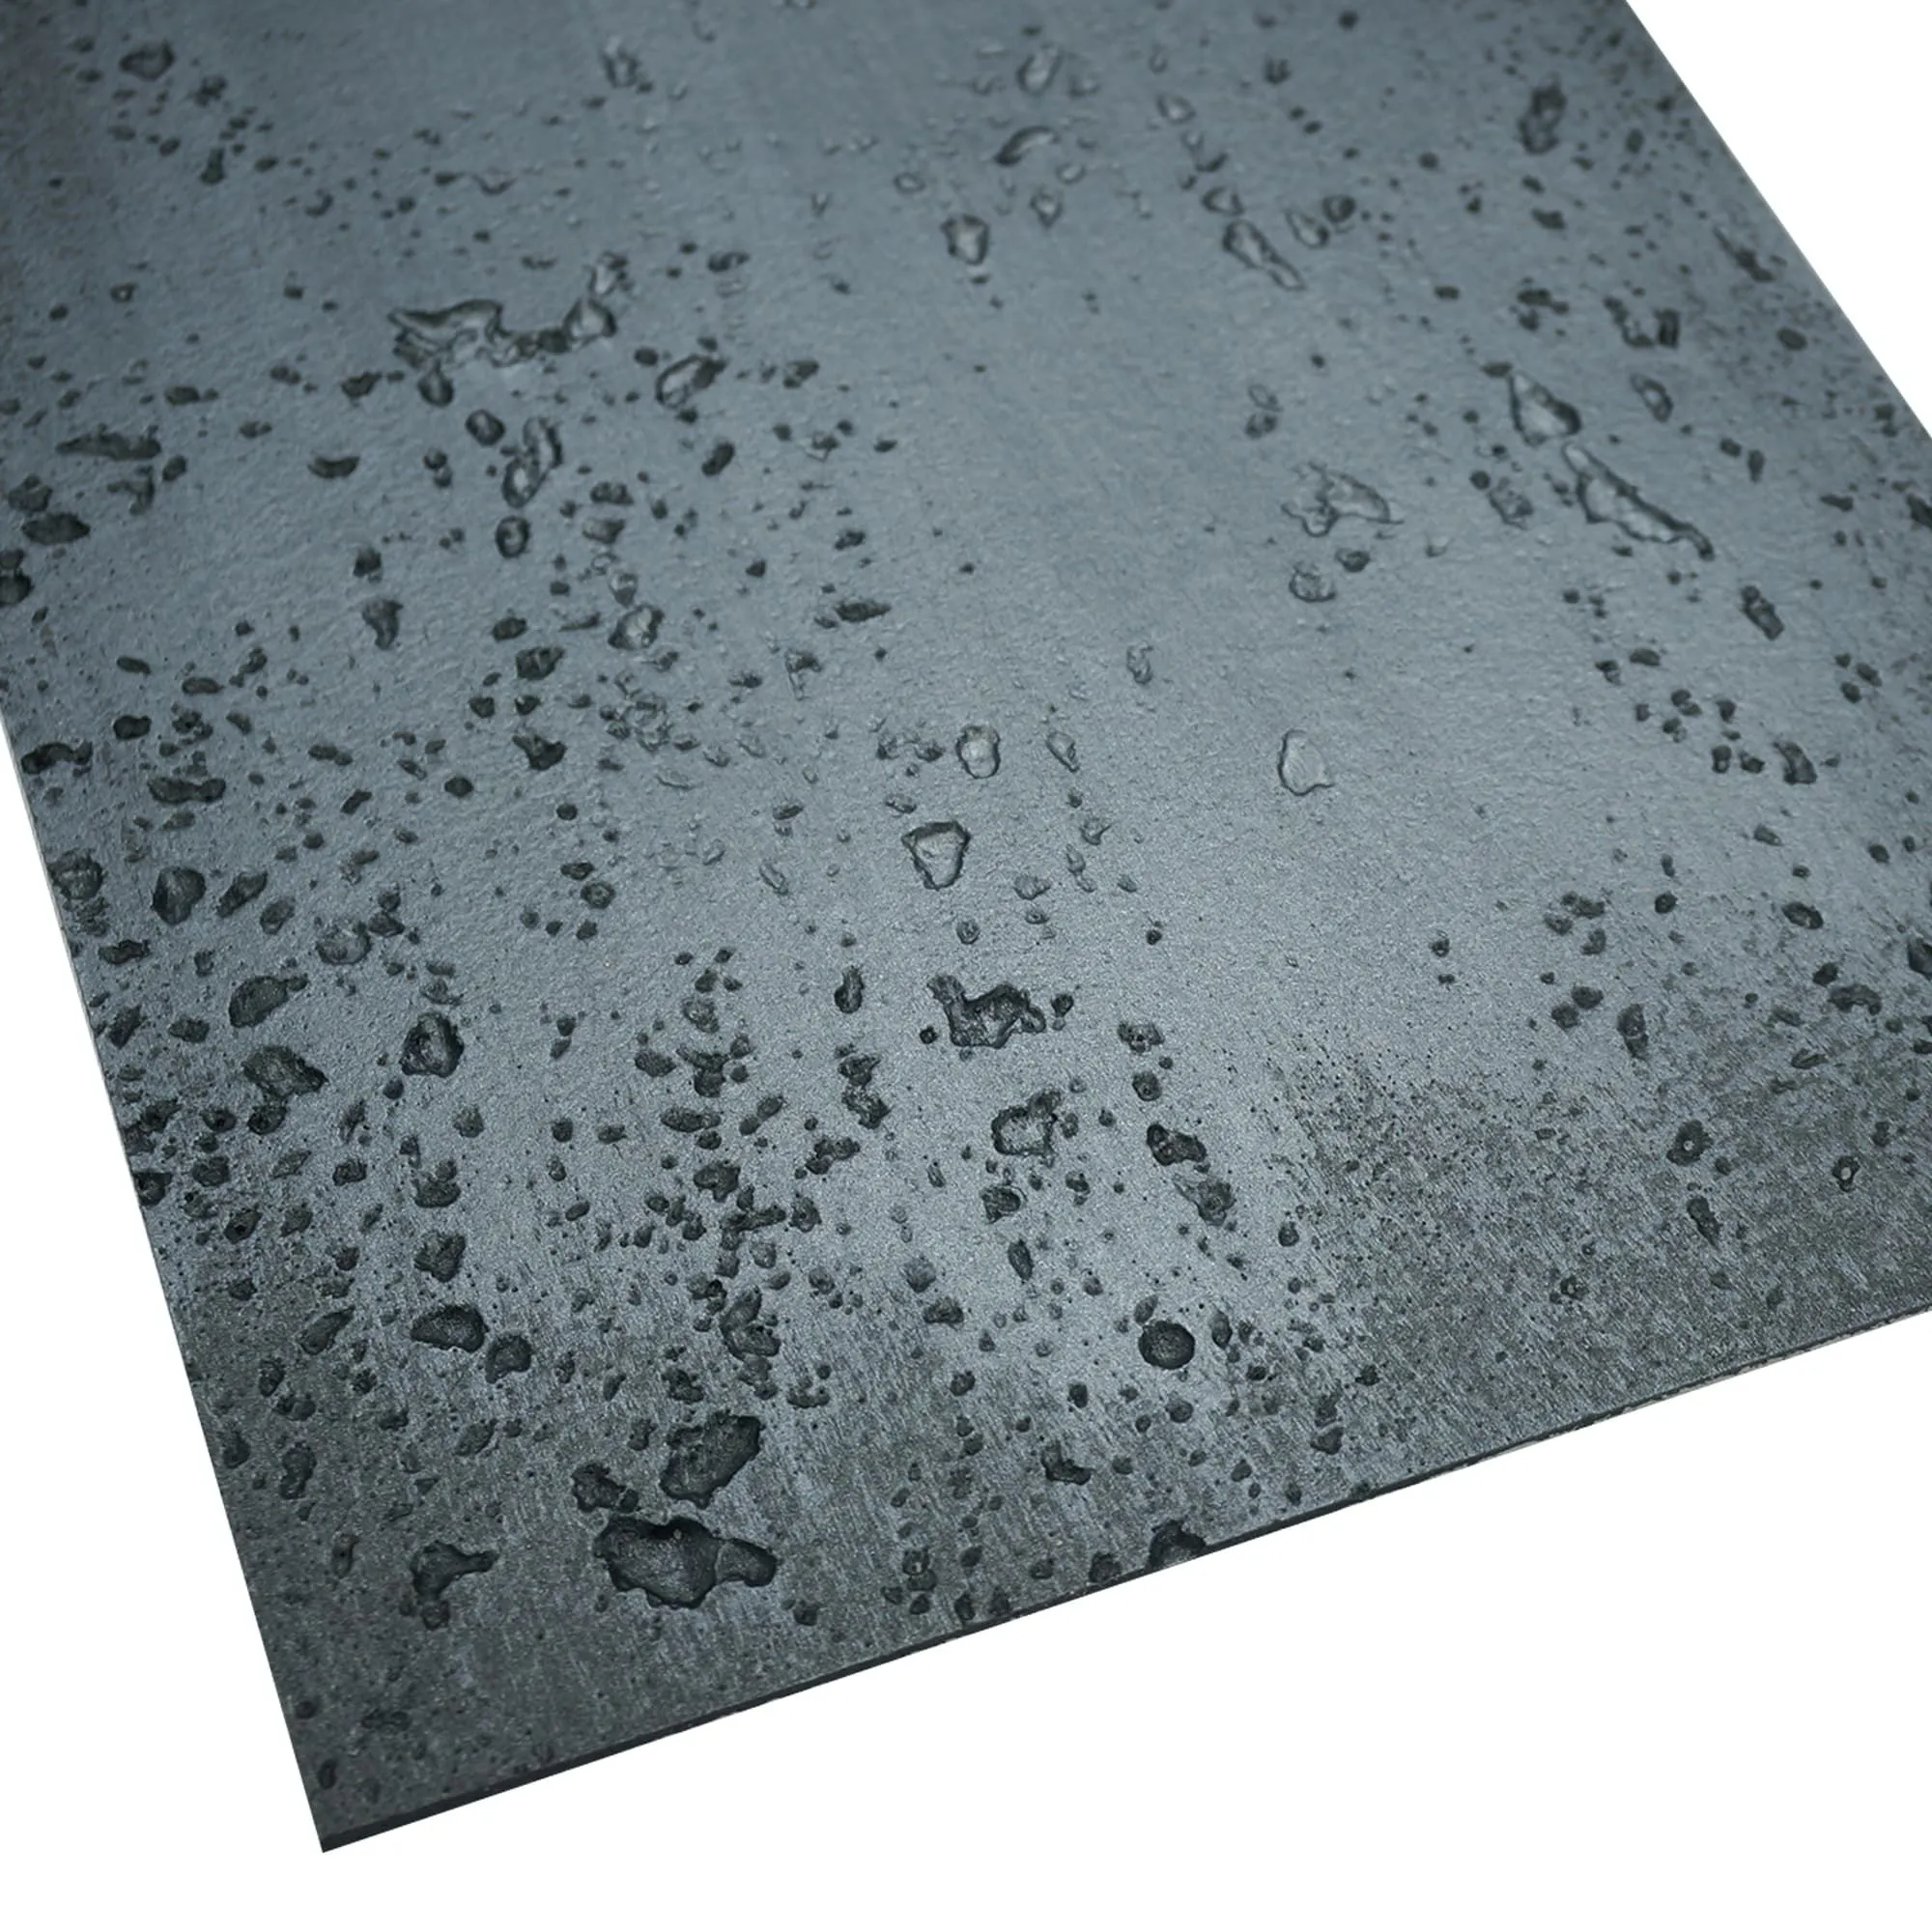
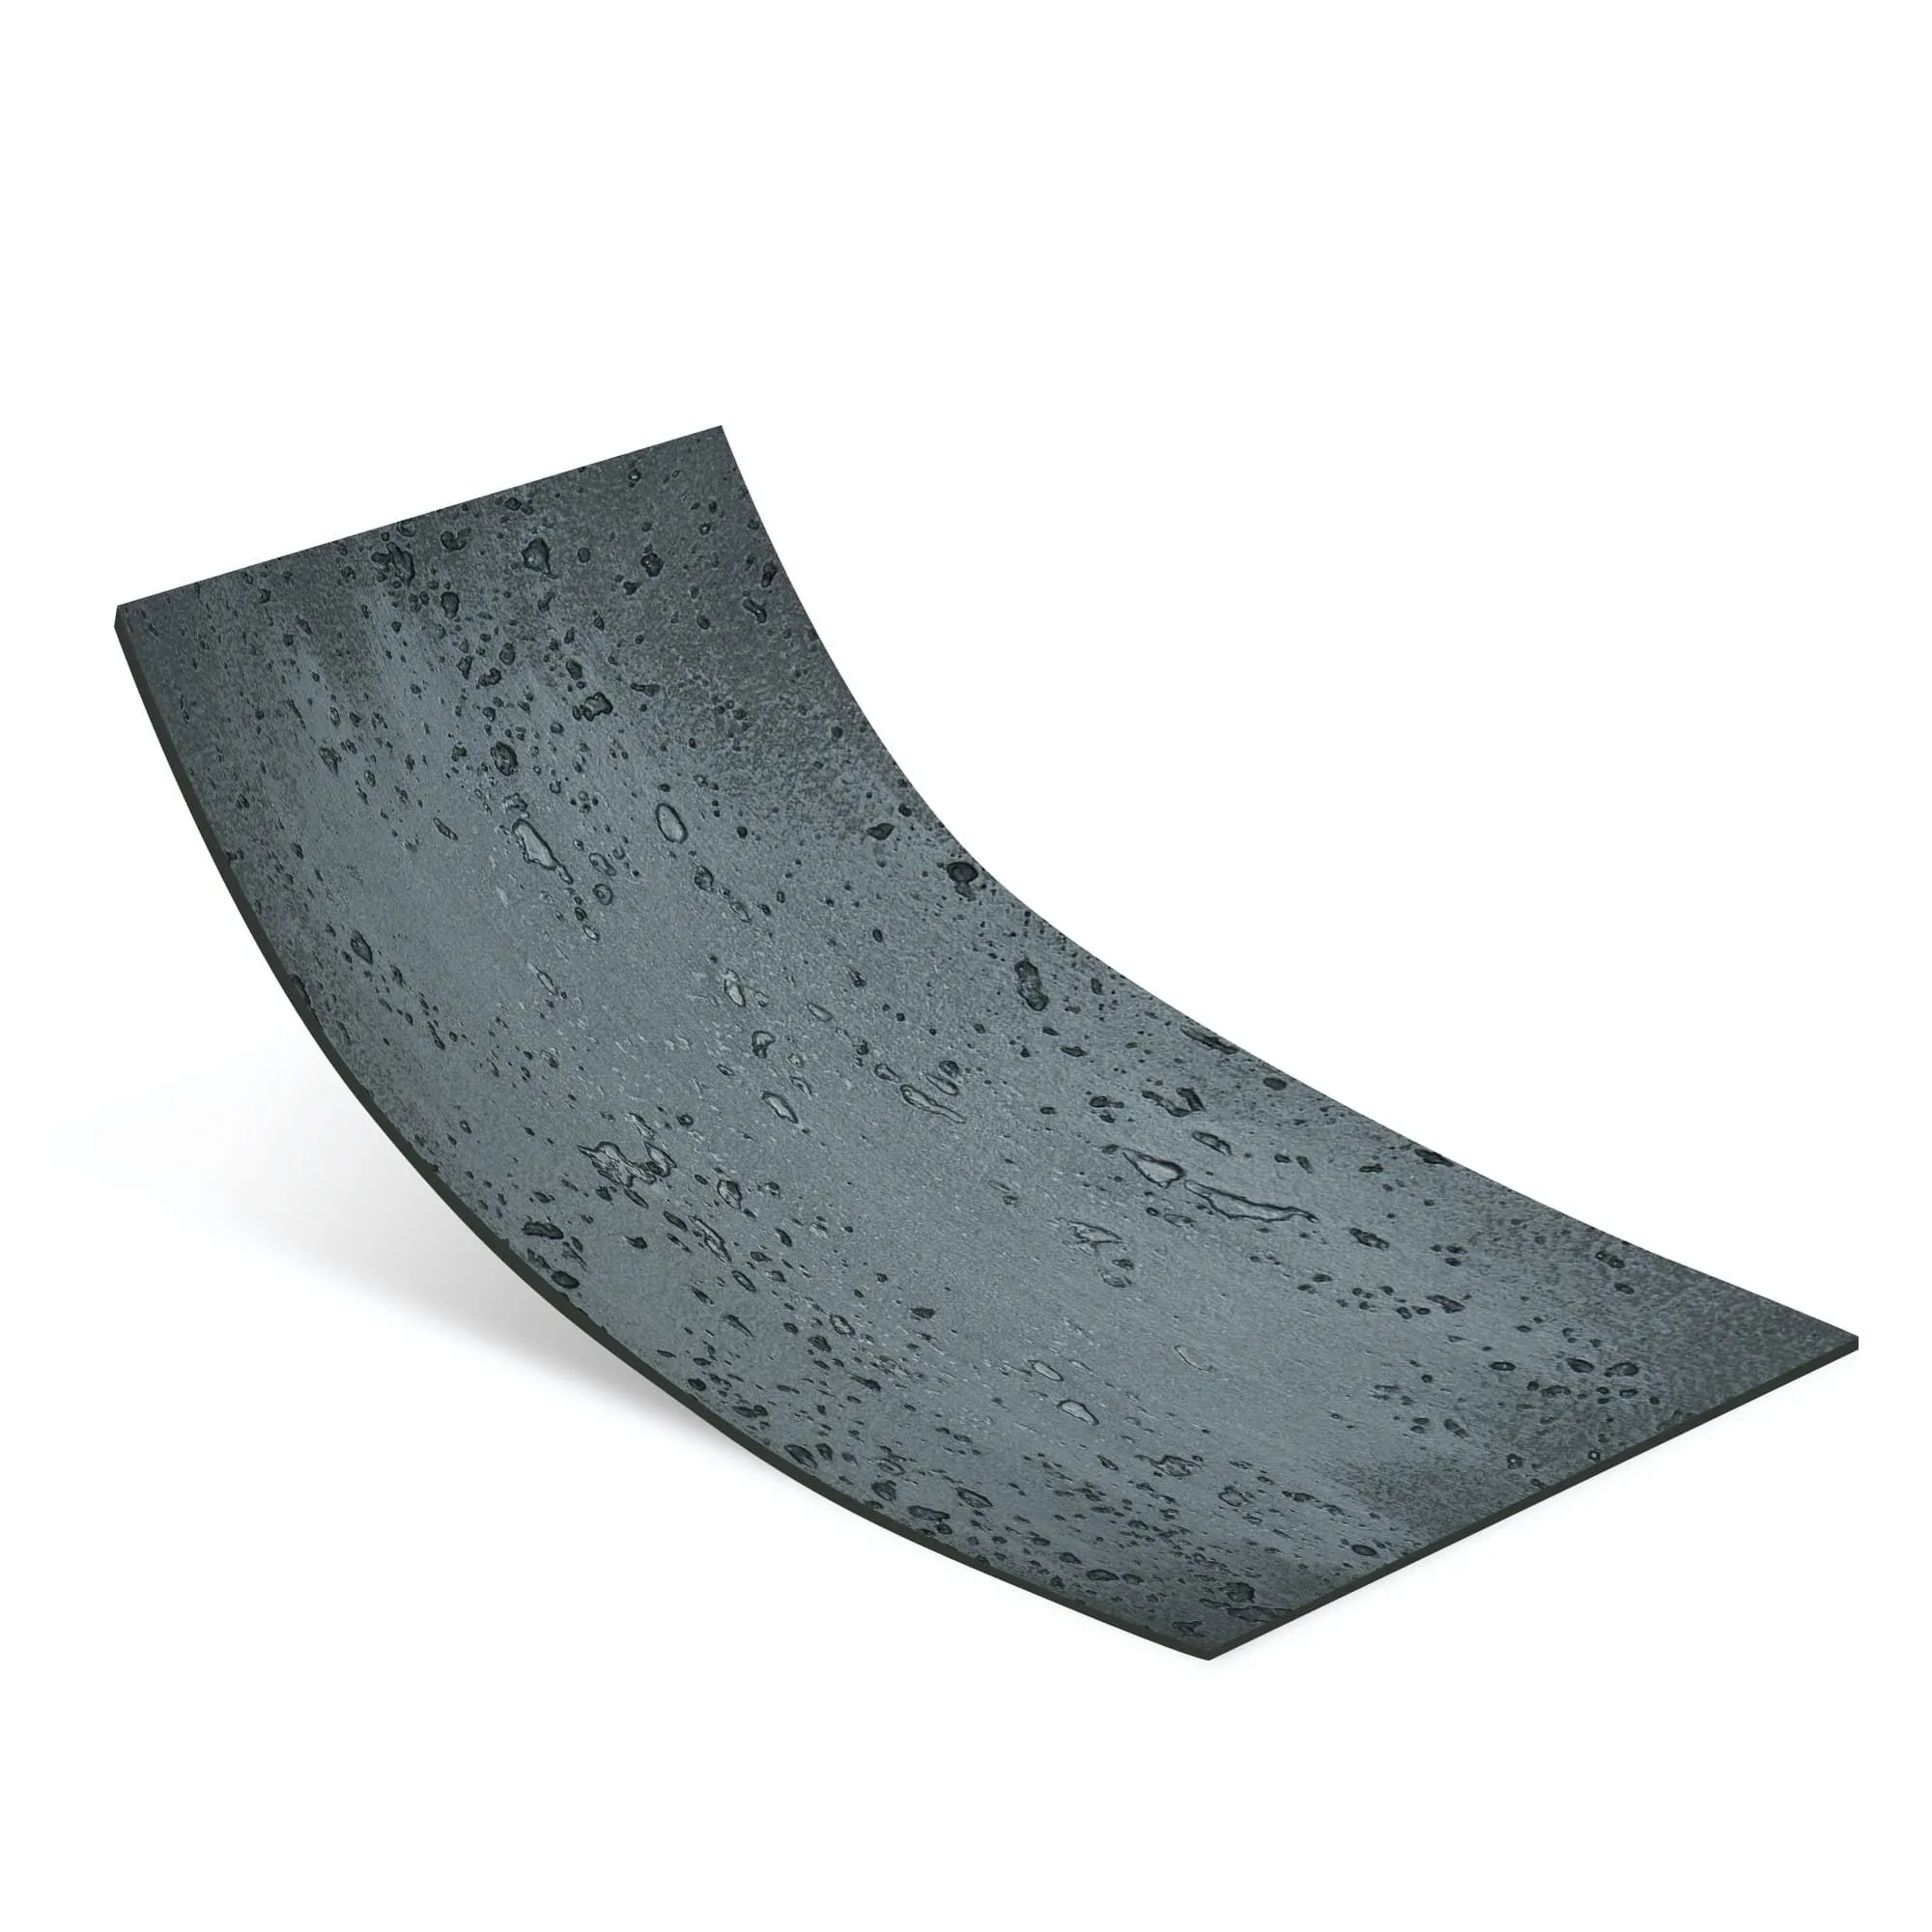
There's something about travertine (vintage silver) that feels like bringing a piece of history into your home. Its soft, silvery-gray tones with subtle veining and that signature vintage patina—like time itself has gently kissed its surface—adds warmth and character to floors, backsplashes, and accent walls. But if you've ever knelt down to admire its texture only to spot a tiny chip or a hairline crack, you know the pang: that beautiful, imperfect stone suddenly feels fragile. The good news? You don't have to live with those flaws, and you don't need to be a professional stonemason to fix them. Let's walk through how to restore your travertine (vintage silver) to its former glory, step by step.
First, let's talk about why this happens. Travertine is a natural stone, formed from mineral-rich over centuries, which means it's porous and slightly softer than, say, granite. Its vintage silver finish amplifies this charm—those tiny pits and subtle variations are part of what makes it unique—but they also make it prone to chips from dropped objects or cracks from uneven weight (like a heavy piece of furniture without padding). Unlike sleek, modern materials such as fair-faced concrete, which often prioritizes uniformity, travertine (vintage silver) wears its history on its sleeve. That's exactly why repairing it matters: those "flaws" aren't just damage—they're part of the story, and with a little care, you can keep that story going.
Before diving in, gather these supplies. Most are easy to find at home improvement stores, and you'll likely use them again for small touch-ups down the line:
| Tool/Material | Purpose | Pro Tip |
|---|---|---|
| Stone repair compound (travertine-specific) | Fills chips and small cracks | Look for "vintage silver" or "gray travertine" tinted options |
| Fine-grit sandpaper (220-400 grit) | Smooths the repaired area | Wet-sand for less dust |
| Soft, lint-free cloths | Cleans the area before/after repair | Microfiber works best |
| Travertine sealer (matte finish) | Protects the repair and original stone | Avoid glossy sealers—they'll dull the vintage look |
| Small putty knife or plastic scraper | Applies and shapes the repair compound | Flexible blades are gentler on the stone |
Pro tip: If you're working on a floor or high-traffic area, consider keeping a tube of repair compound handy—small chips can happen even with the best care, and tackling them early prevents bigger issues. And while we're focusing on travertine (vintage silver) here, many of these steps apply to similar porous stones, or even materials like mcm flexible stone, which blends modern durability with natural texture.
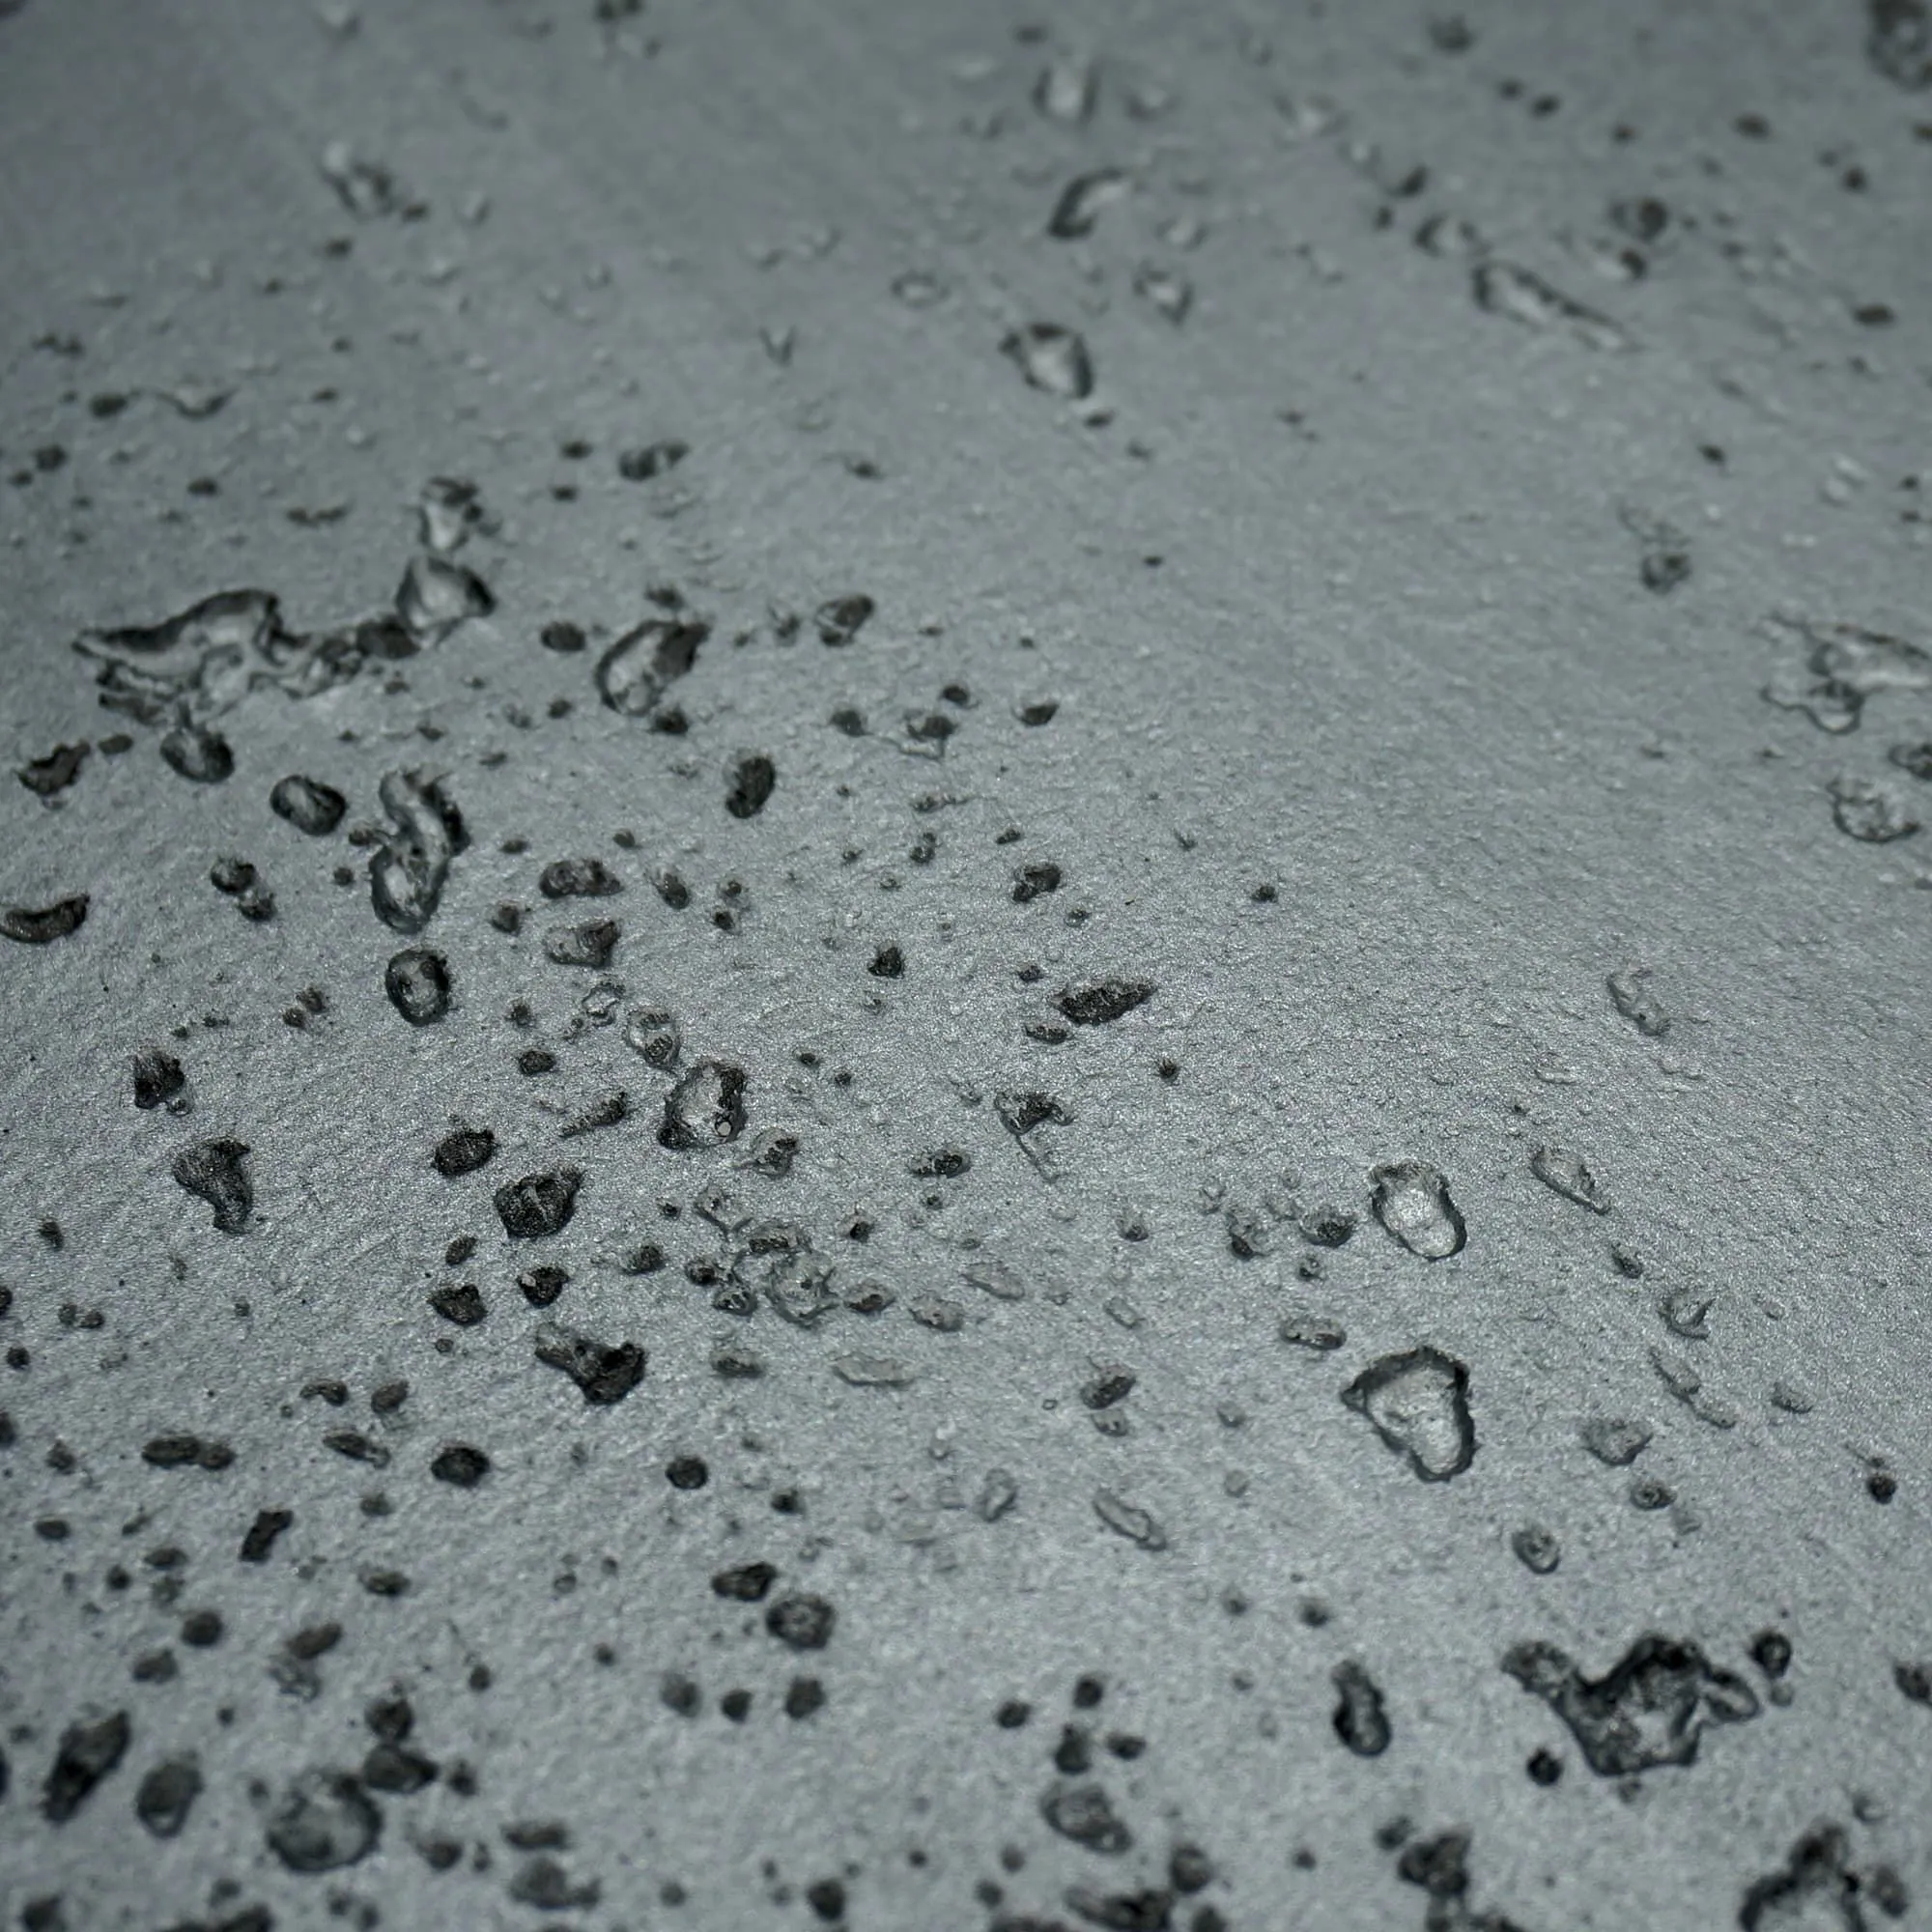
Chips are the most common issue—think a stray dinner plate, a heavy shoe, or a furniture leg that slipped. They're usually small (less than ½ inch across) but noticeable, especially in light-colored stone like vintage silver travertine. Here's how to make them disappear:
Start by wiping the area with a dry cloth to remove dust. Then, dampen a cloth with warm water and a drop of mild dish soap (avoid harsh cleaners—they can etch the stone) and gently rub the chip. Let it dry completely—travertine is porous, and moisture trapped under the repair compound will cause bubbling later. A hair dryer on low heat can speed this up, but keep it 6 inches away to avoid overheating.
Most pre-tinted travertine repair compounds come ready to use, but if yours is a two-part mix (resin + hardener) or needs tinting, follow the instructions closely. For vintage silver, aim for a light to medium gray with a hint of silver—too dark, and the repair will stand out. Test a tiny amount on a scrap piece of travertine (or even a paper plate) and let it dry to check the color match. If it's off, add a drop of gray or silver colorant (available at stone supply stores) and mix again.
Scoop a small amount of compound onto your putty knife—less is better than more. Press the compound into the chip, filling it slightly above the stone's surface (it will shrink as it dries). Use the edge of the knife to smooth the top, feathering it out to blend with the surrounding stone. If the chip has sharp edges, gently press the compound into them to round them out—this mimics travertine's naturally weathered texture.
Check the compound's curing time (usually 2-4 hours). Once dry, grab your 220-grit sandpaper and gently sand the repair in a circular motion, keeping the paper flat to avoid creating divots. Switch to 400-grit sandpaper for a smoother finish. Wipe away dust with a dry cloth—you should now have a repair that's flush with the stone. If it's still slightly proud, sand a little more; if it's too low, apply a second thin layer of compound and repeat.
Even the best repair needs protection. Apply a thin coat of travertine sealer (matte finish!) over the repaired area and the surrounding stone with a soft cloth. Let it sit for 5 minutes, then wipe away excess sealer—travertine absorbs it quickly, so don't leave it pooling. Let the sealer cure for 24 hours before allowing foot traffic or placing items on the surface.
Cracks are trickier than chips—they can be hairline (less than 1/16 inch wide) or slightly wider, and they often run along the stone's natural veins. The goal here is to stabilize the crack and hide it, not erase it entirely (a little character is part of vintage silver travertine's appeal, after all).
Use a soft-bristled toothbrush (old, clean one!) to brush out dust and debris from the crack. Then, dampen a cloth with warm water and mild soap, and gently scrub along the crack. For narrow cracks, you can use a syringe (without the needle) to squirt a little soapy water into the crack, then blot dry with a cloth. Let the area dry completely—again, moisture is the enemy here.
For hairline cracks, a travertine crack filler (a thin, liquid resin) works best. For wider cracks, use the same repair compound as for chips, but thin it slightly with a drop of water to make it easier to push into the crack. Some fillers come with a small applicator tip—perfect for precision.
For liquid filler: Slowly inject it into the crack, starting at one end and moving to the other. Let it seep in, and don't worry if it overflows a little—you can sand that off later. For compound: Press it into the crack with your putty knife, working it back and forth to ensure it fills the entire space. Smooth the surface, feathering the edges to blend with the stone.
Let the filler cure (check the label—some take 24 hours). Sand with 400-grit sandpaper, being extra gentle around the crack to avoid widening it. Wipe away dust, then apply sealer as you did with the chip repair. The crack might still be faintly visible, but it will be stable and far less noticeable—like a faint memory rather than an eyesore.

Repairs are great, but preventing damage is even better. Here are a few simple habits to keep your travertine (vintage silver) looking its best:
Here's a little secret: Your travertine (vintage silver) doesn't need to be perfect. Those tiny pits, subtle veining, and even the repaired chips are what give it personality. Think of it like a well-loved book—dog-eared pages and all, it tells a story. When you repair a chip or crack, you're not erasing that story; you're adding a new chapter: the chapter where you cared enough to fix it.
And if you ever feel overwhelmed, remember: There's no shame in calling a professional stone restorer, especially for large cracks or deep damage. But for those small, everyday flaws? You've got this. With a little patience, the right tools, and a gentle touch, you can keep your travertine (vintage silver) looking like it belongs in a timeless space—one that feels lived-in, loved, and utterly yours.
Here's to many more years of enjoying the quiet beauty of your travertine (vintage silver)—flaws, repairs, and all.
Recommend Products


