
There's something undeniably magnetic about travertine (vintage silver) . Its soft, weathered sheen—like moonlight on ancient stone—blends the warmth of natural texture with a modern, understated elegance that's equally at home in a sleek urban loft or a rustic countryside villa. Architects and homeowners alike gravitate to it for its ability to turn ordinary walls into stories: tales of timelessness, craftsmanship, and quiet luxury. But here's the thing about working with beauty this distinctive: getting it from the quarry to your wall, flawlessly installed, isn't always a straightforward journey. In fact, many contractors and DIY enthusiasts will tell you that beneath its stunning surface, travertine (vintage silver) hides a set of installation challenges that demand patience, precision, and a little know-how. Let's pull back the curtain on what makes installing this stone so tricky—and how to overcome those hurdles to bring your vision to life.
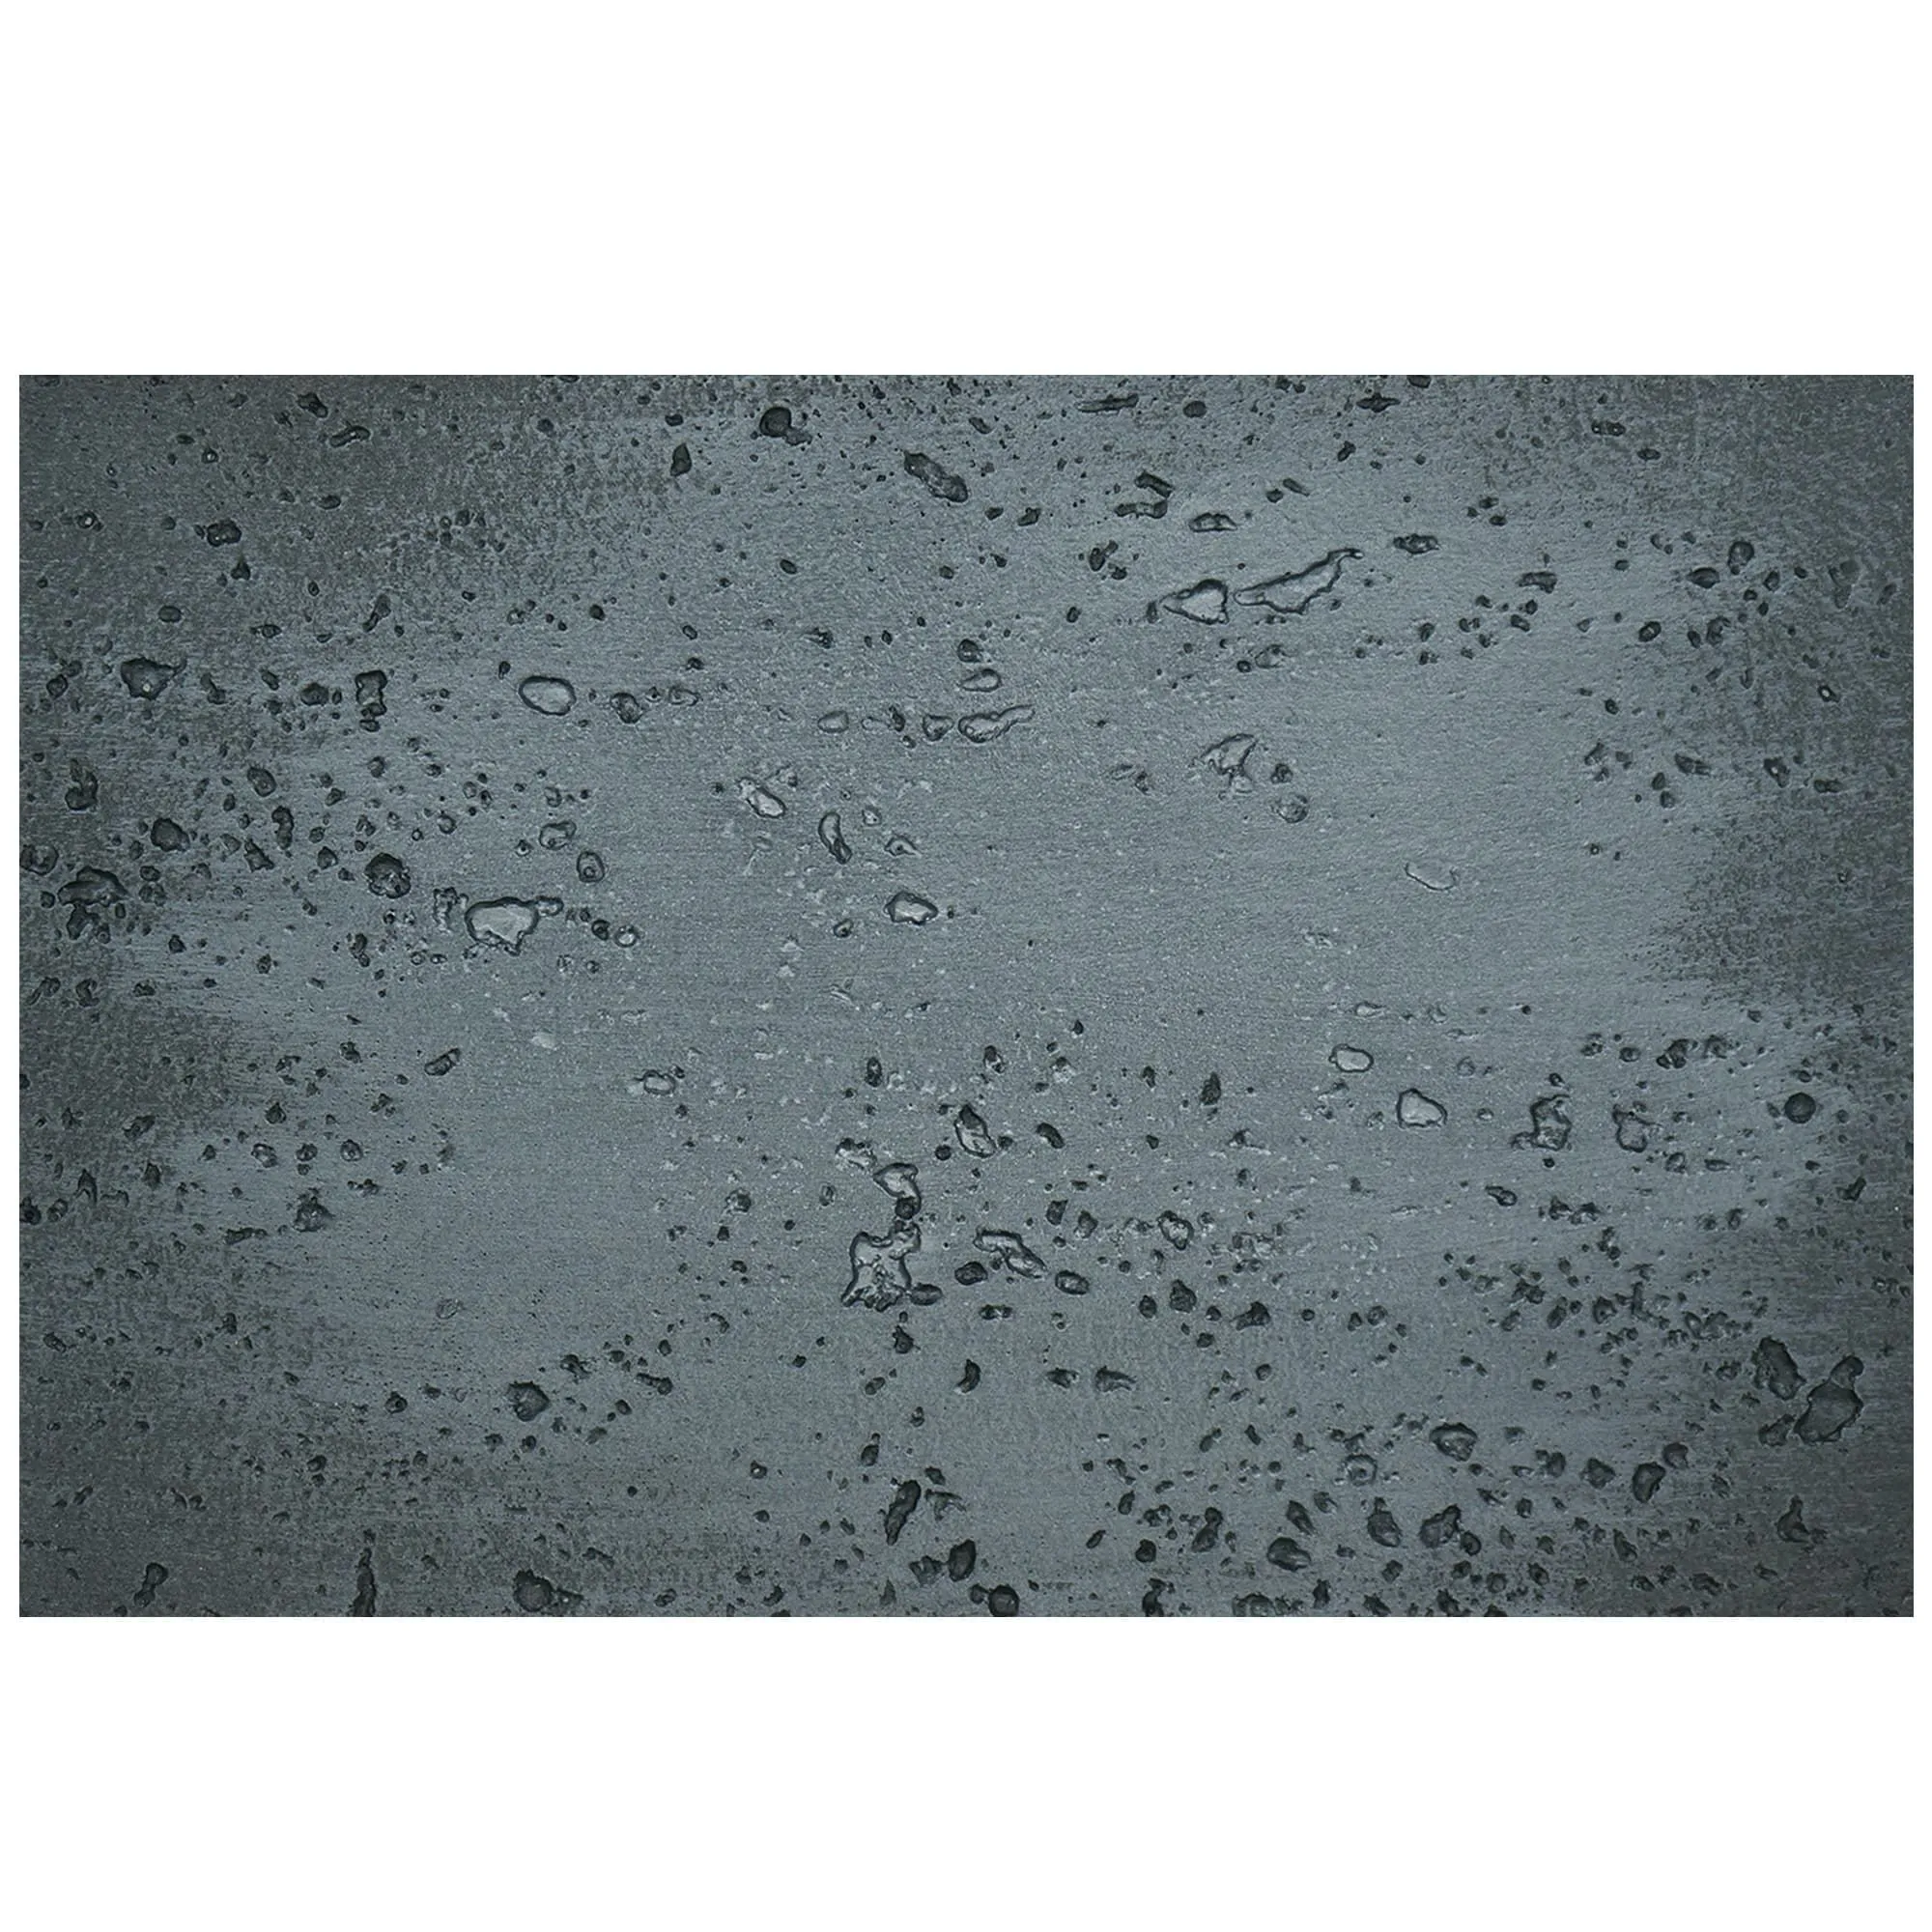
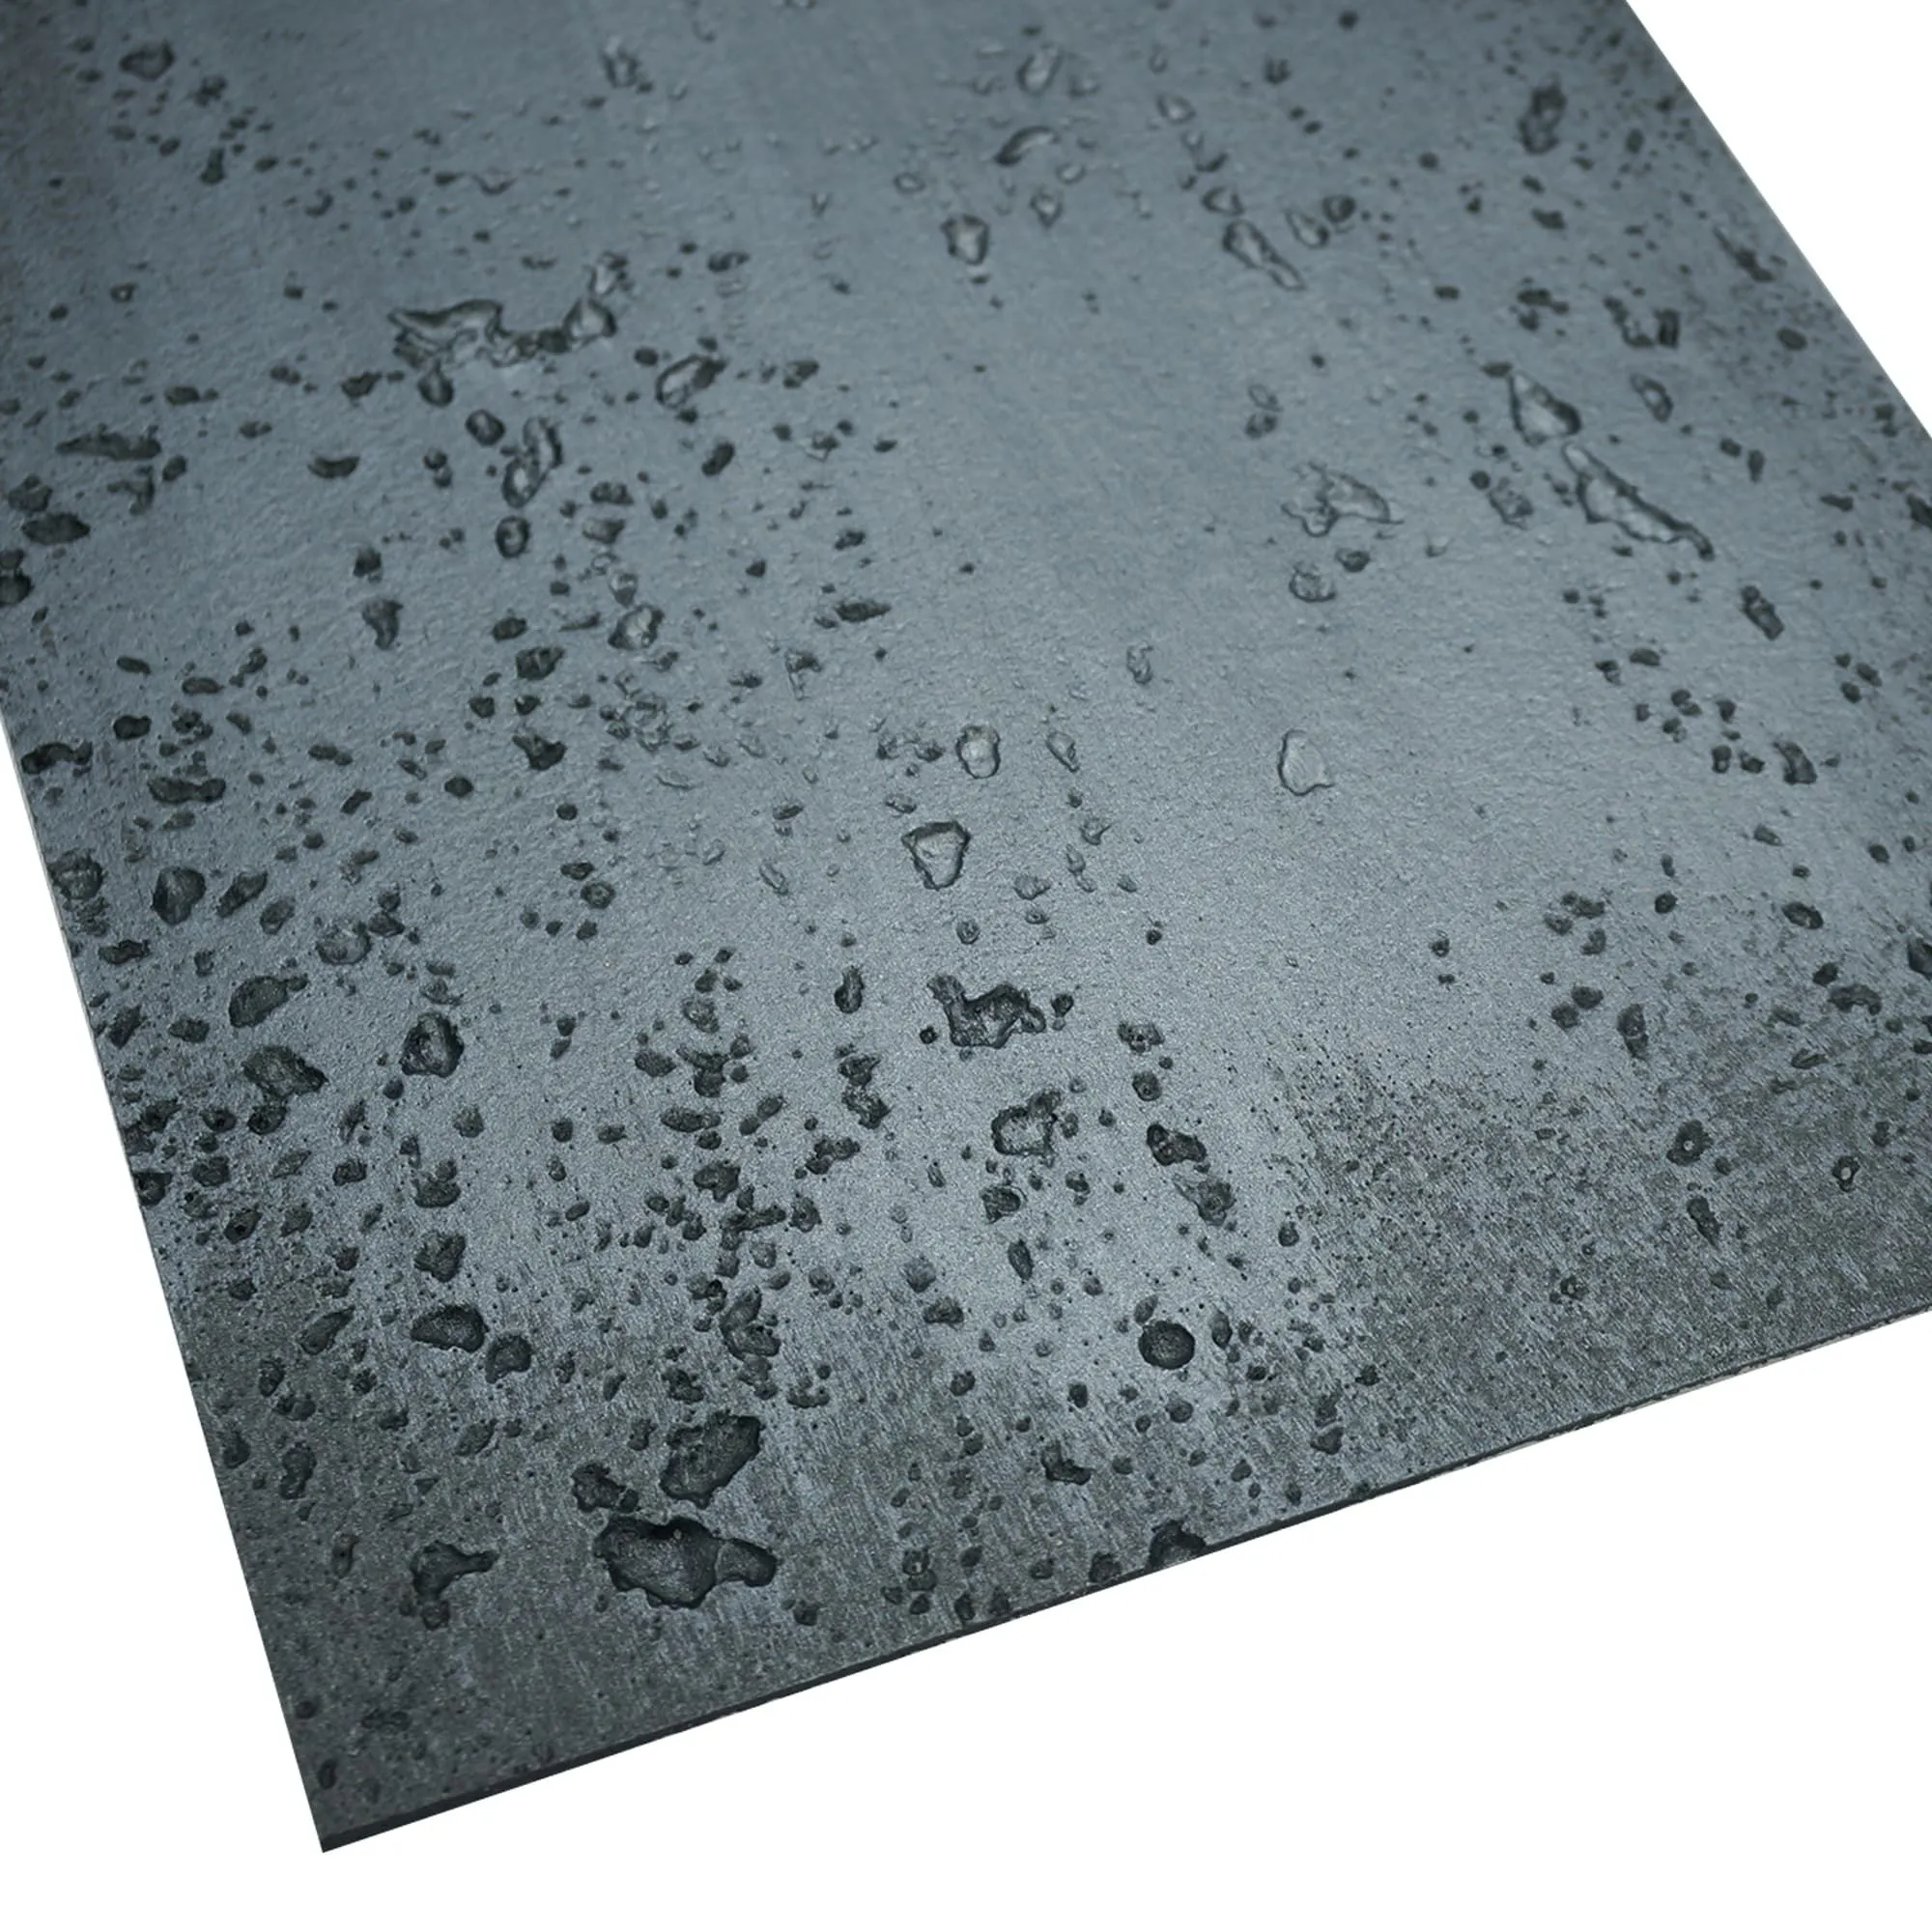
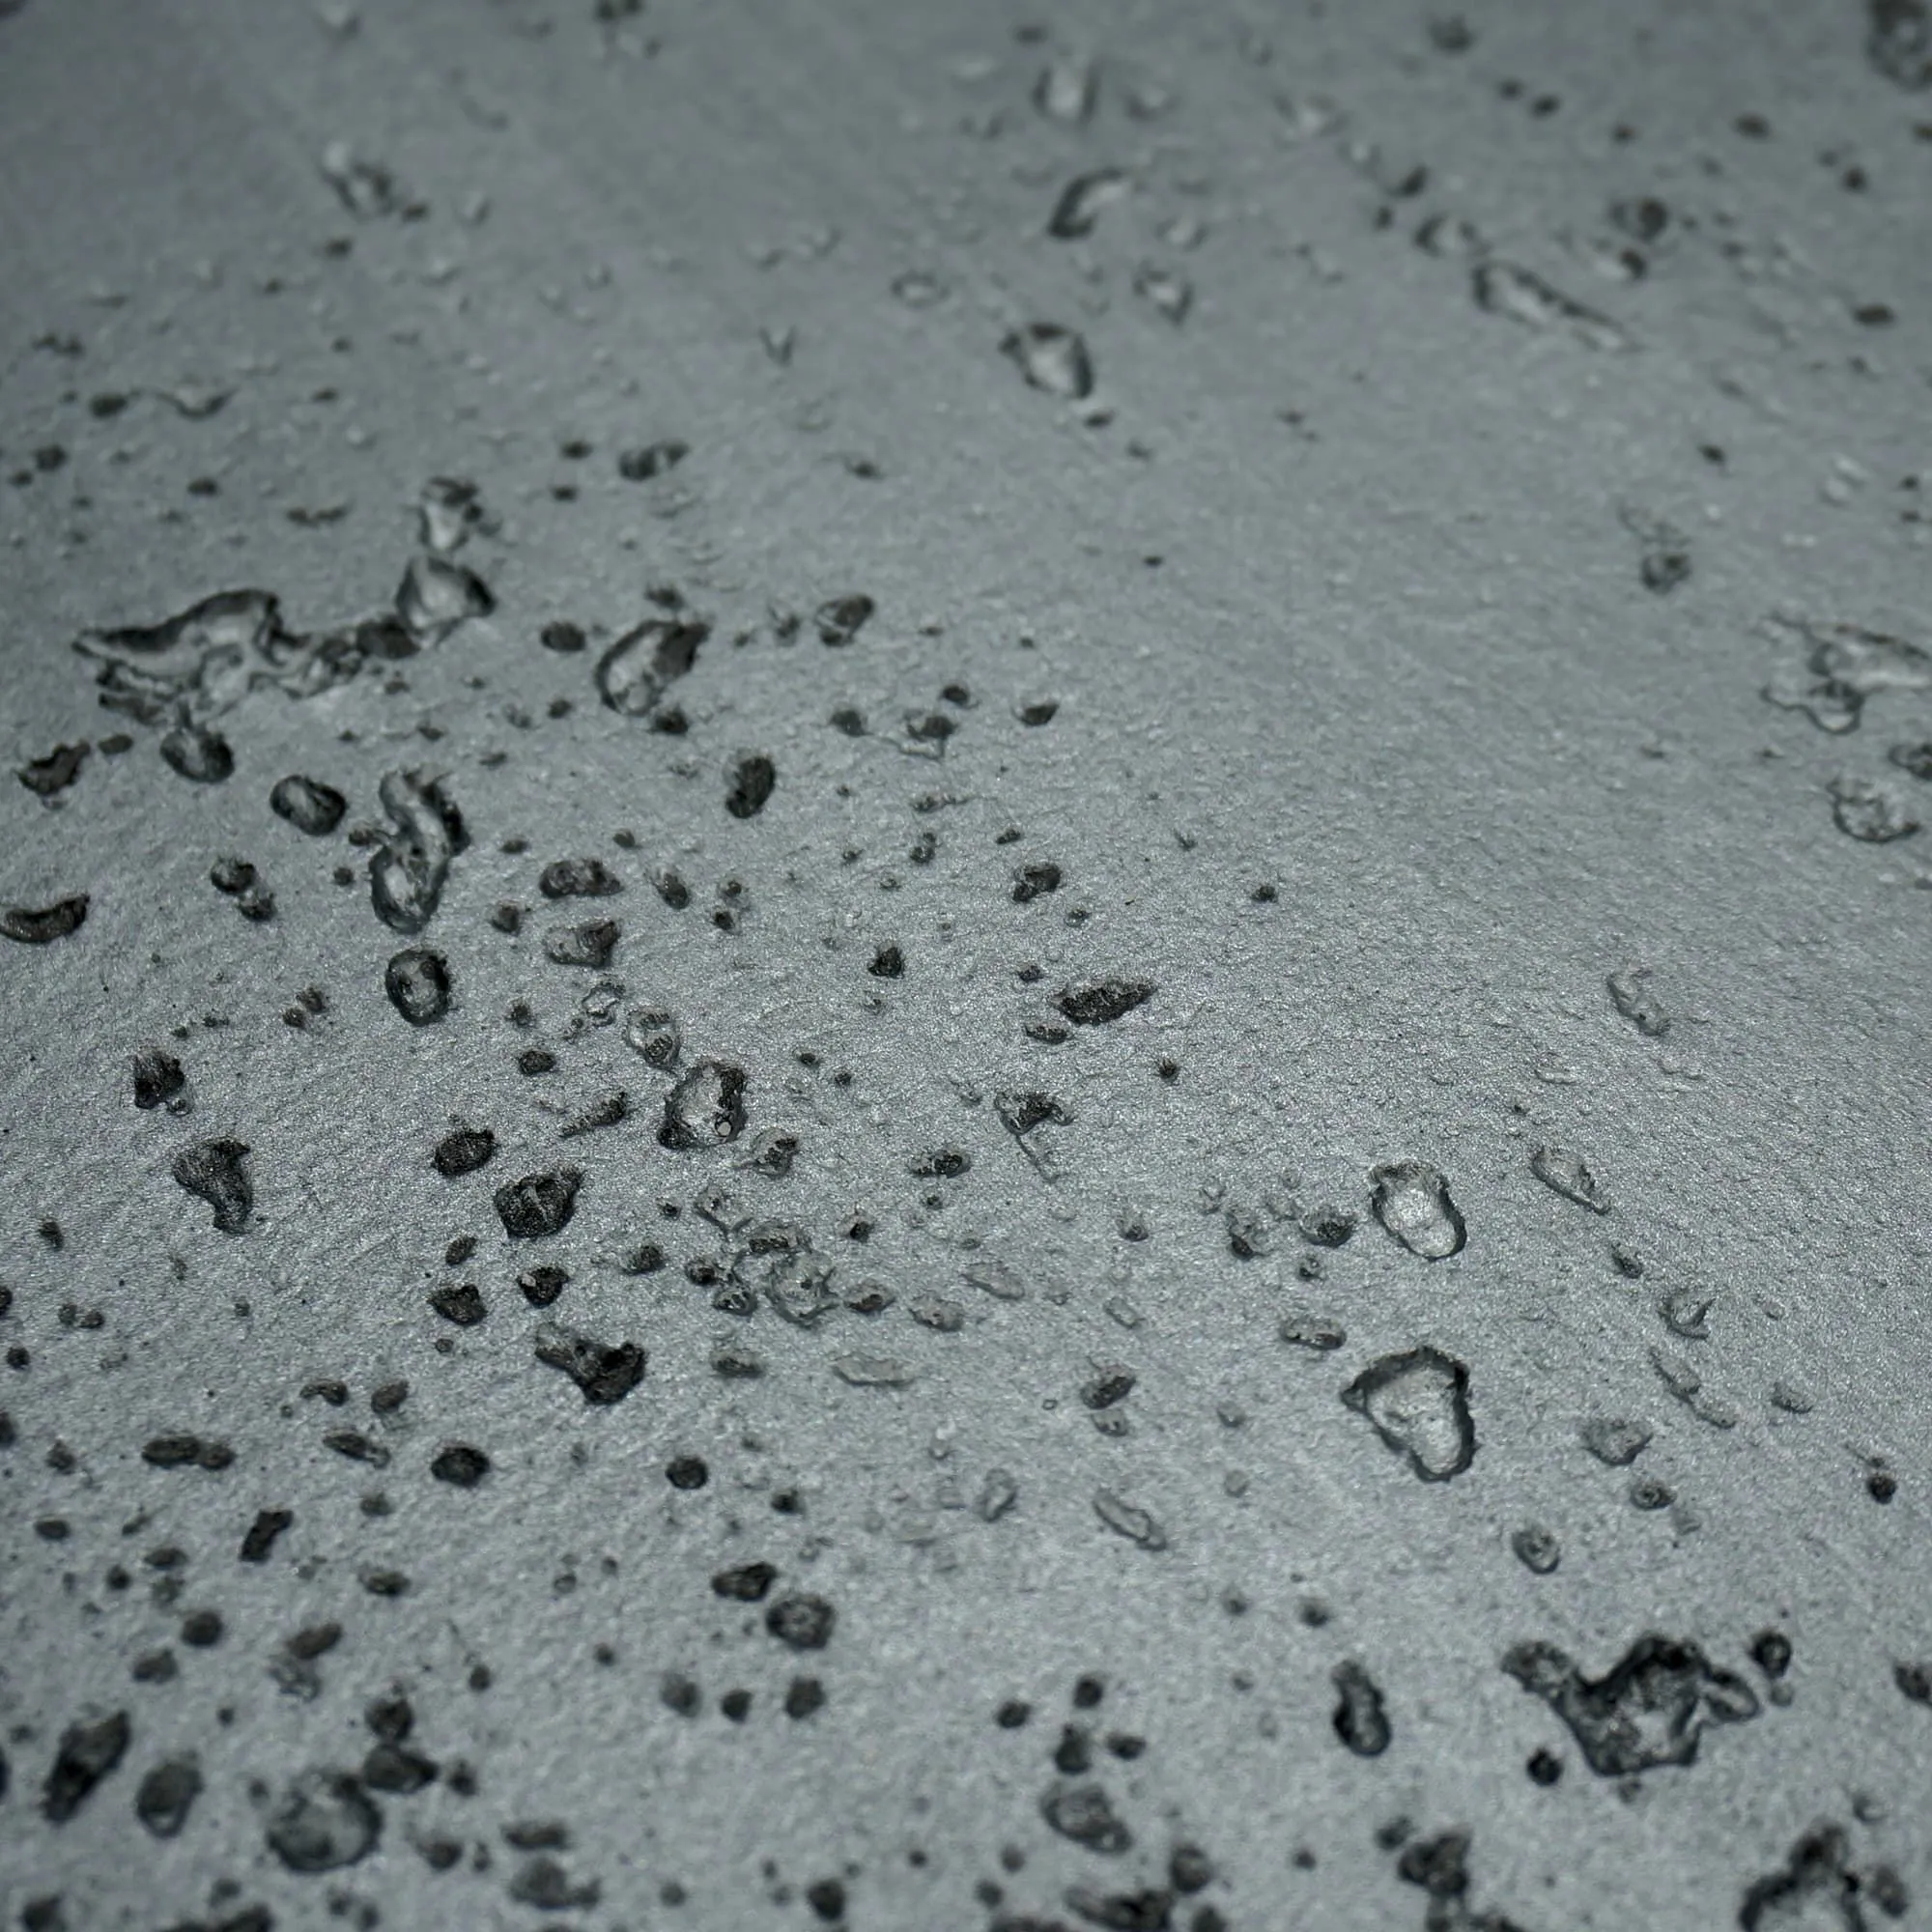
Before we dive into the nitty-gritty of installation, let's take a moment to appreciate why this material has become a darling of designers. Unlike polished marble or glossy granite, travertine (vintage silver) wears its character on its sleeve. Its surface is dotted with tiny, natural pits (a signature of travertine) that catch light in subtle ways, creating depth without overwhelming a space. The "vintage silver" finish softens the stone's natural earthiness, adding a cool, silvery-gray undertone that pairs beautifully with warm woods, crisp whites, or bold accent colors like navy or emerald. It's versatile, too—use it as a feature wall in a living room, a backsplash in a kitchen, or even as exterior cladding to add curb appeal. And because it's a natural stone, no two slabs are exactly alike; your wall won't just be a surface—it'll be a one-of-a-kind piece of art.
But here's where the excitement can hit a snag: natural stone, by its very nature, is unpredictable. And travertine (vintage silver) , with its delicate finish and porous structure, throws in a few extra curveballs during installation. Let's break down the biggest challenges you might face—and how to tackle them head-on.
Natural travertine isn't light. Even thinner slabs (typically 12-20mm for wall cladding) can weigh 15-20 kg per square meter. Multiply that by the size of your project—a 10m² accent wall, for example—and you're looking at 150-200 kg of stone hanging on your wall. That's a lot of weight for a standard drywall or even a brick substrate to bear, especially over time. Ignore this, and you risk cracks, bulging, or worse: the stone pulling away from the wall entirely. What makes this trickier with travertine (vintage silver) specifically? Its vintage finish often means slabs are slightly irregular in thickness, adding uneven stress points to the installation.
Ever tried cutting a piece of toast with a dull knife? You end up with crumbs everywhere, and half the toast is squashed. Cutting travertine (vintage silver) is a bit like that—only with higher stakes. The stone's soft, porous structure and delicate silver finish make it prone to chipping, cracking, or losing that signature "vintage" patina if cut improperly. A jagged edge or a nick in the finish can ruin the slab's appearance, turning a $100 piece of stone into waste. And since each slab is unique, replacing a damaged one isn't as simple as grabbing another from the stack—you might end up with a mismatch in color or texture that sticks out like a sore thumb.
Imagine trying to stick a poster to a wall covered in dust, grease, and bumps—it'll peel off in a week. The same logic applies to travertine (vintage silver) : if your substrate (the wall or backing you're attaching the stone to) isn't prepped properly, even the best mortar won't keep the stone in place. Travertine is porous, which means it absorbs moisture and adhesives unevenly. If the wall is uneven, the stone will sit crookedly, creating gaps or pressure points that lead to cracks. If there's dust or oil on the surface, the mortar won't bond. And if the substrate is too "bouncy" (like a hollow concrete block wall without reinforcement), the stone might shift over time, especially in high-traffic areas.
Travertine is a sedimentary stone, formed from mineral-rich over thousands of years. That porous structure that gives it character? It's also its Achilles' heel when it comes to stains and weather. Spill a glass of red wine on an unsealed travertine (vintage silver) wall, and you'll likely have a permanent reminder of the accident. Outdoors, rain, snow, and even humidity can seep into the stone, causing discoloration, efflorescence (white, powdery deposits from mineral leaching), or mold. The vintage silver finish, while durable, isn't immune to fading from UV rays, either—leave it unprotected in direct sunlight, and that silvery glow might dull to a flat gray over time.
Okay, so installing travertine (vintage silver) has its hurdles—but none of them are insurmountable. With the right tools, techniques, and a little foresight, you can avoid the common pitfalls and ensure your wall looks stunning for decades. Let's walk through the fixes, step by step.
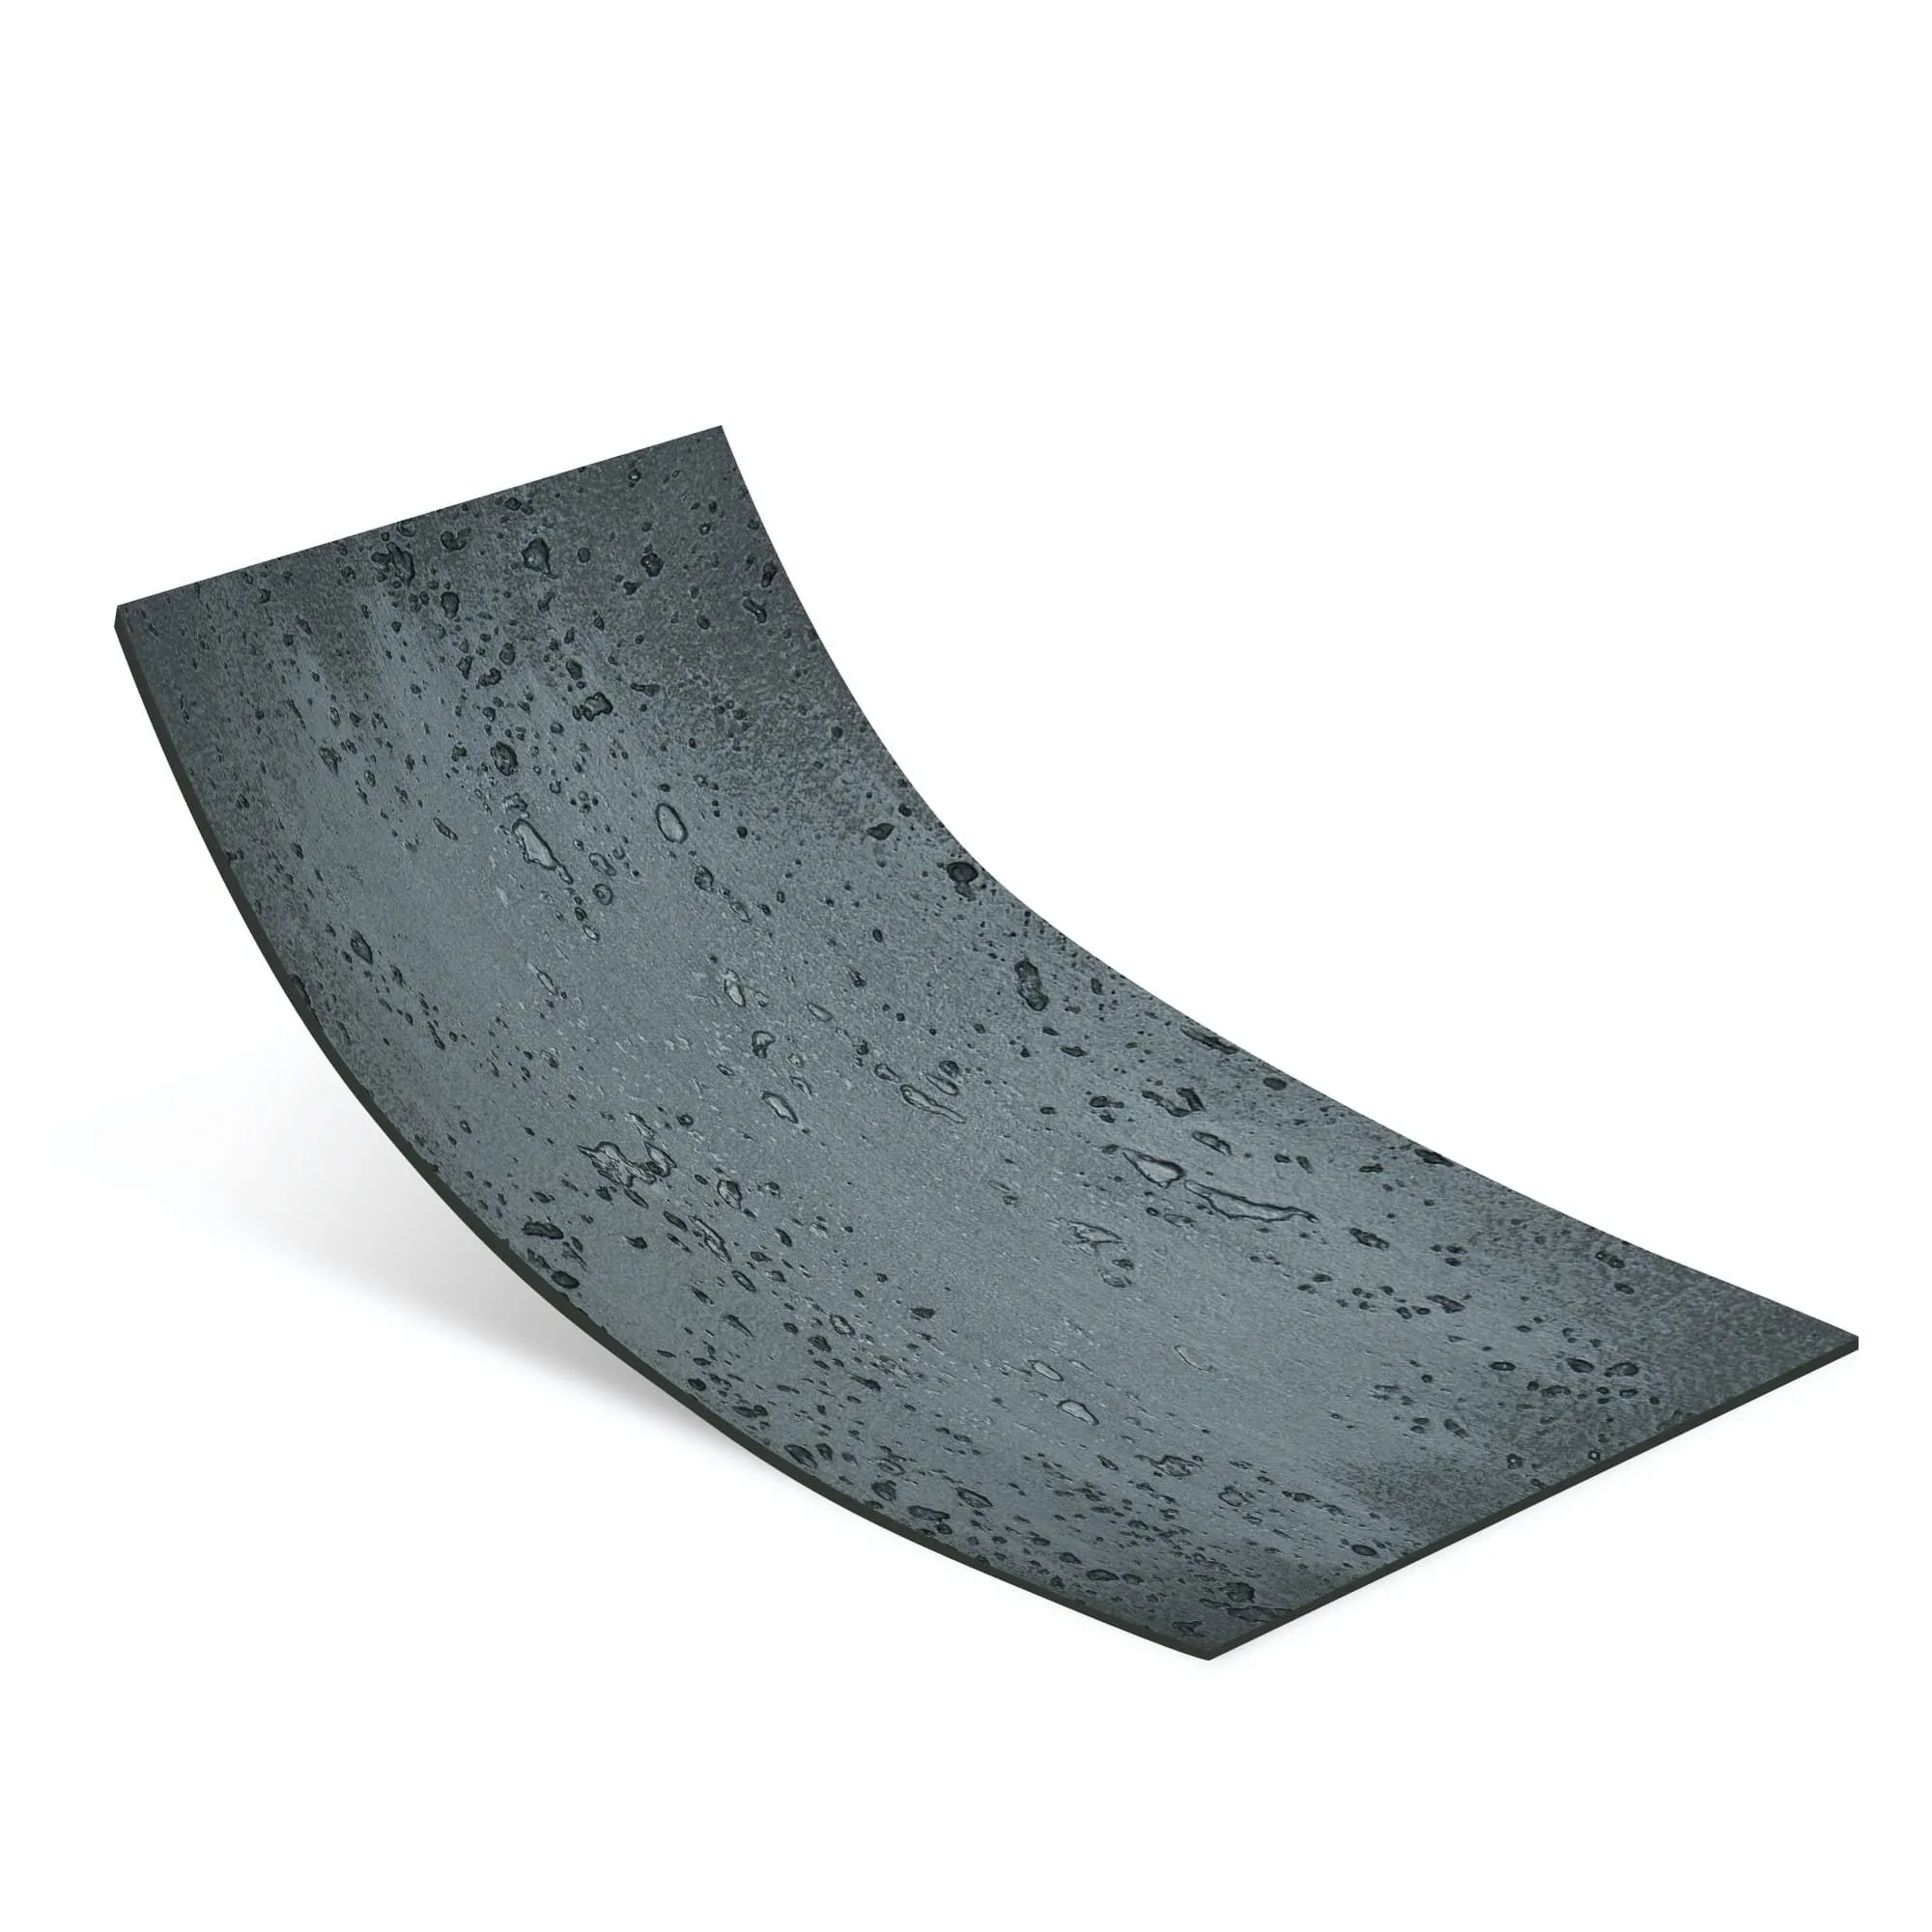
If your substrate can't handle the weight of full-thickness travertine, don't despair—you have options. One popular workaround is to use MCM flexible stone as an alternative. MCM (Modified Composite Material) flexible stone mimics the look of natural travertine but weighs a fraction of the real thing (often 3-5 kg per square meter instead of 15-20 kg). It's thin, bendable, and easy to install on walls that can't support heavy stone. But if you're set on the real deal, reinforce the substrate: For drywall, add a layer of cement backer board (like HardieBacker) secured with screws and thinset mortar. For brick or block walls, fill hollow cores with grout or attach metal lath to create a rough surface for the mortar to grip. And always consult a structural engineer if you're unsure—better safe than sorry when it comes to 200 kg of stone!
Chipping and cracking during cutting are avoidable with the right equipment. Skip the cheap carbide blades—opt for a diamond-tipped wet saw instead. The water from the saw cools the stone as you cut, reducing friction and preventing overheating (which can damage the finish). When cutting, go slow: a steady, gentle feed rate minimizes stress on the stone. For intricate cuts (like around outlets or corners), use a diamond-tipped angle grinder with a continuous-rim blade, and practice on a scrap slab first. And always wear eye protection and a dust mask—stone dust isn't something you want in your lungs!
Surface preparation is non-negotiable. Start by cleaning the wall thoroughly: use a wire brush to remove dust, then wipe with a damp cloth and let it dry. Next, check for levelness with a 4-foot spirit level. Fill any holes or cracks with a high-quality patching compound, and sand down bumps until the surface is smooth but not glossy (a little texture helps mortar bond). If the wall is painted, sand it to rough up the surface, or use a primer designed for masonry to improve adhesion. For extra insurance, apply a bonding agent (like a latex-modified primer) to the substrate—it acts like a "glue" between the wall and the mortar, ensuring a strong hold even with porous stone like travertine.
Protecting your travertine (vintage silver) starts before the first slab is even installed. After cutting and before installing, apply a penetrating sealer to the back of each slab—this prevents the mortar from staining the stone from the inside out (a common issue with porous materials). Once the stone is on the wall and the mortar has cured (usually 24-48 hours), seal the front and sides with a high-quality, water-based sealer designed for natural stone. Look for one labeled "impregnating" or "penetrating"—these soak into the stone rather than sitting on top, preserving the natural texture while blocking stains. For outdoor installations, add a topcoat of UV-resistant sealer every 1-2 years to keep that silver finish from fading. And remember: the key is to seal when the stone is clean and dry—never seal over dirt or moisture, as it will trap them inside.
Curious how travertine (vintage silver) compares to similar materials? Let's take a quick look at two popular alternatives: lunar peak silvery (a synthetic stone with a metallic sheen) and boulder slab (vintage silver) (a thicker, more rugged natural stone). This table breaks down their installation challenges and ease of use:
| Material | Weight (kg/m²) | Cutting Difficulty | Adhesion Needs | Weather Resistance | Best For |
|---|---|---|---|---|---|
| Travertine (Vintage Silver) | 15-20 | High (delicate finish, prone to chipping) | Requires bonding agent, level substrate | Good with sealing; needs UV protection | Indoor feature walls, low-traffic exteriors |
| Lunar Peak Silvery | 8-12 | Medium (synthetic, less porous) | Standard mortar, minimal prep | Excellent (resistant to UV, moisture) | High-traffic areas, outdoor walls |
| Boulder Slab (Vintage Silver) | 25-30 | Very High (thick, dense stone) | Requires structural reinforcement | Excellent (natural density resists weather) | Statement walls, commercial buildings |
As you can see, travertine (vintage silver) sits in the middle—more demanding than synthetic options like lunar peak silvery but more manageable than ultra-thick boulder slab (vintage silver) . Its unique character, though, often makes the extra effort worthwhile.
Installing travertine (vintage silver) isn't for the faint of heart. It requires planning, precision, and a willingness to slow down and get the details right. But for those who take the time to prep properly, choose the right tools, and protect the stone, the reward is immeasurable: a wall that doesn't just look beautiful, but feels alive—like a piece of history, polished by time, and tailored to your space. Whether you're a seasoned contractor or a DIY enthusiast, remember this: every challenge you overcome during installation is a story your stone will tell for years to come. And isn't that the point of using a material as special as travertine (vintage silver) ? To create something that lasts—both in structure and in memory.
Recommend Products


