

So, you've fallen for the unique charm of wave panels, huh? Those gently undulating lines that add texture and life to any wall—whether it's your home's living room accent wall or a commercial space looking to make a statement. But here's the thing: picking the perfect wave panel is just the first step. The real magic (and maybe a little sweat) happens when you install it. Don't worry, though—whether you're a weekend DIY warrior with a toolbox full of basics or a pro contractor handling big projects, this guide will walk you through the process like we're chatting over a cup of coffee. Let's turn that flat, boring wall into something that makes people go "Wow, how'd you do that?"
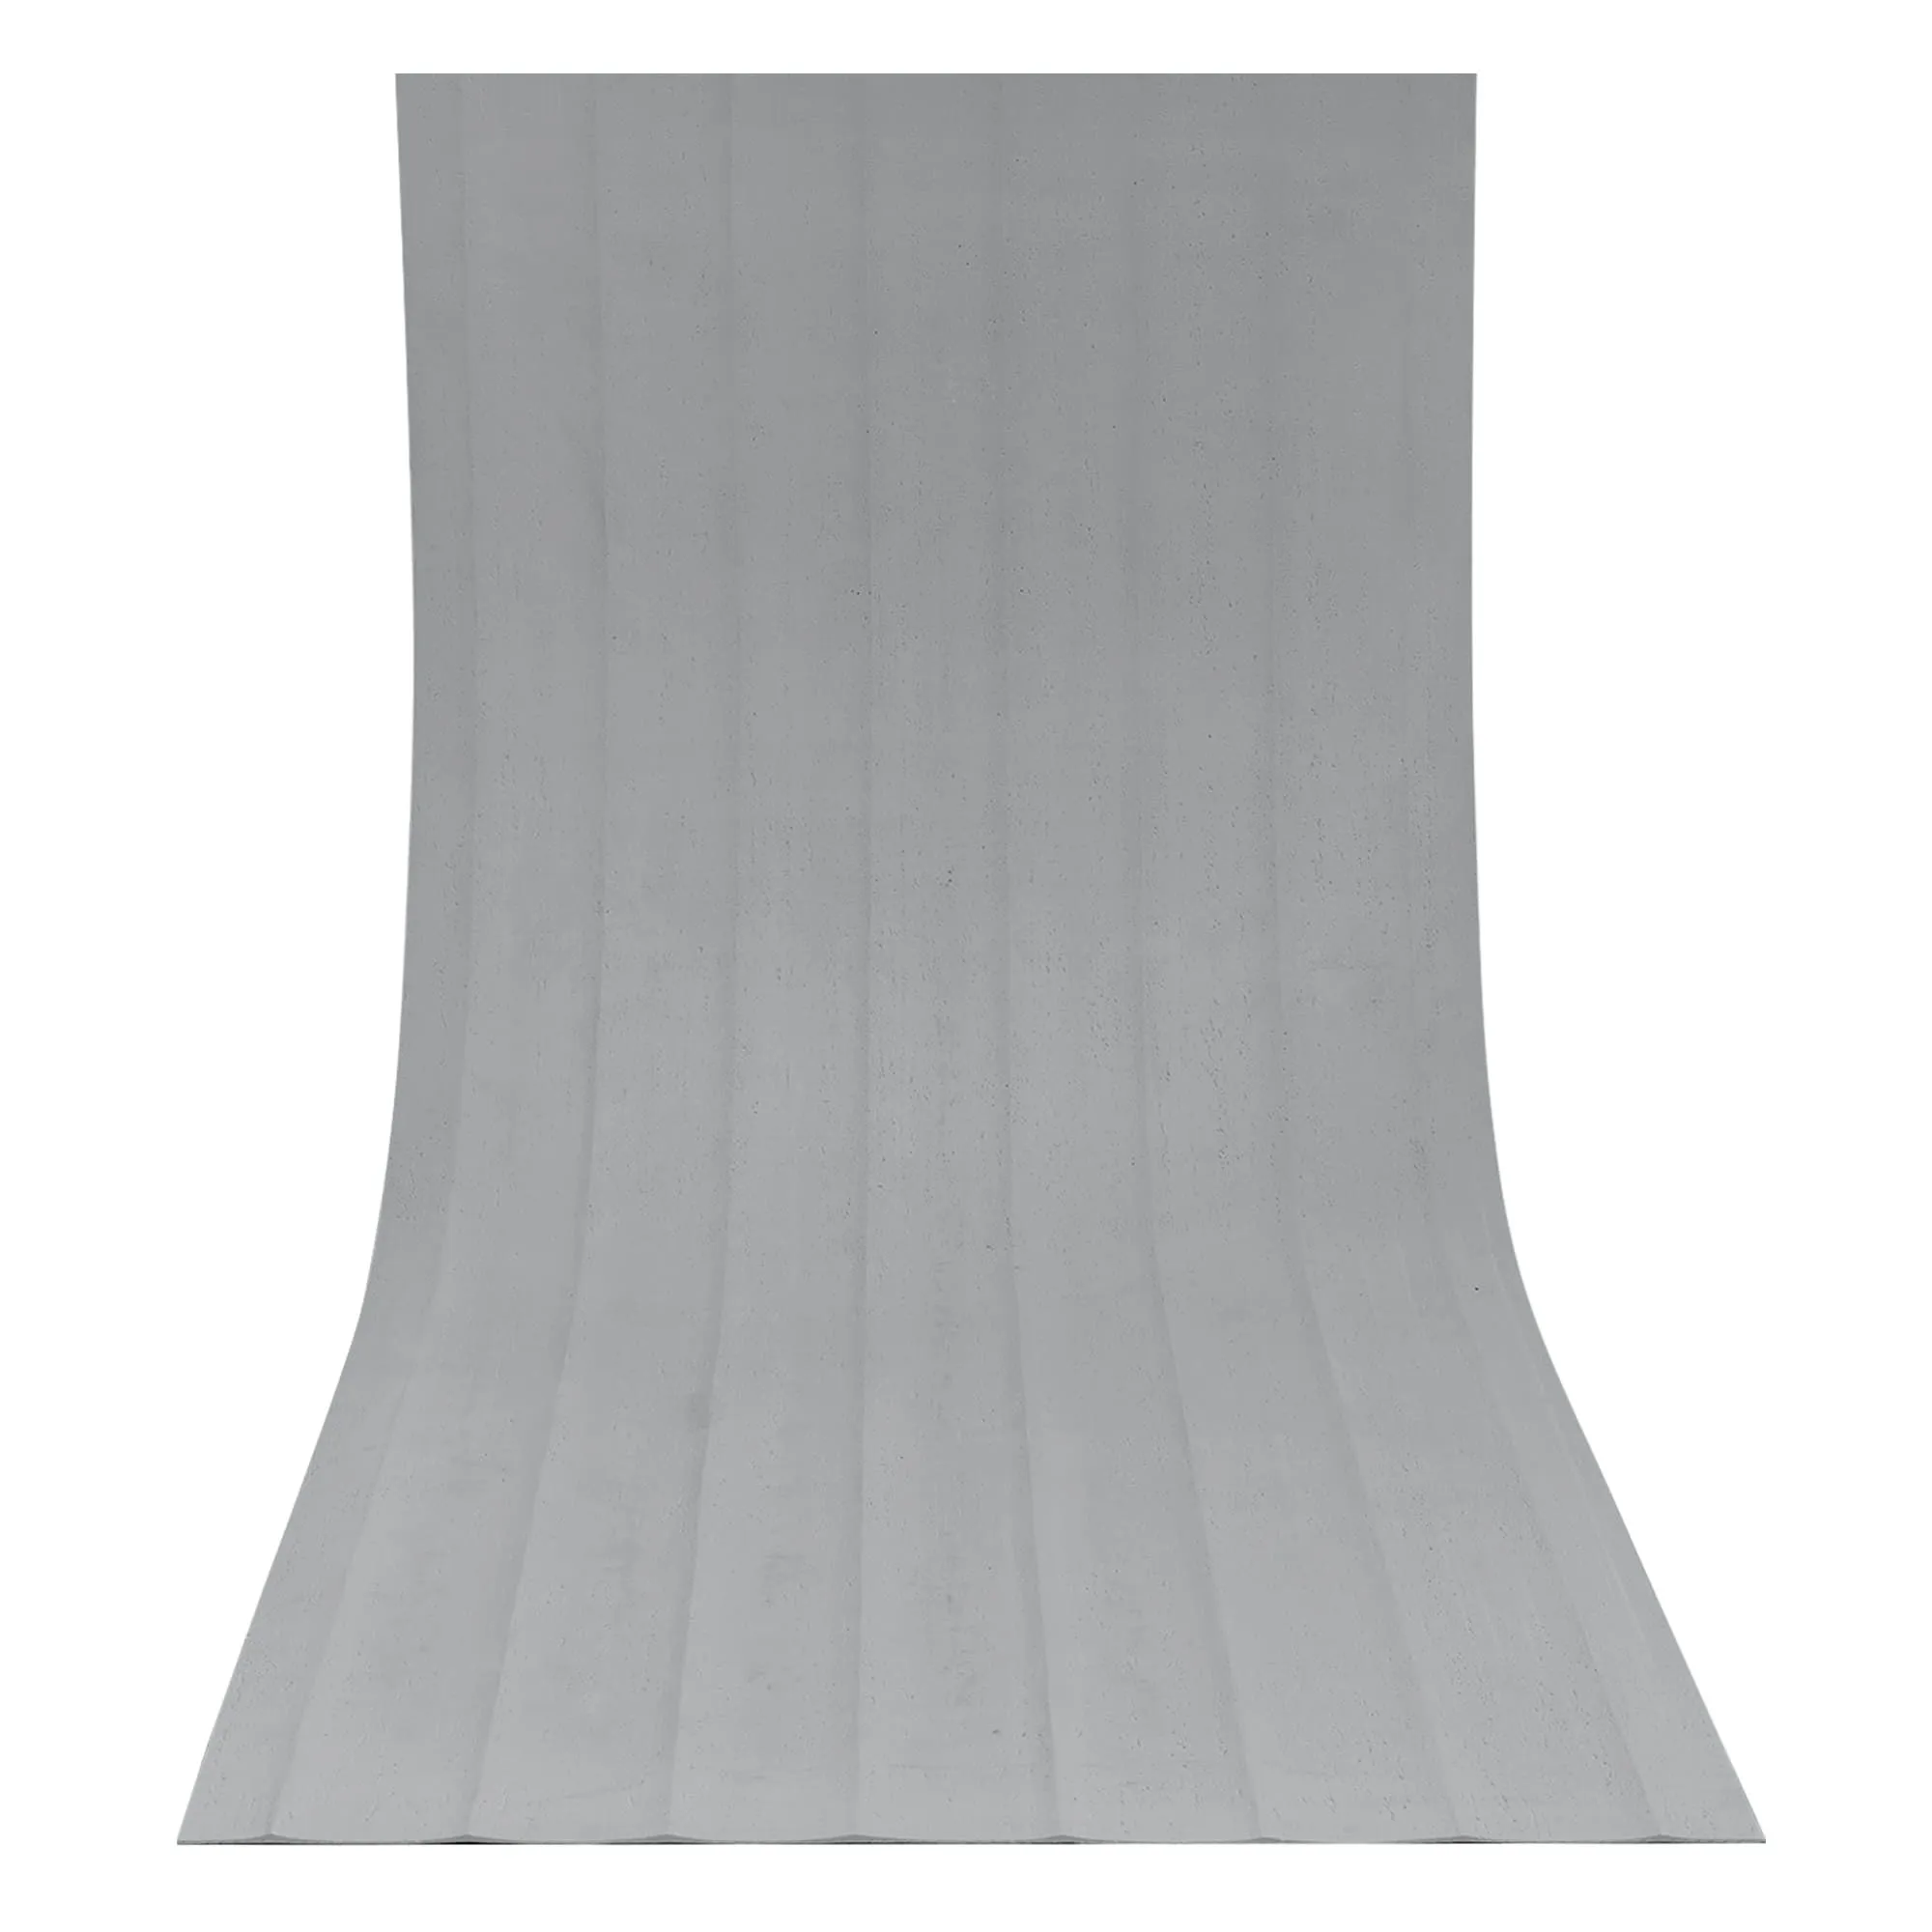
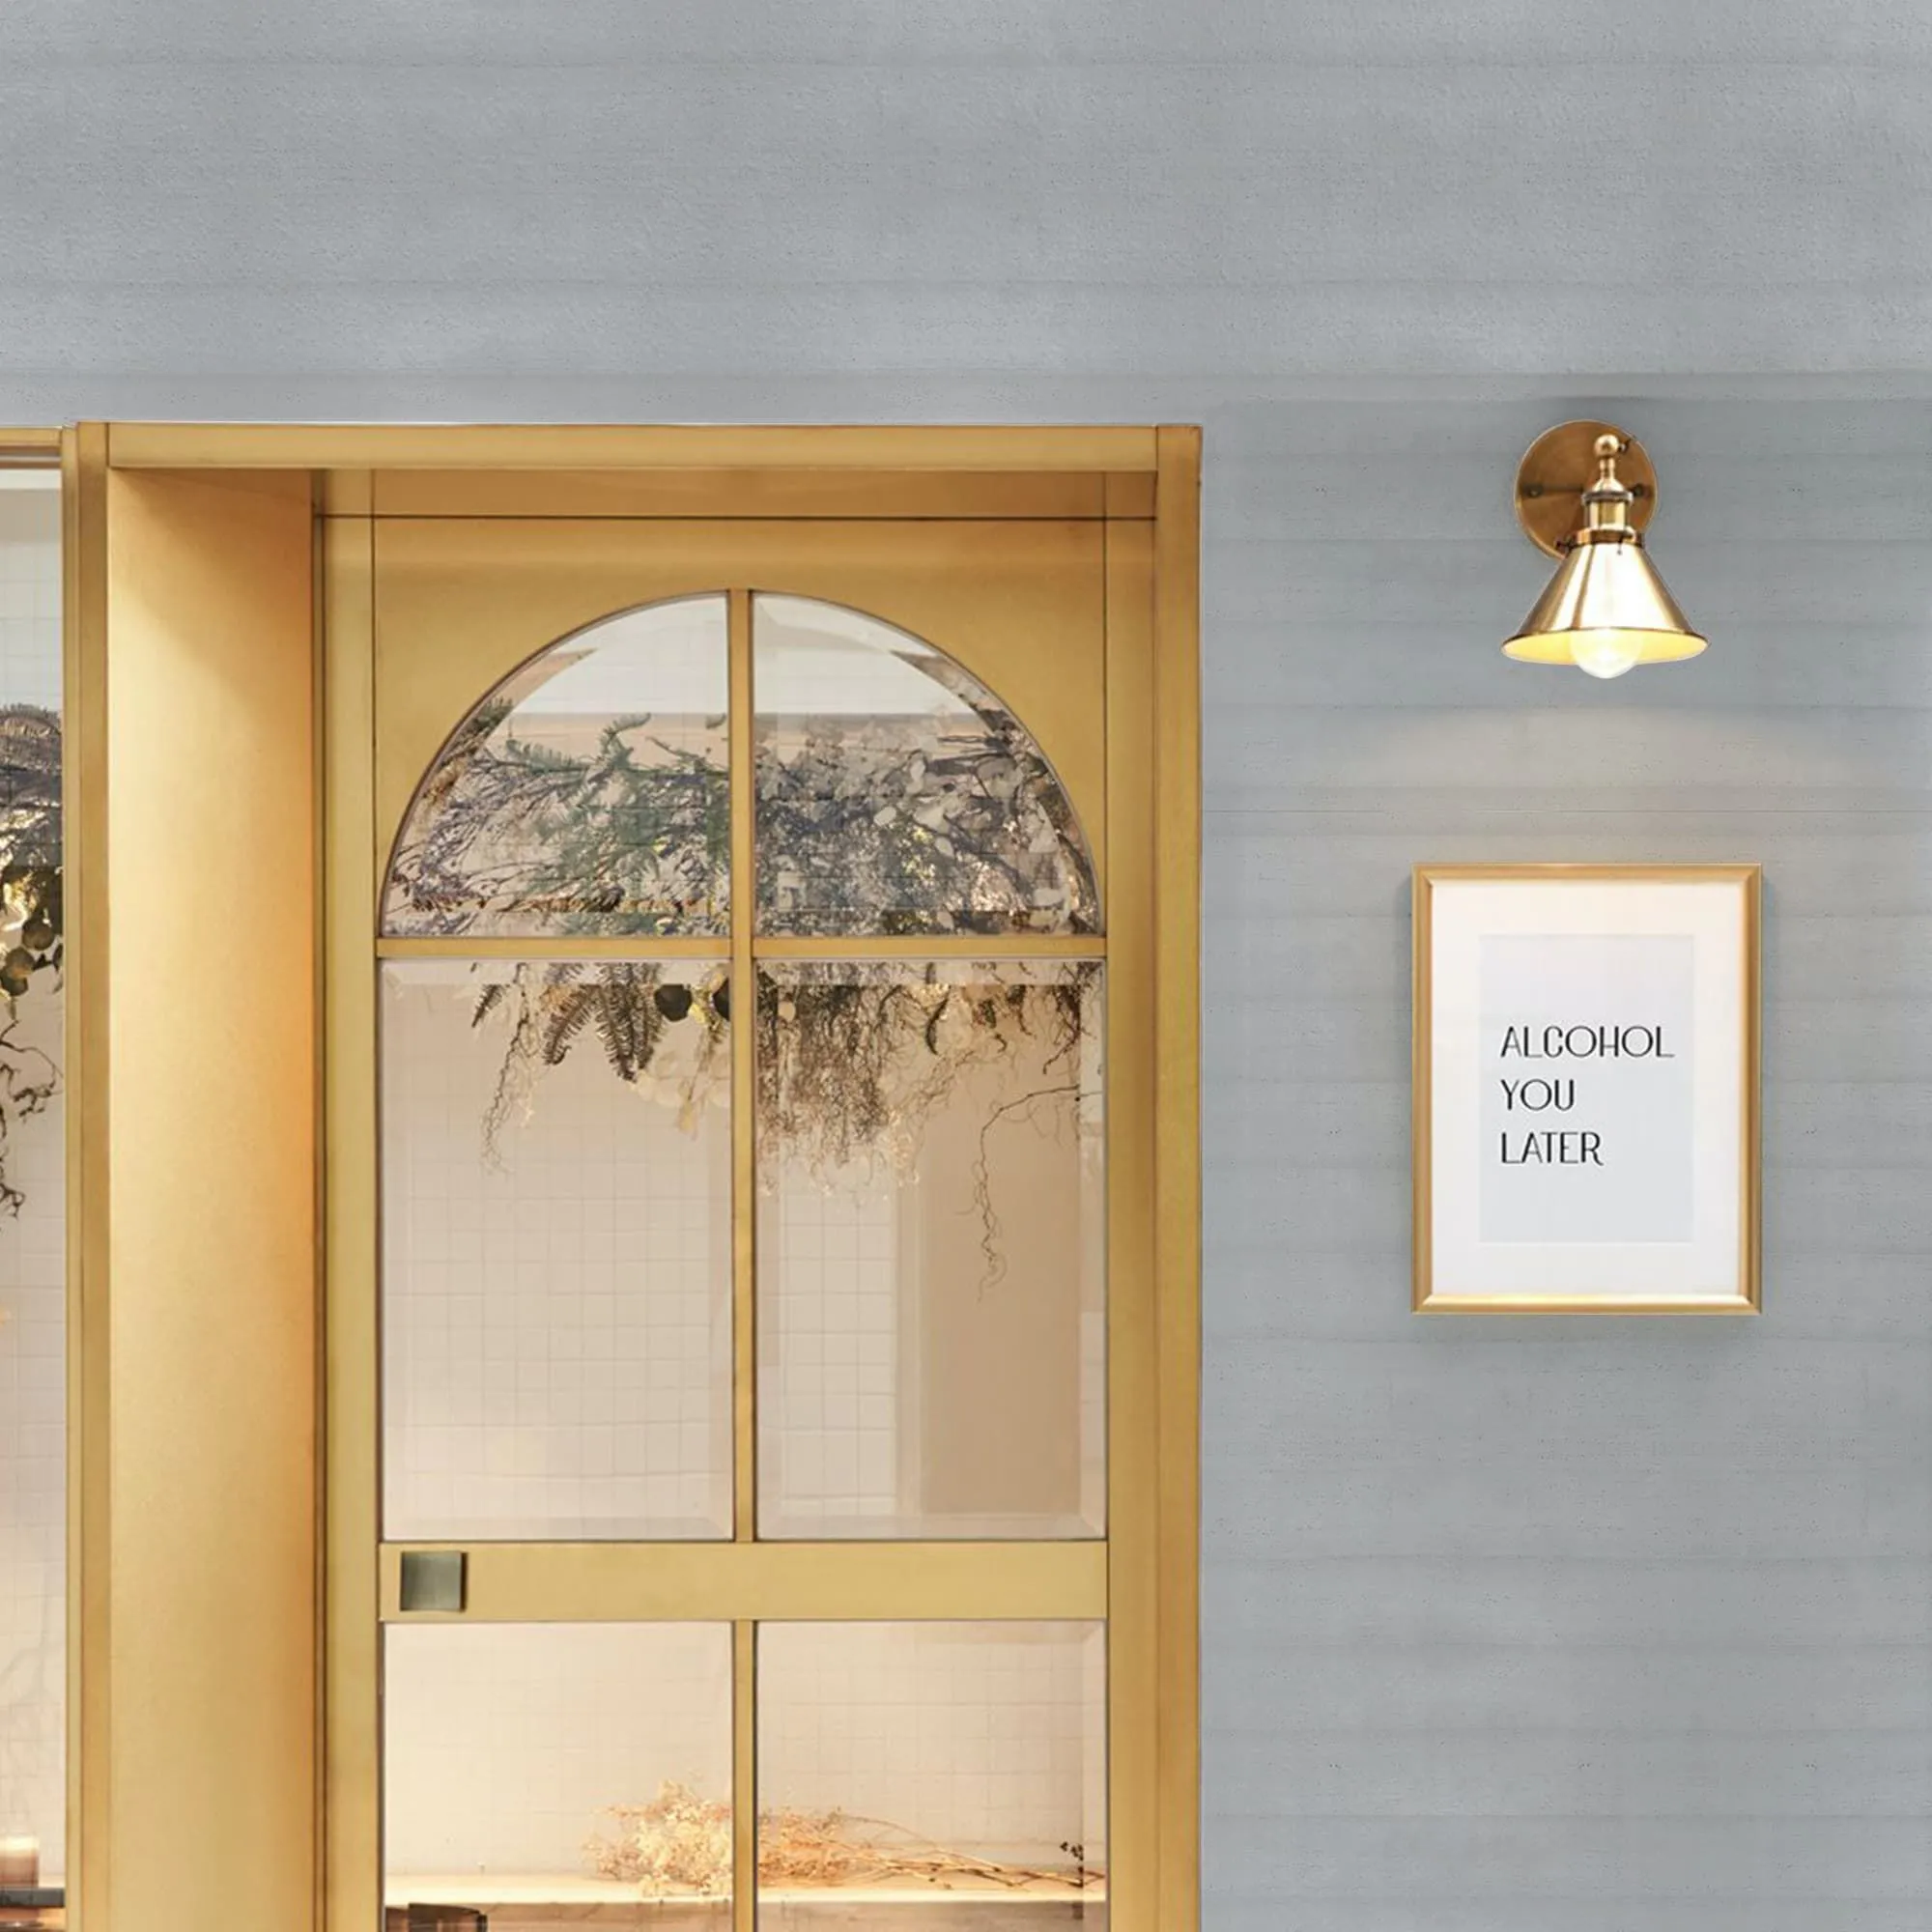
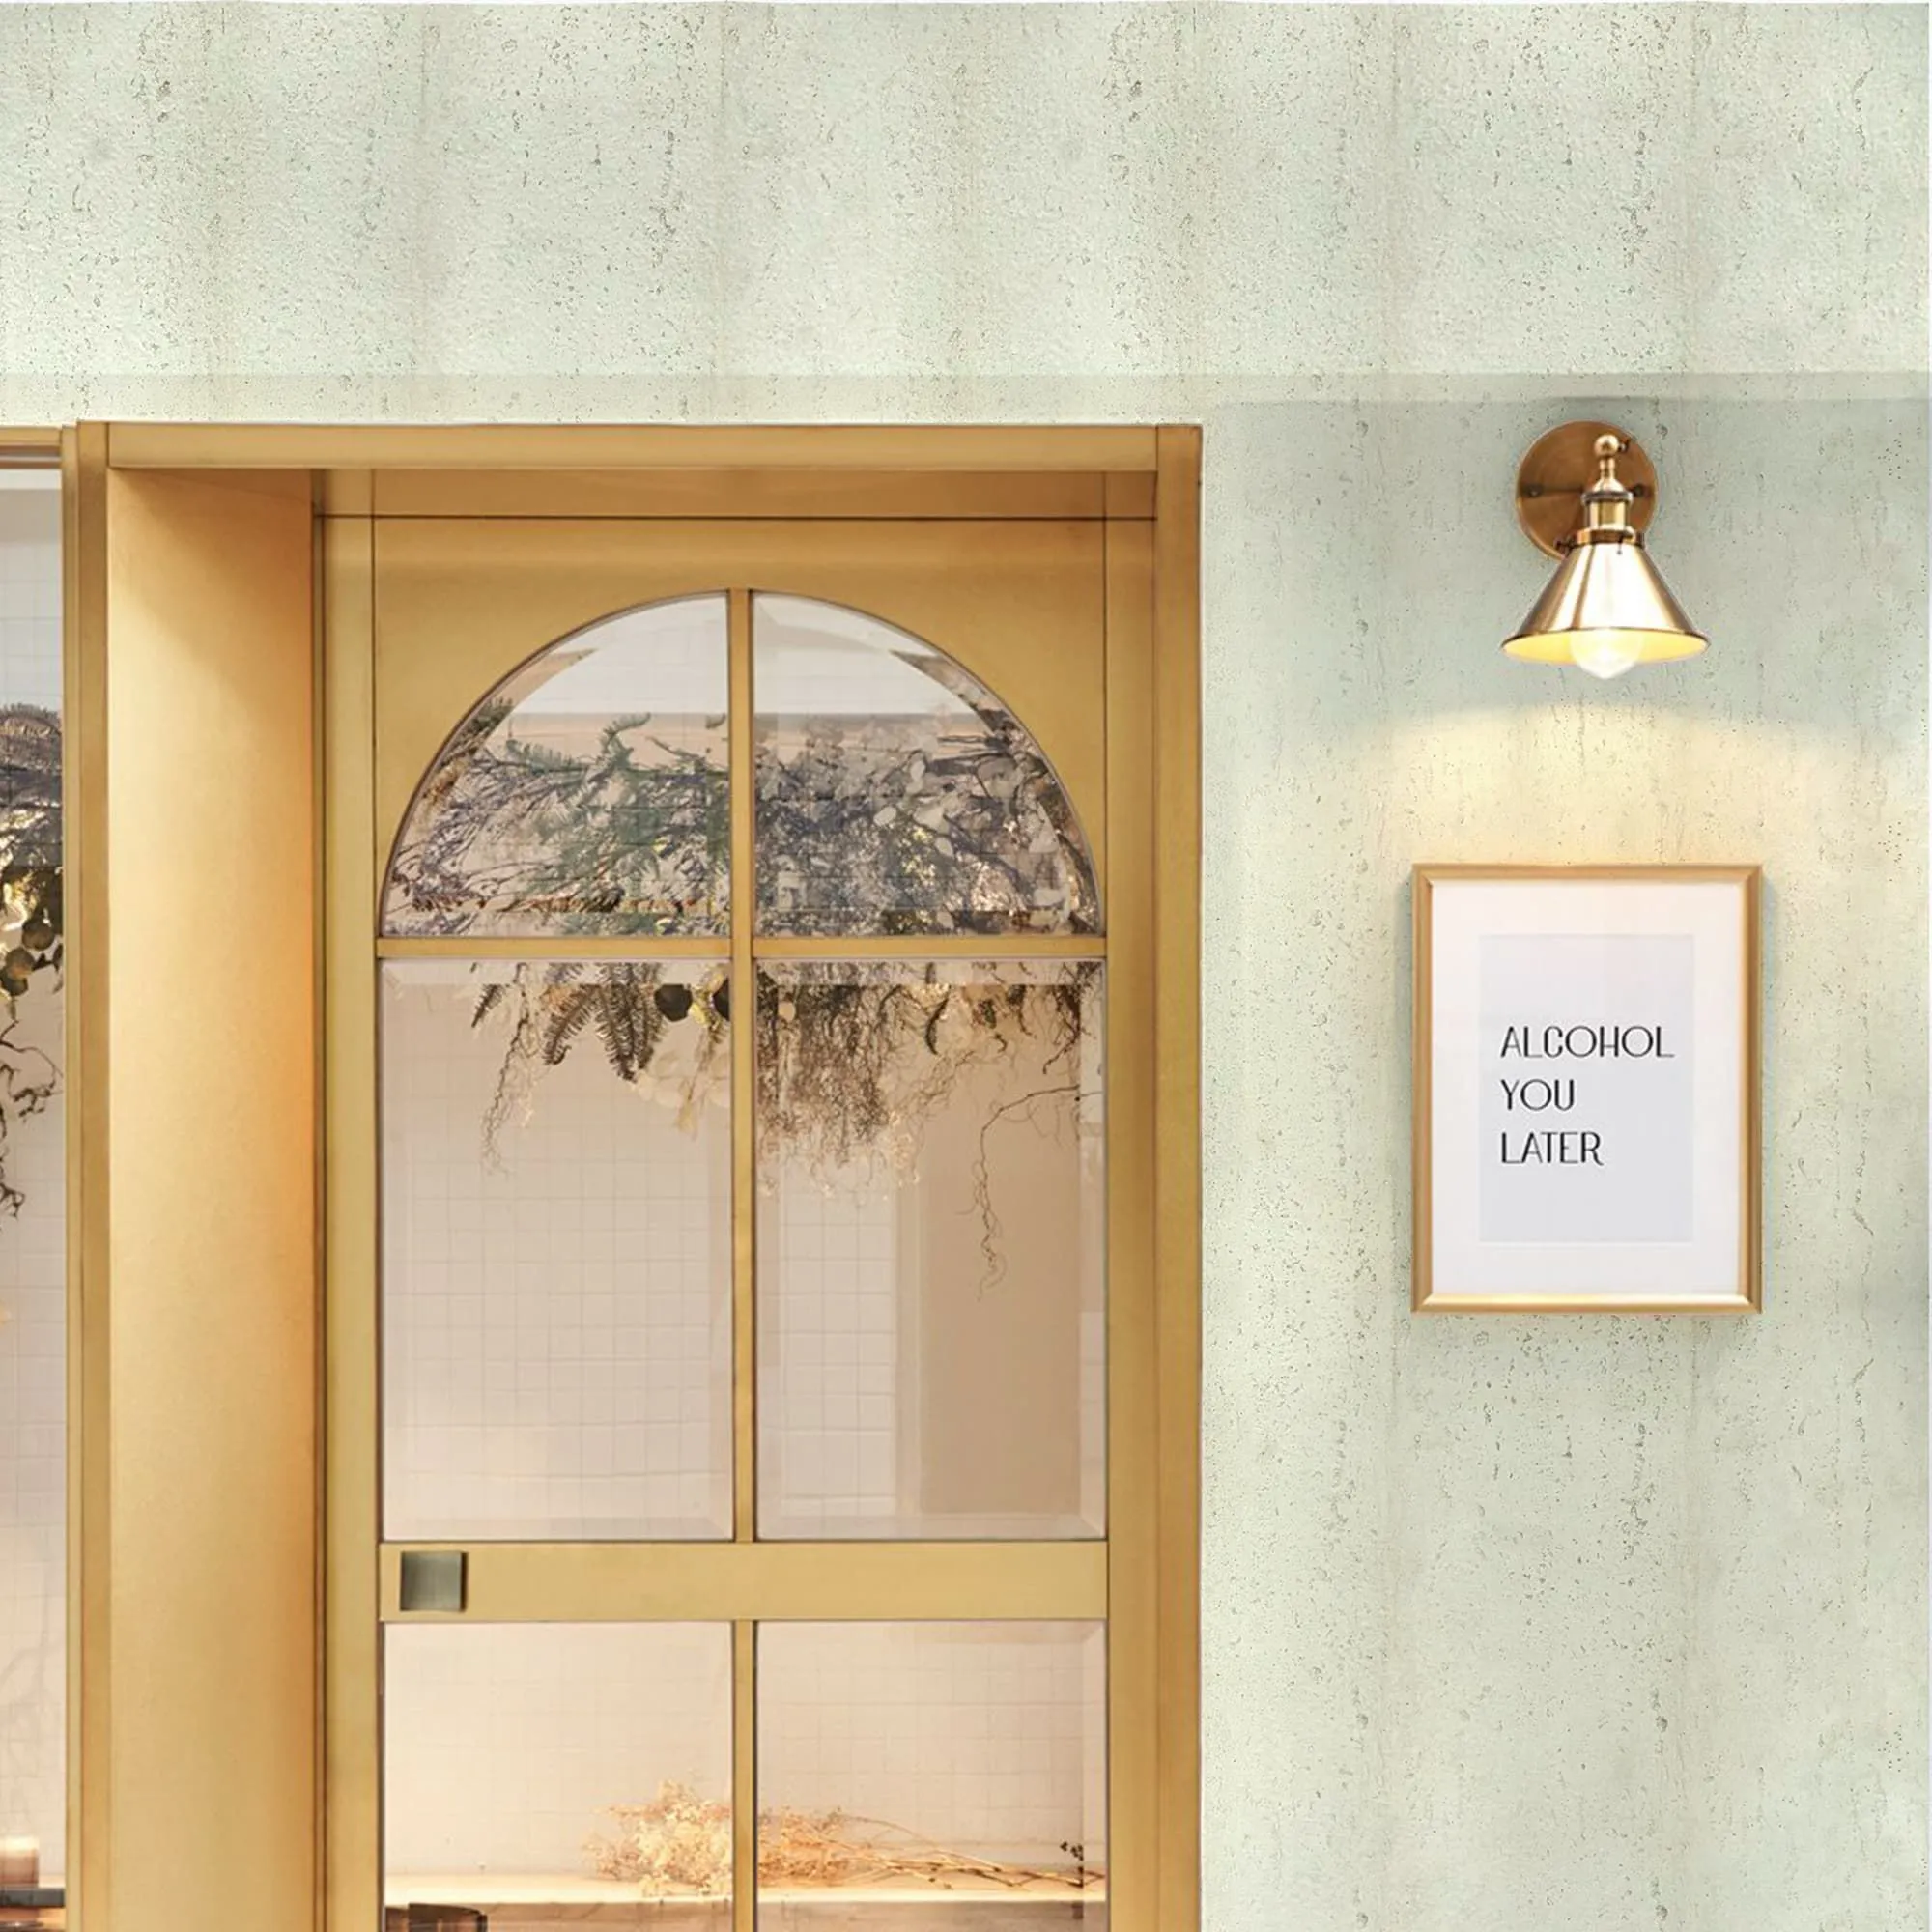
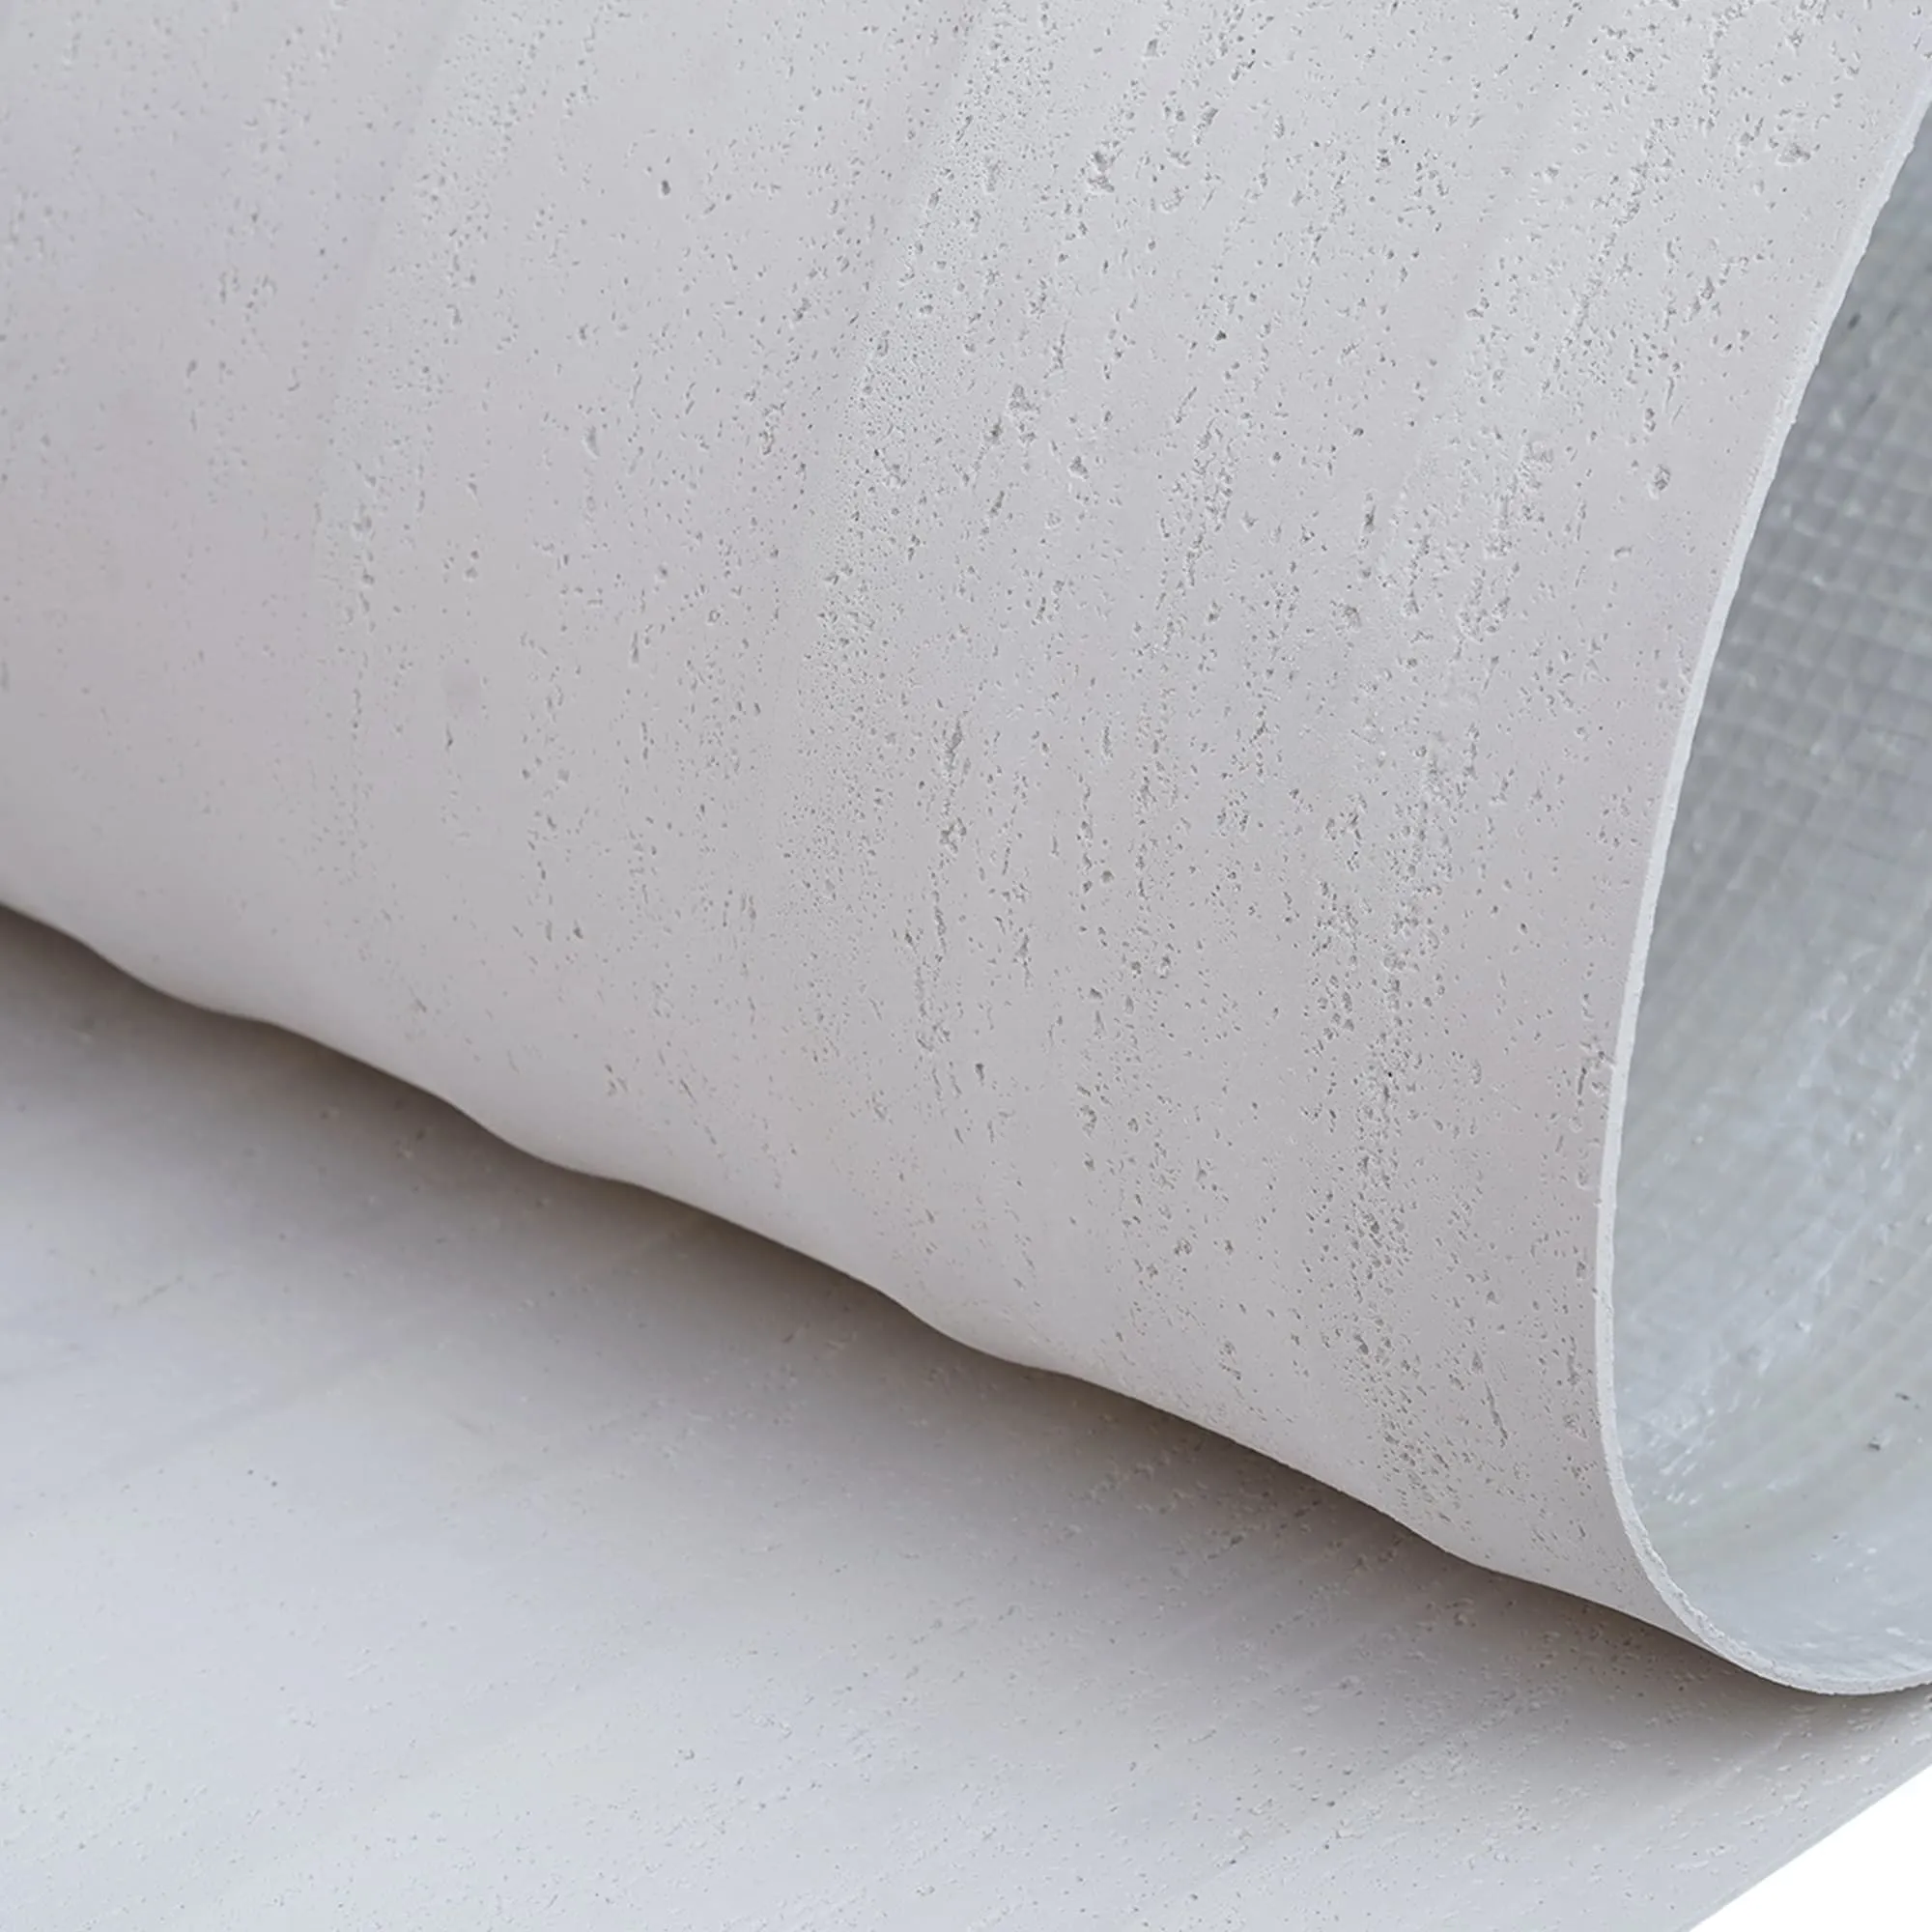
First off, let's get one thing straight: wave panels aren't just pretty faces. The ones we're focusing on today are part of COLORIA GROUP's MCM Flexible Stone series—you know, that modified cementitious material that's lightweight, durable, and surprisingly flexible. Think about it: a material that can mimic the look of natural stone or wood but weighs way less, bends without breaking, and is eco-friendly? No wonder architects and homeowners alike are obsessed. And when it comes to wave panels specifically, their 3D texture isn't just for show—it adds depth, hides minor wall imperfections, and even boosts sound absorption a little. Win-win-win.
Ever tried baking a cake without reading the recipe first? Yeah, messy. Installing wave panels is kind of the same—skipping prep work might leave you with wonky lines or loose panels down the road. Let's avoid that. Here's what you need to do before picking up a single tool.
Your wall needs to be in good shape—no peeling paint, cracks, or mold. Grab a level and a straightedge to see if it's flat (most walls aren't perfectly flat, but minor bumps are okay). If there are big dents or holes, patch them with spackle and sand smooth. Oh, and make sure the wall is clean! Dust, grease, or old wallpaper glue will make the adhesive fail. A quick wipe with a damp cloth (and let it dry!) should do the trick.
Pro tip: If you're installing over drywall, check for studs—especially if you're using heavy panels (though MCM Flexible Stone is lightweight, better safe than sorry). For concrete or brick walls, you might need to drill pilot holes if using mechanical fasteners, but we'll get to that later.
Nothing's worse than cutting a panel too short because you eyeballed the measurements. Grab a tape measure, pencil, and graph paper (or use a phone app—we won't judge) and sketch out your wall. Note the height, width, and any obstacles like outlets, switches, or windows. If you're using large panels (hello, MCM Big Slab Board Series!), measure how they'll overlap or align—you don't want a tiny, awkward sliver at the top or bottom.
Example time: Let's say your wall is 8ft tall and 10ft wide, and you're using 2ft x 4ft wave panels. Do the math: 10ft wide ÷ 2ft panel width = 5 panels across. 8ft tall ÷ 4ft panel height = 2 panels down. Perfect, no cutting needed! But if your wall is 9ft tall, you'll need to trim the top row by 1ft—measure that carefully and mark the panels before cutting.
Imagine getting halfway through installation and realizing you're out of adhesive. Annoying, right? Here's your shopping list (plus a few pro picks):
You don't need a workshop full of tools to install wave panels, but having the right ones makes the job faster and cleaner. Let's break it down for DIYers and pros—no judgment if you borrow a few tools from your neighbor!
| Tool Type | DIY Enthusiast Kit | Professional Contractor Kit | Why You Need It |
|---|---|---|---|
| Measuring | Tape measure, pencil, level (2ft), straightedge | Digital laser level, measuring wheel, square | Ensures panels are straight and evenly spaced |
| Cutting | Utility knife (for thin panels), jigsaw with masonry blade | Circular saw with diamond blade, wet saw (for precision cuts) | Trims panels to fit around obstacles or wall edges |
| Adhesive Application | Notched trowel (1/4in), caulk gun | Heavy-duty trowel, adhesive mixer (for large batches) | Applies adhesive evenly—too little, panels fall; too much, it oozes out |
| Installation | Rubber mallet (to tap panels into place), clamps (for temporary hold) | Vacuum lifter (for large panels like MCM Big Slab Board), nail gun (for mechanical fastening) | Safely handles heavy or awkward panels without damaging them |
| Finishing | Grout float, sponge, utility knife (for trimming excess) | Power grout mixer, wet/dry vacuum (for cleanup) | Makes seams look neat and professional |
*Pro tip for DIYers: If you're only installing a small area (like a 4x4ft accent wall), you can get by with the basic kit. For larger projects (hello, whole living room!), consider renting a wet saw for cleaner cuts—especially on harder MCM materials.
Okay, prep done, tools ready—let's make that wall look amazing. We'll take it slow, step by step, so even if you've never held a trowel before, you'll feel confident.
Remember that sketch you made earlier? Now it's time to transfer those measurements to the wall. Use a pencil and level to draw vertical and horizontal lines—these are your "guidelines" to keep panels straight. Start from the bottom middle of the wall (trust us, it's easier to adjust from the center out than from a corner). Mark where each panel will go, including cutouts for outlets or switches.
Pro move: If you're using panels with a pattern (like the Travertine (Starry Green)'s starry texture), lay them out on the floor first to arrange the pattern how you want. Take a photo so you can replicate the order on the wall—no one wants a "starry night" that looks like a constellation gone wrong.
Most wave panels come in standard sizes, but if you need to cut around a window or outlet, now's the time. Use your straightedge and pencil to mark the cut line on the back of the panel (the non-decorative side—don't scratch that pretty face!). For straight cuts, a jigsaw with a masonry blade works; for curves, use a coping saw or a rotary tool with a cutting wheel.
Safety first: Wear safety glasses and a dust mask—cutting MCM materials can kick up fine dust. If using a wet saw, keep a bucket of water nearby to cool the blade and reduce dust. Test the cut on a scrap piece first to get the hang of it—no one nails the first cut perfectly.
Now, the glue part. Squeeze a bead of adhesive along the back of the panel, about 1/2in from the edges, and then add a few "dots" in the middle (this prevents air bubbles). Alternatively, use a notched trowel to spread adhesive evenly over the back—hold the trowel at a 45-degree angle to get consistent ridges. The goal? Full coverage so the panel sticks everywhere, not just the edges.
Pro trick: For large panels (like the MCM Big Slab Board Series, which can be up to 4ft wide), apply adhesive to both the panel AND the wall—this is called "double-bonding" and ensures maximum grip. Just don't let the adhesive dry before sticking the panel up!
Carefully lift the panel (get a helper for big ones!) and align it with your guidelines on the wall. Gently press it into place, starting from the top and working down to push out air bubbles. Then, take your rubber mallet and tap the panel lightly all over—this helps the adhesive spread and bond. Pay extra attention to the edges and corners—those are the first places to come loose if not stuck well.
Spacers time! If you're leaving gaps between panels (for grout), slide spacers into the seams before tapping. This keeps gaps even—no "one panel too close, one too far" disasters. Let the adhesive set for 10-15 minutes before moving to the next panel—rushing can shift the first one out of place.
Once the panel is stuck, check the seams. If there's a gap between panels, fill it with seam filler or grout. Use a grout float to press the filler into the gap, then wipe off excess with a damp sponge (don't soak the sponge—you don't want to wet the adhesive!). For a seamless look, some installers use a color-matched caulk instead of grout—softer and easier to apply for DIYers.
Pro clean-up: Wipe the panel surface with a dry cloth immediately if adhesive oozes out—once it dries, it's a pain to remove. For stubborn spots, use a little rubbing alcohol on a cotton swab (test on an inconspicuous area first to make sure it doesn't damage the finish).
Adhesive needs time to cure—check the manufacturer's instructions, but most take 24-48 hours. Avoid touching or leaning on the panels during this time. If you used clamps to hold panels in place, leave them on for at least 6 hours. Keep the room well-ventilated but avoid direct sunlight or fans blowing directly on the wall—extreme heat or cold can mess with curing.
Pro wait: If you're installing multiple rows, let the first row dry completely before starting the next—this prevents the bottom panels from shifting under the weight of the top ones. Slow and steady wins the "perfect wall" race.
So, should you tackle this yourself or call in the experts? Let's weigh the pros and cons:
Good for: Accent walls, small bathrooms, or laundry rooms (areas under 50 sq ft). If you're handy with tools, have a weekend free, and want to save money, go for it! You'll learn a new skill, and there's nothing like the pride of saying, "I did that myself."
Potential downsides: Mistakes take longer to fix, limited tools might mean less precise cuts, and heavy panels can be tricky to handle alone. If your wall is uneven or has complex obstacles (like a fireplace or built-in shelves), DIY might lead to frustration.
Good for: Whole-room installations, high ceilings, or walls with curves/angles. Pros have the tools (like vacuum lifters for big slabs), experience with tricky walls, and insurance if something goes wrong. They'll finish faster, too—what takes you a weekend might take them a day.
Potential downsides: Costs more (expect to pay $3-7 per sq ft for labor, plus materials). You'll need to schedule around their timeline, and you might not get that "DIY pride" rush. But the result? A flawless wall that looks like it came straight out of a design magazine.
Happy medium: Hybrid approach! Install the easy parts yourself (like a small accent wall) and hire a pro for the tough stuff (like a 10ft-tall living room wall with Lunar Peak Silvery wave panels). No shame in knowing your limits—your wall will thank you.
Even pros make mistakes—here's how to avoid the most common ones:
Your new wave panel wall is beautiful—let's keep it that way. MCM Flexible Stone is durable, but a little care goes a long way:
Fun fact: COLORIA GROUP's MCM materials are designed to last 20+ years with proper care. That accent wall? It might outlive your next couch (and maybe even your next house!).
Installing wave panels might seem intimidating at first, but with the right prep, tools, and a little patience, it's totally doable. Whether you're a DIYer going for that "I built this" glory or hiring a pro for a flawless finish, the end result—a wall that's not just a wall, but a piece of art—will be worth it.
And hey, if you ever get stuck, remember: COLORIA GROUP's MCM Flexible Stone panels are designed to be user-friendly, with flexible materials that cut easily and adhesive that bonds strong. Plus, with options like the Travertine (Starry Green) or Lunar Peak Silvery, you're not just installing a wall—you're creating a space that reflects your style.
So grab your tools (or your phone to call a pro), measure twice, and let's turn that blank wall into something amazing. Your future self (and all your house guests) will thank you.
Recommend Products


