
For contractors, every material tells a story—and Weaving (Khaki) MCM is no exception. Part of MCM's innovative flexible stone series, this material blends the warmth of woven textures with the durability of modern composites, making it a favorite for interior and exterior projects alike. Whether you're revamping a restaurant facade, designing a boutique hotel lobby, or adding character to a residential accent wall, getting the installation right is key to unlocking its full potential. In this guide, we'll walk through the best practices to ensure your Weaving (Khaki) panels look stunning and stand the test of time—plus, we'll share tips on pairing it with other MCM classics like wood grain board and epoch stone.
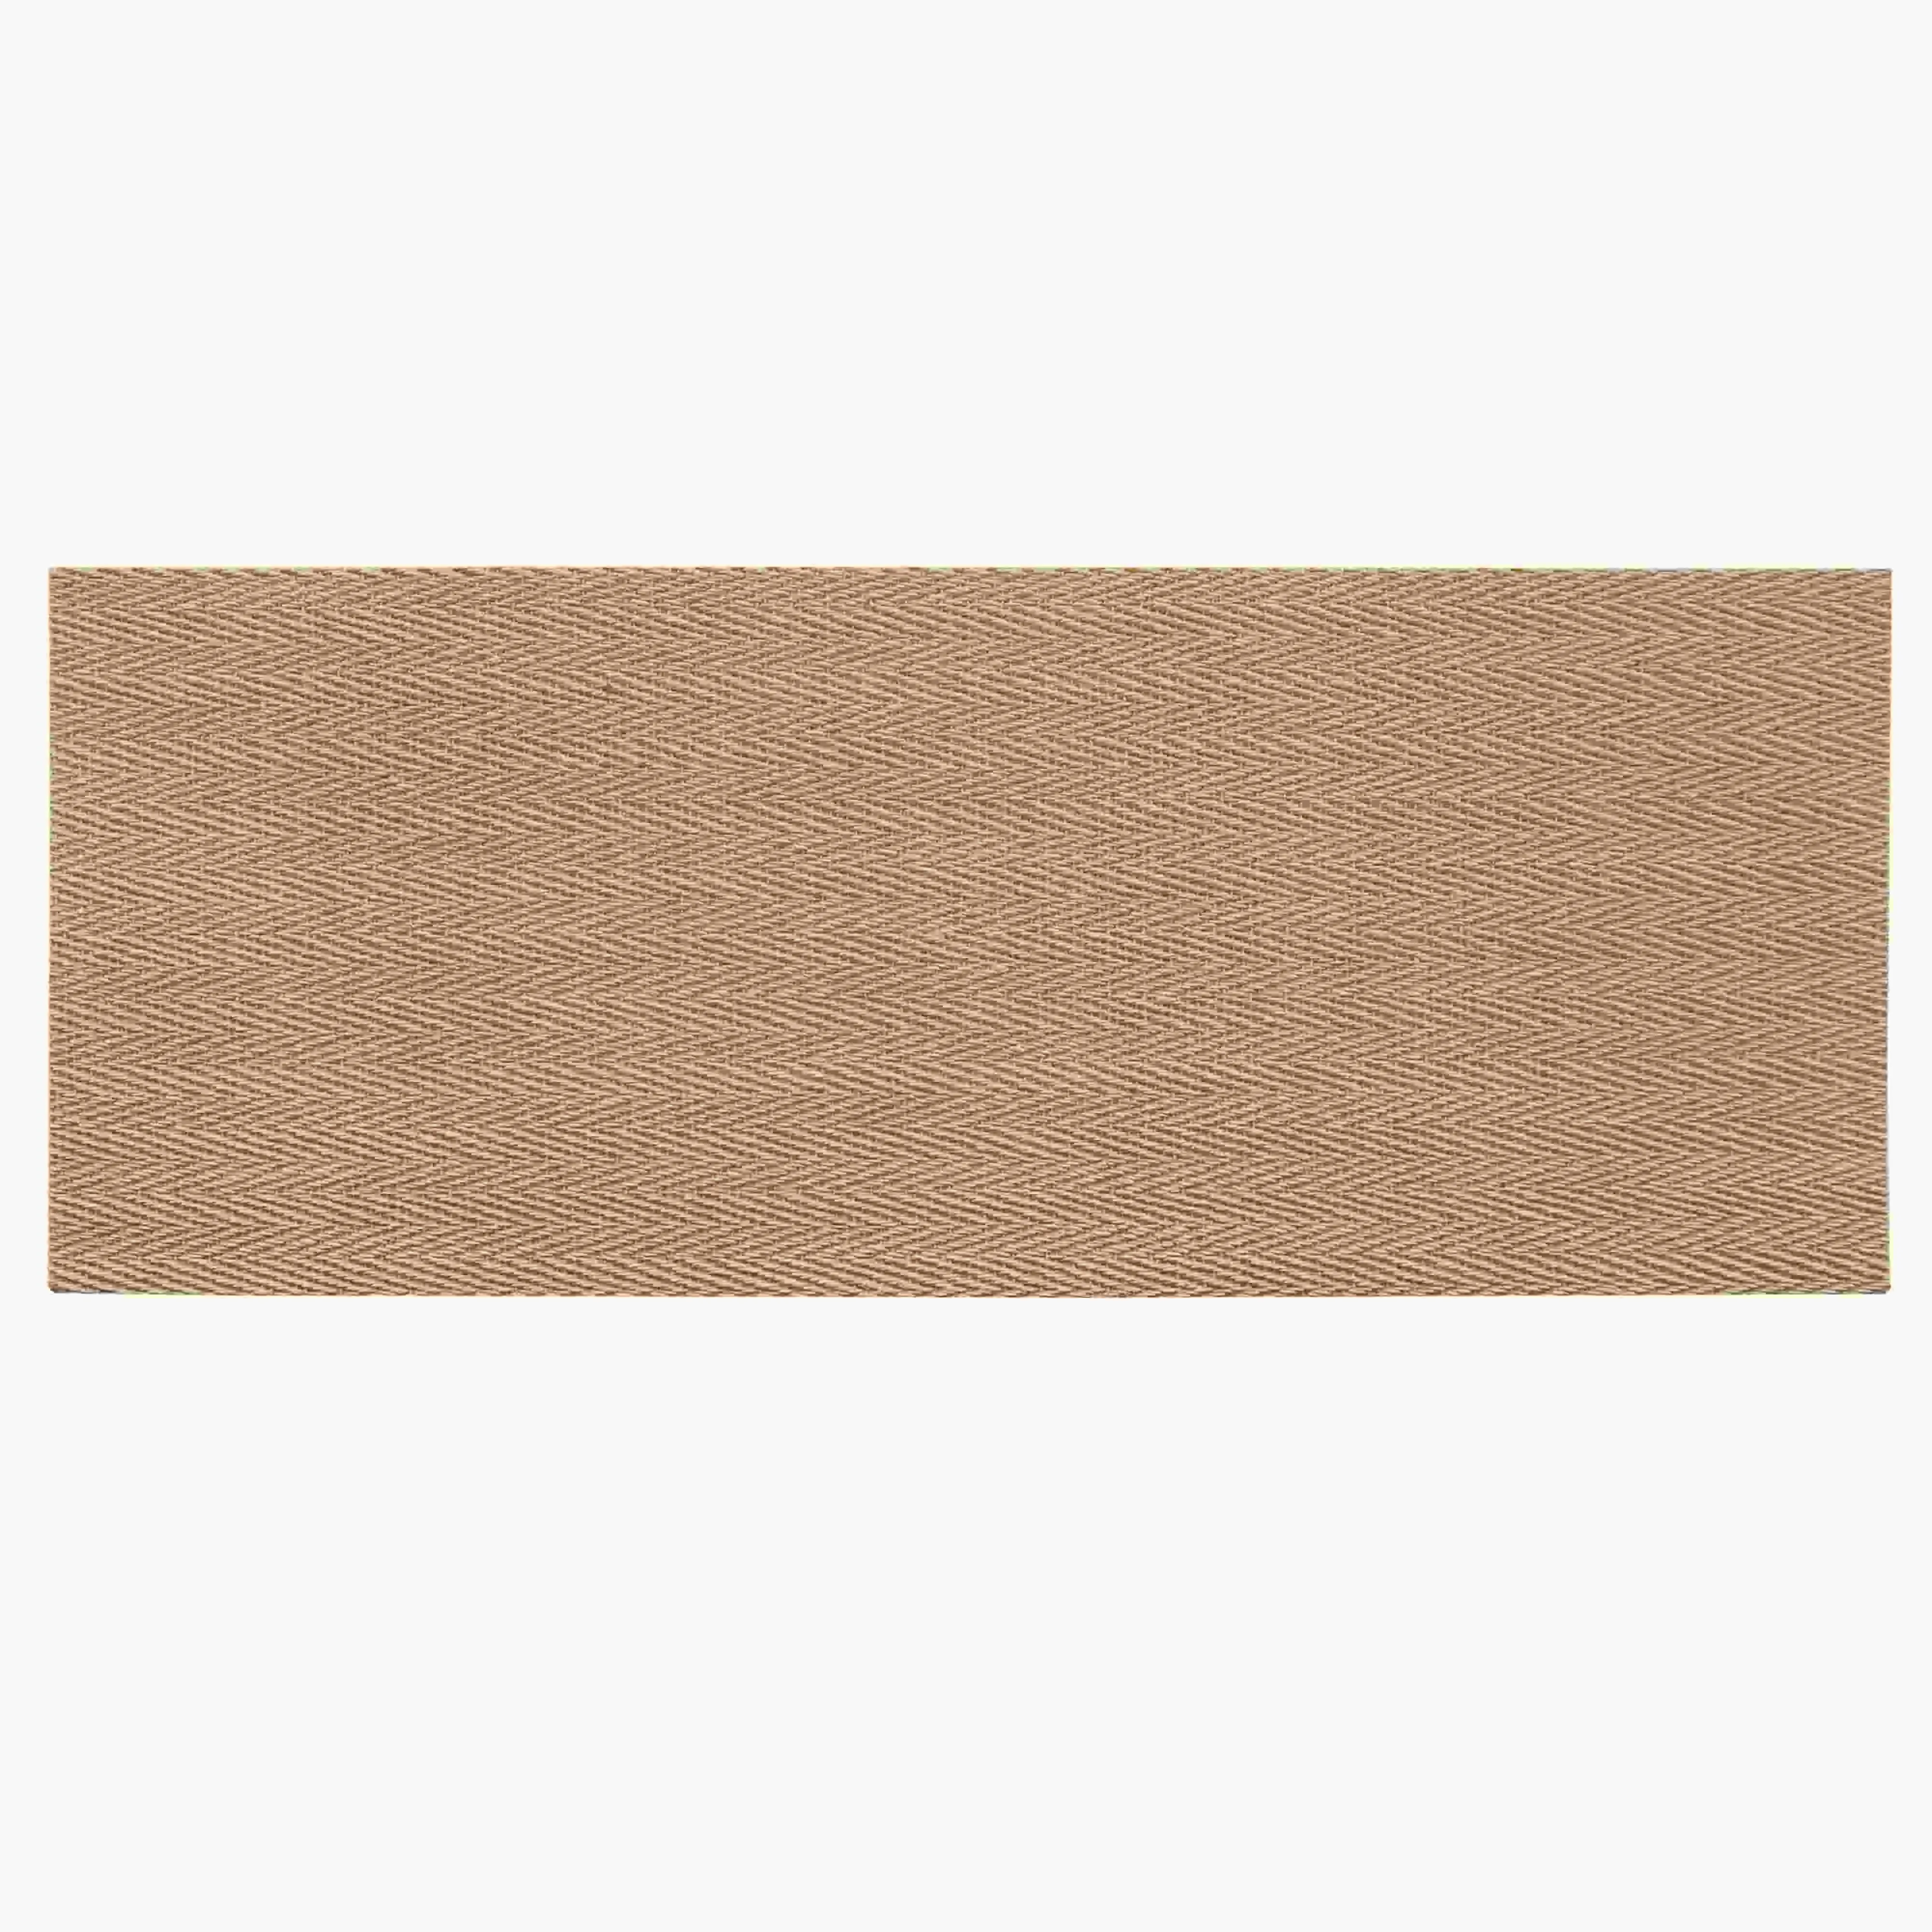
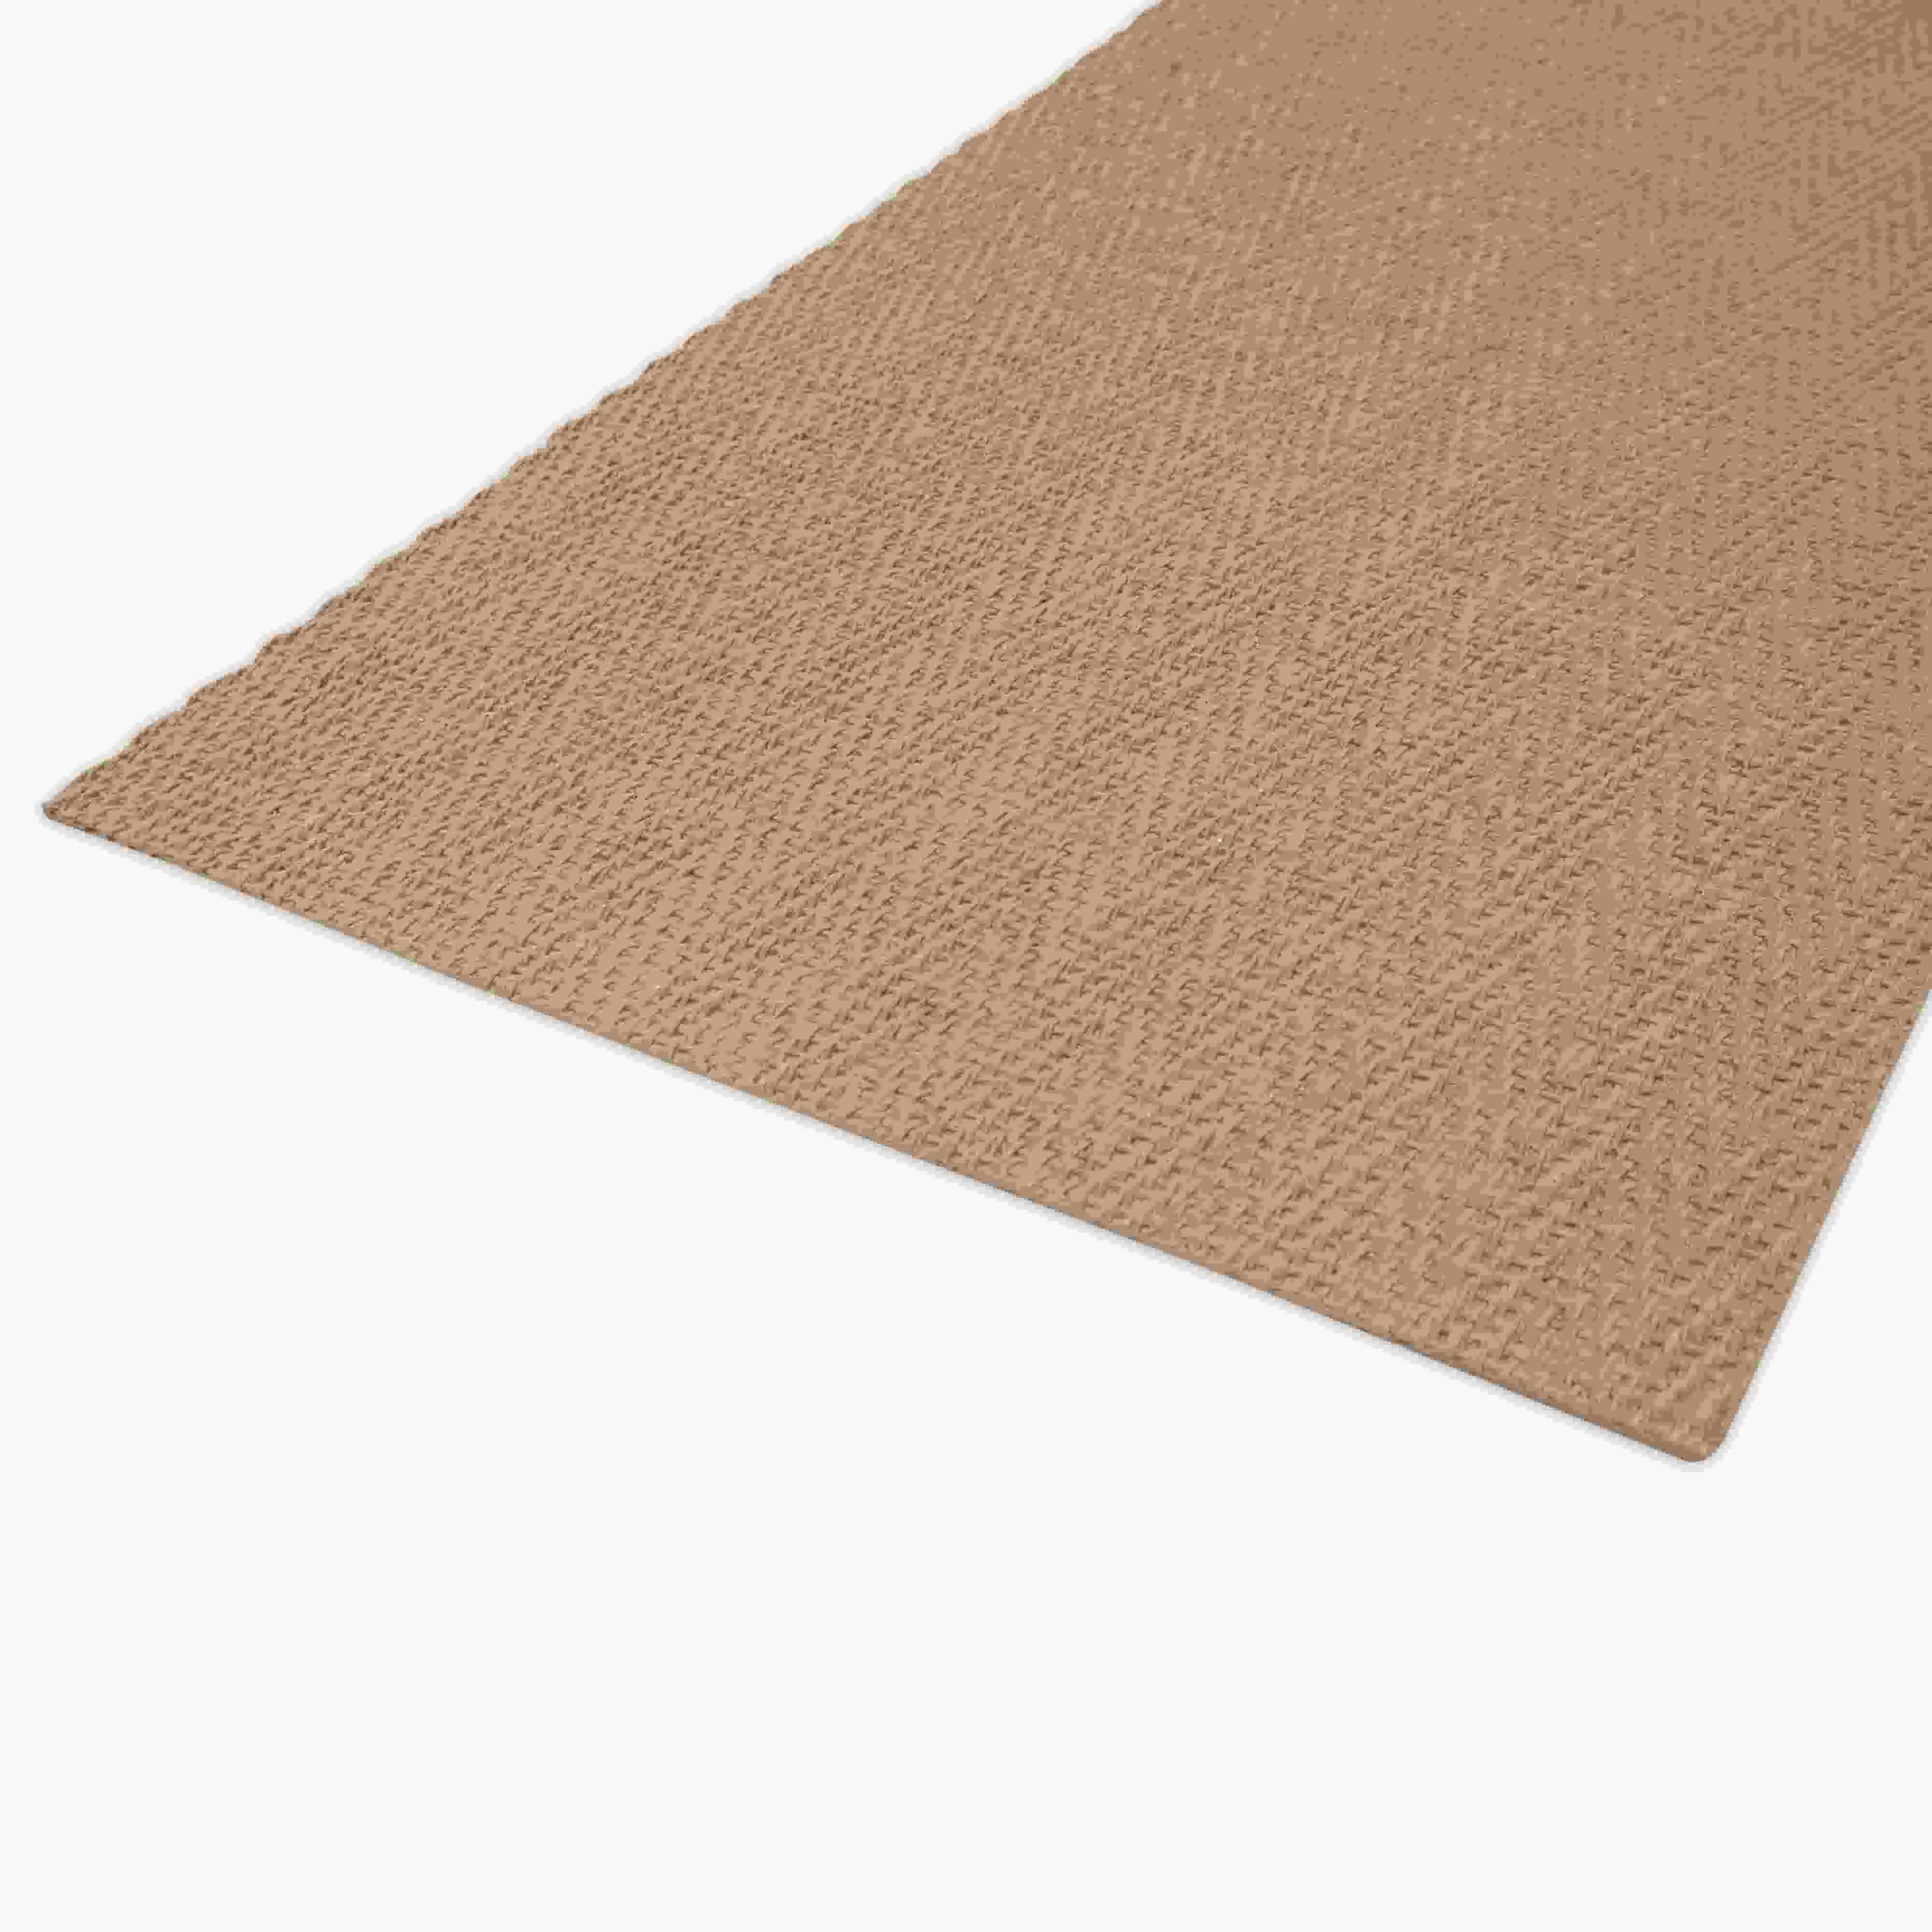
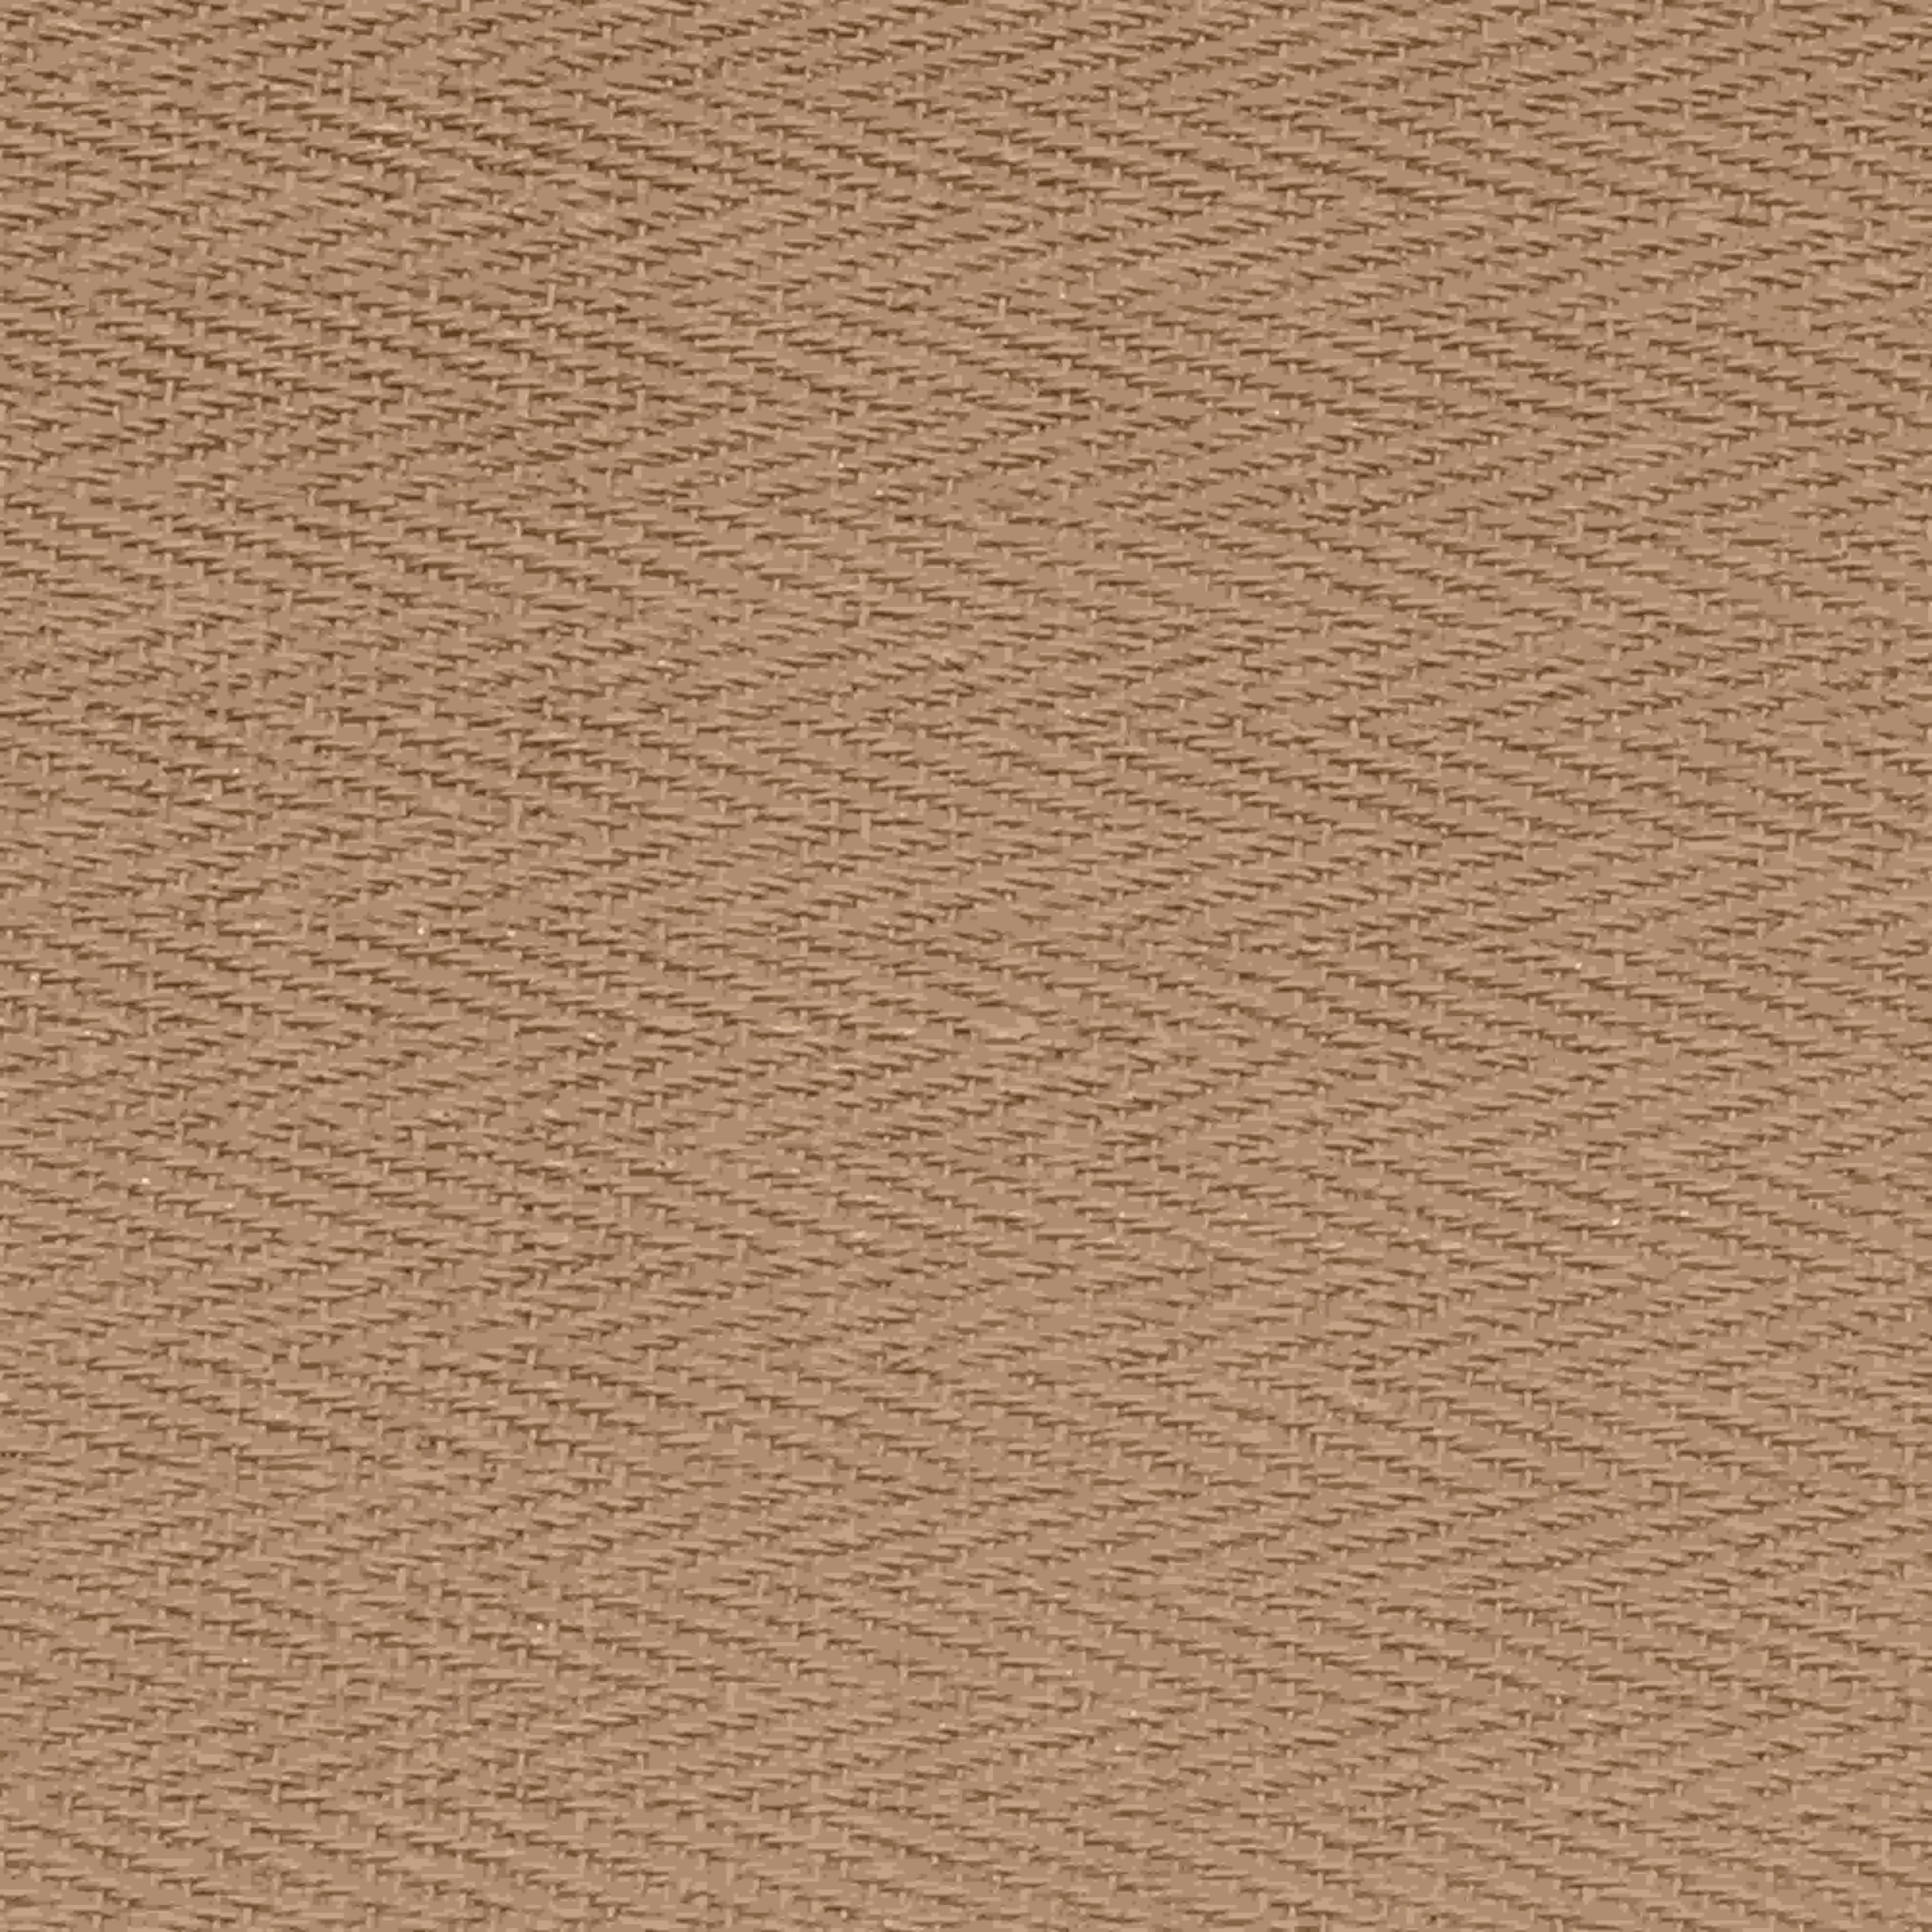
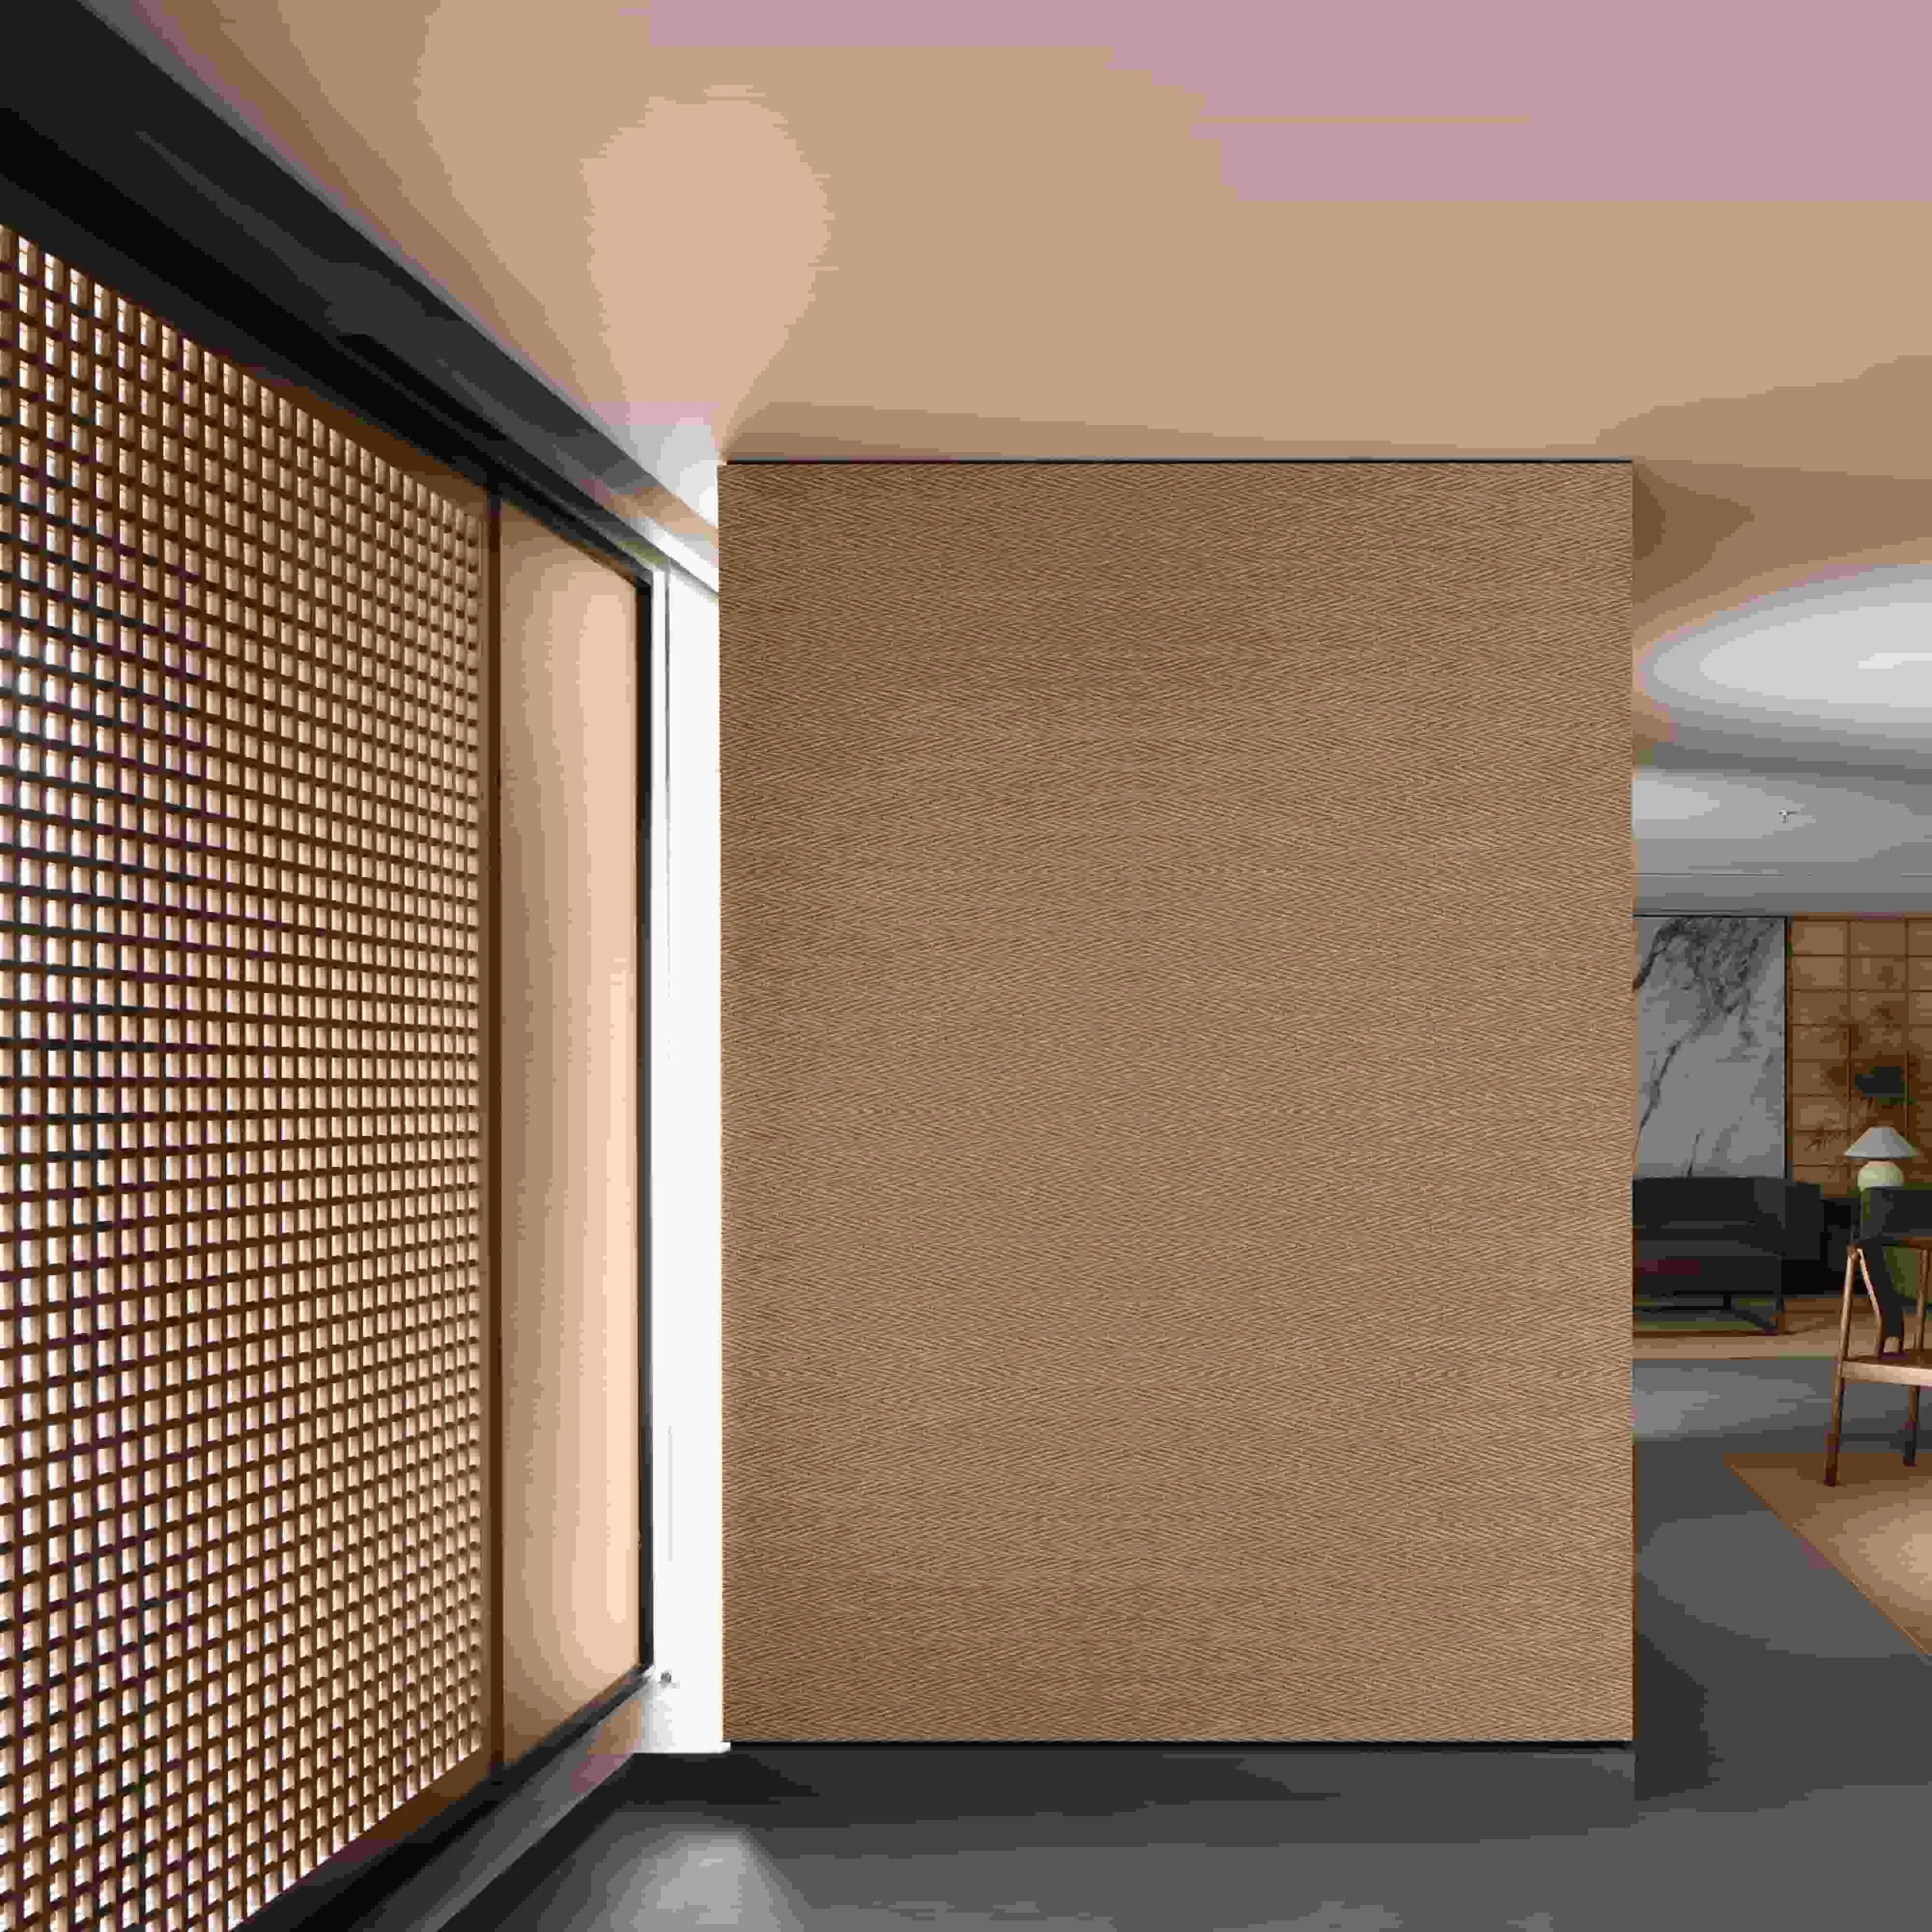
Before diving into installation, let's talk about what makes Weaving (Khaki) unique. Unlike traditional woven materials (which can be fragile or hard to maintain), MCM's Weaving (Khaki) is crafted from a modified composite material that's lightweight, flexible, and resistant to moisture, UV rays, and daily wear. Its signature khaki hue has subtle earthy undertones, mimicking the look of handwoven textiles but with the strength to handle high-traffic areas. Think of it as the perfect marriage of rustic charm and modern engineering—ideal for contractors aiming to balance aesthetics with practicality.
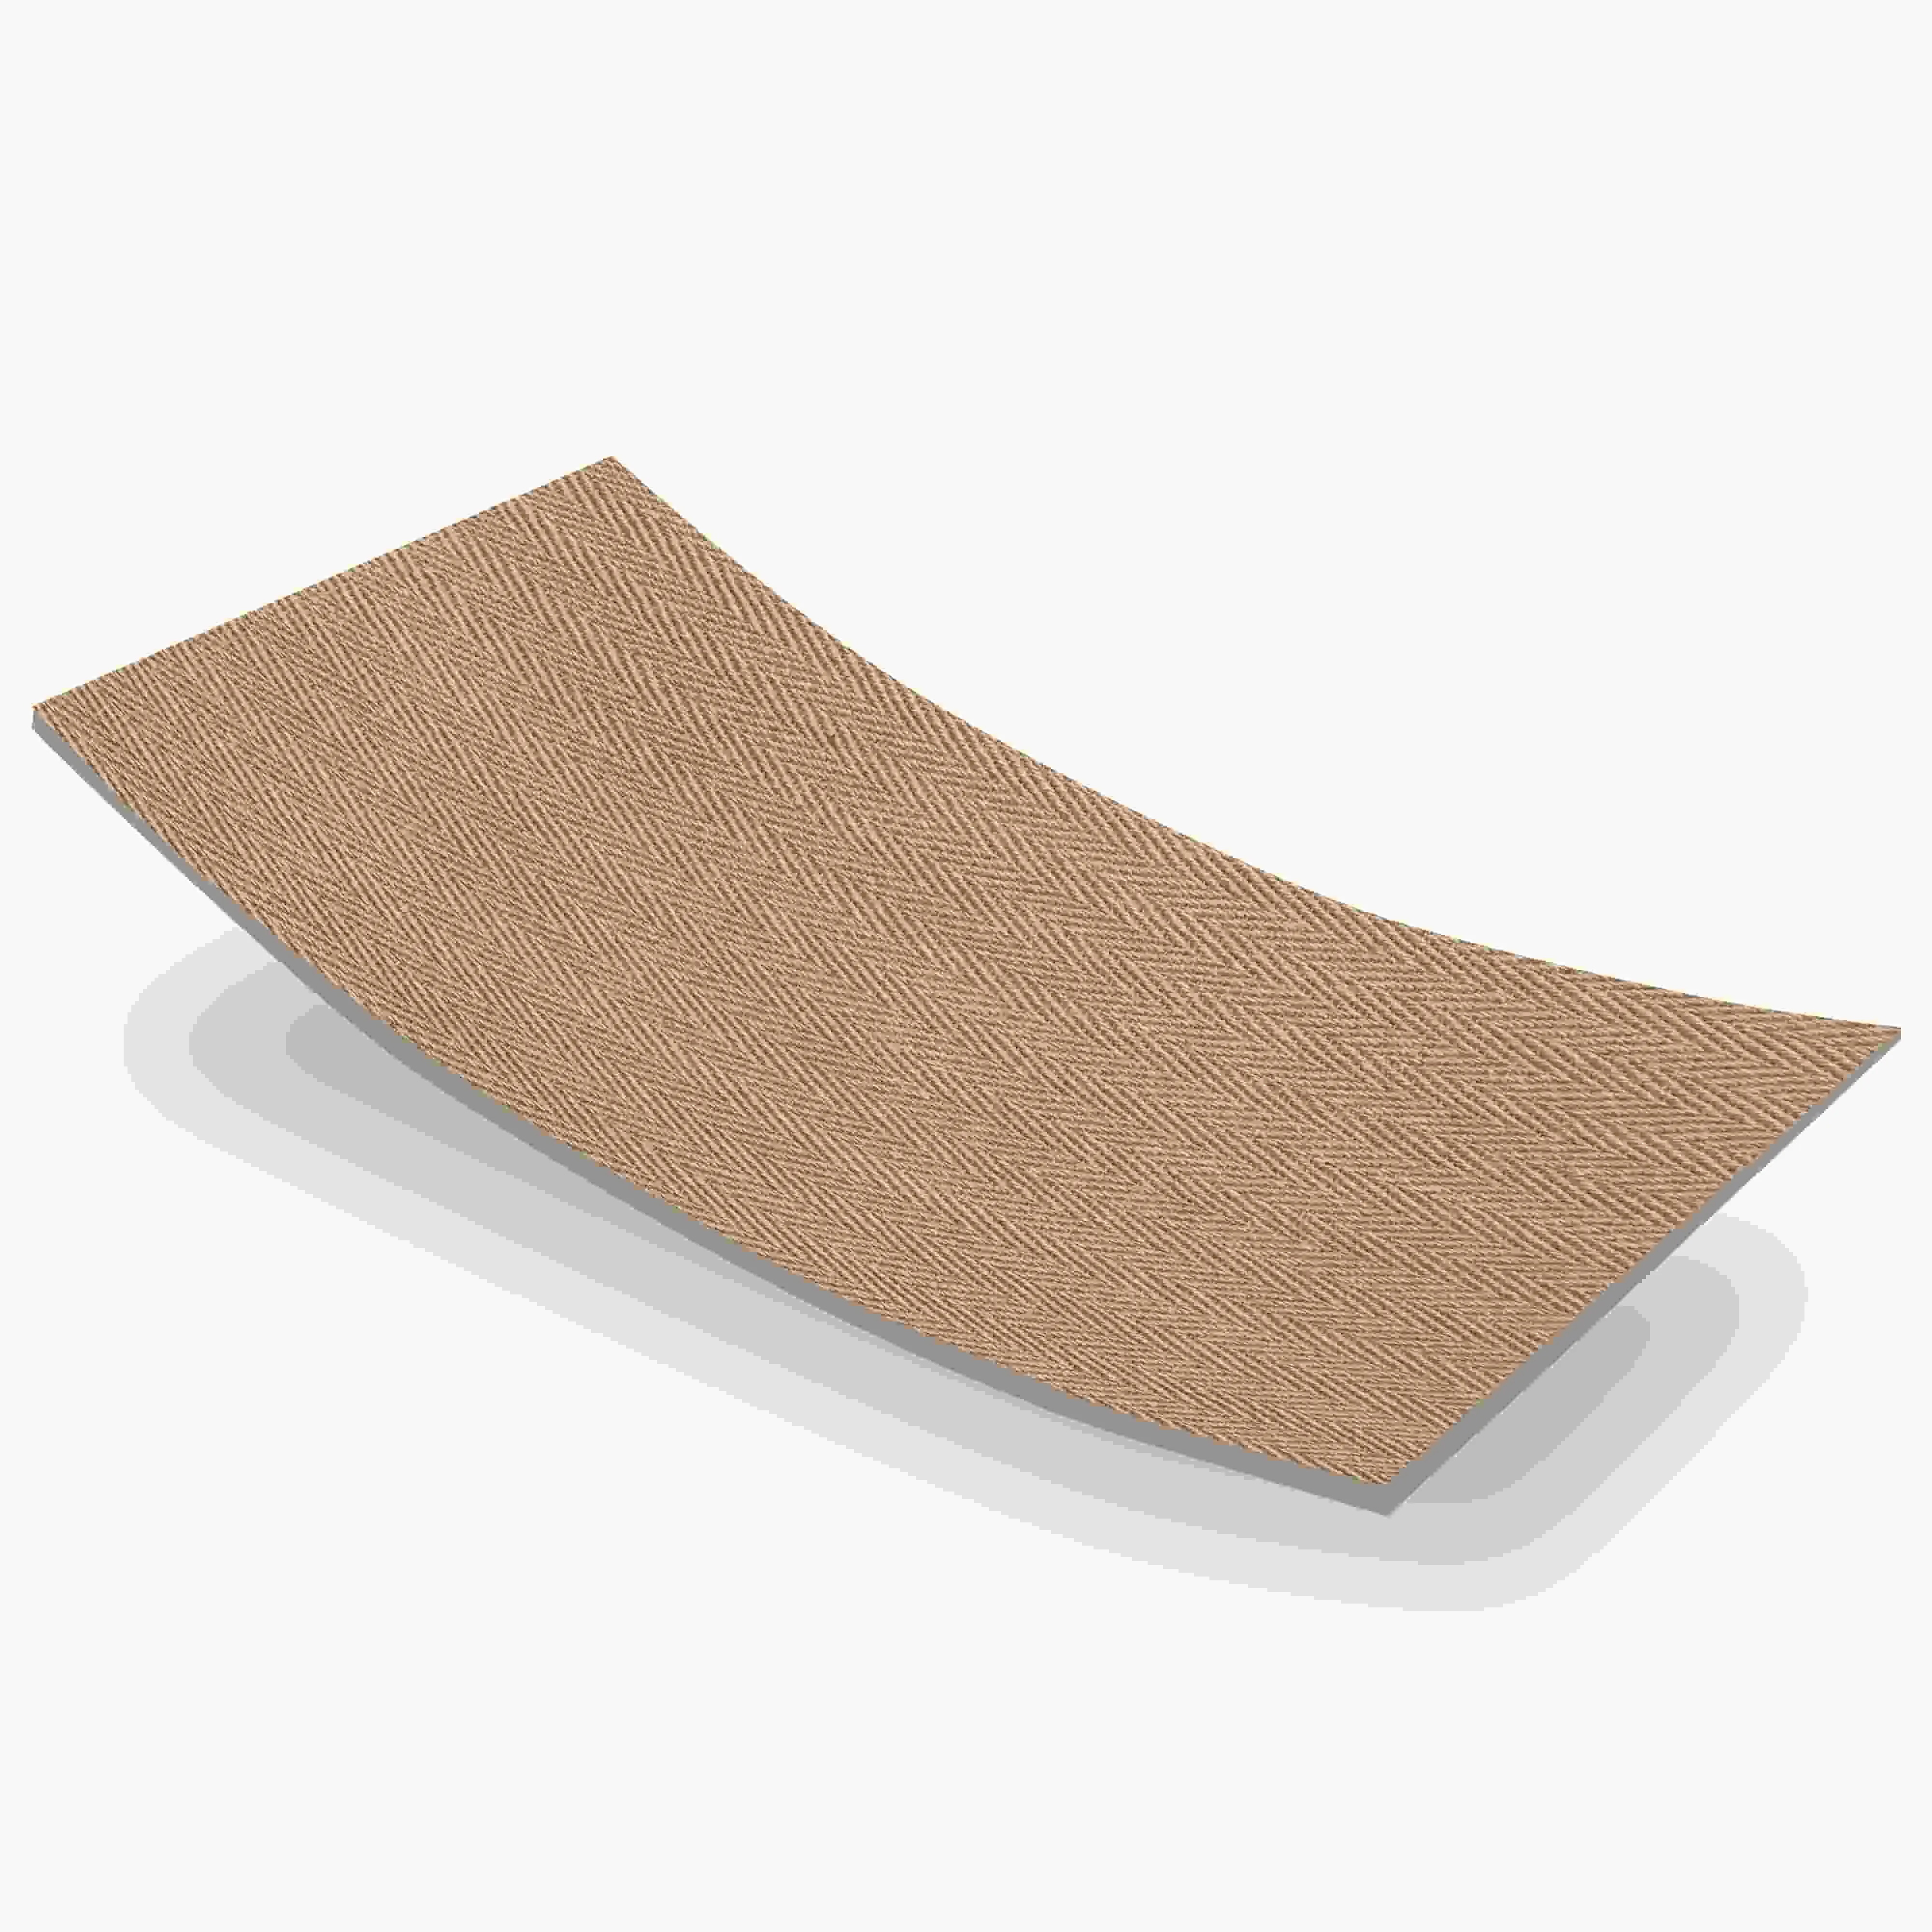
One of the first things you'll notice is its flexibility. Unlike rigid stone slabs, Weaving (Khaki) panels can conform to slight curves or uneven surfaces, making them versatile for creative designs. But this flexibility also means you need to handle them with care during installation—no roughhousing with the panels! We'll get into that more later, but for now, remember: treat them like you would a delicate fabric, and they'll reward you with a flawless finish.
You wouldn't build a house without a solid foundation, and the same goes for installing Weaving (Khaki) panels. Rushing the prep work is the #1 mistake contractors make, leading to issues like uneven surfaces, peeling panels, or visible gaps down the line. Here's what you need to do before picking up a trowel:
Start by examining the substrate (the surface you'll be attaching the panels to). Weaving (Khaki) works best on clean, flat, and structurally sound surfaces—concrete, drywall, plywood, or even fair-faced concrete (another MCM favorite for its industrial-chic look). Check for cracks, bumps, or moisture damage. Small cracks can be filled with a high-quality filler; larger issues (like rotting wood or crumbling concrete) need to be repaired or replaced before proceeding. Moisture is the enemy here—use a moisture meter to test for dampness, especially in basements or exterior walls. If levels are high, apply a waterproofing membrane first.
Measure twice, cut once—old advice, but golden. Sketch out your installation area and mark where each panel will go. Weaving (Khaki) panels typically come in standard sizes (e.g., 1200x600mm), but you'll likely need to cut some to fit corners or edges. Plan the layout so that seams are staggered (like brickwork) for a more professional look. Also, consider the direction of the weave: most contractors prefer aligning the "weave lines" horizontally for a calming effect, but vertical alignment can add height to a space. Take a few minutes to lay out panels on the floor first to visualize the pattern—this step saves headaches later!
MCM panels, including Weaving (Khaki), need time to adjust to the job site's temperature and humidity. Unpack them and lay them flat in the installation area for 24–48 hours before starting. This prevents warping or shrinking after installation—critical for exterior projects where temperature swings are common. Keep them away from direct sunlight, heaters, or air vents during this period to avoid rapid moisture loss.
Having the right tools on hand makes installation smoother and faster. Here's a breakdown of essentials, plus a few items to skip:
| Essential Tools | Why You Need Them | Tools to Avoid |
|---|---|---|
| Circular saw with a fine-tooth blade (carbide-tipped) | Cuts panels cleanly without splintering the weave texture | Jigsaw with a rough blade (can fray the edges) |
| Notched trowel (6mm or 8mm) | Applies adhesive evenly for strong bonding | Flat trowel (leaves too much/too little adhesive) |
| Rubber mallet | Gently taps panels into place without damaging the surface | Claw hammer (can crack or dent panels) |
| Level (2ft and 4ft) | Ensures panels are straight horizontally and vertically | "Eyeballing it" (trust us, it never works) |
| Adhesive (MCM-recommended flexible mortar or polyurethane) | Designed specifically for MCM panels—waterproof and flexible | Generic construction adhesive (may not bond well to composite materials) |
| Seam roller | Presses out air bubbles and ensures full contact between panel and adhesive | Your hands alone (inconsistent pressure leads to weak bonds) |
Start by cleaning the substrate thoroughly. Sweep away dust, then wipe with a damp cloth (for interior) or pressure wash (for exterior). For fair-faced concrete or rough surfaces, use a wire brush to remove loose debris. If the surface is smooth (like drywall), lightly sand it to create a "tooth" for the adhesive to grip. Let it dry completely—even a little moisture can weaken the bond.
Measure and mark the panels with a pencil (use a straightedge for clean lines). Place the panel face-down on a stable work surface (a piece of plywood works well) to avoid scratching the weave texture. Set your circular saw to a low speed and cut slowly, following the marked line. For intricate cuts (like around outlets or corners), use a jigsaw with a fine-tooth blade—but go extra slow to prevent fraying. After cutting, lightly sand the edges with 120-grit sandpaper to smooth any rough spots.
Now for the bonding step. Use a notched trowel to apply MCM-recommended adhesive to the back of the panel and the substrate (this is called "double-bonding" and ensures maximum adhesion). Hold the trowel at a 45-degree angle and spread the adhesive in a wavy pattern—this creates ridges that collapse when the panel is pressed down, filling gaps and eliminating air bubbles. Cover 80–90% of the panel's back (focus on edges and corners, which are prone to lifting). Work in small sections (about 1 panel at a time) to prevent the adhesive from drying out before you place the panel.
Carefully lift the panel and align it with your layout marks. Gently press it into place, starting from the center and working outward to push out air bubbles. Use a rubber mallet to tap the surface lightly—focus on the edges and corners to ensure full contact with the adhesive. Check with a level to make sure it's straight, then adjust if needed (you have about 10–15 minutes before the adhesive sets). Repeat with the next panel, making sure seams are tight (but leave a 1–2mm gap for expansion in exterior applications). Stagger the seams as planned—this not only looks better but also strengthens the overall installation.
For most interior projects, the tight seams of Weaving (Khaki) panels are barely visible and don't require additional sealing. But for exterior installations or areas with high moisture (like bathrooms), seal the seams with a flexible silicone caulk that matches the panel color. Apply a thin bead along the seam, then smooth it with a damp finger or caulk tool. Wipe away excess caulk immediately to avoid staining the weave texture.
Once all panels are installed, wipe down the surface with a damp cloth to remove any adhesive smudges. Avoid using harsh cleaners (like bleach or abrasive sponges) as they can damage the khaki finish. Let the adhesive cure fully—this takes 24–48 hours (longer in humid conditions). Keep foot traffic off the area during this time, and avoid exposing exterior installations to heavy rain for at least 48 hours.
Even with careful prep, hiccups can happen. Here's how to handle the most common problems:
If a panel edge starts to lift after installation, it's usually due to insufficient adhesive or air bubbles. For minor lifting (less than 5mm), inject a small amount of adhesive under the edge with a syringe, then press down and secure with masking tape until cured. For larger gaps, carefully remove the panel, clean off old adhesive, and reapply with fresh adhesive.
Fraying typically happens from rough cutting. Fix small frays by applying a tiny drop of clear-drying craft glue to the loose fibers and pressing them down with a toothpick. For larger frays, sand the area lightly and touch up with a khaki-colored fabric marker (test on a scrap panel first to match the shade).
This is usually a prep issue—if the substrate was uneven, the panels will follow. For minor unevenness, use a sanding block to gently level high spots (be careful not to sand through the weave texture). For major issues, you may need to remove the affected panels, repair the substrate, and reinstall.
Weaving (Khaki) shines on its own, but mixing it with other MCM series can take your project to the next level. Here are a few contractor-approved combinations:
The warm, woven texture of Khaki pairs beautifully with the natural look of MCM's wood grain board. Try using wood grain board for the lower half of a wall and Weaving (Khaki) for the upper half, separated by a thin metal trim. This combo works wonders in restaurants or living rooms, creating a cozy, layered feel.
For a more modern, industrial vibe, pair Weaving (Khaki) with epoch stone—a sleek, concrete-like MCM panel. Use epoch stone as a backdrop and Weaving (Khaki) as an accent (e.g., a feature wall behind a reception desk). The contrast between rough weave and smooth concrete adds visual interest without overwhelming the space.
For commercial projects like hotels or retail stores, mix Weaving (Khaki) with foamed aluminium alloy board in vintage silver. The metallic sheen of the aluminium complements the earthy khaki, creating a sophisticated, contemporary look. Use aluminium for trim or panel borders to frame the weave texture.
Installing Weaving (Khaki) MCM panels is a blend of precision and creativity—and when done right, the results are stunning. By following these best practices—prepping the surface, using the right tools, and taking time to align and bond panels carefully—you'll create a finish that impresses clients and lasts for years. And don't forget to experiment with pairings: whether you're combining it with wood grain board for warmth or epoch stone for edge, Weaving (Khaki) is a versatile material that adapts to any design vision. So go ahead—weave some magic into your next project.
Recommend Products


