
There's something inherently warm about a wood fence. Maybe it's the way sunlight filters through the slats on a summer morning, or how it frames your backyard like a living portrait. For many of us, our wood fence isn't just a boundary—it's a silent witness to weekend barbecues, kids chasing fireflies, and quiet evenings with a cup of tea on the porch. But like any part of our homes, wood fences age. They battle rain, snow, pests, and the occasional stray baseball. And while a little wear adds character, ignoring damage can turn that charming vintage look into a crumbling eyesore.
If you've ever stood in your yard staring at a loose board or a mysterious dark spot on your fence, you're not alone. I've been there too—kneeling to inspect a soft, spongy post and wondering, "Is this rot? Can I fix it myself?" That's why I wanted to put together this guide: to walk you through the most common wood fence issues, how to spot them (with a little help from wood fence real photos to document the process), and simple repairs that can save you time, money, and heartache. Whether your fence is brand-new or has been standing for decades, let's give it the care it deserves.
Let's start with the beginning. When you first install a wood fence, it's a thing of beauty—crisp lines, rich color, and that fresh-cut wood scent that lingers for weeks. I remember my neighbor's fence from a few years back: they went with a light cedar, and for the first summer, it glowed like honey in the sun. But wood is a living material, even after it's cut. It expands and contracts with humidity, soaks up rain, and dries out in the sun. By the second year, that cedar had faded to a soft gray, and a few slats had started to warp ever so slightly. That's normal aging—the kind that adds "character."
But there's a difference between "character" and "damage." A few hairline cracks? Character. A post that leans so much it looks like it's doing the limbo? Damage. The key is knowing when to step in. And that's where wood fence real photos come in handy. Taking photos of your fence each season (spring after the rains, fall before winter) gives you a visual timeline. Flip through them, and you'll spot changes you might have missed with the naked eye—like how that "small" split in the gatepost grew from a hairline to a gap wide enough to stick your finger through.
Pro Tip: When taking wood fence real photos, stand in the same spot each time (use a landmark like a tree or mailbox to guide you). This makes side-by-side comparisons easier. Zoom in on areas you're worried about—like the base of posts or joints between boards—to catch early signs of trouble.
Let's dive into the most likely culprits behind wood fence damage. I've broken them down by "villain," so you can play detective in your own yard. Spoiler: most of these issues are fixable—if you catch them early.
Rot is the fence equivalent of a cold that turns into pneumonia—ignore it, and it spreads fast. It happens when wood stays damp for too long, thanks to poor drainage, leaky sprinklers, or even just a particularly rainy season. I once had a section of fence along my flower bed that I thought was "just a little green." Turns out, the soil was piled up against the boards, trapping moisture, and the wood had started to rot from the inside out. By the time I noticed, I could push my thumb through a slat like it was butter.
Signs to watch for: Soft, spongy wood that dents easily; dark brown or black discoloration; a musty, earthy smell (like wet leaves in a pile); or white, thread-like mold growing on the surface. Rot often starts at the bottom of posts (where they meet the ground) or in areas shaded from the sun, like between tight slats.
How to fix it: If the rot is limited to one or two boards, you can replace them. Start by removing the damaged wood—use a pry bar to loosen nails or a drill to take out screws. Then, measure the space and cut a new board to size. For extra durability, opt for wood grain board, which has a tight, uniform texture that resists moisture better than rough-sawn wood. Before installing, treat the exposed ends with a wood preservative (look for one with borate, which kills rot-causing fungi). If a post is rotted, you'll need to dig around the base—if more than 3 inches of the post is soft, replace it entirely. Set the new post in concrete, and slope the concrete away from the post to keep water from pooling.
Termites, carpenter ants, and even wood-boring beetles see your fence as an all-you-can-eat buffet. I'll never forget the day I was staining my fence and noticed tiny holes—no bigger than a pinhead—dotting a board. I leaned in, and a small pile of sawdust (called "frass") fell out. Cue the panic: termites. Luckily, they hadn't spread far, but it was a wake-up call. Pests don't just eat wood—they weaken the structure, turning solid boards into hollow shells.
Signs to watch for: Tiny holes (termite exit holes are round; beetle holes are more oval); frass (sawdust-like pellets) near the base of the fence; hollow-sounding wood when tapped with a hammer; or visible insects (carpenter ants are black and about ½-inch long; termites are pale and ant-sized, with straight antennae).
How to fix it: Start by treating the area. For termites, apply a liquid termiticide to the soil around the fence posts—this creates a barrier they can't cross. For beetles or ants, spray the affected boards with an insecticide labeled for wood pests (look for ingredients like permethrin). Then, replace the damaged wood. If you want to be proactive, use charcoal burnt wood board for replacements. The charring process (similar to ancient Japanese shou sugi ban) creates a layer that repels pests and moisture—genius for high-risk areas like near flower beds or trees.
Your fence is out there 24/7, taking a beating from the elements. Sun fades the color, rain swells the wood, wind twists the slats, and snow piles up against the base. Over time, this "weather fatigue" shows up as:
I live in a windy area, and last winter, a storm sent a branch crashing into my fence. The slats didn't break, but they bent—now there's a section that looks like it's been through a funhouse mirror. Weathering isn't just cosmetic, either. Warped boards create gaps where rain can seep in, and cracked wood is more vulnerable to rot and pests.
How to fix it: For minor fading, a fresh coat of stain or sealant works wonders. Look for a product with UV protection to slow future fading. For warped slats, try this trick: spray the concave side with water (wood swells when wet), then clamp it to a straight board overnight. By morning, it might just flatten out. If it's too far gone, replace it with a new slat—wood grain board is a great choice here, as its uniform texture resists warping better than solid wood.
For cracks, fill them with wood filler (choose a color that matches your fence), sand smooth, and seal. And don't forget the base! If snow piles up against the fence, clear it away after storms to prevent moisture buildup. Your fence will thank you.
Kids on bikes, dogs chasing squirrels, a misaimed lawnmower—life happens, and sometimes it happens to your fence. Physical damage is usually obvious: a broken slat, a post that's been knocked loose, or a gate that hangs crookedly after a car (oops) bumps it. I once watched my neighbor's golden retriever barrel through a section of fence like it was made of tissue paper—turns out, he spotted a rabbit and decided the fence was optional.
How to fix it: For a broken slat, the fix is simple: remove the old one (pry out nails or unscrew), measure twice, cut once, and attach the new slat with rust-resistant screws (nails pop out over time). If the damage is to a post, you might need to reinforce it. Dig a small hole around the base, add concrete mix, and let it set—this "mini foundation" will stabilize a wobbly post. And if your gate is sagging, check the hinges: they might just need tightening or replacing with heavier-duty ones.
Here's the secret no one tells you: most fence repairs can be avoided with a little preventive care. Think of it like brushing your teeth—annoying, but way better than a root canal. Here's what I do for my own fence:
Set a calendar reminder: spring (after the last frost) and fall (before the first snow) are non-negotiable. Walk the entire fence line, checking for loose screws, rotting wood, and pest holes. After a big storm, do a quick check—wind and rain are troublemakers. Bring a notebook and jot down issues, or use your phone to take wood fence real photos of problem spots. Trust me, you'll forget that "small crack" by next month if you don't document it.
Dirt, mold, and mildew trap moisture, so give your fence a bath once a year. Use a pressure washer on the lowest setting (high pressure can damage wood) or a soft brush and mild soap (dish soap works!). Rinse thoroughly and let it dry before staining or sealing. I do this in early summer, when the sun helps it dry fast.
Sealing or staining your fence every 2-3 years is the single best thing you can do to extend its life. Sealer blocks moisture, stain adds color and UV protection, and both make cleaning easier. For new fences, wait 6-12 months before sealing—green wood (freshly cut) needs to dry out first. For older fences, sand lightly before applying to help the product stick.
Plants love fences, but too much love is a bad thing. Keep shrubs and vines trimmed back 6 inches from the fence—they trap moisture and attract pests. And avoid piling soil or mulch against the base of posts; this is a rot magnet. Instead, create a small "moat" of gravel around posts to improve drainage. I learned this the hard way after my rose bush grew into the fence and caused a rot spot—now I keep a 1-foot buffer zone, and the fence (and roses) are happier for it.
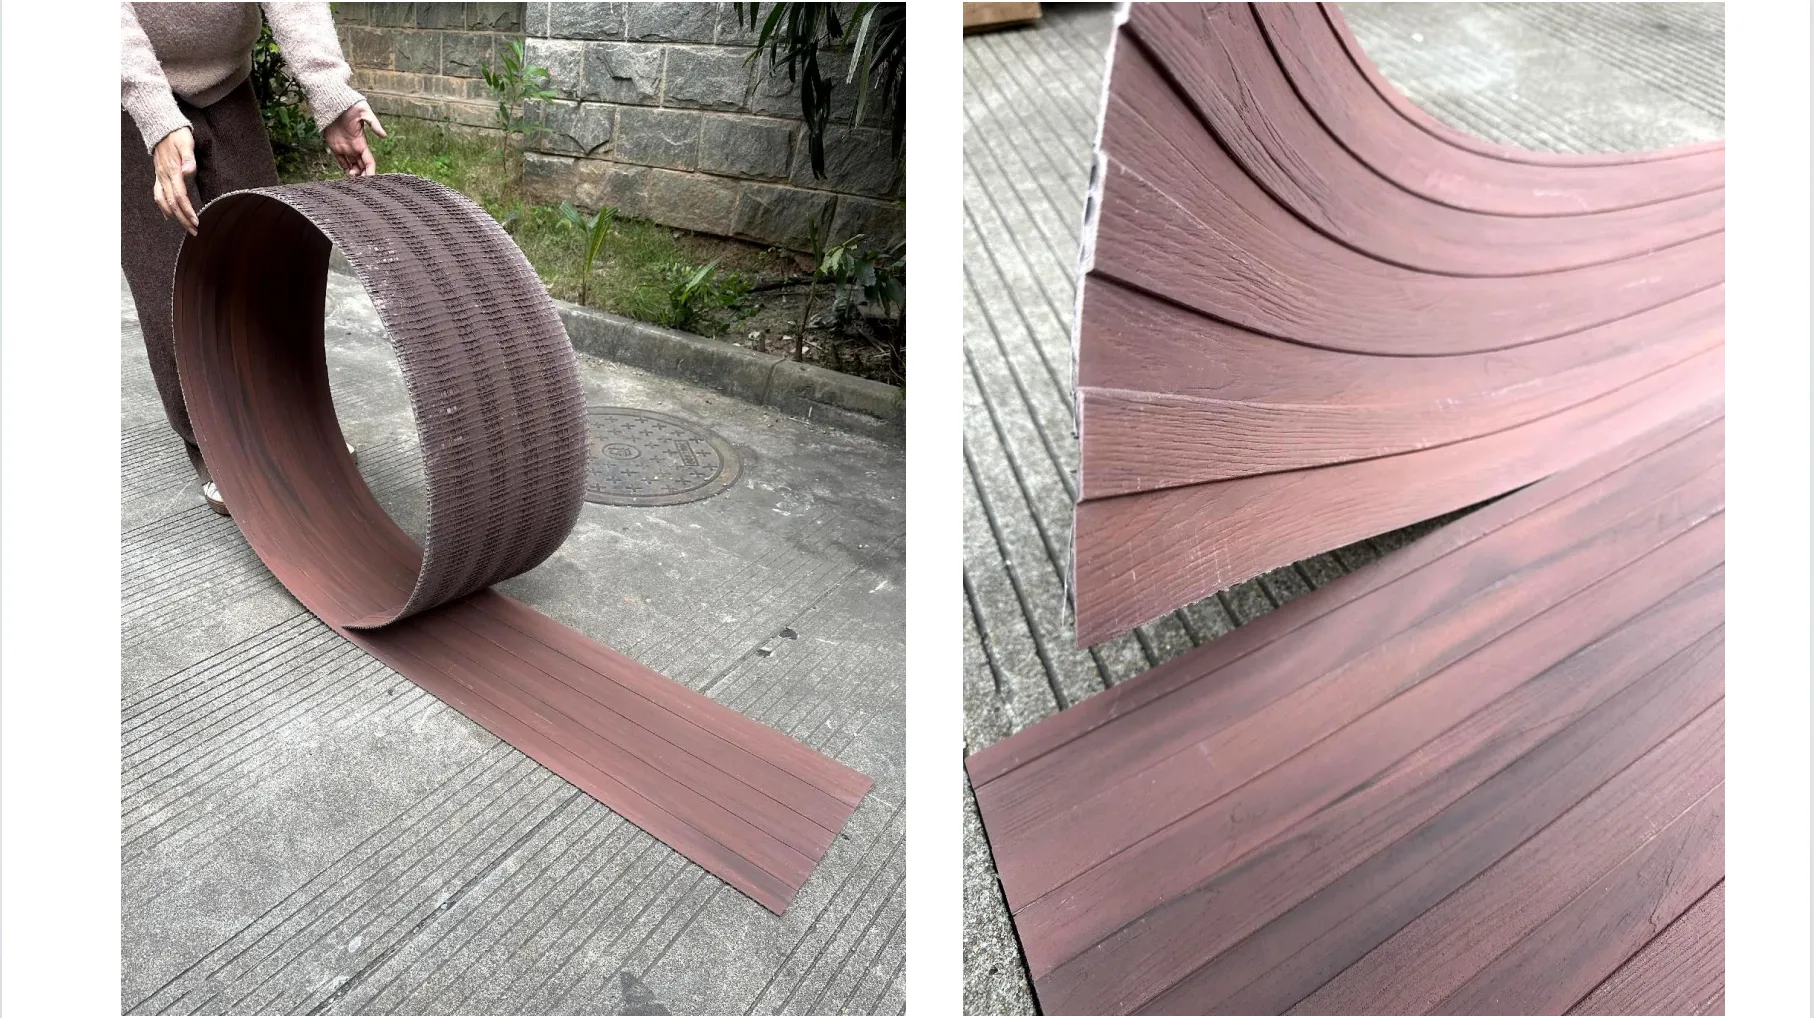
If you're installing a new fence or replacing large sections, think about the wood type. Pressure-treated pine is budget-friendly and resists rot, but it has chemicals that can leach into soil (not great for veggie gardens). Cedar is naturally pest-resistant and smells amazing, but it's pricier. For a unique look with built-in durability, consider ancient wood (reclaimed from old barns or fences) or wood grain board, which mimics the look of real wood but holds up better to weather.
I'm all for DIY repairs, but there comes a time when even the best fixes can't save a fence. Ask yourself these questions:
If you answered "yes" to any of these, it might be time to replace. I had a client once who kept patching a 20-year-old fence—new boards here, new posts there—until the whole thing collapsed in a storm. They could have saved money (and stress) by replacing it sooner. That said, replacing doesn't mean losing charm. Mix in elements like rough granite stone accents or bamboo mat board (a nod to natural textures) to keep the vintage vibe while adding durability.
At the end of the day, a wood fence is more than wood and screws. It's the backdrop to your life's little moments—the first time your kid rode a bike without training wheels, the neighbor's cat napping on the top rail, the way it glows at sunset. Taking care of it isn't just about keeping up appearances; it's about preserving those memories.
So grab your camera (or phone) and take those wood fence real photos. Grab a screwdriver and tighten that loose hinge. Spend a Saturday afternoon staining it, and enjoy the way the color deepens as the sun sets. Your fence has been there for you—now it's your turn to be there for it.
And who knows? Years from now, when you're showing your grandkids wood fence real photos of "the old fence," you'll smile and say, "I built that. And I kept it standing." Now that's a story worth preserving.
Recommend Products


