
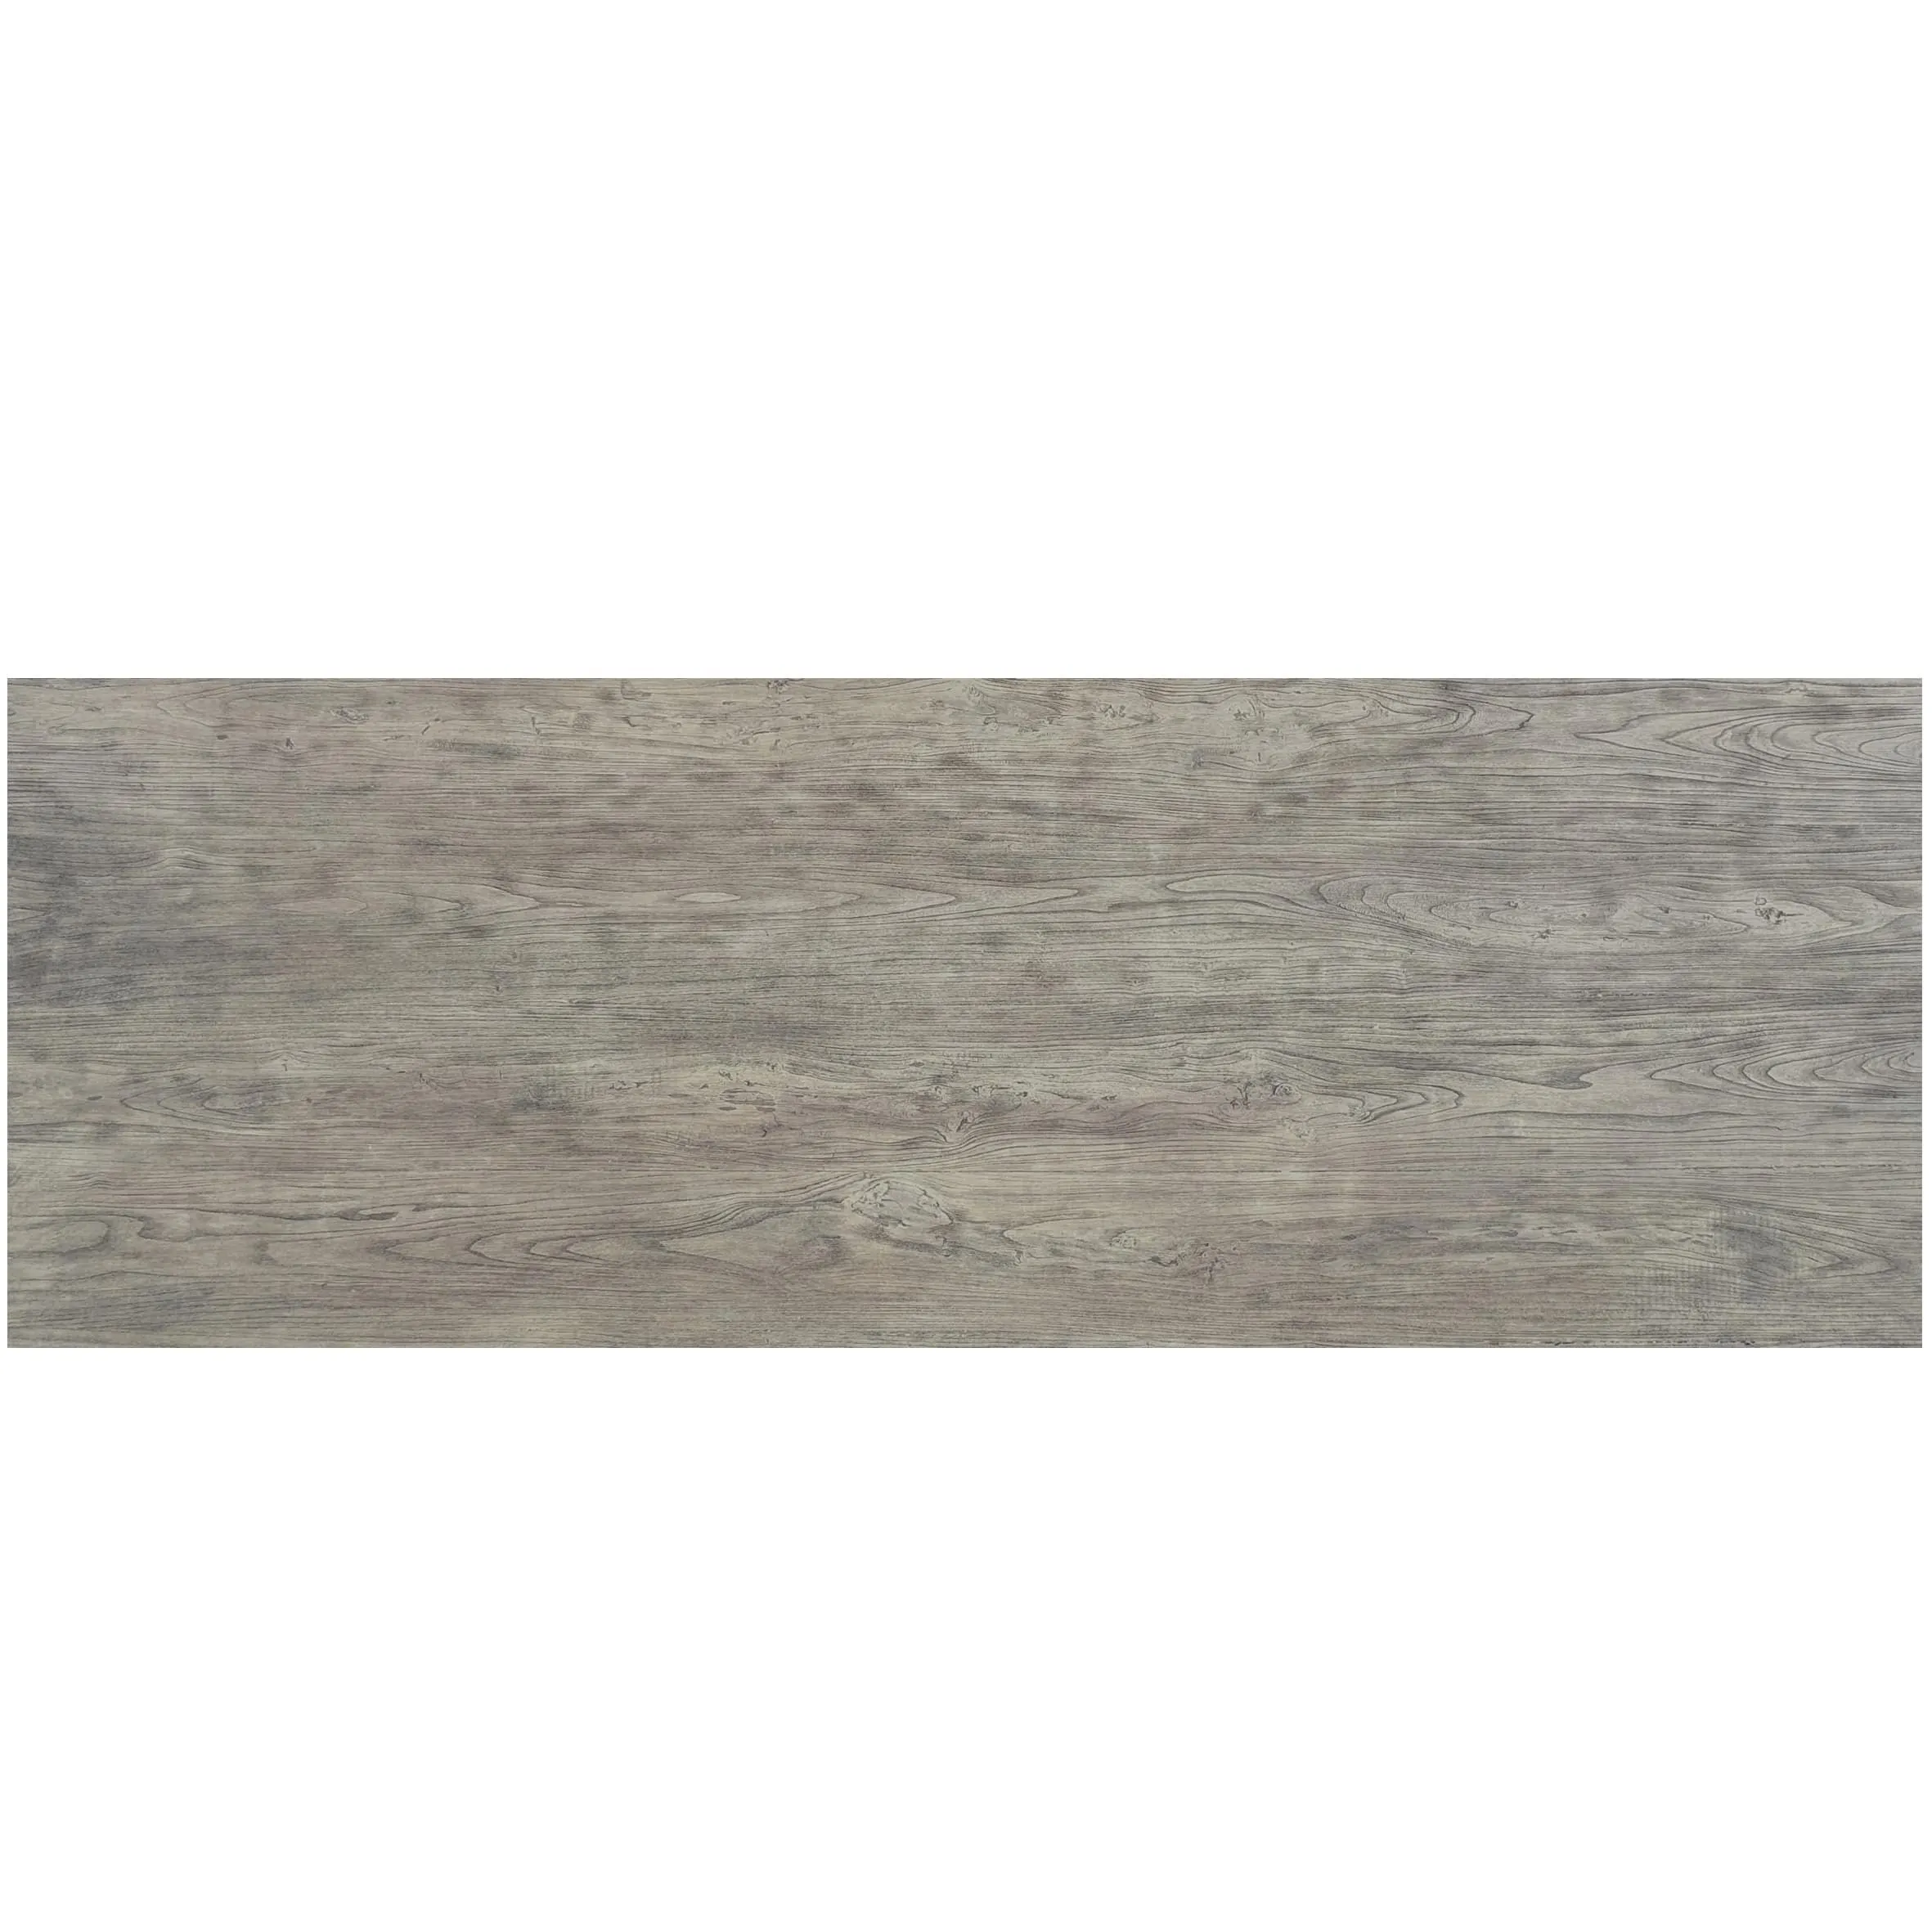
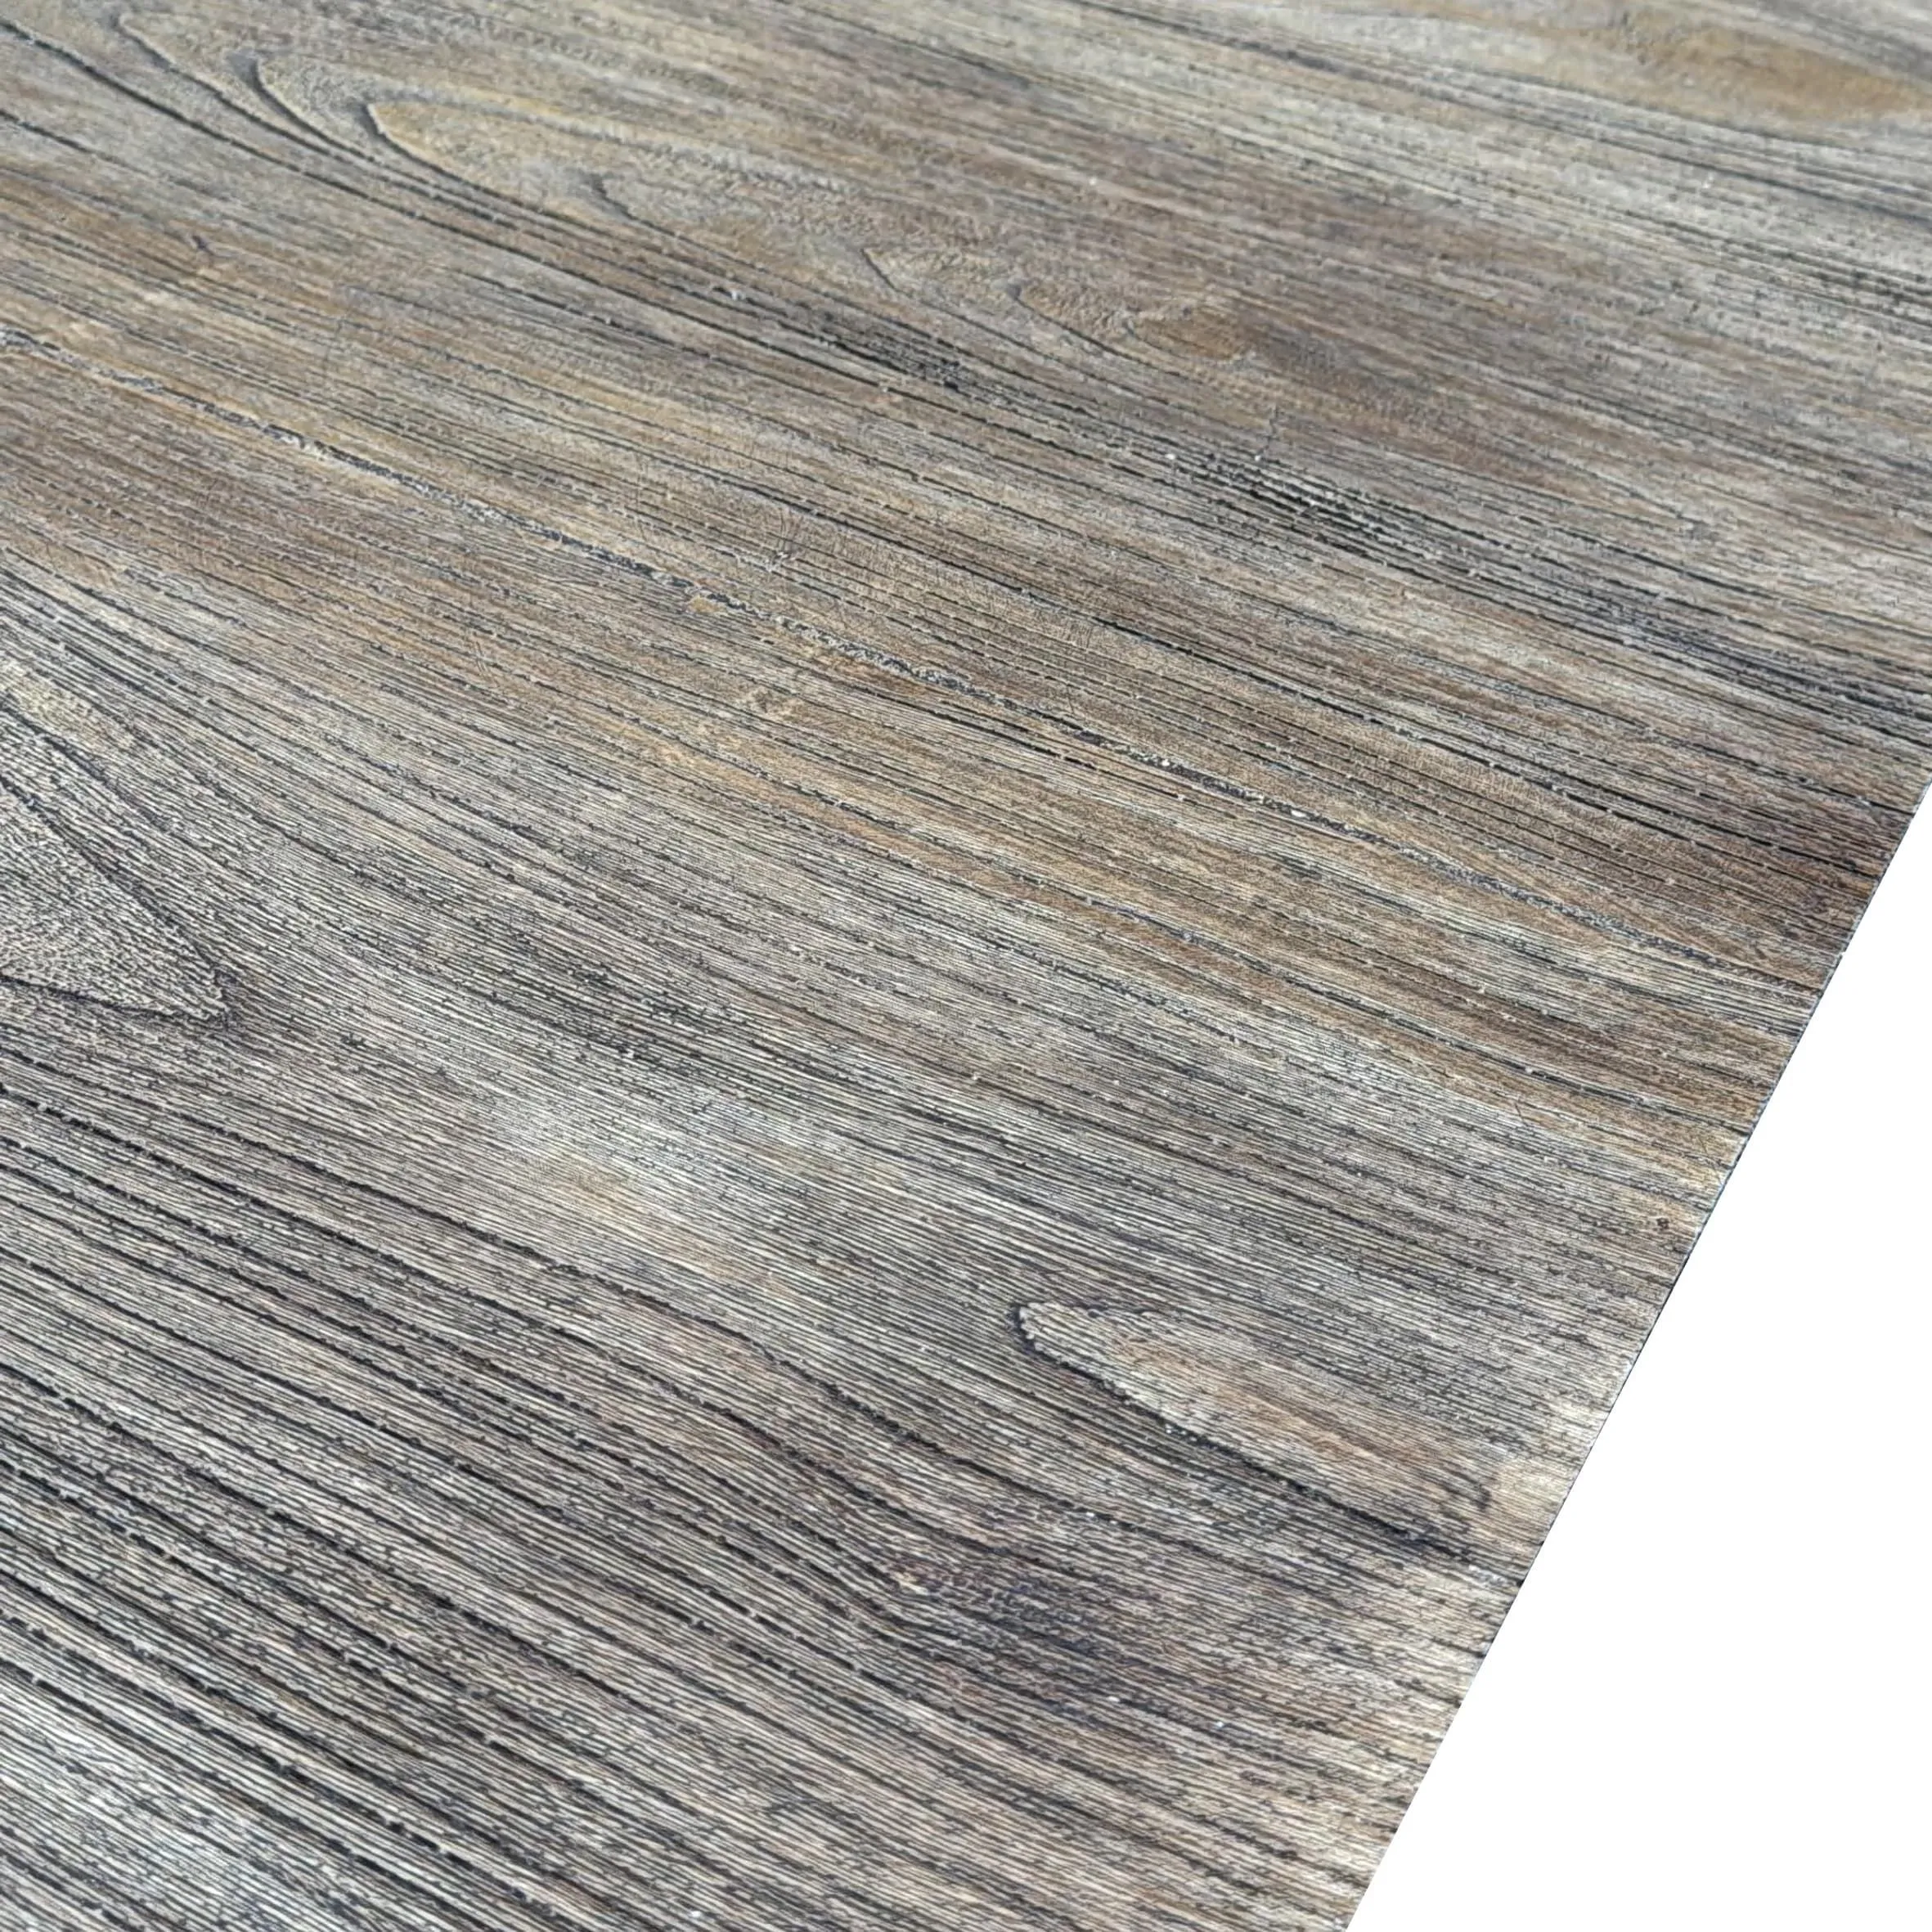
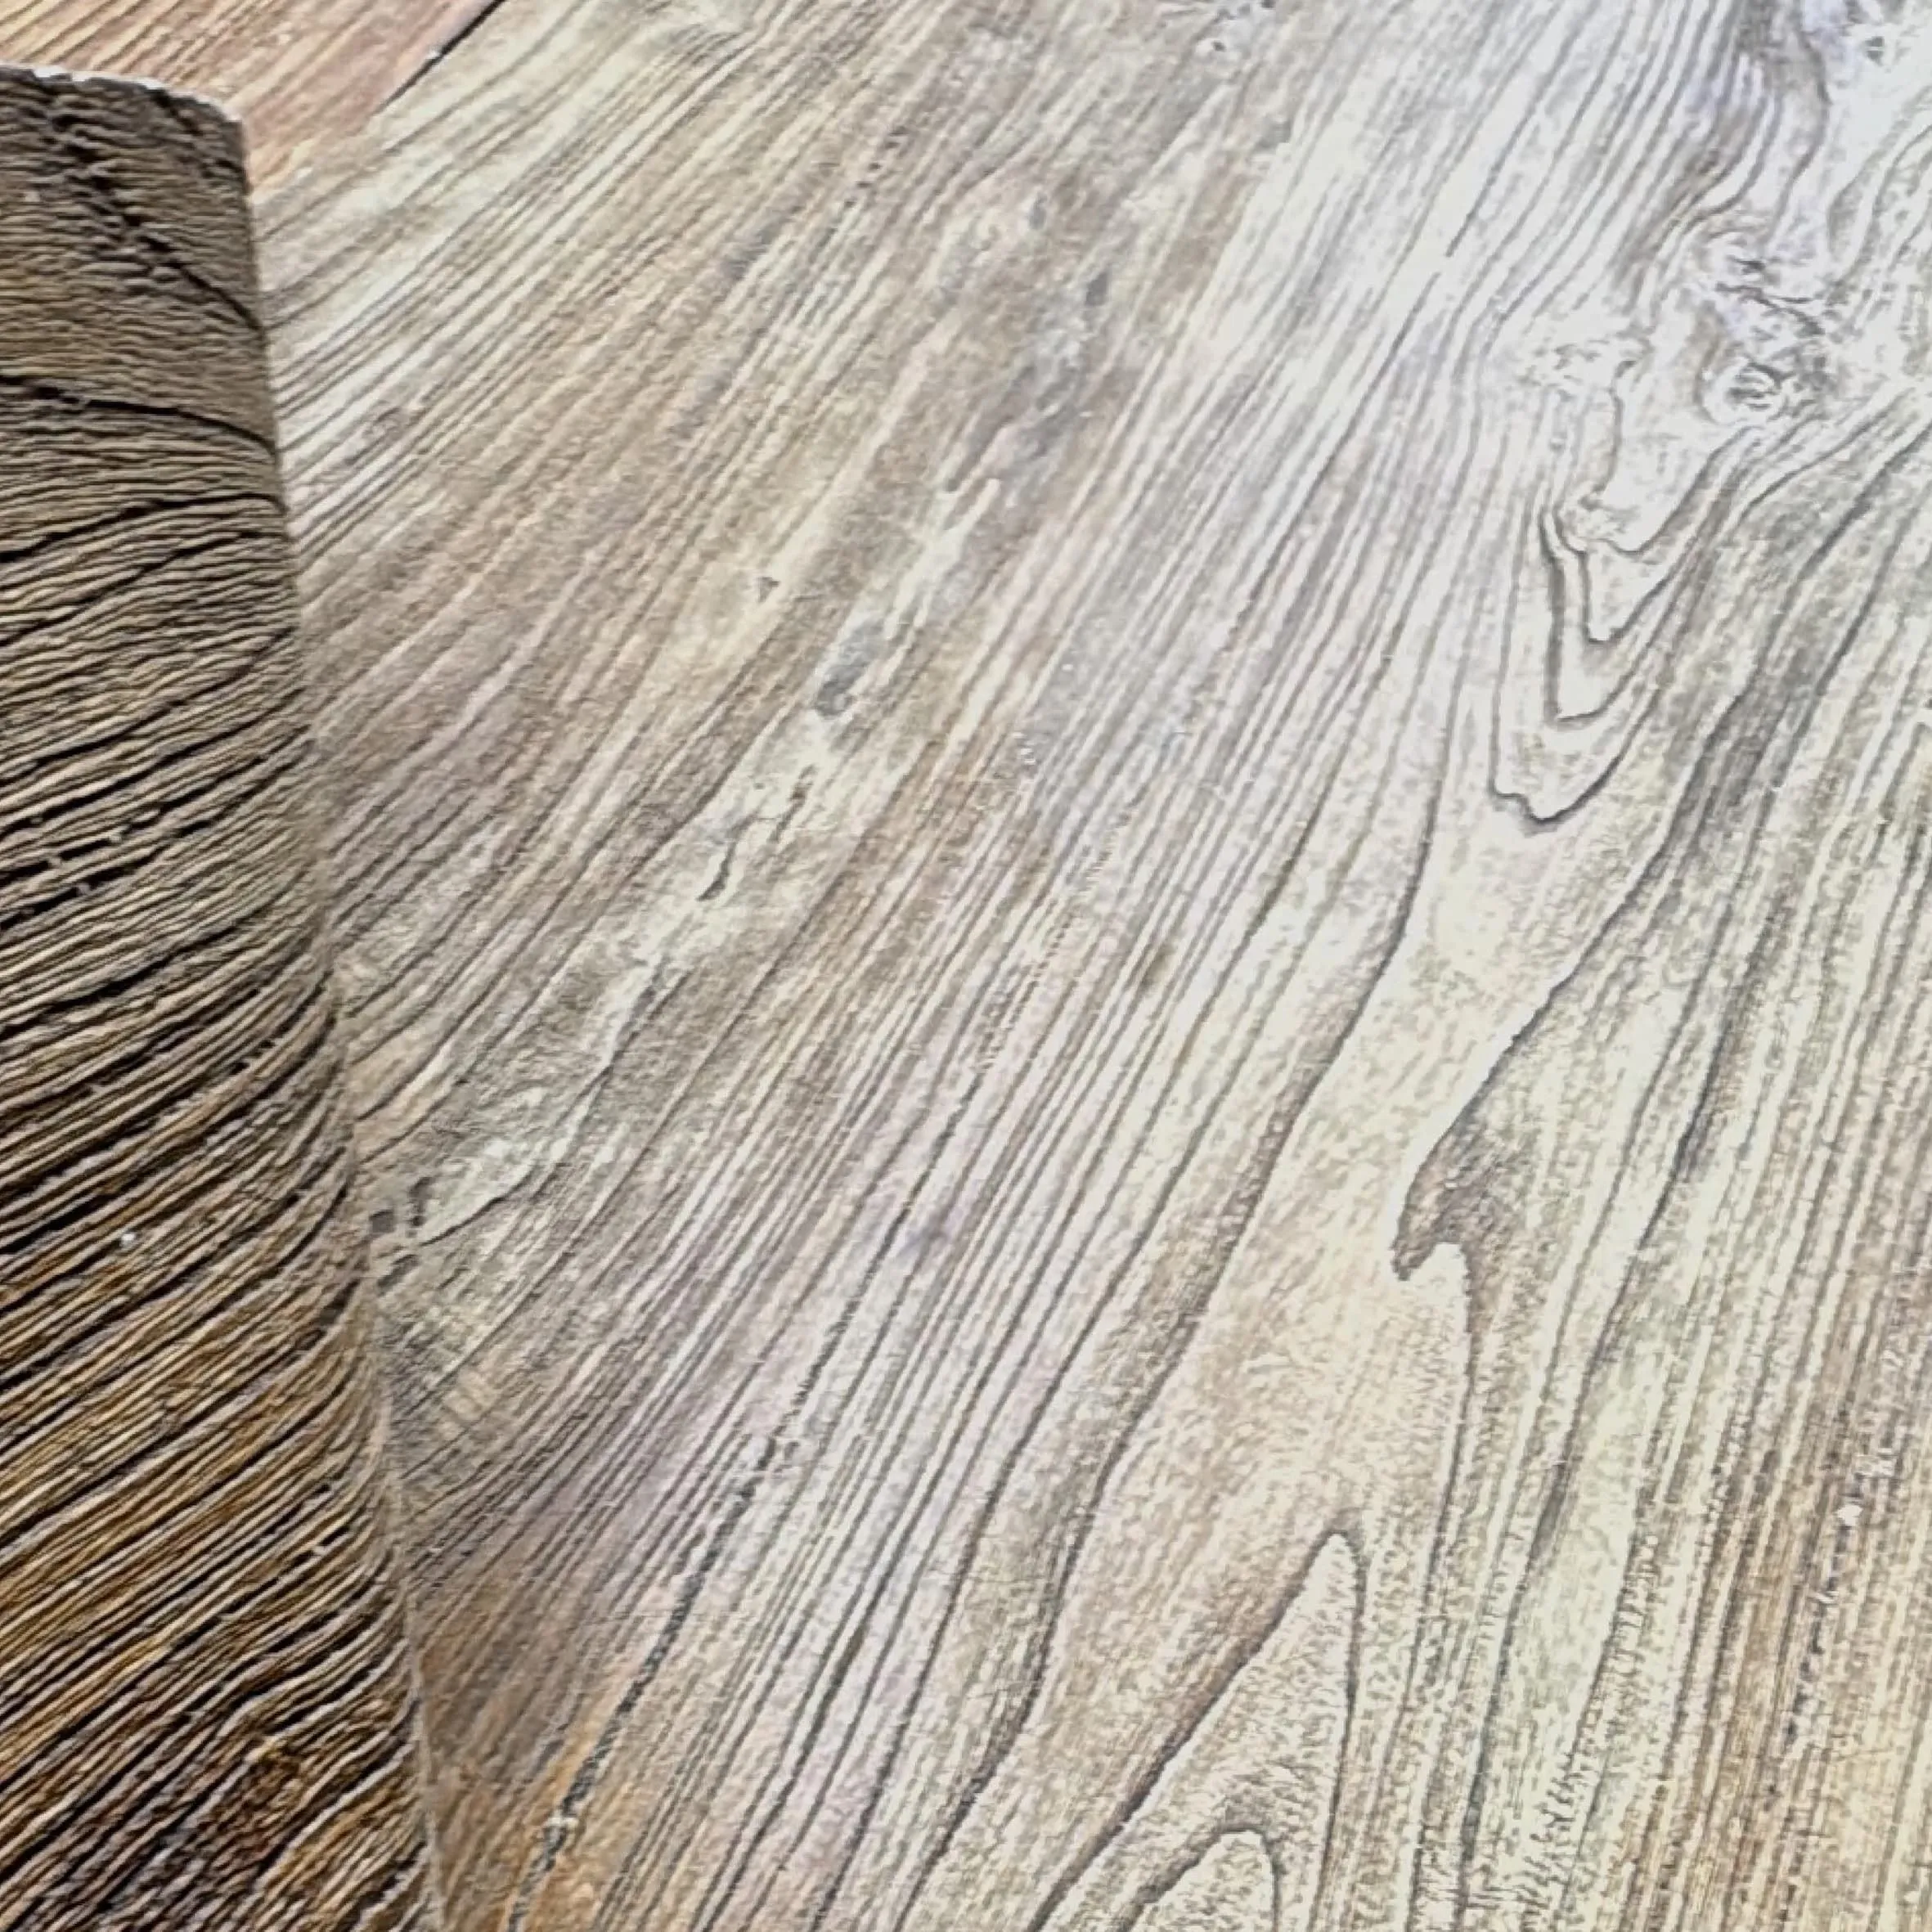
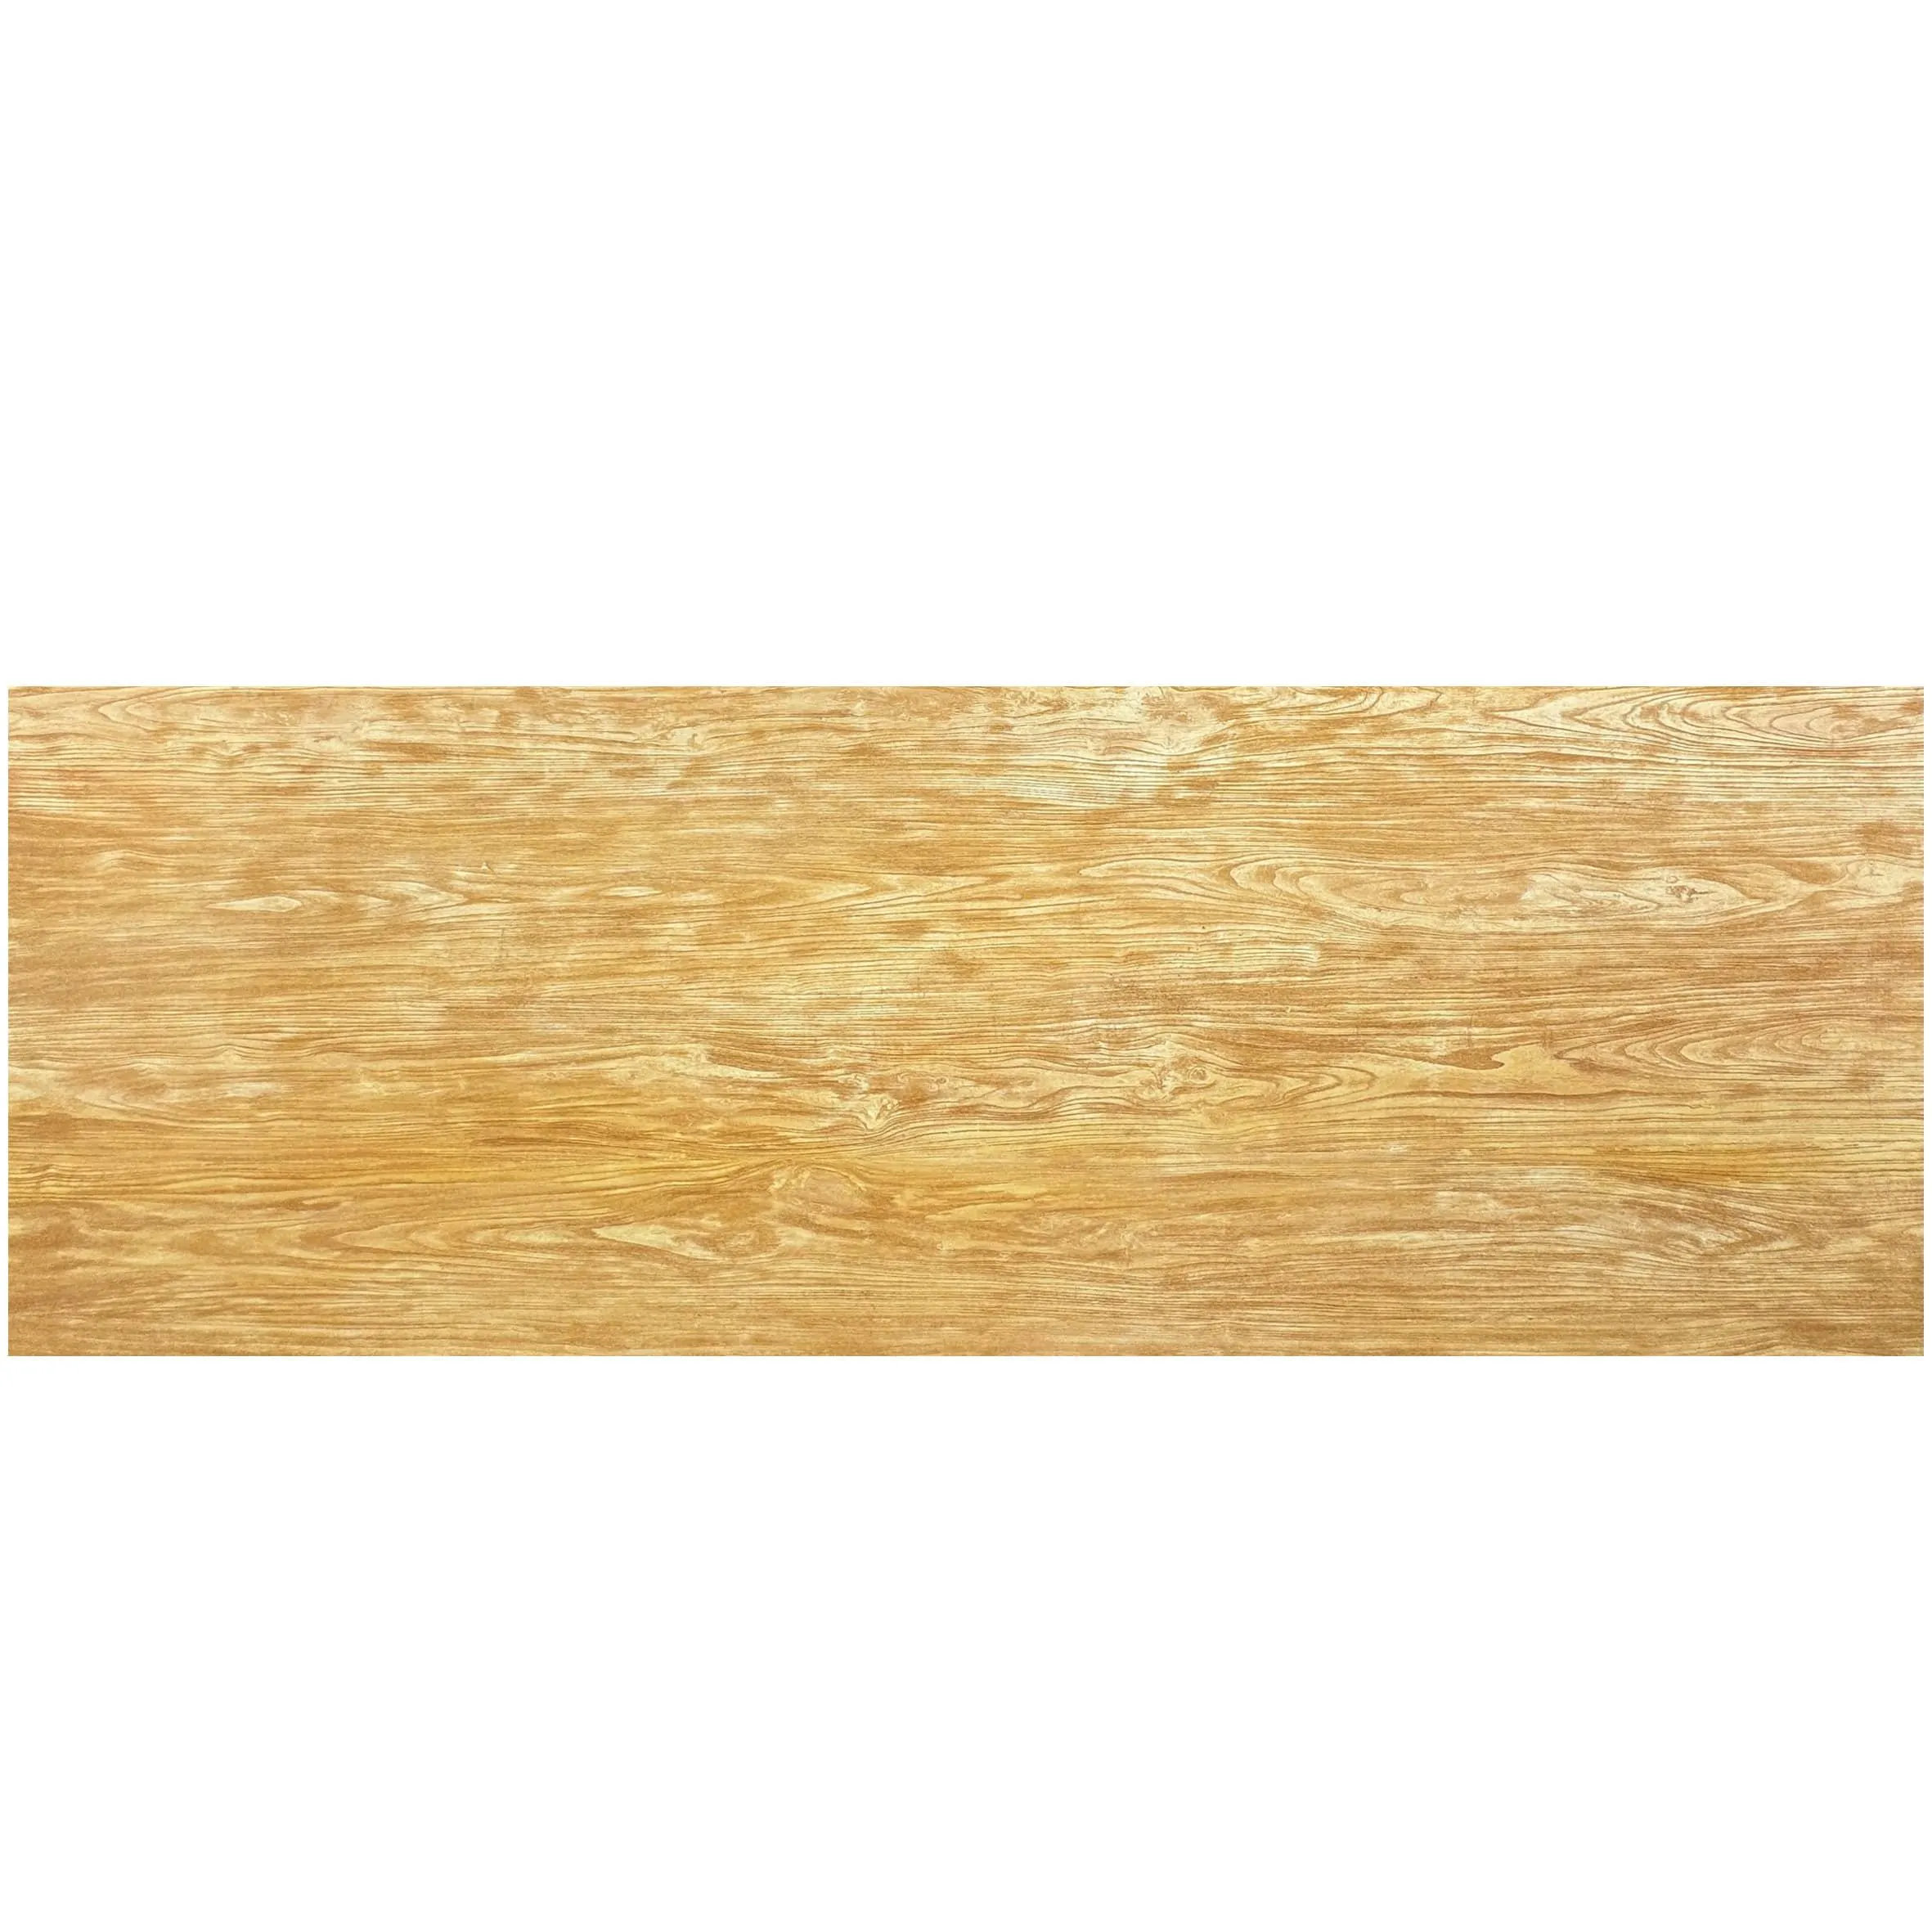
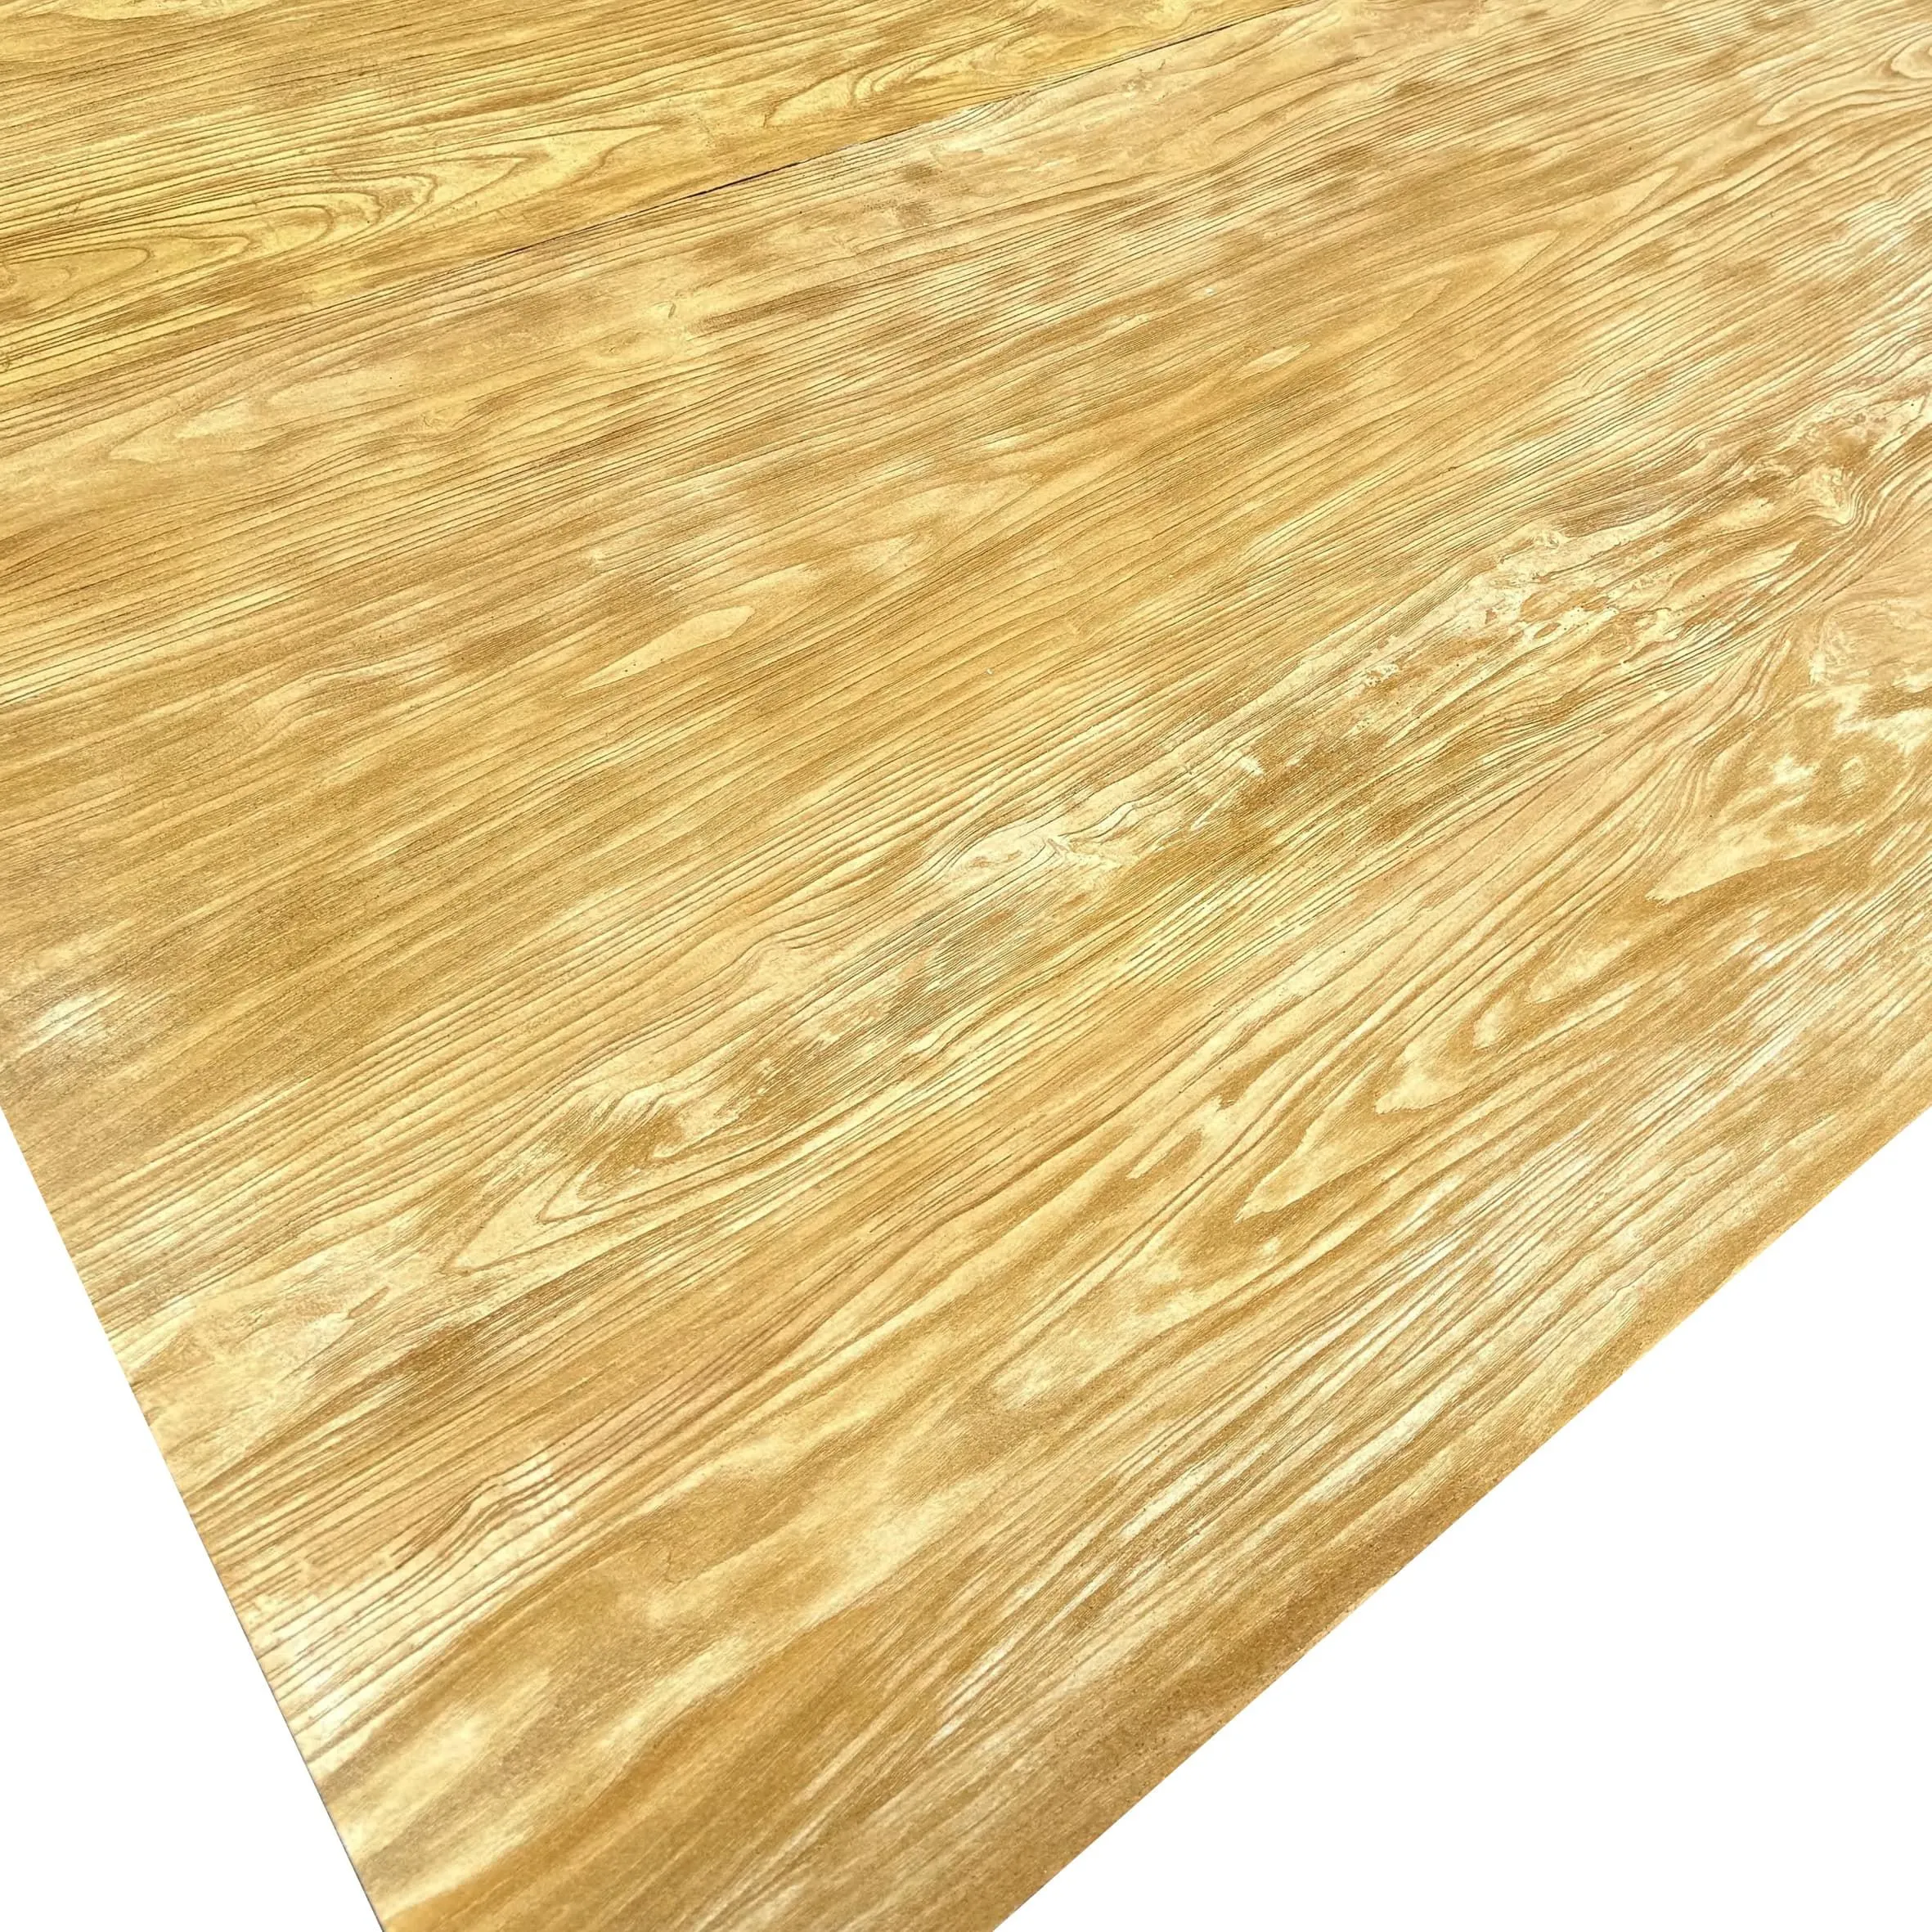
There's something almost magical about wood grain board. Run your hand over its surface, and you'll feel the quiet story of nature—each knot, each swirl, a fingerprint left by time. It's why this material has become a staple in homes, offices, and commercial spaces alike. Whether it's cladding a kitchen backsplash, lining a living room accent wall, or forming the surface of a dining table, wood grain board brings warmth, texture, and a touch of the outdoors inside. But here's the thing: that beauty is fragile. Without proper care, moisture creeps in, stains set in, and that once-vibrant grain starts to fade. Sealing isn't just maintenance—it's an act of preservation, ensuring your wood grain board stays as stunning as the day you first fell for it.
Let's start with the basics: wood is porous. Those tiny gaps in the grain aren't just part of its charm—they're gateways for trouble. Think about a rainy day: if your outdoor wood grain board deck isn't sealed, raindrops seep into those pores, causing the wood to swell. As it dries, it shrinks, leading to cracks and warping. Indoors, a spilled glass of red wine or a splash of olive oil can sink into the wood, leaving a stain that's nearly impossible to remove. Even everyday humidity in bathrooms or kitchens can take a toll, encouraging mold or mildew to grow.
But sealing isn't just about defense—it's about enhancement. A good sealer deepens the color of the wood grain, making those natural patterns pop. It adds a subtle sheen (or a matte finish, if that's your style) that catches the light, turning a plain surface into a focal point. And let's not forget longevity. A well-sealed wood grain board can last decades, becoming a backdrop for family meals, late-night work sessions, and lazy Sunday mornings. Without sealing? You might be replacing it in just a few years.
Compare it to other materials, and the need becomes even clearer. Take travertine, for example—a stone prized for its earthy tones and porous texture. Travertine needs sealing too, but its enemies are acidic substances like lemon juice or vinegar that etch the surface. Wood grain board? Its Achilles' heel is moisture, plain and simple. And unlike, say, fair-faced concrete, which gains character with age, unprotected wood grain board just looks tired—dull, stained, and worn.
Before you even think about picking up a sealer, you need to prep the wood grain board. Skipping this step is like painting a wall without sanding first—you'll end up with a patchy, uneven finish that won't last. Here's how to do it right:
Not all sealers are created equal. The best one for your wood grain board depends on where it's installed (indoor vs. outdoor), how much traffic it gets, and the look you're going for. Let's break down the most common types:
| Sealer Type | Best For | Pros | Cons | Drying Time |
|---|---|---|---|---|
| Oil-Based Sealers | Indoor wood grain board (e.g., dining tables, accent walls) | Deeply penetrates wood, enhances grain color, easy to apply | Long drying time, strong odor, requires mineral spirits for cleanup | 4-6 hours (touch dry); 24+ hours (full cure) |
| Water-Based Sealers | Outdoor wood grain board (e.g., decks, patio furniture) | Low odor, quick drying, clear finish (won't yellow over time) | Less penetration than oil-based, may raise wood grain | 1-2 hours (touch dry); 8-12 hours (full cure) |
| Polyurethane | High-traffic areas (e.g., kitchen countertops, floors) | Extremely durable, resistant to scratches and stains | Can yellow over time (oil-based), requires multiple coats | 2-4 hours (touch dry); 24-48 hours (full cure) |
| Wax Sealers | Low-traffic, decorative wood grain board (e.g., wall art, shelves) | Natural matte finish, easy to reapply, food-safe | Less durable, needs frequent reapplication | 30 minutes (touch dry); 8 hours (full cure) |
Pro tip: If you're working with a wood grain board that has a rich color like rusty red, opt for an oil-based sealer. It'll deepen that hue, making the red pop like a sunset. For lighter woods, water-based sealers keep the color bright and natural. And if you're pairing your wood grain board with other materials—say, bamboo mat board or even travertine—test the sealer on a scrap piece first to ensure the finish complements the overall design.

Now comes the fun part: actually sealing the wood grain board. The key here is patience—rushing leads to drips, streaks, and uneven coverage. Here's how to do it like a pro:
A high-quality synthetic bristle brush (for water-based sealers) or natural bristle brush (for oil-based) is your best friend here. Dip the brush into the sealer, but don't overload it—you want just enough to cover the surface without dripping. Apply the sealer in long, even strokes, following the direction of the wood grain. This ensures the sealer flows into the pores and doesn't leave brush marks. Work in small sections (about 2x2 feet) to avoid the sealer drying before you can smooth it out. After applying, lightly "tip off" the surface with the brush—drag it lightly over the wet sealer to eliminate bubbles or streaks.
If you're sealing a large area like a wood grain board ceiling or a full wall, a sprayer (either an HVLP sprayer or a simple aerosol can) will save you time. Spraying gives a smooth, even finish, but it requires good ventilation (open windows, fans) and a drop cloth to protect surrounding areas from overspray. Hold the sprayer 8-12 inches from the surface and move in a steady, side-to-side motion, overlapping each pass by about 50%. Let the first coat dry completely, then sand lightly with 220-grit sandpaper before applying a second coat—this helps the layers bond.
Oil-based sealers (like linseed oil or tung oil) are often applied with a cloth. Pour a small amount of sealer onto a clean, lint-free rag and rub it into the wood grain board in a circular motion, working the oil into the pores. Let it sit for 15-20 minutes, then wipe away any excess with a dry rag—this prevents sticky spots or puddles. Wiping is great for small, detailed pieces or for achieving a matte, natural finish.
No matter which method you choose, remember: thin coats are better than thick ones. A thick coat will take forever to dry and is more likely to crack or peel. Most sealers require 2-3 coats for full protection—just make sure each coat is completely dry before sanding (with 220-grit sandpaper) and applying the next.
Sealing isn't a one-and-done deal. Over time, even the best sealer will wear down—especially in high-traffic areas. But with a little maintenance, you can extend its life and keep your wood grain board shining. Here's how:
Even seasoned DIYers make mistakes when sealing wood grain board. Here are a few to watch out for:
At the end of the day, sealing your wood grain board isn't just about protecting a material—it's about honoring the beauty of nature and the memories you'll create around it. Think about that wood grain board in your kitchen: it'll hold your morning coffee mugs, your kid's art projects, your family's holiday meals. It'll see laughter, tears, and everything in between. When you seal it, you're saying, "I want this to be part of my story for years to come."
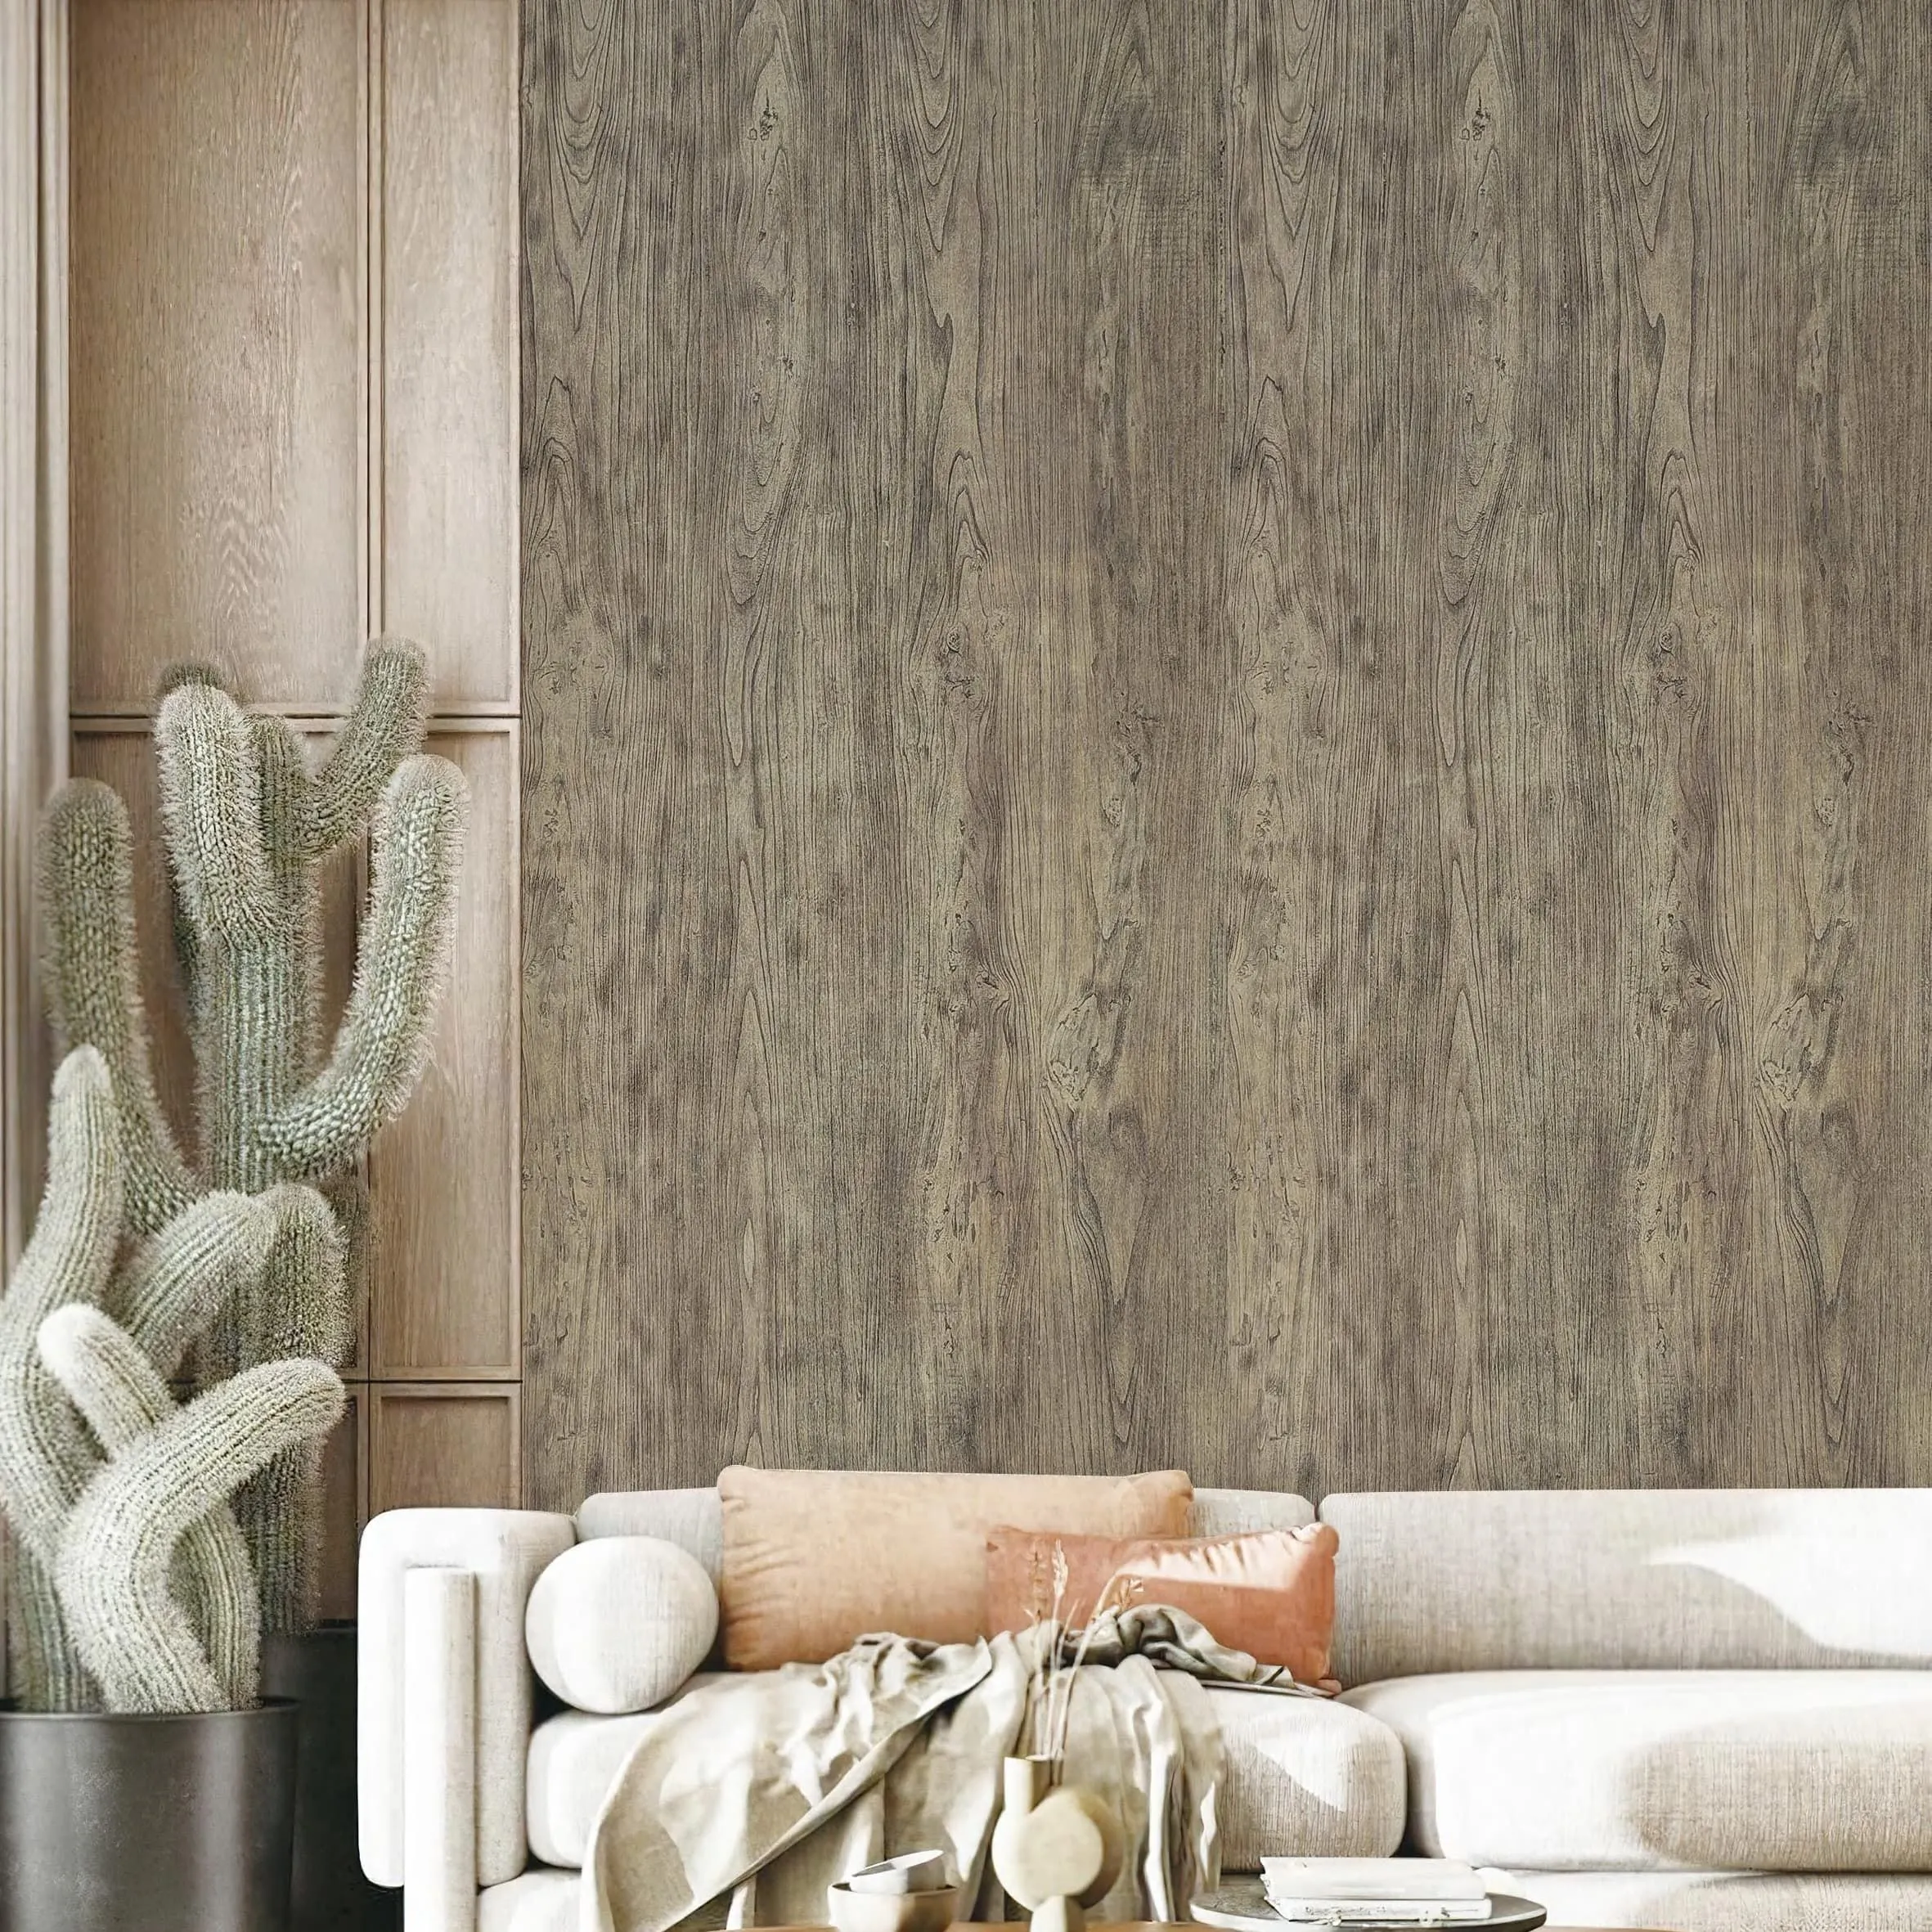
And let's not forget the aesthetic payoff. A well-sealed wood grain board doesn't just last longer—it looks better. The grain pops, the color deepens, and it becomes a conversation piece. Whether paired with modern materials like fair-faced concrete or traditional ones like travertine, it adds a layer of warmth that's hard to replicate.
So grab your sealer, your brush, and a little patience. Your wood grain board (and future you) will thank you.
Recommend Products


